Deer pictures on game cameras can be both beautiful and useful, whether you’re hunting, wildlife‑watching, or just love nature photography. This guide walks you through the best locations, camera settings, and practical tricks to turn ordinary motion‑trigger shots into gallery‑worthy images. Follow our easy steps and start collecting crystal‑clear deer photos today.
Key Takeaways
- Know deer habits: Understanding feeding, bedding, and travel patterns helps you place the camera where deer naturally pass.
- Optimal camera settings: Use the right resolution, trigger speed, and night‑vision mode for sharp, well‑exposed images.
- Strategic placement: Height, angle, and distance matter; a 3‑to‑4 ft height and 45° angle often work best.
- Blend with the environment: Camouflage the housing and use natural scent‑free mounts to avoid spooking deer.
- Review and adjust: Check your captures regularly, tweak settings, and move the camera if you’re not getting the results you want.
- Legal considerations: Know local regulations on game camera use to stay on the right side of the law.
- Maintenance matters: Clean lenses, rotate batteries, and protect the unit from weather for reliable performance.
📑 Table of Contents
- Introduction: Why Deer Pictures Matter
- 1. Understanding Deer Behavior
- 2. Choosing the Right Game Camera
- 3. Perfect Placement Strategies
- 4. Camera Settings for the Best Deer Photos
- 5. Retrieving and Managing Your Images
- 6. Legal and Ethical Considerations
- Conclusion: Turn Your Trail Camera into a Wildlife Photographer’s Tool
Introduction: Why Deer Pictures Matter
There’s something magical about catching a buck’s silhouette against a sunrise or a doe’s gentle nibble at dusk. Game cameras—also called trail cameras—make it possible to photograph wildlife without ever stepping foot in the woods. For hunters, clear images help confirm tag counts and scout future pressure points. For nature lovers, they provide a window into the secret lives of deer, turning a backyard backyard into a living documentary.
But a camera alone won’t guarantee great shots. Placement, settings, and a bit of patience are just as important as the hardware you buy. In this article we’ll walk through everything you need to know to turn those motion‑trigger flashes into stunning deer pictures you’ll be proud to share.
1. Understanding Deer Behavior
Daily Patterns
Deer are crepuscular—most active at dawn and dusk. During these windows they travel between feeding areas and bedding sites. Knowing when they move helps you schedule your camera’s active hours. Most modern cameras let you set a “day‑night” schedule, so you can conserve battery by turning off the sensor during midday lull.
Visual guide about Deer Pictures on Game Camera
Image source: imgcdn.stablediffusionweb.com
Feeding Hotspots
Look for natural food sources: acorn piles, berry bushes, agricultural crops, or even supplemental feeders you may have set up. Deer often follow the same routes to these spots, creating predictable “trails” that are perfect for camera placement.
Travel Corridors
Game trails, fence lines, and natural funnels (like narrow valleys) channel deer movement. A well‑placed camera on a travel corridor can capture multiple individuals in one night, increasing your photo count.
2. Choosing the Right Game Camera
Resolution and Image Quality
For clear deer pictures, aim for at least 12 MP resolution. Higher megapixels give you more detail, especially when you crop for composition later. Remember, larger files use more memory, so balance resolution with the size of your SD card.
Visual guide about Deer Pictures on Game Camera
Image source: 66.media.tumblr.com
Trigger Speed
A fast trigger speed (under 0.3 seconds) reduces motion blur when a deer darts past. Cameras with a “quick‑fire” mode are ideal for fast‑moving bucks during the rut.
Night Vision
Most deer are active at night, so infrared (IR) or no‑glow LEDs are essential. No‑glow LEDs emit invisible light, ensuring the animal isn’t startled. Some cameras also offer black‑flash (true infrared) for a completely stealthy approach.
Battery Life and Power Options
Long‑lasting lithium batteries can keep a camera running for months. If you’re in a remote area, consider solar‑assist kits or external power packs. For more on mounting solutions, see our guide on the T Post Game Camera Mount.
3. Perfect Placement Strategies
Height and Angle
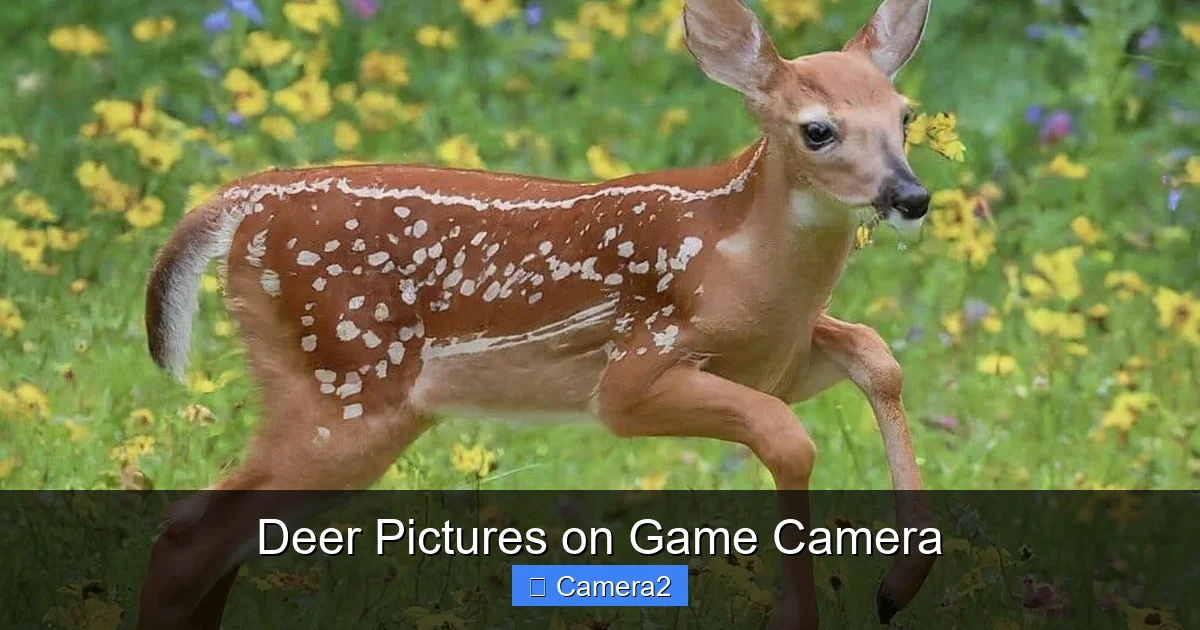
Mount the camera 3‑to‑4 ft off the ground. This height captures the full body of a deer while staying out of reach of curious paws. Angle the lens slightly downward (about 45°) to cover a broader field of view and reduce glare from the sky.
Visual guide about Deer Pictures on Game Camera
Image source: pricklypearwildlife.com
Distance to Trail
Place the camera 15‑20 ft away from the trail. This distance allows the motion sensor to detect movement early, giving the camera enough time to focus and fire. Too close, and you risk blurry shots; too far, and you may miss the animal entirely.
Camouflage and Scent Control
Use the camouflaged housing that comes with most trail cameras. Add natural foliage or a piece of bark to blend it further. Avoid scented soaps or lotions when handling the camera—deer have a keen sense of smell.
Using Natural Features
Position the camera near a tree or rock that forces deer to look up or down as they pass. This creates a more dramatic silhouette and can highlight antlers in low light.
4. Camera Settings for the Best Deer Photos
Resolution and Compression
Set the image quality to “high” or “fine” rather than “medium” or “low.” While this consumes more memory, the payoff is sharper, more detailed photos—especially important for identifying bucks by antler size.
Exposure Settings
Enable “auto‑exposure” if your camera has it; it adjusts shutter speed and aperture based on ambient light. In areas with heavy canopy, you may need to manually increase exposure compensation (+0.5 to +1) to avoid underexposed shots.
Delay Between Shots
Choose a short delay (5‑10 seconds) for active periods like dawn. This ensures you capture multiple frames of a single deer, giving you options for the best pose.
Time Lapse vs. Motion Trigger
While motion trigger is essential, adding a time‑lapse setting (e.g., one photo every 30 minutes) can fill gaps when the sensor misses a quick pass. Use this sparingly to save battery.
5. Retrieving and Managing Your Images
Regular Checks
Visit the camera every 2‑3 weeks to swap SD cards and fresh batteries. Frequent checks let you adjust placement if you notice a lack of deer activity.
Organizing Files
Create folders by date and location. Naming conventions like “2024‑04‑15_ForestEdge” make it easy to locate specific sessions later.
Editing Tips
- Crop wisely: Focus on the animal’s head or antlers for a compelling composition.
- Adjust exposure: Slightly increase brightness for night shots, but avoid over‑blowing the image.
- Sharpen: A modest sharpening filter brings out fur texture without creating noise.
Sharing Your Shots
Post your best images on wildlife forums or local hunting groups. Not only does this build community, it can also help you get feedback on placement and settings.
For a deeper dive into trail‑camera operation, the Wildgame Innovations Trail Camera User Manual offers step‑by‑step instructions on firmware updates and advanced settings.
6. Legal and Ethical Considerations
Local Regulations
Some states require a permit for game cameras, especially in public lands. Always check the wildlife agency’s website before installing a camera on state property.
Privacy Concerns
Never aim a camera at private residences or roads where human traffic is common. Respect neighbor privacy to avoid legal trouble.
Ethical Hunting Practices
If you’re using images for scouting, remember that fair chase principles still apply. Use photos to locate deer, not to track individual animals in real time during a hunt.
Conclusion: Turn Your Trail Camera into a Wildlife Photographer’s Tool
Getting great deer pictures on a game camera isn’t magic; it’s a blend of science, patience, and a few practical tricks. By understanding deer behavior, choosing the right equipment, and fine‑tuning placement and settings, you can fill your photo library with stunning, natural images. Remember to review your shots regularly, adjust as needed, and stay within legal boundaries. With these steps, every sunrise and dusk could become a new opportunity to capture the quiet elegance of deer in their own world.
Frequently Asked Questions
What is the best height to mount a game camera for deer?
Mount the camera 3‑to‑4 feet off the ground. This height captures the full body of a deer while staying out of reach of curious paws.
Should I use infrared or no‑glow LEDs for night shots?
No‑glow LEDs are preferred because they emit invisible light, preventing deer from being startled and ensuring natural behavior.
How often should I check my game camera?
Visit the camera every 2‑3 weeks to replace batteries and SD cards. Regular checks also let you adjust placement based on the images you’re getting.
Can I use a time‑lapse setting instead of motion trigger?
Time‑lapse can complement motion trigger, especially when deer move quickly. Use it sparingly to conserve battery life.
Do I need a special permit to place a game camera on public land?
Many states require a permit for trail cameras on public land. Always check with your local wildlife agency before installing.
How can I improve blurry deer photos?
Ensure a fast trigger speed (under 0.3 seconds), proper lighting, and a stable mounting surface. Adjust exposure compensation if the forest canopy is dense.