Infrared Illuminator for Security Cameras
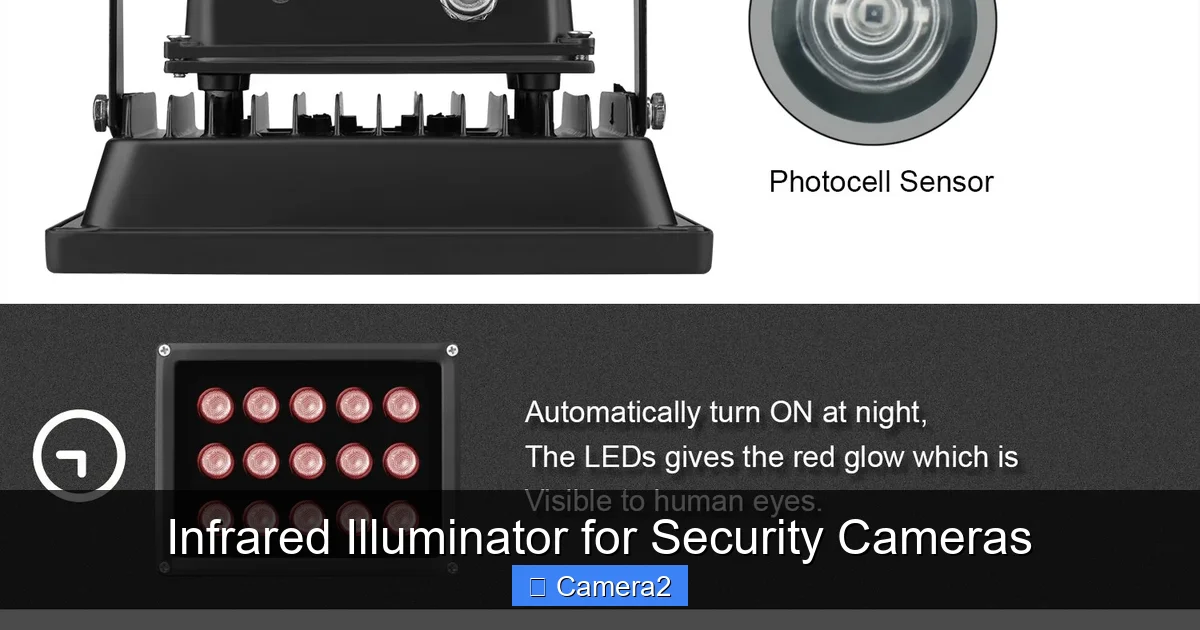
Infrared illuminators are the secret sauce that turns ordinary security cameras into night‑vision powerhouses. They emit invisible light, letting cameras capture crystal‑clear footage in total darkness, while staying discreet and energy‑efficient. Read on to find out which type fits your system, how to install it, and what to look for when buying.
Key Takeaways
- What it does: An infrared illuminator for security cameras adds invisible light, enabling clear video in complete darkness.
- Types matter: Choose between LED strips, spotlights, and floodlights based on coverage area and mounting options.
- Power options: PoE, 12 V DC, and solar‑powered models let you match the illuminator to your existing wiring.
- Installation tips: Proper placement, angle, and distance prevent hotspots and ensure even illumination.
- Legal & safety: Infrared light is generally safe for humans and pets, but check local regulations for outdoor use.
- Compatibility: Most modern security cameras support IR, but verify wavelength (850 nm vs. 940 nm) for optimal results.
- Maintenance: LED‑based illuminators last years; keep lenses clean and verify power connections regularly.
📑 Table of Contents
- Introduction: Why Night Vision Still Needs a Boost
- 1. How Infrared Illuminators Work
- 2. Types of Infrared Illuminators
- 3. Power Options and Connectivity
- 4. Installing Your Infrared Illuminator
- 5. Choosing the Best Infrared Illuminator for Your Needs
- 6. Maintenance, Safety, and Legal Considerations
- Conclusion: Light Up the Night with Confidence
Introduction: Why Night Vision Still Needs a Boost
Imagine walking through a dark parking lot and feeling confident that every corner is being watched. That confidence comes from the invisible glow of an infrared illuminator for security cameras. While many cameras claim “night vision,” the truth is that they rely on built‑in IR LEDs that have limited range. When you add a dedicated illuminator, the camera’s view expands dramatically, capturing details that would otherwise be lost.
In this guide we’ll break down the basics of infrared (IR) lighting, compare the main types of illuminators, walk through a step‑by‑step installation, and give you a checklist for buying the right model. By the end, you’ll know exactly how to turn a dim‑lit system into a 24‑hour watchdog.
1. How Infrared Illuminators Work
1.1 The Science of Invisible Light
Infrared light sits just beyond the visible spectrum, at wavelengths between 700 nm and 1 mm. Human eyes can’t see it, but camera sensors can. When an IR illuminator shines its light, the camera’s sensor records the reflected energy as a grayscale image, producing crisp black‑and‑white footage.
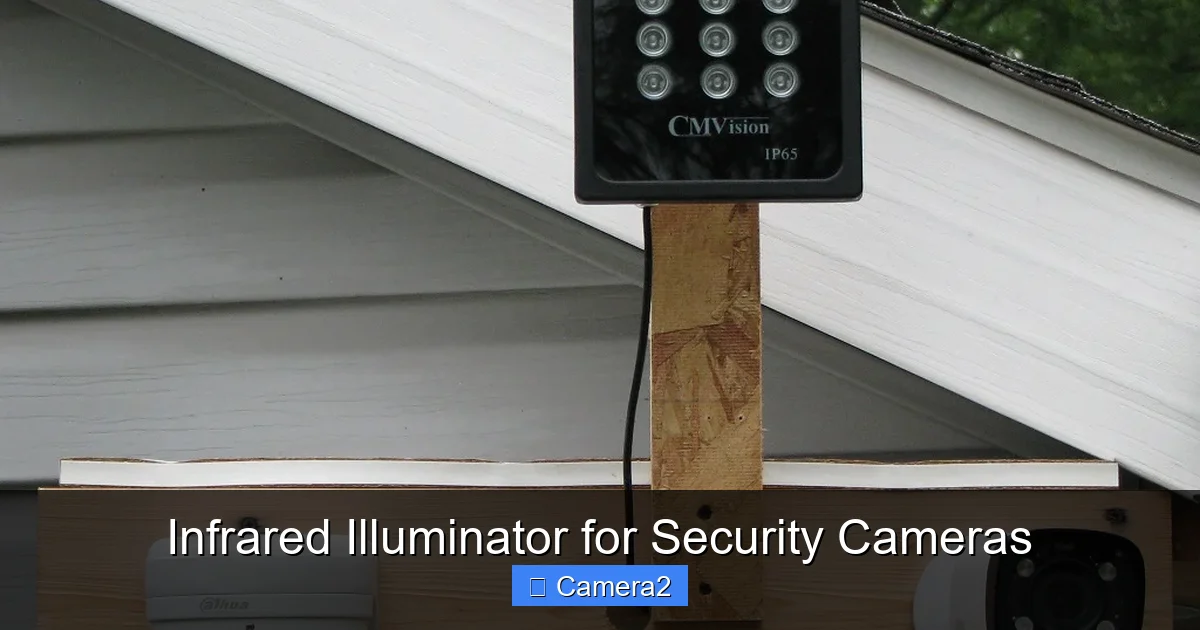
Visual guide about Infrared Illuminator for Security Cameras
Image source: networkcameratech.com
1.2 Wavelengths: 850 nm vs. 940 nm
Most illuminators emit either 850 nm or 940 nm light. The 850 nm range appears as a faint red glow to the naked eye, offering brighter illumination and longer reach. The 940 nm range is truly invisible, making it ideal for discreet surveillance, but it provides slightly less range.
1.3 Why Cameras Need Extra IR
Built‑in IR LEDs on a camera typically cover 10‑30 feet. An external illuminator can push that range to 100 feet or more, depending on power and lens quality. This extra reach is essential for:
- Large outdoor areas such as parking lots.
- Blind spots behind obstacles.
- High‑resolution cameras that need more light to show detail.
2. Types of Infrared Illuminators
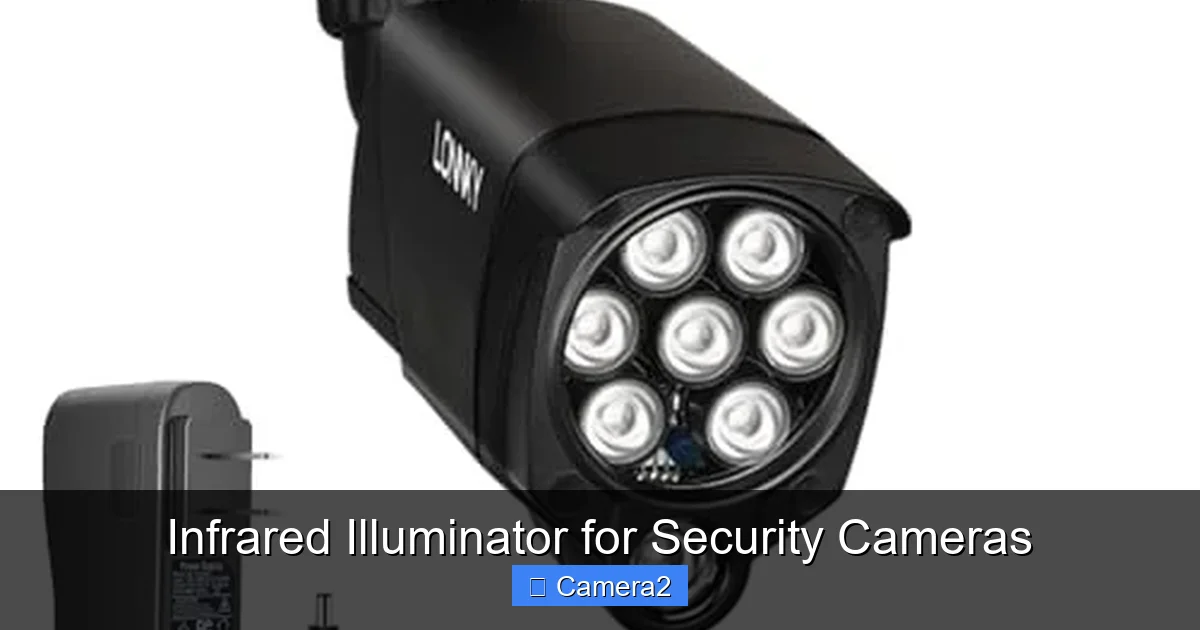
2.1 LED Strip Illuminators
Thin, flexible strips that can be mounted along walls or ceilings. They provide uniform coverage over a linear area—perfect for hallways or fence lines.
Visual guide about Infrared Illuminator for Security Cameras
Image source: storables.com
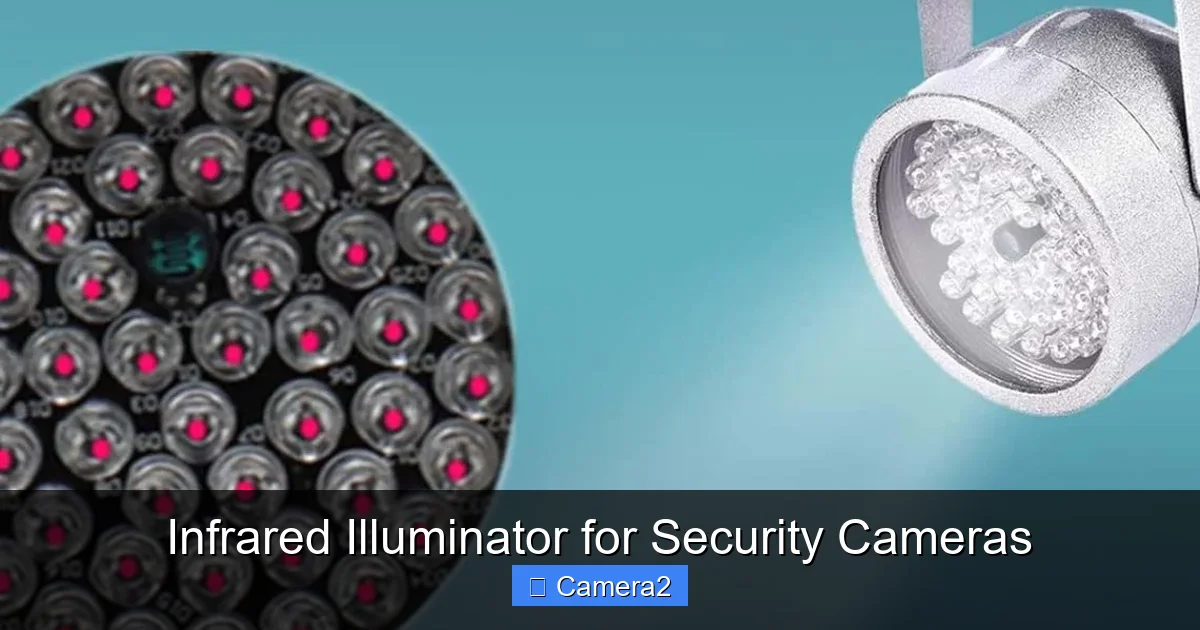
2.2 Spotlights (IR Floodlights)
These emit a focused beam, reaching farther distances. Use them when you need to illuminate a specific zone, such as a driveway or a building entrance.
2.3 Floodlights
Wide‑angle lights that bathe a large area in even IR. Ideal for open fields, parking lots, or large warehouses.
2.4 Choosing the Right Form Factor
Consider the shape of the area you’re protecting:
- Linear paths: LED strips.
- Targeted zones: Spotlights.
- Broad spaces: Floodlights.
Remember to match the illuminator’s wavelength to your camera’s IR filter for optimal performance.
3. Power Options and Connectivity
3.1 Power over Ethernet (PoE)
PoE delivers both data and power through a single Ethernet cable. This is the cleanest solution for wired installations, eliminating extra power adapters.
Visual guide about Infrared Illuminator for Security Cameras
Image source: securitycamcenter.com
3.2 12 V DC Power Supplies
Most budget illuminators use a simple 12 V DC plug. It’s easy to connect to existing security‑system power strips.
3.3 Solar‑Powered Illuminators
For remote or off‑grid locations, solar panels with built‑in batteries keep the IR light on all night without any wiring.
3.4 Wiring Tips
Keep the power cable away from high‑voltage lines to avoid interference. Use weather‑rated connectors for outdoor setups, and always check voltage compatibility before plugging in.
4. Installing Your Infrared Illuminator
4.1 Planning the Layout
Start by mapping the camera’s field of view. Sketch where shadows appear in nighttime footage and place the illuminator where it can fill those gaps. A good rule of thumb: the illuminator should be within the camera’s focus range but far enough to avoid glare.
4.2 Mounting Basics
- Surface prep: Clean the mounting surface with alcohol to ensure the adhesive or screws hold.
- Height: Mount 8‑12 feet above ground for wide coverage; lower for spotlights aimed at a specific target.
- Angle: Tilt the unit slightly downward (10‑15°) to avoid light spilling over the horizon.
4.3 Connecting Power
If you’re using PoE, run a Cat6 cable from your network switch to the illuminator. For DC power, plug the adapter into a nearby outlet and secure the cord with zip ties.
4.4 Testing and Adjusting
Power up the system and watch live video. Look for “hot spots” (overly bright circles) and adjust the angle or distance until illumination is even. If you see dark patches, consider adding a second illuminator or switching to a higher‑wattage model.
4.5 Real‑World Example
A small retail store installed a 100‑watt IR floodlight (850 nm) above its back‑door entrance. After positioning the light 10 feet away and angling it 12°, the store’s existing 4‑MP camera captured clear license plates at 80 feet, eliminating blind spots that previously caused theft.
5. Choosing the Best Infrared Illuminator for Your Needs
5.1 Key Specs to Compare
- Wattage: Higher wattage = longer range, but also more power consumption.
- Beam angle: Narrow (10‑20°) for spotlights; wide (60‑120°) for floodlights.
- Wavelength: 850 nm for brighter output; 940 nm for stealth.
- IP Rating: Look for IP65 or higher for outdoor durability.
- Power method: PoE vs. DC vs. solar.
5.2 Top Picks (2024)
- Hikvision IR Floodlight 120 W (850 nm, PoE, IP66) – Great for large parking lots.
- Amcrest LED Strip 24 W (940 nm, 12 V DC) – Ideal for hallway coverage.
- Reolink Solar IR Spot Light 40 W (850 nm) – Perfect for remote cabins.
5.3 Compatibility Checklist
Before buying, verify that your camera supports the illuminator’s wavelength and that the power source matches your existing infrastructure. Most modern IP cameras list supported IR ranges in the specs.
6. Maintenance, Safety, and Legal Considerations
6.1 Routine Care
LED‑based IR lights last 5‑10 years, but dust and debris can degrade performance. Clean the lens monthly with a soft cloth and check connections for corrosion.
6.2 Safety for Humans and Pets
Infrared light is non‑ionizing and safe at typical power levels. However, avoid pointing high‑wattage beams directly at people’s eyes for extended periods.
6.3 Legal Guidelines
Most jurisdictions allow IR illumination for security purposes, but some areas restrict the use of high‑intensity beams in residential neighborhoods. Always check local ordinances before installing a powerful floodlight.
6.4 Integration with Existing Systems
If you already have a 16 Channel Security Camera System, adding an IR illuminator is as simple as extending the power cable or PoE switch. The extra channel capacity ensures you can monitor the new footage without overloading the recorder.
Conclusion: Light Up the Night with Confidence
Adding an infrared illuminator for security cameras is one of the most cost‑effective upgrades you can make to a surveillance system. Whether you protect a home, a storefront, or a sprawling parking lot, the right IR light turns darkness into a clear, watchable canvas. Pick the type that matches your area, choose a power source that fits your wiring, and follow the simple installation steps outlined above. With regular maintenance and a quick legal check, you’ll enjoy reliable, high‑definition night‑vision footage for years to come.
Frequently Asked Questions
What is the difference between 850 nm and 940 nm infrared light?
850 nm IR produces a faint red glow and offers brighter illumination, while 940 nm is completely invisible but slightly less powerful. Choose 850 nm for maximum range; pick 940 nm for discreet monitoring.
Can I use a regular LED light as an infrared illuminator?
No. Regular LEDs emit visible light, which defeats the purpose of covert night vision. An IR illuminator emits light outside the visible spectrum, allowing the camera to see in darkness without alerting intruders.
Do infrared illuminators work in fog or heavy rain?
IR light can penetrate light fog and drizzle, but heavy rain or dense fog scatters the beams, reducing effective range. Combining IR with a higher‑resolution camera can help mitigate this.
How far can an infrared illuminator reach?
Reach depends on wattage and lens quality. A 100‑watt floodlight (850 nm) can illuminate up to 120 feet, while a 24‑watt strip typically covers 30‑40 feet.
Is it legal to install infrared lights on my property?
Generally, yes. Infrared light is considered safe and non‑intrusive. However, some municipalities have limits on beam intensity for residential areas, so verify local codes.
Can I connect an infrared illuminator to a wireless security camera?
Wireless cameras can receive IR light, but they still need a power source for the illuminator. Use a nearby outlet or a solar‑powered unit and ensure the camera’s IR sensor is compatible with the illuminator’s wavelength.