Adding a wireless mouse to your laptop is a simple, cable-free upgrade that boosts mobility and desk cleanliness. The process primarily involves two methods: pairing via Bluetooth or plugging in a small USB receiver. This guide provides clear, step-by-step instructions for both Windows and macOS, plus essential troubleshooting tips to resolve common connection issues like lag or unrecognized devices. By following these steps, you’ll enjoy the freedom of a clutter-free workspace with a responsive pointer in under five minutes.
Remember the satisfying click of a new wired mouse, followed by the inevitable tangle of its cable with your other desk accessories? Or the frustration of accidentally yanking that cable out of your laptop’s USB port during an intense gaming session? Moving to a wireless mouse isn’t just a minor upgrade; it’s a leap into a cleaner, more flexible, and frankly, more modern computing experience. But how do you actually make that magic happen? How do you bridge the invisible gap between your laptop and that little plastic pointer? This guide is your definitive, no-stress manual for connecting any wireless mouse to your laptop, whether you’re on Windows, macOS, or even Linux. We’ll walk through every single step, from unboxing to flawless scrolling, and arm you with the knowledge to fix any hiccup along the way. Let’s cut the cord and get started.
Key Takeaways
- Identify Your Mouse Type: Know if your mouse uses Bluetooth (built-in) or a USB RF dongle, as the setup process differs significantly.
- Check Laptop Compatibility: Ensure your laptop’s operating system (Windows/macOS/Linux) and hardware (Bluetooth radio) support your chosen mouse type before starting.
- Bluetooth Pairing is Universal: For Bluetooth mice, the core steps are: turn on mouse, open OS Bluetooth settings, select the mouse from the list, and confirm the pairing code.
- USB Receiver is Plug-and-Play: For RF mice, simply insert the USB dongle into a port; the laptop should automatically install drivers and connect.
- Troubleshooting is Often Simple: Common issues like unresponsiveness are usually fixed by replacing batteries, re-pairing, updating drivers, or trying a different USB port.
- Optimize for Battery Life: Turn off your wireless mouse when not in use and use rechargeable batteries or a mouse with a built-in battery to save power and reduce waste.
- One Mouse, Multiple Devices: Many modern wireless mice support Bluetooth pairing with multiple devices (e.g., laptop and phone) and can switch between them with a button press.
📑 Table of Contents
- Understanding the Two Main Types of Wireless Mice
- Preparing Your Laptop: The Essential First Steps
- Step-by-Step: Pairing a Bluetooth Wireless Mouse
- Step-by-Step: Setting Up a USB Receiver (RF) Mouse
- Comprehensive Troubleshooting: Fixing Common Wireless Mouse Problems
- Optimizing Performance and Battery Life for Your Wireless Mouse
- Conclusion: Embracing the Freedom
Understanding the Two Main Types of Wireless Mice
Before we dive into buttons and settings, you need to know what kind of wireless mouse you have. This is the single most important piece of information, as it dictates your entire setup process. There are two primary technologies, and confusing them is the root cause of most user frustration.
Bluetooth Mice: The Direct Connection
A Bluetooth mouse connects directly to your laptop’s built-in Bluetooth radio. There is no external dongle. It uses the same low-power, short-range wireless technology that connects your headphones or keyboard. The key advantage is simplicity—no USB port is sacrificed. It’s also generally more power-efficient. To use it, your laptop must have a functioning Bluetooth adapter, which virtually all modern laptops (from the last 8-10 years) do.
RF (Radio Frequency) Mice with USB Receiver: The Dongle Approach
These mice come with a small USB device, often called a “nano receiver” or “unifying receiver” (in the case of Logitech). This receiver plugs into your laptop’s USB port and communicates with the mouse on a dedicated radio frequency, typically 2.4 GHz. The benefit is often a more stable, lower-latency connection, which gamers and designers sometimes prefer. The downside is the permanent (or semi-permanent) occupation of a USB port and the risk of losing the tiny receiver.
Pro Tip: Some brands, like Logitech with their “Unifying” receivers, allow you to pair multiple compatible mice and keyboards to a single receiver, saving precious USB ports.
Preparing Your Laptop: The Essential First Steps
Jumping straight into pairing without a quick check-up is like trying to start a car with an empty tank. A few minutes of preparation can save you from a world of headache.
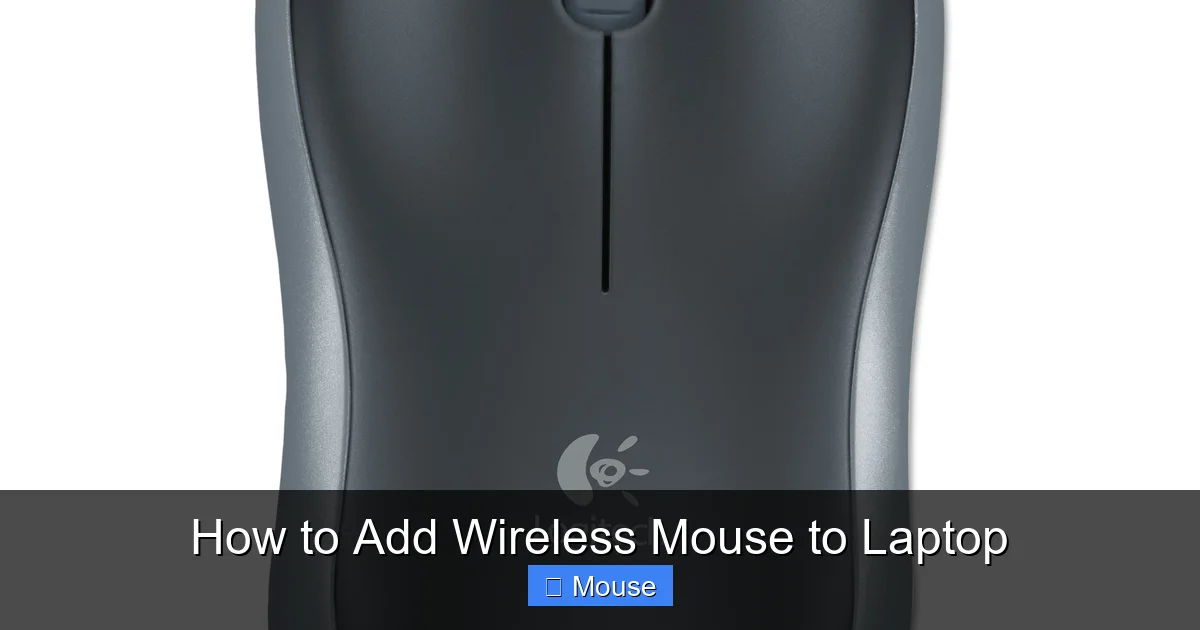
Visual guide about How to Add Wireless Mouse to Laptop
Image source: i5.walmartimages.com
For Windows Users: Checking Bluetooth & Drivers
First, verify your Bluetooth is on. On Windows 10/11, click the Action Center icon (speech bubble near the clock) and look for the Bluetooth tile. It should be highlighted/blue. If it’s gray, click it to turn Bluetooth on. You can also go to Settings > Devices > Bluetooth & other devices.
Next, ensure your Bluetooth driver is up to date. Right-click the Start button and select Device Manager. Expand the Bluetooth section. If you see a yellow exclamation mark on your adapter, right-click it and choose Update driver. Let Windows search automatically. Keeping drivers current prevents many mysterious connectivity failures.
For macOS Users: The Simple Bluetooth Menu
On a Mac, click the Apple menu () > System Preferences/Settings > Bluetooth. Ensure the switch at the top is set to On. You’ll see a list of currently connected devices and a “Nearby Devices” section that populates when you’re scanning. macOS handles Bluetooth drivers internally, so manual driver updates are rarely needed, but keeping your macOS version current is always wise.
For Linux Users: Command Line & GUI Options
Linux can be more variable, but most modern distributions like Ubuntu, Fedora, or Mint have excellent GUI Bluetooth managers. Look for “Bluetooth” in your system settings. If you prefer the terminal, you can use the bluetoothctl command to scan and pair. Ensure the bluez service is running (sudo systemctl status bluetooth). For RF mice with a USB receiver, Linux typically handles the HID (Human Interface Device) profile automatically via the kernel, so it’s usually plug-and-play.
Critical Check: If your laptop is an older business model with a physical “Wi-Fi/Bluetooth” switch on the side or front, make sure it’s turned on! It’s an easy thing to overlook.
Step-by-Step: Pairing a Bluetooth Wireless Mouse
Now for the main event. Let’s get that Bluetooth mouse talking to your laptop. The universal sequence is: Put mouse in pairing mode > Activate laptop’s scan > Select mouse from list > Confirm.
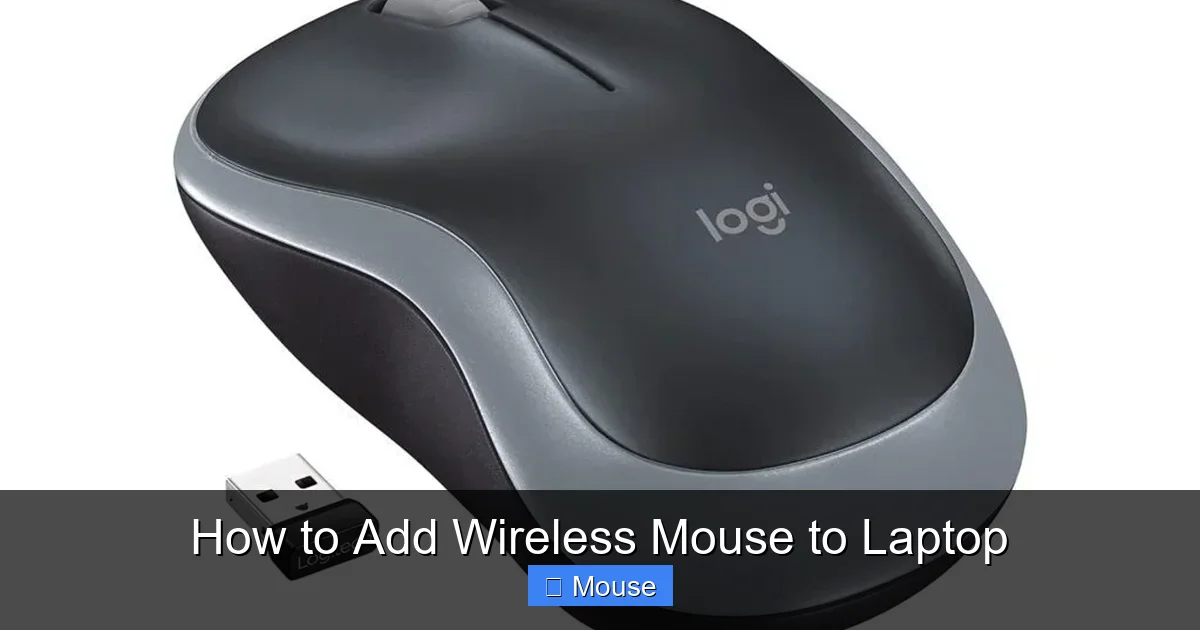
Visual guide about How to Add Wireless Mouse to Laptop
Image source: pakistanstore.pk
Activating Pairing Mode on Your Mouse
This is the most model-specific step. You need to consult your mouse’s manual, but here are the common patterns:
- Dedicated Pairing Button: Many modern mice have a small, recessed button (often on the bottom) labeled with a Bluetooth icon or “Pair.” Use a paperclip to press and hold it for 3-5 seconds until an LED starts blinking rapidly (usually blue). This blinking means it’s “discoverable.”
- Power Button Hold: Some mice use the main power button. Turn the mouse off, then press and hold the power button for 5-7 seconds until the LED blinks.
- Multi-Function Button: A few mice have a button that cycles between Bluetooth channels (e.g., for connecting to 3 different devices). Press it until the LED indicates the channel you want to pair on (often a specific blink pattern or color).
The key is rapid blinking. A slow, steady blink usually means it’s connected to a device already. You must force it into “discoverable” mode.
The Pairing Process on Windows
- With your mouse in discoverable mode (blinking), go to Settings > Devices > Bluetooth & other devices.
- Click Add Bluetooth or other device.
- In the pop-up, select Bluetooth.
- Windows will scan. Your mouse should appear with a name like “MX Master 3,” “Bluetooth Mouse,” or sometimes a model number. Click it.
- If prompted for a PIN or confirmation code, the mouse will often have a LED that blinks in a pattern, or you simply click the mouse button. Most modern mice pair without a code. The connection is usually instant.
- You’ll see “Connected” appear under the mouse’s name. You’re done! Test the cursor movement.
The Pairing Process on macOS
- Put your mouse in discoverable mode (blinking LED).
- Go to Apple menu > System Preferences/Settings > Bluetooth.
- Ensure Bluetooth is On. Your laptop will automatically start scanning.
- Your mouse should appear in the Devices list. Click the Connect button next to its name.
- If it asks for a PIN, check the mouse documentation. Often, you just click the mouse buttons to confirm.
- The status will change to “Connected.” Your cursor should now move. If it doesn’t, check System Preferences > Accessibility > Pointer Control to ensure the mouse is selected as the input device.
What If It Doesn’t Appear? Resetting the Search
If your mouse doesn’t show up after 30 seconds:
- Move the mouse closer to the laptop (within 3 feet).
- Turn Bluetooth off and back on in your laptop settings to force a fresh scan.
- Power the mouse completely off and back on, putting it into pairing mode again.
- Make sure no other previously paired device (like a phone or tablet) is actively connected to the mouse, as this can prevent it from entering discoverable mode. Disconnect it from those devices first.
Step-by-Step: Setting Up a USB Receiver (RF) Mouse
This method is famously simple, but there are a few best practices to ensure it works perfectly from the start.
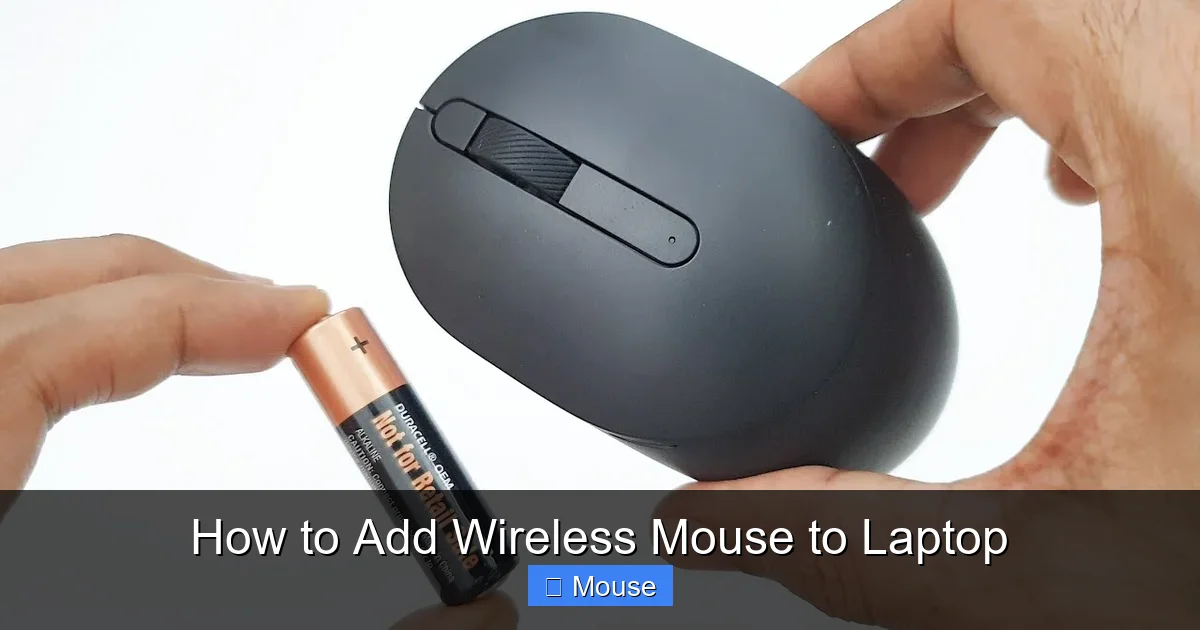
Visual guide about How to Add Wireless Mouse to Laptop
Image source: i.ytimg.com
The Plug-and-Play Ritual
- Locate the receiver: It’s usually stored in a compartment under the mouse or in the box. For Logitech Unifying receivers, it’s a small, rectangular USB stick with the “Unifying” logo (three interconnected circles).
- Insert the receiver: Plug it directly into a USB-A port on your laptop. Avoid using unpowered USB hubs if possible; plug it in directly for the most reliable connection. If your laptop only has USB-C, you’ll need a simple USB-A to USB-C adapter.
- Power on the mouse: Slide the power switch on the bottom of the mouse to “On.”
- Wait for installation: Windows/macOS/Linux will detect new hardware. You might see a “Installing device driver software” notification in the system tray (Windows) or menu bar (macOS). This usually takes 10-30 seconds. Do not unplug the receiver during this time.
- Test the cursor: Once the notification disappears, move the mouse. It should work immediately. You’re connected!
Using the Logitech Options/Unifying Software (Optional but Powerful)
For Logitech Unifying receivers, you can pair multiple compatible mice/keyboards to one receiver and customize button functions. Download the Logi Options+ software from Logitech’s website. Open it, click “Add Devices,” then “Unifying Receiver.” It will show you compatible devices within range. You can also use this software to reassign buttons, set scrolling direction, and manage device-specific settings for a truly personalized experience. Other brands like Razer (with Synapse) and Microsoft (with Mouse and Keyboard Center) offer similar customization suites.
Troubleshooting the USB Receiver Connection
- No response after plug-in? Try a different USB port. If using a hub, plug directly into the laptop.
- Receiver not recognized? Check Device Manager (Windows) or System Information (macOS) for unknown devices. Right-click and update drivers, or try the receiver on another computer to see if it’s faulty.
- Laggy or intermittent movement? This can be caused by interference from other 2.4 GHz devices (Wi-Fi routers, microwaves, cordless phones). Move the receiver closer using a USB extension cable, or switch your Wi-Fi router to the 5 GHz band to reduce congestion.
Comprehensive Troubleshooting: Fixing Common Wireless Mouse Problems
Even with perfect setup, issues can arise. Let’s diagnose and solve the most frequent complaints.
“My Mouse Cursor is Frozen or Jittery!”
This is the #1 complaint. The solution is often a sequence:
- Check batteries: Weak batteries cause low power and erratic signals. Replace them with fresh ones. For rechargeable mice, ensure it’s charged.
- Reposition the receiver: If using an RF mouse, the receiver might be behind the laptop or in a crowded USB port. Move it to the front or use a short USB extension cable to bring it into a clear line-of-sight with the mouse.
- Eliminate interference: Move USB 3.0 devices (which also use 2.4 GHz) away from the receiver. A USB 3.0 port is usually blue inside. If your receiver is next to a flash drive or external hard drive in a USB 3.0 port, try a USB 2.0 port (black inside) instead.
- Update/Reinstall drivers: In Windows Device Manager, under “Mice and other pointing devices,” right-click your wireless mouse and select “Update driver.” If that fails, choose “Uninstall device,” then unplug and replug the receiver to force a fresh install.
“Bluetooth Mouse Won’t Pair or Keeps Disconnecting”
- Forget and Re-pair: In your Bluetooth settings, find the mouse in the list of paired devices, click it, and select “Remove device” or “Forget.” Then put the mouse back into pairing mode and start the scan from scratch.
- Check Battery Again: Bluetooth uses more power during the initial pairing handshake. A borderline battery can fail at this critical moment.
- Disable Other Bluetooth Devices: Temporarily disconnect other Bluetooth accessories (headphones, keyboards) to see if there’s a conflict or bandwidth issue.
- BIOS/UEFI Check (Advanced): On some business laptops, the Bluetooth adapter can be disabled in the BIOS/UEFI settings (accessed by pressing F2/Del during boot). Ensure it’s enabled.
“The Mouse Works, But the Scroll Wheel or Side Buttons Don’t”
This is almost always a software/driver issue, not a hardware one. The basic HID driver only handles cursor movement and primary clicks.
- Install Manufacturer Software: Go to the mouse brand’s website (Logitech, Razer, Microsoft, etc.) and download their official configuration utility (Logi Options+, Razer Synapse, Microsoft Mouse and Keyboard Center).
- Assign Functions: Open the software. It should detect your mouse. Navigate to the button assignment section. You’ll see a diagram of your mouse. Click on the non-functioning button (e.g., scroll wheel tilt left/right, side thumb button) and assign it a function (like “Back” in browser, “Zoom,” or a keyboard shortcut).
- Check for Conflicts: Ensure the button isn’t assigned to a function that’s already bound to another key in your specific application (like a game).
Optimizing Performance and Battery Life for Your Wireless Mouse
You’re connected! Now, let’s make the experience excellent and sustainable.
Fine-Tuning Sensitivity and Speed
The default cursor speed (pointer precision) is rarely perfect. On Windows, go to Settings > Devices > Mouse > Additional mouse settings (or search “mouse settings”). Under the Pointer Options tab, adjust the “Select a pointer speed” slider. Uncheck “Enhance pointer precision” for a 1:1, linear feel preferred by gamers and designers. On macOS, go to System Preferences/Settings > Mouse. The “Tracking speed” slider does the same job. Experiment to find your sweet spot.
Ergonomics and Usage Habits
A wireless mouse doesn’t fix poor ergonomics. Ensure your mouse is sized correctly for your hand. Your wrist should be straight, not bent up or down. Consider a vertical mouse if you experience wrist strain. Use your whole arm to move the mouse, not just your wrist, to reduce repetitive stress. Take regular breaks using the 20-20-20 rule: every 20 minutes, look at something 20 feet away for 20 seconds.
Maximizing Battery Life: Practical Tips
- Use the power switch: Get in the habit of turning the mouse off when you shut down your laptop for the day or when traveling. This is the single biggest battery saver.
- Choose the right battery: If your mouse uses AA/AAA batteries, invest in high-quality lithium batteries (like Energizer Ultimate Lithium) for dramatically longer life, especially in cold environments. Rechargeable NiMH batteries (like Eneloop) are cost-effective and eco-friendly.
- Reduce RGB lighting: If your gaming mouse has vibrant lighting, use the configuration software to dim it or set a simple static color. The LEDs are power hogs.
- Let it sleep: Most wireless mice have an auto-sleep feature that kicks in after 1-5 minutes of inactivity. Don’t fight it; let it do its job.
Maintaining a Clean Connection
Dust and grime on the mouse’s optical sensor (the little dark rectangle on the bottom) can cause tracking issues on certain surfaces. Clean it gently with a cotton swab slightly dampened with isopropyl alcohol. Also, keep the area around your mouse pad clean. For the USB receiver, ensure the metal contacts are clean and free of lint if you ever remove it.
Conclusion: Embracing the Freedom
Adding a wireless mouse to your laptop is one of the easiest and most impactful upgrades you can make to your daily computing setup. It transforms your workspace from a spaghetti junction of cables into a clean, flexible zone of productivity. Whether you chose the elegance of Bluetooth or the dedicated reliability of an RF dongle, the process is now demystified. Remember the core sequence: identify your mouse type, ensure your laptop is ready, follow the specific pairing steps, and troubleshoot with our systematic checklist if things go sideways. You’ve now gained the freedom to move your laptop anywhere—the couch, the kitchen table, a café—without being tethered. You’ve reduced clutter and potentially improved your ergonomics. So, unbox that mouse, follow these steps, and experience the simple, wireless joy. Your desk, and your sanity, will thank you.
Frequently Asked Questions
Can I use a wireless mouse with a laptop that doesn’t have Bluetooth?
Yes, absolutely. If your laptop lacks built-in Bluetooth, you must use a wireless mouse that comes with a USB receiver (RF mouse). Simply plug the receiver into a USB port, and it will work without any Bluetooth capability.
My Bluetooth mouse is paired but the cursor is laggy. What should I do?
First, replace the batteries. Lag is often a power issue. Next, ensure there’s no interference: move other USB devices (especially USB 3.0 devices with blue ports) away from the laptop, and keep the mouse close to the laptop. Updating your laptop’s Bluetooth drivers can also resolve performance issues.
How do I connect a wireless mouse to a MacBook?
Turn on the mouse and put it in pairing mode (consult its manual). On your Mac, go to Apple menu > System Preferences/Settings > Bluetooth. Ensure Bluetooth is on, and when your mouse appears in the list, click “Connect.” The process is very similar to Windows but uses macOS’s System Preferences.
What’s the difference between a 2.4 GHz mouse and a Bluetooth mouse?
A 2.4 GHz mouse uses a proprietary USB receiver that creates a direct, often lower-latency connection. A Bluetooth mouse connects to your laptop’s built-in Bluetooth radio, saving a USB port but sometimes having slightly higher latency. Bluetooth is more universal; 2.4 GHz often requires its own dongle.
Can I use the same wireless mouse on two different computers?
It depends. Many Bluetooth mice can store multiple device pairings and switch between them with a button press. For USB receiver mice, you’d need a separate receiver for each computer unless you buy a unifying receiver (like Logitech’s) and compatible mice that can all share one receiver, which you would then move between computers.
Why does my wireless mouse turn off randomly?
This is usually by design. The mouse has an auto-sleep or power-saving mode that activates after a period of inactivity (e.g., 2-5 minutes) to save battery. Simply click a button or move the mouse to wake it. If it’s turning off while you’re actively using it, the batteries are likely low and need replacement.