Bosch Camera Default Ip Address
Need to access your Bosch security camera but don’t know the IP? This guide reveals the Bosch camera default IP address, shows you how to locate it on any network, and walks you through configuring it for optimal performance. Follow our simple steps and get your camera online in minutes.
Key Takeaways
- Default IP Range: Most Bosch IP cameras ship with a default address in the 192.168.0.0/24 subnet.
- Finding the IP: Use the Bosch ConfigTool, a web browser, or a network scanner to discover the actual address.
- Changing the IP: Assign a static IP that matches your network’s scheme to avoid conflicts.
- Login Credentials: Default username is “admin” and the password is either “admin” or blank, depending on the model.
- Security Tips: Immediately change default passwords and enable HTTPS to protect your camera.
- Compatibility: Bosch cameras work with most NVRs, including 16‑channel systems for larger installations.
- Support Resources: Bosch provides manuals, firmware updates, and a helpful online community.
📑 Table of Contents
- Introduction: Why the Default IP Matters
- 1. The Factory‑Set Default IP Address
- 2. How to Locate the Bosch Camera Default IP on Your Network
- 3. Logging In for the First Time
- 4. Assigning a Static IP That Matches Your Network
- 5. Integrating the Camera with an NVR or Management Platform
- 6. Security Best Practices After You’ve Got the IP
- 7. Troubleshooting Common Issues
- Conclusion: From Default to Fully Secure
Introduction: Why the Default IP Matters
When you first unbox a Bosch security camera, the excitement of setting it up can quickly turn into frustration if you can’t find the device on your network. Unlike plug‑and‑play consumer cams, Bosch IP cameras often require you to locate a default IP address before you can log in and configure them.
Knowing the Bosch camera default IP address saves you time, prevents duplicate IP conflicts, and ensures you can apply the right security settings from day one. In this article we’ll walk through everything you need to know—from the factory‑set address to the tools that make discovery painless.
1. The Factory‑Set Default IP Address
What Bosch Sets Out of the Box
Most Bosch IP cameras are pre‑programmed with an address in the 192.168.0.0/24 range. The exact default is usually 192.168.0.100, but some models use 192.168.1.100 or 192.168.2.100. The variation depends on the firmware version and the region where the device was shipped.
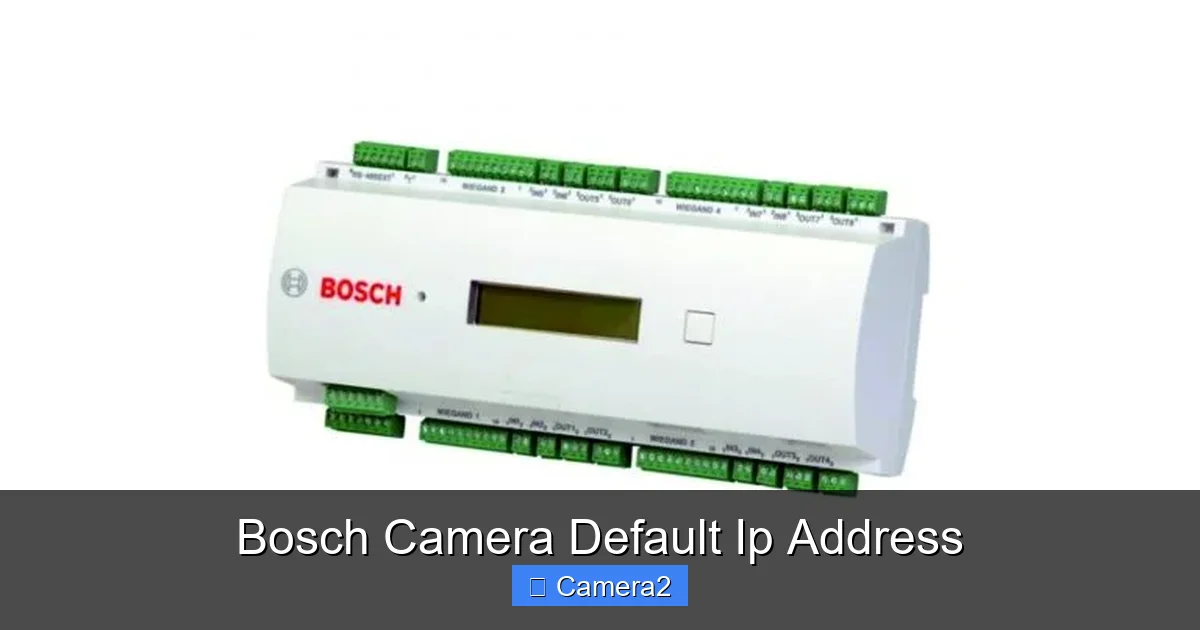
Visual guide about Bosch Camera Default Ip Address
Image source: direct.parts
Why a Default Range?
The 192.168.x.x private network space is reserved for local use, meaning it won’t clash with public internet addresses. By using a predictable range, Bosch makes it easier for installers to locate the camera with a simple network scan.
2. How to Locate the Bosch Camera Default IP on Your Network
Method A: Using Bosch ConfigTool
Bosch provides a free utility called ConfigTool. It automatically discovers any Bosch device on the same subnet.
Visual guide about Bosch Camera Default Ip Address
Image source: i.ebayimg.com
- Download ConfigTool from the official Bosch website.
- Connect your computer to the same LAN as the camera (wired or Wi‑Fi).
- Run the program; it will list the camera’s IP, MAC address, and firmware version.
Once you see the address, click it to open the web interface.
Method B: Web Browser Direct Entry
If you suspect the default address is 192.168.0.100, simply type http://192.168.0.100 into any browser. If the camera is on a different subnet, you’ll need to adjust your computer’s IP temporarily (e.g., set it to 192.168.0.10) to reach the device.
Method C: Network Scanners
Tools like Advanced IP Scanner, Angry IP Scanner, or even the arp -a command in Windows can reveal all active devices.
arp -a
Look for entries that show the manufacturer “Bosch” in the MAC address vendor field.
Method D: Mobile Apps
Bosch’s IP Camera Viewer app for Android and iOS can also locate cameras on the same Wi‑Fi network. It’s handy when you’re on the go.
3. Logging In for the First Time
Default Credentials
Most Bosch models ship with:
Visual guide about Bosch Camera Default Ip Address
Image source: blogger.googleusercontent.com
- Username: admin
- Password: admin (or blank)
Immediately change these after the first login to stop unauthorized access.
Changing the Password
Navigate to System → User Management in the web UI. Create a strong password—mix uppercase, lowercase, numbers, and symbols. Save the changes and log out.
4. Assigning a Static IP That Matches Your Network
Why Use a Static IP?
A static address prevents the camera from receiving a new IP after a router reboot, which would otherwise break your video streams.
Step‑by‑Step Static IP Setup
- Log into the camera’s web interface.
- Go to Network → TCP/IP Settings.
- Select “Manual” or “Static”.
- Enter an IP that fits your LAN (e.g., 192.168.1.150).
- Set the subnet mask (usually 255.255.255.0) and gateway (your router’s IP).
- Save and reboot the camera.
Testing the New Address
After reboot, open a browser and type the new IP. If the page loads, you’re good to go. If not, double‑check the subnet and gateway values.
5. Integrating the Camera with an NVR or Management Platform
Using a 16‑Channel Security Camera System
For larger installations, a 16‑channel NVR provides centralized recording and playback. Bosch cameras are ONVIF‑compatible, meaning they work seamlessly with most NVRs, including the popular 16‑channel models. Add the camera’s static IP to the NVR’s device list, select the appropriate video profile, and you’re set.
For a deeper dive on multi‑camera setups, see our guide on 16 Channel Security Camera System.
Cloud and Mobile Access
Many Bosch cameras support Bosch Cloud or third‑party services like Milestone or Axis Companion. Configure the cloud URL in the camera’s Network → Cloud Settings section, and you can view live streams from anywhere.
6. Security Best Practices After You’ve Got the IP
Enable HTTPS
Switch the web interface to HTTPS to encrypt login credentials. Find this under System → Security → HTTPS and enable it.
Update Firmware
Regular firmware updates patch vulnerabilities. Check System → Firmware Update and upload the latest file from Bosch’s support site.
Disable Unused Services
If you don’t need FTP, Telnet, or SNMP, turn them off in Network → Services. Fewer open ports mean a smaller attack surface.
Network Segmentation
Place cameras on a separate VLAN from user devices. This isolates video traffic and limits the impact of a compromised camera.
7. Troubleshooting Common Issues
Can’t Reach the Default IP
- Ensure the camera is powered and connected to the same LAN.
- Temporarily set your PC’s IP to the same subnet (e.g., 192.168.0.10).
- Check for IP conflicts using the router’s device list.
Camera Shows “No Signal” After Changing IP
Verify that the subnet mask matches the rest of your network. Also, confirm that the gateway points to the correct router.
Login Fails Even With Default Credentials
Some models ship with a unique password printed on a label underneath the unit. Check the sticker or the quick‑start guide.
Video Lag or Dropped Frames
Make sure the camera’s resolution and frame rate are supported by your network bandwidth. Lowering the stream to 1080p@15fps often resolves congestion.
Conclusion: From Default to Fully Secure
Finding the Bosch camera default IP address is the first, crucial step toward a reliable surveillance system. Whether you use ConfigTool, a network scanner, or a simple browser trick, the process is quick once you know what to look for. After you’ve logged in, change the default password, assign a static IP that fits your network, and enable HTTPS to keep your footage safe.
With these steps completed, your Bosch camera will integrate smoothly into any NVR, cloud platform, or mobile app—giving you peace of mind and crystal‑clear video whenever you need it.
Frequently Asked Questions
What is the most common Bosch camera default IP address?
The majority of Bosch IP cameras ship with 192.168.0.100 as the default address, though some models may use 192.168.1.100 or 192.168.2.100.
Can I change the default IP without using Bosch ConfigTool?
Yes. You can use any web browser to access the default IP, then navigate to the network settings and assign a static IP manually.
Do I need to update the firmware after setting a new IP?
Updating firmware is not required for IP changes, but it is highly recommended to apply security patches and improve performance.
My camera shows a blank login screen—what should I do?
Clear your browser cache, try a different browser, or ensure you are using HTTPS if the camera is set to enforce secure connections.
How do I integrate a Bosch camera with a 16‑channel NVR?
Enter the camera’s static IP into the NVR’s device list, select the appropriate ONVIF profile, and save. For detailed steps, see our article on 16 Channel Security Camera System.
Is there a way to view Bosch camera footage from a parking lot remotely?
Yes. By configuring cloud access or connecting the camera to an NVR with remote viewing capabilities, you can monitor parking lot security from any device. Learn more about remote footage in our guide on Parking Lot Security Camera Footage.