How to Shut Off Mouse Pad on Laptop
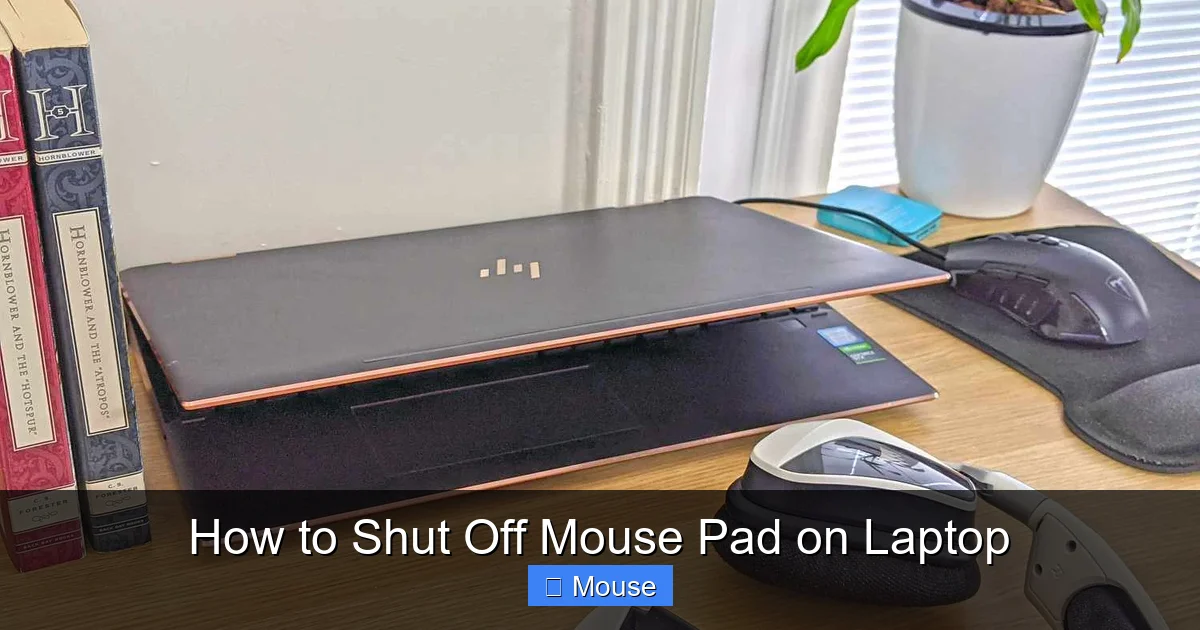
Shutting off your laptop’s mouse pad is easy and can prevent accidental clicks when you’re using an external mouse. Follow these simple steps for Windows and macOS to disable the touchpad and stay focused.
Key Takeaways
- Identify why you need the pad off: common reasons include using an external mouse, avoiding accidental clicks, cleaning, gaming, or software conflicts when you want to shut off mouse pad on laptop.
- Use built‑in Windows settings: the Touchpad toggle in Settings is the fastest method to shut off mouse pad on laptop.
- Try Device Manager for a manual approach: disabling the device there works even if the Settings option is missing, letting you shut off mouse pad on laptop.
- Check function key shortcuts: many laptops let you toggle the pad with a simple Fn key combo to shut off mouse pad on laptop.
- Consider third‑party tools: free apps can add extra control or schedule auto‑enable to shut off mouse pad on laptop quickly.
- Know how to re‑enable the pad: the process is the reverse of disabling, so you won’t lose control permanently, and you can easily shut off mouse pad on laptop again.
📑 Table of Contents
- Understanding the Mouse Pad and Why You Might Want to Shut It Off
- Common Reasons to Disable the Mouse Pad
- How to Shut Off the Mouse Pad on Windows Laptops
- How to Shut Off the Mouse Pad on macOS Laptops
- Troubleshooting Common Issues When Disabling the Mouse Pad
- Extra Tips and When to Re‑Enable the Mouse Pad
- Conclusion
Understanding the Mouse Pad and Why You Might Want to Shut It Off
The mouse pad, also called a touchpad, is the built‑in pointing device on most laptops. It lets you move the cursor by sliding your fingers across a smooth surface. While it’s handy, it can cause accidental clicks, especially when you’re typing or using an external mouse. Knowing how to shut off mouse pad on laptop gives you control over when the cursor moves.
The touchpad works by detecting the capacitance of your fingers. Sensors translate that movement into cursor motion. Most operating systems treat the pad as a primary input device, so it’s always active unless you turn it off.
If you rarely use the built‑in pad, you might wonder why it’s still there. The answer is simple: manufacturers include it to give users a backup option. But if you prefer a separate mouse, or you want to avoid unintended clicks, learning how to shut off mouse pad on laptop is the solution.
Common Reasons to Disable the Mouse Pad
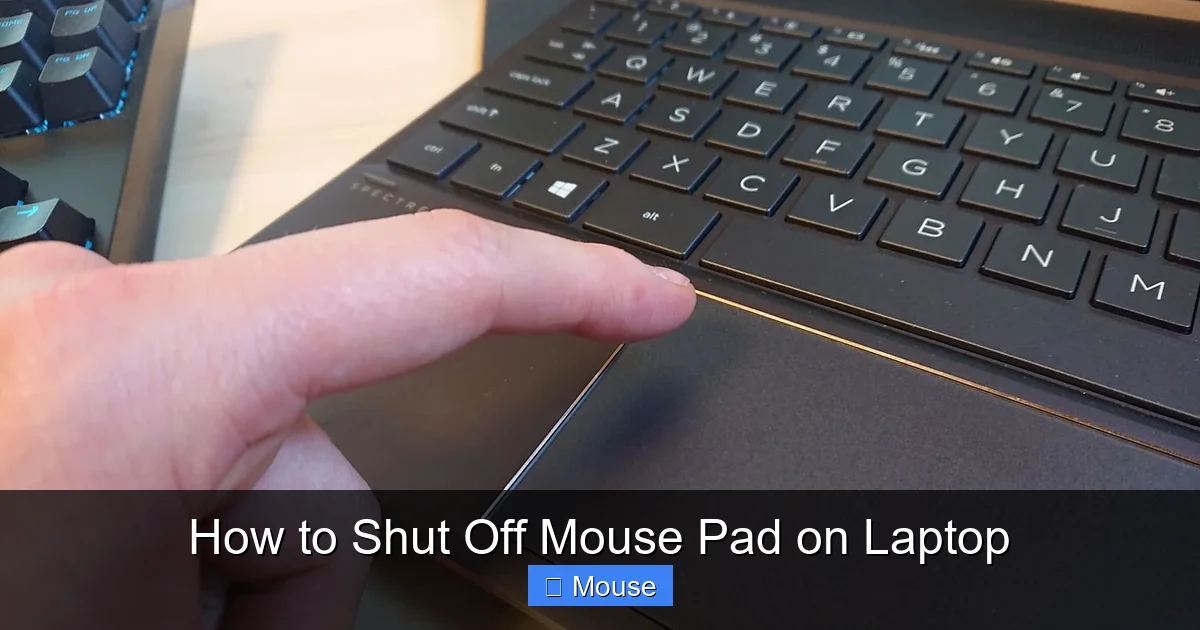
People disable the touchpad for several practical reasons. First, when you connect a USB or Bluetooth mouse, you may prefer to use that device instead of the pad. Second, accidental clicks can happen while you’re typing, which interrupts workflow. Third, some cleaning routines need the pad turned off to avoid moisture damage. Fourth, gamers often turn it off to prevent unintended movements during intense play. Finally, certain software applications may conflict with the touchpad’s input, causing lag or freezes.
Visual guide about How to Shut Off Mouse Pad on Laptop
Image source: robots.net
If you’re wondering how to shut off mouse pad on laptop for any of these reasons, the steps below will help.
How to Shut Off the Mouse Pad on Windows Laptops
Using Windows Settings
Windows offers a few built‑in ways to disable the touchpad. Learning how to shut off mouse pad on laptop is simple.
Visual guide about How to Shut Off Mouse Pad on Laptop
Image source: robots.net
1. Open Settings by clicking the Start button and choosing the gear icon. Then go to Devices > Touchpad. Scroll down to the Touchpad section and look for the option that says Touchpad On/Off. To shut off mouse pad on laptop, toggle the switch to Off. Your pad is now disabled. This method works on most Windows 10 and Windows 11 laptops.
For a more detailed walkthrough, see our guide on how to turn off built in mouse on laptop. That article covers the same steps with screenshots.
Using Device Manager
2. Press Win + X and select Device Manager. In the list find “Mice and other pointing devices.” Right‑click the entry that represents your touchpad (often named “Synaptics Touchpad” or “HID-compliant mouse”). Choose “Disable device.” Confirm the action. Disabling the device in Device Manager is another way to shut off mouse pad on laptop.
Using Function Key Shortcuts
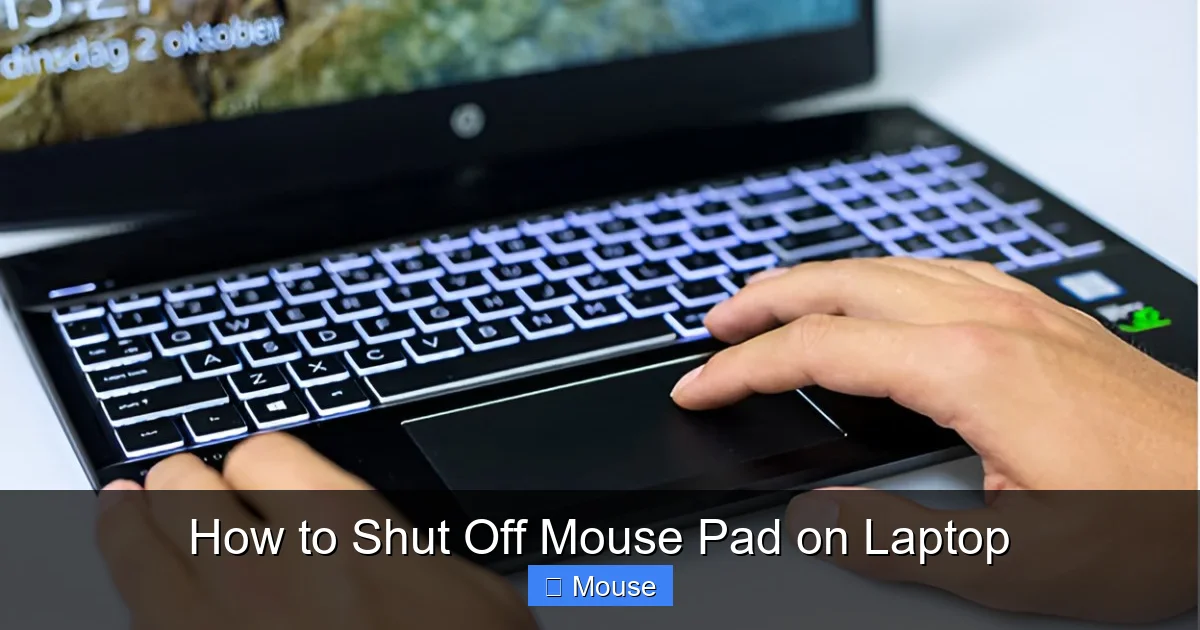
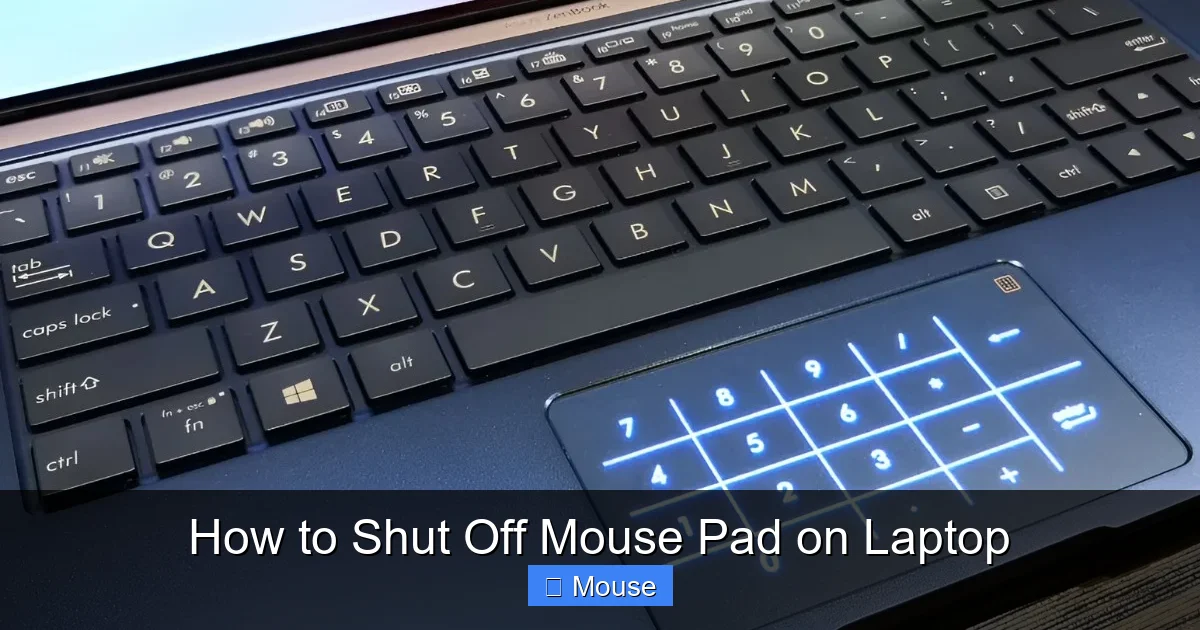
3. Many laptops have a function key (often F1‑F12) combined with an “Fn” key that toggles the touchpad. Look for a key with a small touchpad icon. Press Fn + that key to turn the pad off. Some models show a small LED indicator that changes color. Pressing the function key is a quick method to shut off mouse pad on laptop.
Using Third‑Party Software
4. If the built‑in options don’t work, you can use free software such as Touchpad Disable or Turn Off Touchpad. Download the program, run it, and follow the on‑screen instructions to disable the touchpad. Using third‑party software can also help you shut off mouse pad on laptop quickly.
How to Shut Off the Mouse Pad on macOS Laptops
Using System Settings
Learning how to shut off mouse pad on laptop on macOS is easy. Open System Settings (or System Preferences on older macOS). Click the Trackpad tab. You’ll see a checkbox labeled “Tap to click” and a drop‑down for “Secondary click.” Scroll down to find the option “Turn off trackpad when a mouse is detected.” Enable this box and the pad will be inactive when an external mouse is connected.
Visual guide about How to Shut Off Mouse Pad on Laptop
Image source: robots.net
The Terminal command defaults write com.apple.driver.AppleHIDMouseMouseEnabled -int 0 is another method to shut off mouse pad on laptop. This command tells macOS to treat the touchpad as disabled.
If you later need to restore the pad, refer to our guide on how to get the mouse back on laptop. The steps are simple and reversible.
Some MacBook models include a function key that toggles the touchpad. Press the Fn key together with the touchpad icon key to turn it off. The change takes effect immediately. Using the function key is another way to shut off mouse pad on laptop.
Troubleshooting Common Issues When Disabling the Mouse Pad
Sometimes the touchpad won’t stay off. If you disabled it via Settings but it still moves the cursor, the driver may be re‑enabling it automatically. In that case, open Device Manager again and make sure the touchpad device is truly disabled. If it shows as enabled, right‑click and select Disable. Also, check for Windows updates that might reinstall the driver.
Visual guide about How to Shut Off Mouse Pad on Laptop
Image source: robots.net
If you’re unsure how to shut off mouse pad on laptop after a restart, follow these steps.
For detailed steps on disabling the touchpad, see our article on how to disable touch mouse on laptop. That guide walks you through each step with screenshots.
Another common problem is that the touchpad re‑appears after a Windows update. If that happens, repeat the disable steps or use Device Manager to lock the setting. You can also prevent Windows from automatically updating the touchpad driver by going to Update & Security > Advanced options > Delivery Optimization and turning it off.
If you need more help, search for how to shut off mouse pad on laptop in our site.
After a Windows update, you may need to repeat how to shut off mouse pad on laptop.
Extra Tips and When to Re‑Enable the Mouse Pad
After you’ve finished using an external mouse, you may want to turn the touchpad back on. On Windows, go back to Settings > Devices > Touchpad and toggle the switch back to On. On macOS, simply uncheck the “Turn off trackpad when a mouse is detected” box. If you disabled the device in Device Manager, re‑enable it by right‑clicking and choosing Enable. Keep a note of the steps you used so you can repeat them quickly if needed.
Visual guide about How to Shut Off Mouse Pad on Laptop
Image source: robots.net
Disabling the pad can also help when you’re cleaning the keyboard or applying a screen protector. Just remember to turn it back on before you start typing again.
If you notice the cursor jumping or lagging after disabling the pad, restart your laptop. A fresh boot often resolves driver glitches. Restarting your laptop is a quick way to reset how to shut off mouse pad on laptop settings.
If you need to re‑enable the pad quickly, remember the steps: go to Settings > Devices > Touchpad and turn the switch on, or uncheck the box on macOS. Remember the steps to shut off mouse pad on laptop when you need it again.
Conclusion
In this article we covered several ways to shut off mouse pad on laptop, including Windows Settings, Device Manager, function key shortcuts, and macOS options. We also discussed why you might want to disable the pad, common troubleshooting issues, and how to re‑enable it when you’re done. With these tools you can keep your workflow smooth and avoid accidental clicks.
Visual guide about How to Shut Off Mouse Pad on Laptop
Image source: robots.net
Feel free to try the methods that match your device and comfort level. If you run into any trouble, the linked guides above provide deeper details. Happy computing! Remember, the ability to shut off mouse pad on laptop is a simple yet powerful feature.
Frequently Asked Questions
Question?
Answer: You can shut off the mouse pad on a laptop using the Settings app, Device Manager, a function key shortcut, or a third‑party tool. Each method works differently but achieves the same result.
Question?
Answer: Yes, you can re‑enable the mouse pad at any time. On Windows, toggle the Touchpad switch back on in Settings. On macOS, uncheck the “Turn off trackpad when a mouse is detected” option.
Question?
Answer: Disabling the touchpad does not damage the hardware. It merely stops the system from sending cursor signals from that device.
Question?
Answer: Some laptops allow you to disable the touchpad permanently via BIOS settings, but most users find the software methods sufficient.
Question?
Answer: Yes, you can use an external mouse while the touchpad is disabled; the external mouse will still function normally.
Question?
Answer: If the touchpad re‑enables itself, check for driver updates or use Device Manager to re‑disable it. A system restart often fixes temporary glitches.