How to Use Placeit with Printify
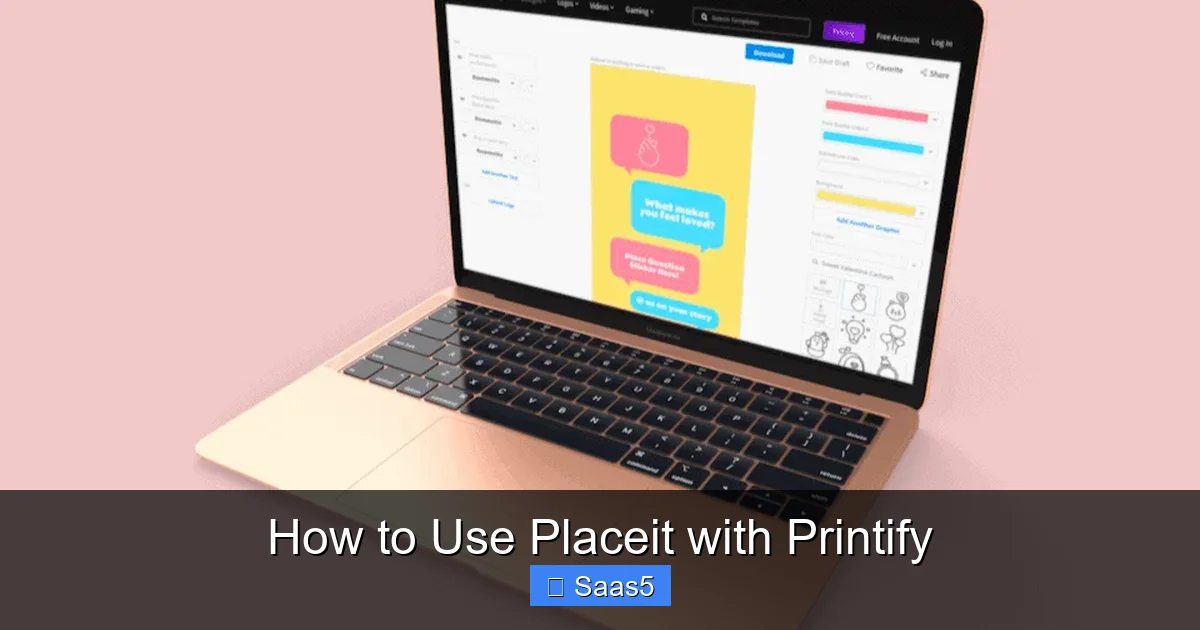
Combining Placeit’s massive library of professional mockup templates with Printify’s global print-on-demand network creates a powerful, automated system for entrepreneurs. You design once in Placeit, generate a perfect mockup, and send it directly to your Printify product catalog with one click. This seamless integration eliminates the complex, multi-step process of manually creating and uploading designs, allowing you to focus on marketing and scaling your brand. It’s the fastest path from a great idea to a live, sellable product.
Key Takeaways
- Seamless Integration: Placeit and Printify are directly connected, allowing you to send finalized mockup designs to your Printify catalog with a single click, automating the upload process.
- No Design Skills Needed: Placeit’s template-based editor lets anyone create professional, brand-consistent mockups without graphic design experience, leveling the playing field.
- Huge Time Saver: The integrated workflow bypasses the need to manually export, resize, and upload design files to Printify, cutting product creation time from hours to minutes.
- Instant Product Visualization: Generate hyper-realistic mockups for hundreds of products (t-shirts, mugs, hats, etc.) to use on your storefront, ads, and social media before you ever sell a single item.
- Scalable Business Model: This combo is perfect for testing new niches and designs. Quickly create and list multiple product variations to see what sells before investing in bulk inventory.
- Maintain Brand Consistency: Use Placeit’s brand kit feature to apply your logo, colors, and fonts across all mockups, ensuring a cohesive look for your store and marketing materials.
- Cost-Effective Start: Both platforms offer free tiers to start. You only pay for Placeit when you download a premium mockup and for Printify when an order is placed, minimizing upfront costs.
📑 Table of Contents
- Introduction: The Power Duo for Print-on-Demand Success
- Why Combining Placeit and Printify is a Game-Changer
- Step-by-Step: Setting Up Your Accounts for Integration
- The Core Workflow: From Design to Live Product in Minutes
- Advanced Tips and Best Practices for Pros
- Common Pitfalls and How to Avoid Them
- Conclusion: Building Your Business, One Click at a Time
Introduction: The Power Duo for Print-on-Demand Success
Starting a print-on-demand (POD) business is exciting, but the operational grind can quickly drain your energy. You have this brilliant design idea, but then comes the multi-step hurdle: create the design, place it on a product mockup, save it in the correct format, log into your POD provider, manually upload the file to the right product, adjust placement, set pricing… it’s a lot. What if you could collapse all those steps into one fluid motion? Enter the powerful synergy between Placeit and Printify. This isn’t just a convenience; it’s a fundamental shift in how you build and scale a POD store. Placeit, from the Envato family, is a titan in the mockup and design template space. Printify is a leading POD platform with a vast network of printers worldwide. When you learn how to use Placeit with Printify, you effectively connect a world-class design studio directly to a global fulfillment center. This guide will walk you through every single step, from account setup to advanced strategies, transforming how you bring your creative products to market.
Why Combining Placeit and Printify is a Game-Changer
Before diving into the “how,” let’s solidify the “why.” Using these tools separately is good. Using them together is exceptional. The core value lies in automation and efficiency.

Visual guide about How to Use Placeit with Printify
Image source: gregjordandesign.com
Eliminating the Manual Grind
The traditional POD workflow involves a “design loop”: you design in software like Photoshop or Canva, export a transparent PNG, then log into Printify’s interface, find the product, use their sometimes-clunky design editor to upload and position your file, and save. You repeat this for every product color and style. Placeit with Printify cuts this loop entirely. You design or customize within Placeit’s intuitive editor, which is built for product mockups. When your design looks perfect on the t-shirt, mug, or tote in the mockup, that same file is ready for production. The integration lets you push that exact file to your Printify catalog instantly.
Professional Quality Without the Pro Skills
Not everyone is a graphic designer. Placeit’s templates are created by professionals. They account for realistic lighting, shadows, fabric folds, and perspective. A beginner can upload their logo or text, drag it onto a smart object layer in the template, and instantly have a hyper-realistic mockup that looks like it was shot in a studio. This professionalism builds customer trust. When a shopper sees a clean, realistic mockup on your Shopify or Etsy store, they perceive higher quality and are more likely to buy.
Rapid Product Testing & Niche Exploration
The low barrier to creation is a strategic advantage. Want to test a new design for “cat lovers who hike”? You can create 10 different t-shirt and sticker mockups in under an hour, push them all to Printify, and list them on your store. You’re not locked into a single design for weeks while you figure out file specifications. This agility allows you to “throw spaghetti at the wall” and see what sticks, using real customer data to guide your inventory and marketing efforts, all with zero financial risk for unsold stock.
Step-by-Step: Setting Up Your Accounts for Integration
Getting started is straightforward, but doing it in the right order ensures a smooth process.

Visual guide about How to Use Placeit with Printify
Image source: gregjordandesign.com
1. Create Your Printify Account First
Your Printify account is the central hub—your store’s fulfillment engine. Go to Printify.com and sign up. You can connect it to your e-commerce platform (Shopify, Etsy, WooCommerce, etc.) now or later. Take a moment to browse the product catalog. Get familiar with the types of items available (blanks), the print providers (like Monster Digital, SwiftPOD), and their locations. This knowledge will inform your Placeit mockup choices later. For example, if you plan to sell primarily on the US market, you might prioritize products printed by US-based providers for faster shipping.
2. Create Your Placeit Account
Visit Placeit.net and sign up for a free account. This gives you access to a limited selection of mockups and designs with a Placeit watermark. To use the full library and, crucially, the direct Printify integration, you’ll need a Placeit Premium subscription. The subscription is typically monthly or annual and removes watermarks and unlocks all templates. While you can test with the free tier, serious POD sellers will need the paid plan. Look for any current bundle deals that might include Envato Elements assets.
3. Connecting the Two: The Critical Link
This is the magic step. Within your Placeit account, navigate to your Account Settings or look for an “Integrations” section. You should see an option for Printify. Click “Connect to Printify.” You will be redirected to Printify’s authorization page. Log in with your Printify credentials and grant Placeit permission to access your account. This secure connection allows Placeit to see your product catalog and push new designs to it. You only need to do this once per account. After connecting, you’ll see your Printify store name confirmed in Placeit.
The Core Workflow: From Design to Live Product in Minutes
Now for the main event. Here is the exact, repeatable process for creating a product.

Visual guide about How to Use Placeit with Printify
Image source: gregjordandesign.com
A. Find and Customize Your Mockup Template
In Placeit, use the search bar. Be specific: “women’s crewneck t-shirt mockup,” “ceramic coffee mug mockup,” “baseball cap mockup.” Browse the results. Premium templates have a crown icon. Select one that fits your product’s style—streetwear, minimalist, vintage, etc. Click “Customize this Mockup.” You’ll enter the editor. On the left, you’ll see layers. The key layer is usually labeled “Your Design Here” or “Artwork.” Click it. You can now upload your PNG logo/design file (with a transparent background) OR use Placeit’s built-in text and graphic tools to create something new right there. Adjust the size and position of your design on the product. Use the background and other layers to change the model’s pose, the setting, or add props. This is where you make the mockup uniquely yours.
B. The Direct “Send to Printify” Button
Once you’re happy with the mockup preview, look at the top or side toolbar. You will see a prominent button that says “Send to Printify” or “Add to Printify Catalog.” This is the integration in action. Click it. A popup window will appear. This is where you map your Placeit design to a specific Printify product.
- Select Product: Choose the exact blank from your Printify catalog (e.g., “Bella+Canvas 3001 Unisex T-Shirt”).
- Select Color: Choose the garment color you designed for (e.g., Black, White, Heather Grey). This is vital. Your mockup must match the product color you select. If you designed for a black shirt, select the black variant in Printify.
- Select Print Provider & Location: If your product has multiple printer options (e.g., US vs. EU), choose the one that best serves your target market.
- Design Placement: Printify will show a preview. You can usually fine-tune the exact placement (center, left chest, etc.) here if needed. Placeit’s initial positioning is generally accurate, but always double-check.
C. Finalize and Publish to Your Store
After configuring the product details, you have two choices in the popup:
- “Add to Catalog” (Draft): This saves the product as a draft in your Printify account. You can then log into your connected e-commerce platform (Shopify admin, Etsy listing manager) to set the final price, write descriptions, and publish it live. This is the recommended path for full control.
- “Publish to Store”: If your e-commerce platform is connected and configured, this will create the product listing directly on your store with default settings. You should still go in and edit the listing details, but it gets you live faster.
That’s it. The design file from your Placeit mockup is now the production-ready file in your Printify catalog for that specific product variant. You did not manually upload a single PNG file.
Advanced Tips and Best Practices for Pros
Once you’ve mastered the basic flow, use these strategies to optimize for quality, brand, and sales.
Mastering the Placeit Editor for Print-Ready Files
Remember, the file sent to Printify is exactly what you see in the Placeit editor. For best results:
- Use High-Resolution Uploads: Start with the highest quality PNG or SVG file of your logo/design. Placeit will scale it down appropriately, but a blurry source creates a blurry print.
- Mind the Print Area: Every product has a maximum “printable area.” While Placeit templates are generally accurate, be aware of seams, hems, and zippers. Don’t place critical design elements right on a seam line. Use the product specs on Printify’s site as a reference for safe zones.
- Color Matching: Screen colors (RGB) can differ from print colors (CMYK/PMS). Placeit shows colors on screen. For critical color accuracy (e.g., a specific brand blue), order a single sample from Printify first to see the actual print result. For most designs, the standard simulation is sufficient.
- Vector vs. Raster: If your design is text-based, use a vector format (SVG) in Placeit if possible. This ensures the text prints crisp at any size on any product. Raster images (PNG, JPG) can become pixelated if sized too large.
Building a Cohesive Brand with Placeit’s Brand Kit
Consistency is key for brand recognition. Placeit offers a Brand Kit feature (available on Premium plans). Here, you can upload your logo, set your primary brand colors (HEX/RGB codes), and choose your brand fonts. When customizing any mockup, you can apply these brand assets with one click. This means every t-shirt, mug, and tote mockup you create will have the exact same logo placement, font style, and color palette. This creates a professional, unified look across your entire store, which builds customer confidence and loyalty. Set this up before you start your first product.
Bulk Creation and Variant Management
Need the same design on 5 different products (t-shirt, hoodie, tote, mug, sticker)? The Placeit-Printify workflow is perfect for this. Create your master mockup for one product (e.g., the t-shirt). Then, for each new product:
- Find the appropriate mockup template for the new item (e.g., a mug template).
- Customize it with your same design file.
- Use “Send to Printify” and select the corresponding product.
In your Printify catalog, these will appear as separate products. In your e-commerce platform, you can later group them into a “Collection” or use an app to create product variants (Size/Color) if the base product is the same (e.g., a t-shirt in 5 colors). The key is that the design file is consistent because it originated from the same Placeit template customization.
Common Pitfalls and How to Avoid Them
Even with a streamlined system, mistakes happen. Here’s how to sidestep the most common issues.
The Mismatch: Mockup Color vs. Product Color
The Problem: You design a bold logo on a “white” t-shirt mockup, but in Printify, you accidentally select “black” as the product color. Your white logo will be invisible on the black shirt, or worse, you won’t notice until a customer complains.
The Solution: This is the #1 error. Develop a ritual: before clicking “Send to Printify,” look at your mockup. What color is the garment? Then, in the Printify popup, select that exact same color name. Double-check. For products with multiple color names (e.g., “Navy” vs. “Dark Navy”), refer to the product page on Printify to see the actual color swatch.
Ignoring Product Specifications
The Problem: You create a huge, all-over print design for a tote bag, but the specific tote model you chose in Printify only allows printing on a small front panel. Your design gets cropped or scaled down unexpectedly.
The Solution: Always, always check the “Print Area” dimensions on the Printify product page before you start designing. Placeit templates are generally accurate for standard print areas, but some specialty products have unique constraints. Design within those safe boundaries.
Overlooking File Format and Quality
The Problem: You upload a low-resolution, compressed JPG from a social media post into Placeit. The resulting mockup looks fine on screen, but the file sent to Printify is low-res, leading to a grainy, unprofessional print.
The Solution: Your source design file should be a high-resolution PNG (300 DPI) or, ideally, a vector SVG. Never use a file that’s already been compressed for the web as your source. Start with the best quality possible.
Forgetting to Customize Store Listings
The Problem: You use “Publish to Store” and think you’re done. The product appears on your site with a generic title like “Premium T-Shirt” and no description, killing SEO and conversion.
The Solution: Treat the Placeit-Printify step as product creation, not product listing. The integration gets the product into your catalog. You must then go into your Shopify/Etsy/etc. admin to write compelling titles, detailed descriptions with keywords, set profit margins, and add tags. This is where you sell the product.
Conclusion: Building Your Business, One Click at a Time
Learning how to use Placeit with Printify is more than a technical tutorial; it’s about adopting an entrepreneurial mindset of leverage and efficiency. You are no longer a designer wrestling with file formats or a store owner manually inputting SKUs. You become a curator and marketer. Your job is to spot trends, create designs that resonate, and present them beautifully. The Placeit-Printify integration handles the heavy lifting of production-ready design and catalog management. This powerful combination removes the traditional friction points of print-on-demand, allowing you to iterate faster, test bolder, and scale smarter. Start with one product, master the flow, and soon you’ll have a thriving store built on a foundation of stunning, professionally presented products, all created in a fraction of the time. The barrier to entry has never been lower, and the path to a professional, scalable POD business has never been clearer.
Frequently Asked Questions
Is the Placeit-Printify integration free to use?
Connecting your accounts is free. However, to use the full library of non-watermarked mockups and access the “Send to Printify” feature, you need an active Placeit Premium subscription. You only pay Printify when a customer places an order.
What file format does Placeit send to Printify?
Placeit sends a high-quality PNG file with a transparent background (if your design had transparency) directly to your Printify catalog. You don’t need to worry about DPI or color mode; Placeit optimizes the file for the specific Printify product and printer you select.
Can I use my own custom mockup photos with this workflow?
No, the direct “Send to Printify” integration only works within Placeit’s template system. If you have your own professional photos, you would need to manually design and position your artwork on them in separate software, then upload that final PNG file to Printify yourself.
Who owns the design I create using Placeit templates?
You own the final composite design you create by placing your original artwork/text onto a Placeit template. However, you are licensing the template itself from Placeit/Envato. You cannot resell or redistribute the bare template. Your specific design-on-template mockup is yours to use for your commercial products.
My design looks perfect on the Placeit mockup but prints poorly. Why?
This is usually a “source file” issue. Ensure your original uploaded design is high-resolution (300 DPI) and in a vector format (SVG) if it’s text or logos. Also, double-check that you selected the correct product color in Printify that matches your mockup. Finally, order a single sample to verify print quality before a full launch.
What if I want to change the design on a product after it’s already in my Printify catalog?
Simple! Go back to Placeit, customize the same or a new template with your updated design, and use “Send to Printify” again. In the popup, select the same product and color variant you want to update. Placeit will overwrite the old design file in Printify with the new one. Your connected store will automatically update the product image if set to sync.