M.2 Nvme Ssd Enclosure
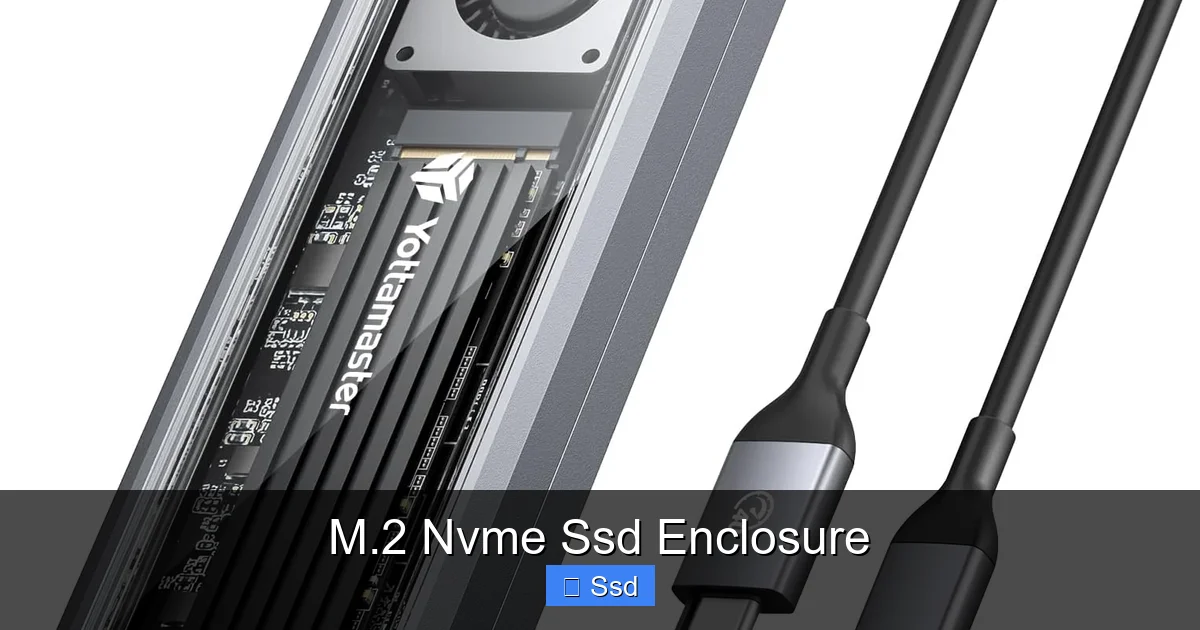
An M.2 NVMe SSD enclosure transforms your internal solid-state drive into a super-fast, portable external drive. It’s the perfect, cost-effective way to repurpose an old SSD or add blistering external storage to any computer. With plug-and-play simplicity and speeds rivaling internal drives, these enclosures are a must-have for gamers, creators, and tech enthusiasts.
Key Takeaways
- Repurpose, Don’t Replace: An enclosure gives a new life to a spare or upgraded M.2 NVMe SSD, saving you money compared to buying a new external drive.
- Blazing External Speeds: You can achieve near-internal performance, with USB 3.2 Gen 2 and Thunderbolt options offering over 1,000 MB/s.
- Compatibility is Critical: Ensure your SSD is a *key M+ (2280)* NVMe drive, not SATA, and that your computer’s port (USB-C/A) matches the enclosure’s interface.
- Heat is the Enemy: NVMe drives generate heat. Enclosures with metal chassis and thermal pads are essential for maintaining speed and drive health during sustained transfers.
- Versatile & Portable: These enclosures turn your SSD into a rugged, pocket-sized drive perfect for backups, gaming libraries, video editing on the go, and booting different operating systems.
[FEATURED_IMAGE_PLACEHOLDER]
📑 Table of Contents
- What Exactly Is an M.2 NVMe SSD Enclosure?
- Why You Should Consider an Enclosure (The “Why Now?”)
- How to Choose the Right Enclosure: A Buyer’s Checklist
- Step-by-Step: Installing Your SSD into the Enclosure
- Real-World Performance & Use Cases
- Common Pitfalls & How to Avoid Them
- The Future & Final Thoughts
What Exactly Is an M.2 NVMe SSD Enclosure?
Let’s start with the basics. You’ve probably heard of external hard drives—those bulky, slow (by today’s standards) boxes that plug in via USB. An M.2 NVMe SSD enclosure is their sleek, hyper-modern cousin. It’s a small, usually metal or plastic case designed to house a specific type of internal solid-state drive: the M.2 NVMe SSD.
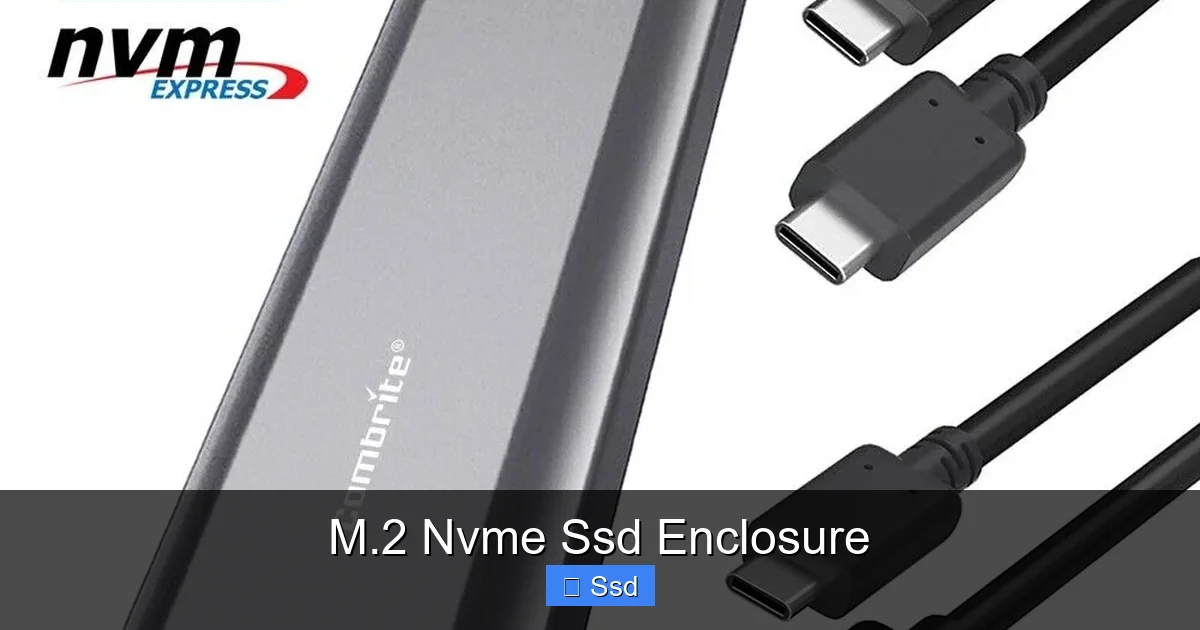
Inside this case is a simple but crucial piece of hardware: a circuit board (the “bridge”) that converts the SSD’s native high-speed PCIe/NVMe signal into a standard external interface signal, most commonly USB 3.2 Gen 2 (10 Gbps) or the even faster Thunderbolt 3/4 (40 Gbps). You simply insert your M.2 SSD into the enclosure’s slot, secure it, and close it up. The other end has a cable or built-in connector that plugs into your computer’s USB-C or USB-A port. Voilà! Your internal drive is now a portable, external powerhouse.
M.2, NVMe, SATA: Decoding the Jargon
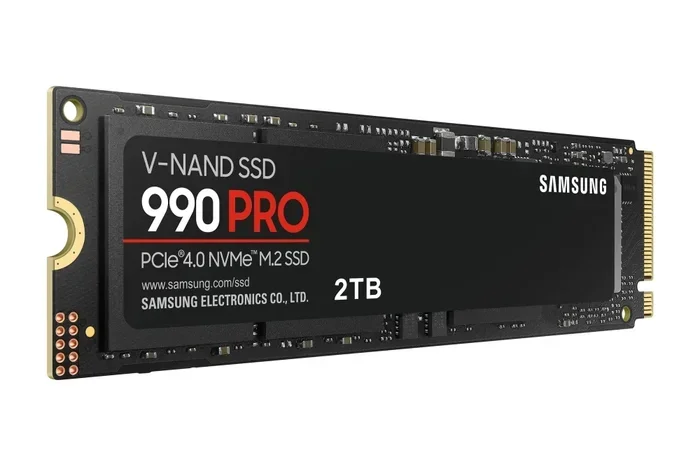
To avoid a costly mistake, you need to understand the labels. M.2 refers to the physical form factor—a small, stick-like module about the size of a piece of gum (common length is 2280, meaning 22mm wide, 80mm long). NVMe (Non-Volatile Memory Express) is the high-speed communication protocol that runs over the PCIe bus. This is the fast one. There is also M.2 SATA, which uses the older, slower SATA protocol but fits in the same M.2 slot. An NVMe-only enclosure will NOT work with an M.2 SATA SSD. They are physically similar but electrically incompatible. Always check your SSD’s specifications before buying an enclosure.
Why You Should Consider an Enclosure (The “Why Now?”)
In an era of ever-shrinking laptops with soldered storage and expensive proprietary upgrades, the M.2 NVMe SSD enclosure emerges as a hero of practicality. It’s not just a gadget; it’s a strategic tool for extending the life and utility of your tech.
Visual guide about M.2 Nvme Ssd Enclosure
Image source: justop.com
Revive Old Hardware & Save Money
Did you just upgrade your desktop or laptop to a larger, faster 2TB NVMe SSD? That old 512GB drive doesn’t have to gather dust in a drawer. For the cost of a $15-$40 enclosure, you instantly create a high-speed external drive for backups, game storage, or a portable OS. This is the single most compelling reason—turning an obsolete internal component into a valuable external asset.
Unlock Portable, Near-Internal Speeds
Traditional external HDDs spin at 5400 or 7200 RPM, giving you real-world speeds of 100-200 MB/s. Even standard USB flash drives rarely break 400 MB/s. A quality NVMe enclosure paired with a decent SSD can sustain read/write speeds of 800 MB/s to over 2,000 MB/s (with Thunderbolt). For a video editor moving 50GB project files or a gamer loading an open-world title, that speed difference isn’t just noticeable—it’s transformative.
Create a Bootable Drive & Multi-OS Toolkit
Want to test Linux without touching your main drive? Need a clean Windows installation USB that boots in seconds? A fast external NVMe drive in an enclosure is the ultimate solution. You can install a full operating system on it and boot from it on almost any modern PC. This makes it invaluable for IT professionals, developers, and tinkerers.
How to Choose the Right Enclosure: A Buyer’s Checklist
Walking into the market blind can lead to frustration. Use this checklist to find your perfect match. The core decision points are interface, compatibility, and build quality.
Visual guide about M.2 Nvme Ssd Enclosure
Image source: m.media-amazon.com
1. Interface & Speed: USB vs. Thunderbolt
This is your first and biggest choice. The port on your computer dictates your ceiling.
- USB 3.2 Gen 2 (10 Gbps): The sweet spot for most users. Widely compatible with modern USB-C and USB-A ports (using an included or separate cable). Delivers excellent real-world speeds (800-1,100 MB/s). Affordable enclosures start around $20.
- USB 3.2 Gen 2×2 (20 Gbps): Less common, but doubles the bandwidth. Requires a USB-C port that explicitly supports 20 Gbps. Enclosures are pricier (~$40-$60).
- Thunderbolt 3 & 4 (40 Gbps): The absolute peak for external storage, matching your internal SSD’s potential (2,500-7,000 MB/s). Critical: Thunderbolt enclosures are only compatible with Thunderbolt 3/4 ports (found on Macs and higher-end Windows laptops/desktops). They will NOT work with standard USB-C ports. Expect to pay $60-$150+.
Practical Tip: Match your enclosure’s interface to your *computer’s fastest available port*. There’s no point buying a Thunderbolt enclosure if your laptop only has USB 3.2.
2. Physical Compatibility: M.2 Length & Keying
Most enclosures support the ubiquitous 2280 (22x80mm) size. Some also support 2230, 2242, or 22110. Check your SSD’s label. More importantly, understand the “key”—the notch on the connector.
- M Key (PCIe x4): This is for NVMe SSDs. It has one notch, slightly off-center. This is what you need.
- B+M Key: This is for SATA M.2 SSDs (and some older NVMe). It has two notches. A good NVMe enclosure will be M-keyed and will often physically accept a B+M keyed SSD, but it will only work if the SSD is NVMe, not SATA. When in doubt, look up your SSD’s model number.
3. Build Quality & Thermal Management
This is where cheaper enclosures fail. NVMe drives can get very hot (70-80°C+) under load. Throttling (slowing down) occurs to prevent damage. A good enclosure acts as a heatsink.
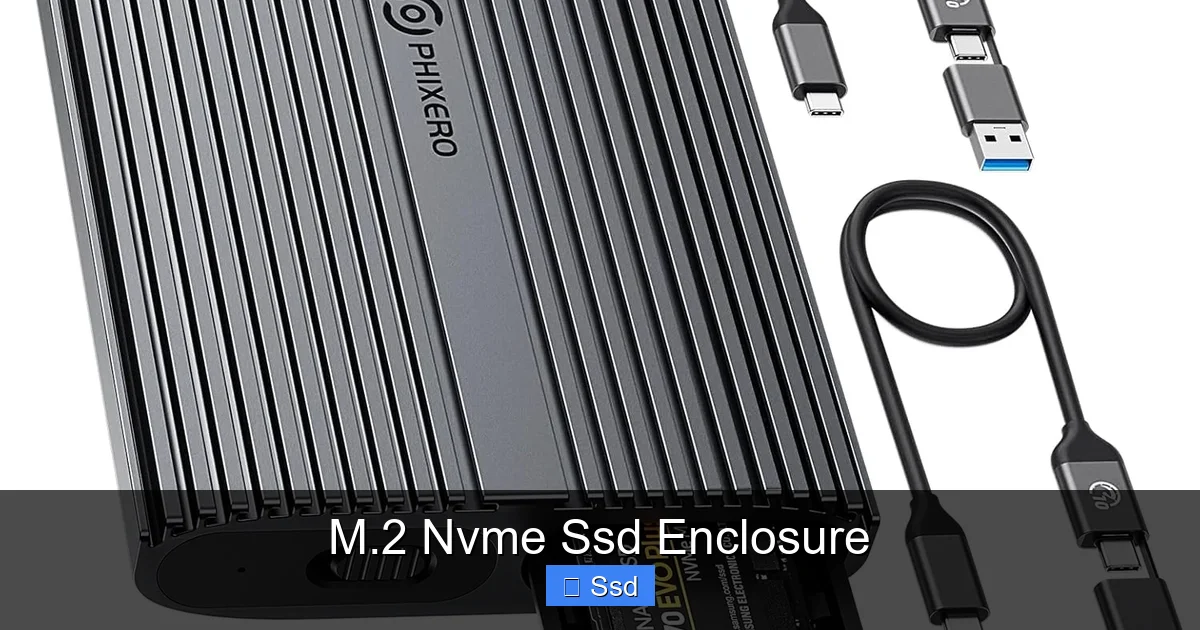
- Material: Aluminum is king. It conducts heat away from the SSD far better than plastic. Look for enclosures that are a solid piece of milled aluminum or have an aluminum top plate in direct contact with the SSD.
- Thermal Pads: Quality enclosures include a thin, sticky thermal pad that sits between the SSD’s memory chips and the enclosure’s metal case. This is non-negotiable for sustained performance. Some even have a separate pad for the controller chip.
- Ventilation: Some designs have gaps or fins to promote airflow. A fully sealed aluminum block is great for conduction but may need a break-in period to heat-soak.
Example: The Sabrent EC-SNVE and the Acasis TBU205 (Thunderbolt) are praised for their robust aluminum construction and effective thermal pads, keeping drives cool during large file transfers.
4. Extra Features & Practical Considerations
- Cable: Does it include a cable? For USB-C enclosures, a USB-C to USB-C cable is standard. For use with older USB-A computers, you’ll need a USB-C to USB-A cable (often included). Thunderbolt cables are separate and expensive ($30-$50).
- LED Indicator: A simple activity light is useful but not essential.
- Tool-Free Design: Many use a simple screw or a clip mechanism. Tool-free (like a removable tray) is more convenient for frequent drive swaps.
- Warranty & Brand: Stick with reputable brands like Sabrent, Acasis, QNINE, OWC, or Thermaltake. They often offer better warranties and support.
Step-by-Step: Installing Your SSD into the Enclosure
The process is straightforward, but doing it correctly prevents damage. Here’s a universal guide.
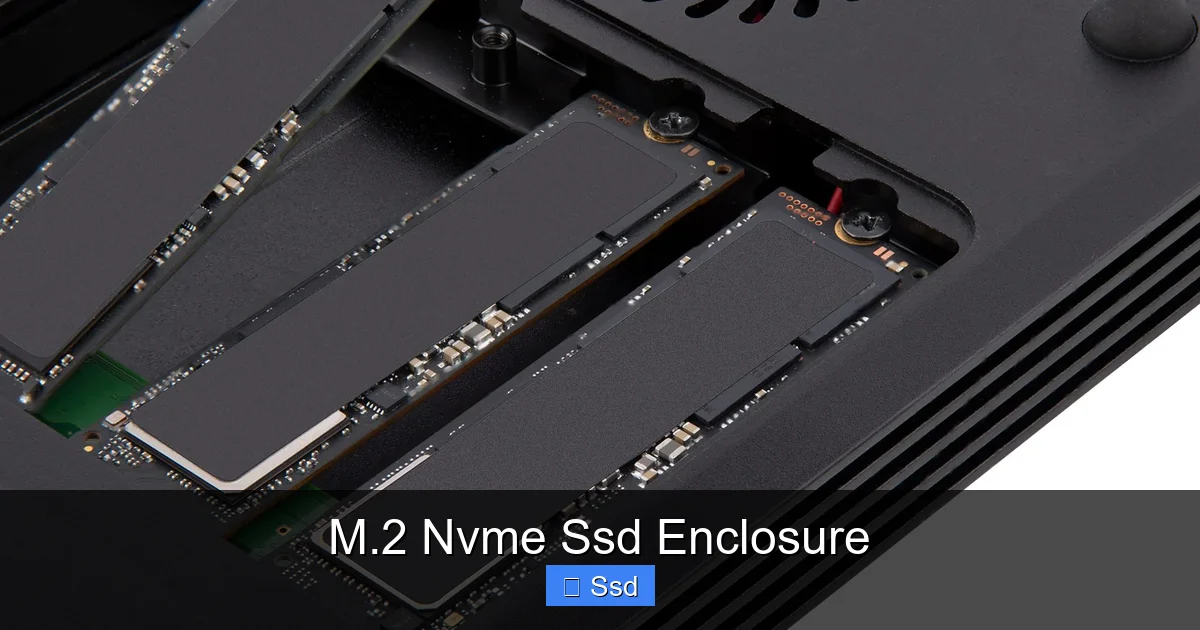
Visual guide about M.2 Nvme Ssd Enclosure
Image source: s3-apw.badencloud.store
Gather Your Tools
You’ll need: your M.2 NVMe SSD, the enclosure, the correct screwdriver (usually a small Phillips #00 or a provided hex key), and the interface cable.
The Installation Process
- Power Down: Always handle SSDs with care. Ground yourself by touching a metal object to discharge static.
- Open the Enclosure: This varies. Most have a screw on the back or side. Some have a rubber pad on the bottom that you peel off to reveal a screw. Gently unscrew and separate the two halves.
- Identify the M.2 Slot: You’ll see a small, gold-plated socket with a keying notch (M-key).
- Install the Thermal Pad: If your enclosure has a separate thermal pad, peel off its protective film and carefully stick it onto the SSD’s memory chips (the long, rectangular chips on one side). Some enclosures have the pad pre-installed on the case.
- Insert the SSD: Hold the SSD by the edges. Align the notch on the SSD’s connector with the key in the socket. Insert it at a ~30-degree angle until it’s seated firmly. It should not require force.
- Secure the SSD: Most enclosures have a small screw or a metal standoff with a screw hole at the other end of the slot. Use the provided screw to gently tighten the SSD down. Don’t overtighten!
- Close it Up: Snap or screw the enclosure’s case back together, ensuring it’s sealed.
- Connect & Format: Plug the enclosure into your computer. Your OS should recognize it as a new, unformatted drive. Use Disk Management (Windows) or Disk Utility (macOS) to initialize and format it (usually exFAT for cross-platform, or NTFS for Windows-only).
Real-World Performance & Use Cases
Let’s see what this thing can actually do. Benchmarks are one thing, but practical application is everything.
Benchmark Expectations
Using a high-end PCIe 3.0 NVMe SSD (like a Samsung 970 EVO Plus) in a quality USB 3.2 Gen 2 enclosure, you can expect:
- Sequential Read: 900 – 1,050 MB/s
- Sequential Write: 850 – 1,000 MB/s
- Random 4K Read/Write: 20-40 MB/s (this is more limited by the USB interface).
- Game Library on the Go: Install your entire Steam/Epic library on the external NVMe drive. Plug it into any friend’s gaming PC and load your saves and games instantly. No more redownloading 100GB titles.
- Video Editing & Photography: Edit 4K/8K video directly from the drive or use it as a high-speed scratch disk. Transferring footage from a camera’s SD card to this drive is dramatically faster than to a HDD.
- Bootable OS & IT Toolkit: As mentioned, create a lightning-fast, full-install Windows or Linux USB. IT pros can carry a full diagnostic and repair suite.
- High-Speed Backups & Archives: Use software like Veeam, Macrium Reflect, or even built-in OS tools to make nightly backups to this drive. The speed means less downtime.
- Rescue & Recovery: Keep a bootable Windows recovery drive on hand. Its speed means you can diagnose and fix a broken PC in minutes, not half an hour.
With a PCIe 4.0 SSD (like a Samsung 980 Pro) in the same USB 3.2 enclosure, you’re capped at the USB interface’s limit (~1,050 MB/s). To unlock a PCIe 4.0 SSD’s full potential (5,000-7,000 MB/s), you must use a Thunderbolt enclosure. A Thunderbolt 3/4 enclosure will let a PCIe 4.0 SSD run at its full internal speed.
Perfect Use Cases
Common Pitfalls & How to Avoid Them
Even with the right hardware, users can stumble. Here are the most common issues and their fixes.
“My Drive is Extremely Slow!”
Cause: Almost always a heat issue. The SSD is throttling due to inadequate cooling.
Solution: Ensure thermal pads are correctly installed and making contact. Give the drive a break during massive transfers. Consider an enclosure with even better thermal design or a small heatsink you can attach. Also, verify you are not using a USB 2.0 port (speed capped at 35 MB/s).
“My Computer Doesn’t Recognize It!”
Cause 1: Incompatible SSD. You have an M.2 SATA SSD in an NVMe-only enclosure.
Solution: Double-check your SSD’s specs online. If it’s SATA, you need an M.2 SATA enclosure (which is different and rarer).
Cause 2: Drive needs initialization.
Solution: Go to Disk Management (Windows) or Disk Utility (macOS). The drive will appear as “unallocated” or “uninitialized.” Initialize it (GPT for modern systems) and format it.
“I Want to Boot from This Enclosure!”
The Challenge: Many motherboards and some laptops disable booting from USB storage by default, or require specific settings.
Solution: Enter your BIOS/UEFI settings (usually by pressing Del/F2/F12 during boot). Look for “Boot Order” and ensure “USB Storage” or “External Drive” is enabled and prioritized. On some systems (especially newer Macs with Apple Silicon), booting from external NVMe is standard. On Windows PCs, it’s supported but may need a quick BIOS tweak.
The Future & Final Thoughts
The M.2 NVMe SSD enclosure is a testament to smart, modular design. As SSDs become cheaper and more powerful, these enclosures allow us to break free from the constraints of fixed, internal storage. They democratize high-speed storage, putting enterprise-grade throughput in your backpack.
Looking ahead, we’ll see wider adoption of USB4 (which is compatible with Thunderbolt 3) and faster NVMe standards (PCIe 5.0). Enclosures will continue to evolve with better thermal solutions and more compact designs. But the core value proposition remains unchanged: maximize your hardware investment, embrace portability, and never settle for slow external storage again.
So, dig that old SSD out of the drawer. Do your homework on compatibility. Invest in a well-built, thermally-competent enclosure. You’ll be amazed at how this simple adapter transforms a component into a critical tool for your digital life.
Frequently Asked Questions
Can I use an M.2 SATA SSD in an NVMe enclosure?
No. M.2 NVMe (PCIe) and M.2 SATA are electrically different. An NVMe-only enclosure’s connector and circuitry are designed only for PCIe signals. Using a SATA SSD will not work. You must purchase an enclosure specifically labeled for “M.2 SATA” SSDs, which are less common.
Is a Thunderbolt enclosure worth the extra cost over USB 3.2?
It’s worth it only if you have a Thunderbolt port and a high-end PCIe 4.0/5.0 NVMe SSD. For a PCIe 3.0 SSD or if your computer lacks Thunderbolt, a USB 3.2 Gen 2 enclosure provides excellent, cost-effective speed (over 1,000 MB/s). The Thunderbolt premium is for unlocking the full potential of the fastest modern SSDs.
How do I prevent my NVMe drive from overheating in the enclosure?
Choose an enclosure made of aluminum with good contact points. Always use the included thermal pads—they are essential for transferring heat from the SSD to the metal case. Avoid using the drive in direct sunlight or on hot surfaces. For heavy, sustained workloads (like transferring hundreds of GB), give the drive short breaks.
Can I install Windows on an SSD in an enclosure and boot from it?
Yes, you can create a full, bootable Windows installation on an external NVMe drive. You’ll need to install Windows onto the drive while it’s connected via the enclosure. Then, you must enter your computer’s BIOS/UEFI settings and enable booting from USB/external drives and prioritize the external drive in the boot order.
What’s the difference between a USB-C enclosure and a Thunderbolt enclosure?
Physically, both use the same USB-C connector. The difference is in the underlying technology and protocol. A standard USB-C enclosure uses the USB 3.2 protocol (max 10-20 Gbps). A Thunderbolt enclosure uses the Thunderbolt protocol (40 Gbps) and is only compatible with Thunderbolt 3/4 ports. A Thunderbolt drive will not work in a standard USB-C port, but a USB-C drive will work in a Thunderbolt port (at USB speeds).
Will using an enclosure damage my SSD or reduce its lifespan?
No, not if you use a compatible, well-built enclosure. The SSD’s lifespan is primarily determined by its own NAND flash endurance. The main risk is heat. A poorly ventilated enclosure that causes the SSD to thermal throttle excessively could, in extreme cases, contribute to long-term wear. Using a quality, thermally-adequate enclosure mitigates this risk completely.