Why Do Lights Flicker on Camera
Lights flickering on camera is usually caused by mismatched frequencies between your lighting source and the camera’s shutter speed or frame rate. Understanding this interaction helps you choose the right settings, lighting, and gear to eliminate unwanted flicker and produce smooth, professional‑looking video.
Key Takeaways
- Flicker origins: Most flicker comes from AC‑powered lights that pulse at 50 Hz or 60 Hz, not from the camera itself.
- Shutter‑speed sync: Matching your shutter speed or frame rate to the light’s frequency stops flicker.
- LED vs. fluorescent: LED lights can flicker at higher frequencies; quality LEDs often include flicker‑free drivers.
- Practical fixes: Use flicker‑free bulbs, adjust camera settings, add diffusion, or use external monitors with proper sync.
- Post‑production help: Software tools can reduce residual flicker, but prevention is always better.
- When to seek help: Persistent flicker on professional rigs may signal faulty power supplies or incompatible accessories.
- Related reading: Learn why a WDR camera might stay on and not work for more troubleshooting tips.
📑 Table of Contents
- Introduction: The Annoying Dance of Light and Camera
- 1. The Science Behind Flicker
- 2. Identifying the Culprit
- 3. Matching Camera Settings to Light Frequency
- 4. Choosing Flicker‑Free Lighting
- 5. Troubleshooting Persistent Flicker
- 6. Fixing Flicker in Post‑Production
- Conclusion: Keep the Light Steady, Keep the Story Flowing
Introduction: The Annoying Dance of Light and Camera
Ever recorded a video under fluorescent tubes only to see the footage pulse like a strobe? Or noticed that the lights in your livestream seem to “breathe” in and out? You’re not imagining it—your camera is catching the tiny flicker that most of us don’t see with the naked eye. This phenomenon can ruin a professional interview, make a home‑movie look cheap, or even cause viewers to feel uneasy.
In this guide we’ll break down why lights flicker on camera in plain language, explore the science behind it, and give you step‑by‑step tips to fix it. Whether you’re using a smartphone, a DSLR, or a high‑end cinema camera, the principles stay the same. By the end you’ll know how to choose the right lighting, set the proper shutter speed, and troubleshoot stubborn flicker without pulling your hair out.
1. The Science Behind Flicker
1.1 How AC Power Makes Light Pulse
Most indoor lighting runs on alternating current (AC). In a 50 Hz system (common in Europe, Asia, Africa) the voltage rises and falls 50 times per second; in a 60 Hz system (North America, parts of Asia) it does so 60 times per second. Many light sources—especially fluorescents and cheaper LEDs—don’t emit a steady glow. Instead they flash at twice the line frequency because the light output follows the voltage peaks.
Visual guide about Why Do Lights Flicker on Camera
Image source: cameragurus.com
1.2 Shutter Speed vs. Light Frequency
Your camera captures light in discrete “samples” determined by the shutter speed (still photos) or frame rate (video). If the shutter opens for a duration that isn’t an exact multiple of the light’s flicker cycle, the camera records a brighter or darker slice of the wave, creating visible flicker. Think of it like taking a photo of a spinning fan: if your timing is off, you’ll see blurry blades; if it matches, the fan looks still.
1.3 Why Some Lights Appear Flicker‑Free
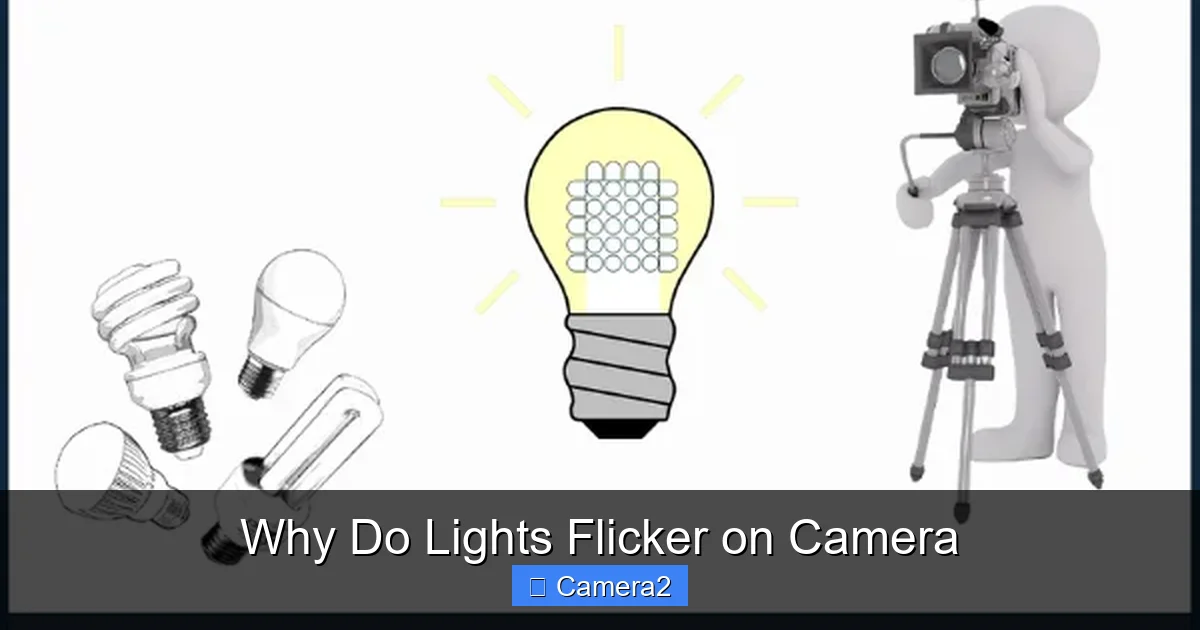
Incandescent bulbs heat a filament, which glows continuously—no flicker. Modern LED panels designed for video often use high‑frequency drivers (10 kHz or more) that smooth out the pulse, making them effectively flicker‑free to both eyes and cameras. However, low‑cost LED strips or smart bulbs may still pulse at 100–120 Hz, which can be caught by high‑speed cameras.
2. Identifying the Culprit
2.1 Spotting Flicker in Real‑Time
Turn on your camera’s “monitor” or view‑finder and look for a rhythmic bright‑dark pattern. In video, you’ll often see a “banding” effect that moves across the screen. In stills, compare two shots taken a fraction of a second apart—one may be noticeably brighter.
Visual guide about Why Do Lights Flicker on Camera
Image source: crushingphotography.com
2.2 Common Sources
- Fluorescent tubes – classic flicker at 100 Hz (50 Hz power) or 120 Hz (60 Hz power).
- LED panels – may flicker at 100–200 Hz if the driver is cheap.
- Compact fluorescent lamps (CFLs) – similar to fluorescents, often worse.
- Smart bulbs – can dim or change color at a frequency that shows up on camera.
- Outdoor streetlights – especially those using older mercury vapor or sodium lamps.
2.3 Using a Test Shot
Set your camera to manual mode, choose a mid‑range shutter speed (e.g., 1/60 s for 60 Hz regions), and record a few seconds of a static scene with the suspect light. Play it back on a monitor; if you see bands, you’ve found the source.
3. Matching Camera Settings to Light Frequency
3.1 The “180‑Degree Rule” Revisited
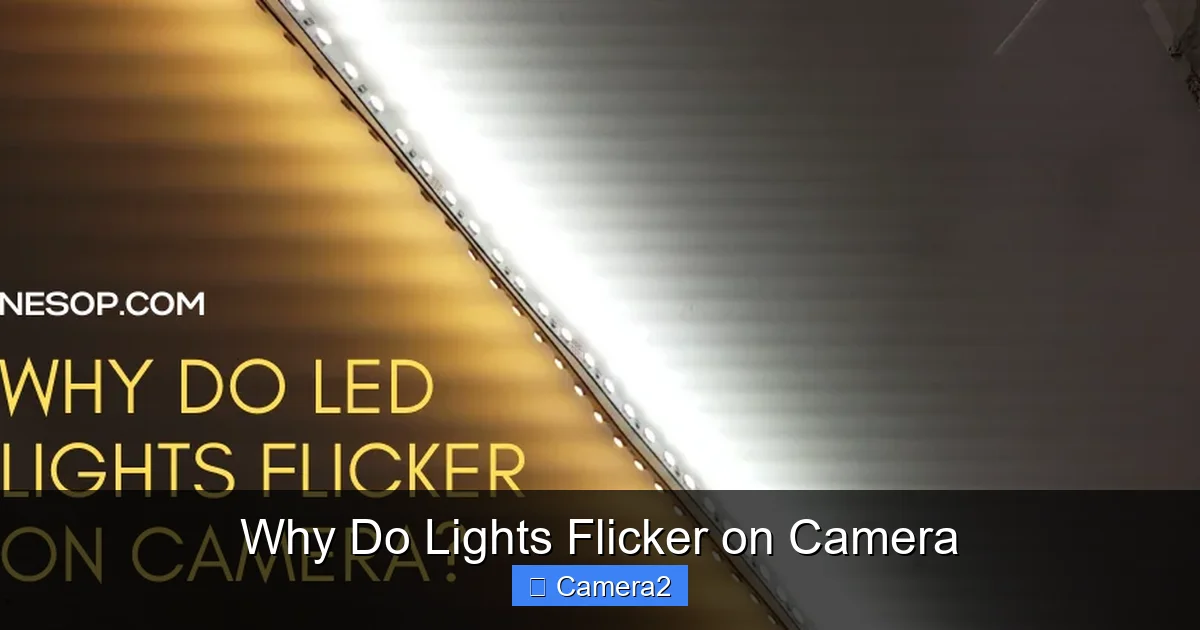
In cinematography the 180‑degree shutter angle (shutter speed = 1/(2 × frame rate)) yields natural motion blur. For a 24 fps shoot, that’s 1/48 s (often rounded to 1/50 s). This speed also happens to be a multiple of 50 Hz, reducing flicker in regions with 50 Hz power.
Visual guide about Why Do Lights Flicker on Camera
Image source: nesop.com
3.2 Choosing the Right Shutter Speed
- 50 Hz regions: Use 1/50 s, 1/100 s, 1/200 s, etc.
- 60 Hz regions: Use 1/60 s, 1/120 s, 1/240 s, etc.
- High‑speed cameras: If you need 1/1000 s, make sure the light source is truly flicker‑free (high‑freq LED or incandescent).
3.3 Frame Rate Tricks
If you’re locked into a specific shutter speed for creative reasons, you can instead adjust the frame rate. Shooting at 30 fps with a 1/60 s shutter (60 Hz sync) works well in North America, while 25 fps with 1/50 s works in Europe.
3.4 Using “Flicker Reduction” Modes
Many DSLR and mirrorless cameras include a flicker‑reduction or anti‑flicker setting. The camera samples the light’s frequency and automatically times the shutter to the brightest point of each cycle. This is handy for sports or wildlife shooting under stadium lighting.
4. Choosing Flicker‑Free Lighting
4.1 Invest in Quality LEDs
Look for LED panels that advertise “flicker‑free” or list a driver frequency of > 10 kHz. Brands aimed at video production (e.g., Aputure, Godox, Neewer) often provide this info. Even a modest $100 panel can be far better than a $20 desk lamp.
4.2 Use Incandescent or Halogen as a Backup
When in doubt, a traditional tungsten bulb will give you a steady output. The downside is higher heat and power consumption, but for short interviews it’s a reliable fallback.
4.3 Add Diffusion to Reduce Visible Bands
Softboxes, diffusion cloths, or even a simple white sheet can spread the light, making subtle flicker less noticeable. The diffusion doesn’t eliminate the pulse, but it blends the bright and dark moments.
4.4 Practical Example: Setting Up a Home Studio
Suppose you’re filming a YouTube tutorial with two LED panels that cost $30 each. Test each panel with a quick 1/60 s clip. If you see banding, replace them with a single $120 Aputure Amaran panel that guarantees <10 Hz flicker. Pair it with a softbox, set your camera to 1/60 s (or 1/120 s for extra safety), and you’ll have a clean, flicker‑free shot.
5. Troubleshooting Persistent Flicker
5.1 Check Power Sources
Even flicker‑free LEDs can misbehave if powered by a dimmer switch or a cheap transformer. Use a direct AC outlet or a high‑quality DC power supply.
5.2 Examine Camera Firmware
Some cameras receive firmware updates that improve anti‑flicker algorithms. Always keep your gear up to date.
5.3 Look at External Devices
Monitors, external recorders, or wireless video transmitters can introduce their own timing issues. Sync them to the same clock source when possible.
5.4 When the Camera Itself Is the Issue
If you’ve tried all lighting and setting adjustments and still see flicker, the camera’s sensor or internal clock may be faulty. Contact the manufacturer or consider a professional repair.
5.5 Helpful Resource
If you own a WDR (Wide Dynamic Range) camera that seems “always on and not working,” reviewing its power and firmware settings can also reveal flicker‑related problems. See My WDR Camera Is Always On And Not Working for a deeper dive.
6. Fixing Flicker in Post‑Production
6.1 Using Software Plugins
Programs like DaVinci Resolve, Final Cut Pro, and Adobe Premiere have “Flicker Removal” or “Deflicker” tools. They analyze frame‑to‑frame luminance changes and smooth them out.
6.2 Manual Frame Blending
For short clips, duplicate the affected segment, offset it by a few frames, and blend the layers with reduced opacity. This can mask residual bands.
6.3 When to Accept Imperfection
If the flicker is minor and only appears on a small portion of the video, it may be better to leave it than to spend hours in post. Viewers often won’t notice a subtle 1–2% variation.
Conclusion: Keep the Light Steady, Keep the Story Flowing
Lights flicker on camera because of a mismatch between the light’s electrical pulse and the camera’s sampling rate. By understanding the 50 Hz/60 Hz rhythm, choosing the right shutter speed or frame rate, and using quality flicker‑free lighting, you can eliminate most unwanted strobing. When problems persist, troubleshoot power, firmware, and external gear, and remember that post‑production tools are a safety net, not a primary solution.
Armed with these tips, your next video shoot will look smooth, professional, and—most importantly—free of that dreaded flicker. Happy filming!
Frequently Asked Questions
Why does my video look like it’s flashing under fluorescent lights?
Fluorescent lights pulse at twice the AC line frequency (100 Hz or 120 Hz). If your camera’s shutter speed isn’t a multiple of that frequency, the recorded frames capture different brightness levels, creating a flashing effect.
Can I fix flicker by changing only the frame rate?
Yes, matching the frame rate to the local power frequency (e.g., 25 fps for 50 Hz regions, 30 fps for 60 Hz) can reduce flicker, especially when paired with the appropriate shutter speed.
Are LED lights always safe from flicker?
No. Cheap LED bulbs often use low‑frequency drivers that still flicker. Look for “flicker‑free” specifications or a driver frequency above 10 kHz for reliable video use.
What is the anti‑flicker setting on my camera?
It’s a feature that measures the light’s frequency and times the shutter to the brightest point of each cycle, automatically reducing visible flicker during recording.
How can I test my lighting before a shoot?
Record a short clip with a fixed shutter speed (e.g., 1/60 s) and play it back on a monitor. If you see moving bands, the light is flickering. Adjust shutter speed, frame rate, or replace the light.
Can software completely remove flicker after filming?
Post‑production tools can dramatically reduce flicker, but they can’t always restore a perfectly even exposure. Preventing flicker during shooting is the most reliable method.