Connecting a mouse to your laptop is a simple process that dramatically improves navigation and productivity. Whether you choose a reliable wired mouse, a convenient Bluetooth model, or a wireless option with a USB dongle, the setup typically takes just seconds. This guide walks you through every method, offers solutions for common connection issues, and provides tips to customize your mouse for comfort and efficiency.
So, you’ve got a brand-new mouse, or maybe you’re just tired of wrestling with that finicky laptop touchpad. You’re ready for the precision, speed, and comfort a proper mouse offers. But then you stare at the box and the little USB cable or the mysterious power button and think, “Now what?” Don’t worry. Learning how to connect a mouse to a laptop is one of the easiest and most rewarding tech tasks you can master. It’s a skill that instantly upgrades your computing experience, whether you’re working on a spreadsheet, editing photos, or just browsing the web. This comprehensive guide will take you from unboxing to optimal use, covering every connection type, troubleshooting hiccups, and fine-tuning your new tool for peak performance.
Key Takeaways
- Know Your Mouse Type: The connection method depends entirely on whether your mouse is wired, Bluetooth, or uses a USB wireless receiver.
- Wired is Plug-and-Play: For a wired mouse, simply plug the USB connector into your laptop; it usually works instantly without additional setup.
- Wireless Requires Pairing: Bluetooth mice need to be paired through your laptop’s settings, while USB receiver mice are plug-and-play but may require battery checks.
- Troubleshooting Basics: If your mouse isn’t working, check batteries, USB ports, Bluetooth status, and driver updates before assuming hardware failure.
- Customization is Key: Use your mouse’s software or system settings to adjust pointer speed, scroll direction, and button functions for a personalized experience.
- Ergonomics Matter: Choose a mouse shape and size that fits your hand to prevent strain during long use sessions.
📑 Table of Contents
- Understanding the Three Main Types of Computer Mice
- Step-by-Step: Connecting a Wired Mouse
- Connecting a Wireless Mouse with a USB Receiver
- Pairing a Bluetooth Mouse to Your Laptop
- Troubleshooting: When Your Mouse Won’t Connect
- Optimizing Your Mouse Experience: Settings and Software
- Conclusion: Your Laptop, Upgraded
Understanding the Three Main Types of Computer Mice
Before we dive into cables and settings, it’s crucial to identify what kind of mouse you have. The connection process is entirely dictated by its technology. There are three primary categories you’ll encounter, each with its own personality and setup ritual.
The Trusty Wired Mouse
The wired mouse is the classic, no-nonsense workhorse. It has a physical cable (usually USB-A, but sometimes USB-C) that plugs directly into your laptop. Its advantages are undeniable: it never needs batteries, it offers the absolute lowest latency (which gamers love), and it’s almost always a simple plug-and-play affair. There’s no pairing, no battery anxiety, and no wireless interference. The downside, of course, is the cable itself—it can create drag on your desk and limit how far you can move the mouse. If your mouse has a cable, you’re in the simplest category.
The Modern Bluetooth Mouse
Bluetooth mice are the sleek, minimalist darlings of the portable world. They connect directly to your laptop’s built-in Bluetooth radio, meaning they don’t need a separate USB receiver. This saves a precious USB port and makes them ideal for laptops with limited connectivity. They run on rechargeable batteries or replaceable AA/AAA batteries. Setup involves a one-time pairing process through your operating system’s settings. They offer great freedom of movement but can sometimes experience minor lag or interference in crowded wireless environments.
The Wireless Mouse with a USB Receiver (RF/Dongle)
This is the most common type of wireless mouse you’ll find in office supply stores. It comes with a small USB dongle, often stored in a compartment inside the mouse itself. This dongle uses a proprietary radio frequency (RF) signal, not Bluetooth, to communicate with the mouse. The connection is typically faster and more stable than Bluetooth for everyday tasks. You simply plug the dongle into a USB port, and the mouse should power on and connect automatically. Like the Bluetooth mouse, it requires batteries.
Step-by-Step: Connecting a Wired Mouse
This is your warm-up lap. If you have a wired mouse, congratulations—your journey is the shortest. The process is designed to be effortless.
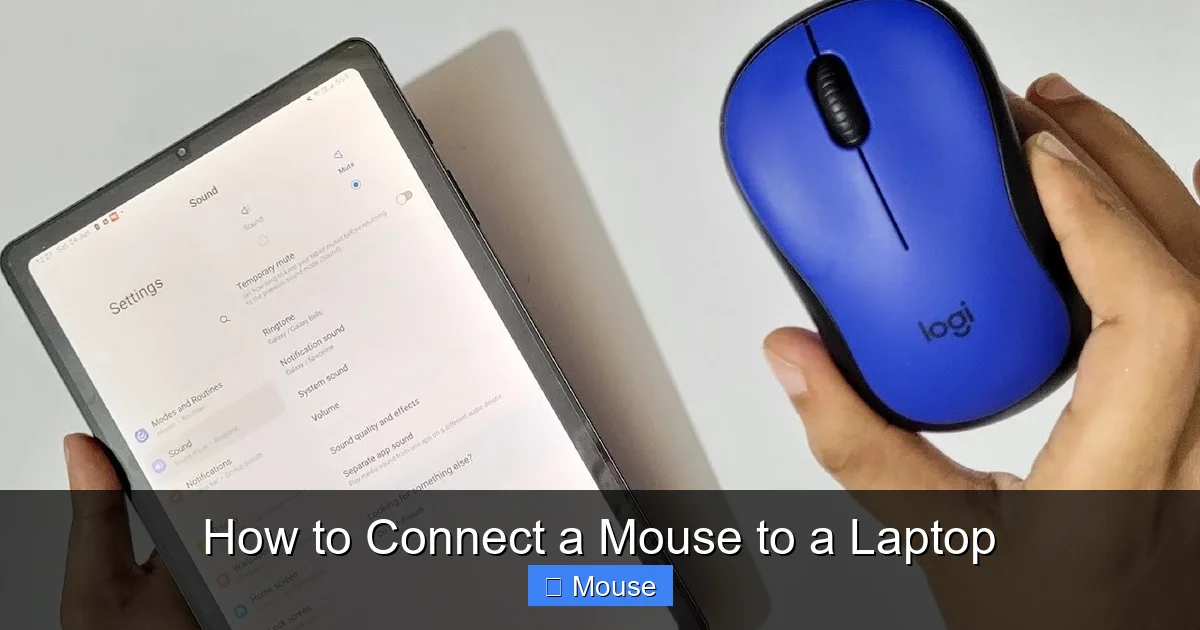
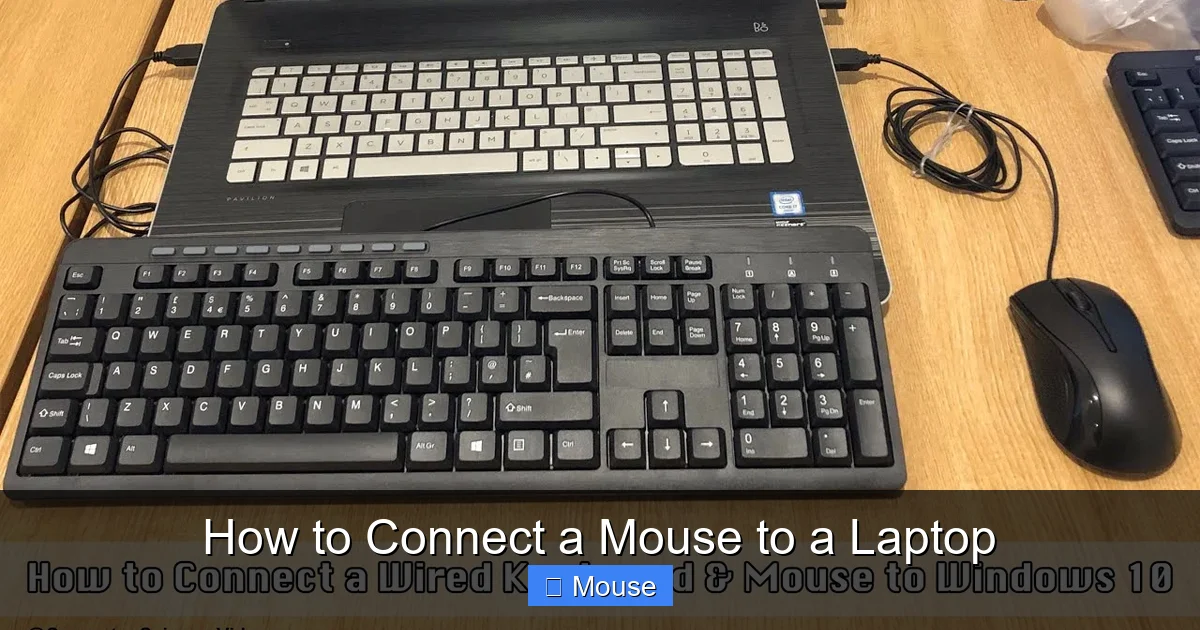
Visual guide about How to Connect a Mouse to a Laptop
Image source: i.ytimg.com
The Plug-and-Play Process
1. Locate the USB Cable: Find the USB-A (flat, rectangular) or USB-C (oval, reversible) connector on the end of your mouse’s cable.
2. Identify an Available USB Port: Look at the sides or back of your laptop for an open USB port. If your laptop only has USB-C ports and your mouse has a USB-A connector, you will need a simple USB-A to USB-C adapter or a hub.
3. Connect the Mouse: Firmly but gently plug the connector into the USB port. You should feel a satisfying click.
4. Wait for Recognition: Your laptop’s operating system (Windows, macOS, or Chrome OS) has built-in drivers for basic mice. Within a few seconds, you should see a notification (like “New hardware detected” on Windows or a mouse icon appear in menu bar on Mac). The cursor on your screen should now move when you move the mouse. That’s it! You’re connected.
What If It Doesn’t Work Immediately?
Rarely, a wired mouse might not be recognized. First, try unplugging it and plugging it into a different USB port. If that fails, try restarting your laptop. If the problem persists, the mouse itself may be faulty, or in very rare cases with specialized gaming mice, you might need to install specific software from the manufacturer’s website to unlock all its features.
Connecting a Wireless Mouse with a USB Receiver
This method is almost as simple as wired, but it introduces the element of power. Here’s how to get that dongle talking to your mouse.
Visual guide about How to Connect a Mouse to a Laptop
Image source: i.ytimg.com
Step 1: Install the Batteries and Power On
Open the battery compartment on the underside of your mouse. Insert fresh AA or AAA batteries according to the polarity diagram (+ and -). Some mice have a power switch; if yours does, slide it to the “On” position. You might see a small LED light glow, indicating it’s powered.
Step 2: Plug in the USB Receiver
Find the tiny USB dongle. It’s often stored in a slot inside the battery compartment. Remove it and plug it directly into an available USB port on your laptop. Avoid using unpowered USB hubs if possible, as they can sometimes cause instability.
Step 3: Establish the Connection
Most modern mice with receivers are “pairless,” meaning they are pre-paired at the factory. Once both the mouse (with batteries) and the receiver (in a USB port) have power, they should connect automatically within 5-10 seconds. Move the mouse; if the cursor moves, you’re connected! If not, consult your mouse’s manual. Some models have a small “Connect” or “Pairing” button on the underside that you may need to press for a few seconds after plugging in the dongle.
Pro-Tip: Keeping Your Receiver Safe
These little dongles are famously easy to lose, especially when traveling. Many mice have a clever storage compartment on the bottom. Get in the habit of snapping it back in place when not in use. For laptops you use on the go, consider leaving the dongle permanently plugged in if you use the mouse daily, or store it in your laptop bag’s dedicated tech pocket.
Pairing a Bluetooth Mouse to Your Laptop
This method requires a few more clicks but offers a truly cable-free experience. The exact steps vary slightly between Windows and macOS, but the principle is the same: you put the mouse in pairing mode and tell your laptop to find it.
For Windows 10 & 11 Users
1. Power On Your Mouse: Ensure the Bluetooth mouse is turned on and has batteries. It should be in “discoverable” mode by default when powered on. If it has a dedicated pairing button (often on the bottom), press and hold it for 3-5 seconds until a LED starts blinking rapidly.
2. Open Bluetooth Settings: Click the Start Menu and go to Settings (the gear icon). Navigate to Devices > Bluetooth & other devices.
3. Add the Device: Click the + Add Bluetooth or other device button at the top.
4. Select Bluetooth: In the pop-up window, choose Bluetooth. Your laptop will start scanning.
5. Select Your Mouse: When your mouse’s name appears in the list (e.g., “Logitech MX Anywhere 3,” “Apple Magic Mouse”), click on it.
6. Wait for Connection: You’ll see a “Connecting” message, followed by a “Connected” or “Your device is ready to go” notification. Your cursor should now move. You may need to click the mouse once to finalize the connection.
For macOS (MacBook) Users
1. Power On & Pair: Turn on your Bluetooth mouse and ensure it’s in pairing mode (blinking LED). On some mice like the Apple Magic Mouse, you simply flip the switch on the bottom.
2. Open System Preferences: Click the Apple menu and select System Preferences (or System Settings on newer versions).
3. Go to Bluetooth: Click the Bluetooth icon.
4. Find and Connect: Ensure Bluetooth is turned on (toggle should be blue). Your mouse should appear in the “Devices” list within a few seconds. When you see its name, click the Connect button next to it.
5. Finalize: The status should change to “Connected.” You might be asked to click the mouse or enter a pairing code (usually 0000 or 1234) if prompted. Click OK or Pair.
Important Bluetooth Tips
- Keep it Close: During pairing, keep the mouse within 3-5 inches of your laptop.
- Check Battery: A weak battery is the #1 cause of Bluetooth pairing failures. Use fresh batteries or ensure your rechargeable mouse is charged.
- Unpair Old Devices: If your mouse was previously paired with another computer, you may need to “forget” that device in its Bluetooth settings before it will pair with your new laptop. Check the mouse manual.
Troubleshooting: When Your Mouse Won’t Connect
Even with perfect instructions, things can go wrong. Don’t panic. Most mouse issues have simple fixes. Let’s diagnose the problem systematically.
“My Wired Mouse Isn’t Recognized!”
First, try a different USB port. If it’s a USB-C port on a modern laptop, ensure you’re using the correct cable/adapter. Try the mouse on another computer to rule out a faulty mouse. If it works elsewhere, the problem is your laptop’s port or driver. Restart your laptop. If it still doesn’t work, go to Device Manager (Windows) or System Information (Mac) to see if the mouse is listed under “Mice and other pointing devices.” If it’s there with a yellow exclamation mark, right-click it and select “Update driver.”
“My Wireless Mouse Cursor Is Jumping or Lagging!”
This is a classic symptom of interference or low batteries. First, replace the batteries. Second, check your environment. Is the USB receiver (for RF mice) or your laptop (for Bluetooth) sitting behind a large metal object, a USB 3.0 port (often blue inside), or a router? These can emit radio interference. Move the receiver to a front-facing USB port using a short extension cable. For Bluetooth, move away from microwaves, cordless phones, or other Bluetooth devices. Ensure the mouse is on a non-reflective, solid-color mousepad or desk surface; glass or glossy tables can confuse optical sensors.
“My Bluetooth Mouse Won’t Pair or Keeps Disconnecting.”
Start with the basics: fresh batteries. Then, on your laptop, go into Bluetooth settings and “Remove” or “Forget” the mouse if it appears as a paired but disconnected device. Put the mouse back into pairing mode (hold the pairing button until the LED blinks rapidly), then search for it again from your laptop. Also, check your laptop’s power settings—some are set to turn off Bluetooth or USB ports to save battery, which can disconnect wireless mice. Disable this feature in your power plan settings.
“I Lost the USB Receiver!”
This is a common panic. First, check the mouse’s underside—most have a storage slot. Check the original packaging. If it’s truly lost, you have two options: 1) Contact the manufacturer. Some sell replacement receivers, and you may be able to pair a new one with your existing mouse using their software. 2) If your mouse also has Bluetooth capability (some models do), you can switch to Bluetooth mode and forget the receiver entirely. Check your mouse’s manual for dual-mode instructions.
Optimizing Your Mouse Experience: Settings and Software
Once connected, your mouse is functional, but it’s not yet personalized. Taking five minutes to adjust settings can make a world of difference in comfort and efficiency.
Basic System Adjustments (Windows & macOS)
Both operating systems have built-in pointer settings. In Windows, search for “mouse settings” or go to Settings > Devices > Mouse. Here you can adjust:
- Pointer Speed: How fast the cursor moves across the screen for a given physical mouse movement.
- Scroll Lines: How many lines of text scroll with each wheel tick.
- Primary Button: Swap left and right clicks for left-handed users.
On macOS, go to System Preferences/Settings > Mouse. You’ll find sliders for Tracking speed (pointer speed) and Scrolling speed. You can also set the Primary mouse button here.
Unlocking Advanced Features with Manufacturer Software
Gaming mice and productivity mice from brands like Logitech, Razer, SteelSeries, and Microsoft often come with dedicated software (e.g., Logitech G Hub, Razer Synapse). Install this software from the company’s website. It’s a game-changer because it allows you to:
- Reassign Buttons: Make that extra thumb button open your favorite app, copy text, or go back in a browser.
- Create Profiles: Save different DPI (sensitivity) and button setups for different games or applications (e.g., one for Photoshop, one for Excel).
- Adjust DPI/CPI: Dots Per Inch (or Counts Per Inch) determines sensitivity. Higher DPI means the cursor moves further with less physical movement. Many mice have a dedicated DPI button to cycle through presets on the fly.
- Customize RGB Lighting: For those who like a bit of flair.
Even non-gaming mice often have utilities to adjust scroll wheel behavior (smooth vs. notched) or battery notifications.
Ergonomics and Handedness
Don’t underestimate physical comfort. If you use your mouse for hours, an ergonomic design that fits your hand size and grip style (palm, claw, fingertip) can prevent fatigue and repetitive strain injury (RSI). Many mice are ambidextrous, but true left-handed mice are rarer. If you’re left-handed, look for models explicitly designed for the left hand, or simply adjust your primary button settings in software as mentioned above.
Conclusion: Your Laptop, Upgraded
Connecting a mouse to your laptop is more than just a technical step; it’s about customizing your digital workspace. You’ve now learned that the path is straightforward: identify your mouse type, follow the specific connection steps—plug for wired, pair for Bluetooth, insert and power for RF—and then troubleshoot if needed using our systematic checklist. Remember, the vast majority of connection problems boil down to power (batteries/charge), proximity, and simple software settings. Once connected, take a moment to explore pointer settings and, if available, your mouse’s companion software to tailor its behavior to your unique workflow. Whether you’re a student writing papers, a professional crunching numbers, or a creative designing graphics, the right mouse, properly connected and configured, becomes an invisible but powerful extension of your intent. So plug it in, pair it up, and enjoy the smooth, precise control you’ve been missing.
Frequently Asked Questions
Can I connect multiple Bluetooth mice to one laptop?
Yes, your laptop can store multiple Bluetooth device pairings. You can pair several mice (and keyboards) and switch between them by turning them on/off or by selecting the active device in your Bluetooth settings menu, though only one will control the cursor at a time.
Why does my wireless mouse keep disconnecting?
The most common causes are weak or dead batteries, interference from other wireless devices, or a loose USB receiver. Start by replacing the batteries, move the receiver to a different USB port (ideally using a short extension cable to get it away from the laptop body), and check for sources of RF interference like routers or microwaves.
Do I need to install drivers for a new mouse?
For basic functionality (left/right click, scroll, movement), modern operating systems like Windows and macOS have generic drivers built-in, so no installation is needed. However, for advanced features like programmable buttons, DPI adjustment, or RGB lighting, you should download and install the manufacturer’s software from their official website.
My laptop has only USB-C ports. Can I use a standard USB-A mouse?
Absolutely. You will need a simple USB-A to USB-C adapter or a USB-C hub with traditional USB-A ports. These are inexpensive and widely available. Once the adapter is in place, you can plug your standard mouse into it just like you would on an older laptop.
How do I know if my laptop has Bluetooth?
Most laptops made in the last decade have Bluetooth. On Windows, go to Settings > Devices. If you see a “Bluetooth & other devices” tab, it’s enabled. You can also look in the system tray for a Bluetooth icon. On a Mac, click the Apple menu > System Preferences/Settings and look for the Bluetooth icon. If you don’t see it, your laptop may not have Bluetooth, and you’ll need to use a USB receiver mouse or a USB Bluetooth dongle.
Is a wireless mouse good for gaming?
Modern wireless gaming mice have improved dramatically. High-end models from brands like Logitech (Lightspeed) and Razer (HyperSpeed) use proprietary RF technology with latency indistinguishable from wired mice to most users. For casual to competitive gaming, they are excellent. For the absolute lowest latency in professional esports, some purists still prefer wired, but the gap is now very small. Bluetooth mice generally have higher latency and are less recommended for fast-paced gaming.