Unlock the full potential of your M.2 NVMe SSD by converting it into a portable, high-speed external drive with a dedicated enclosure. These enclosures support blazing-fast PCIe Gen3 and Gen4 speeds, ensuring top-tier performance for backups, editing, or on-the-go access while offering durable, plug-and-play convenience. A cost-effective solution for upgrading storage or repurposing old SSDs, they seamlessly extend your digital ecosystem.
Remember that feeling? You just upgraded your laptop or desktop with a blindingly fast M.2 NVMe SSD. The boot times are magical, apps launch in a blink, and file transfers feel like teleportation. But then, a new need arises. You need that speed outside your computer. You need to shuttle massive video project files between your studio and a client’s office, or you want a pocket-sized powerhouse to expand your game library on a console. This is the exact moment where the humble, yet powerful, M.2 NVMe SSD enclosure becomes your new best friend. It’s the secret adapter that transforms your internal speed demon into a versatile, portable external drive. If you’ve ever wondered what to do with a spare NVMe drive or how to get the most out of a new one without opening your PC, you’re in the right place. Let’s dive deep into the world of M.2 NVMe SSD enclosures, from what they are to how to pick the perfect one for your needs.
Think of an M.2 NVMe SSD enclosure as a protective, portable shell with a built-in translator. Your M.2 NVMe SSD speaks a very fast, specific language (PCIe) that your computer’s motherboard understands directly. To use it externally, it needs to speak a more common, portable language like USB or Thunderbolt. The enclosure houses the SSD, provides a compatible external interface (the translator), and often includes crucial cooling solutions. It’s not just a passive case; it’s an active bridge that unlocks the full potential of your SSD. Whether you’re a content creator, a gamer, or just someone tired of slow external hard drives, understanding this simple piece of tech can completely change your workflow. I’ve seen friends spend hundreds on external SSDs only to realize they already had the core component—a fast NVMe drive—sitting in a drawer. An enclosure is the key to unlocking that value.
Key Takeaways
- Compatibility is critical: Verify M.2 size (2280 common) and key (M or M+B) matches your SSD.
- Interface speed caps performance: Use USB 3.2 Gen2/Thunderbolt to avoid bottlenecking NVMe drives.
- Thermal design prevents throttling: Metal enclosures with heatsinks maintain speed under heavy loads.
- Durability hinges on materials: Aluminum/steel enclosures protect better and dissipate heat vs. plastic.
- Tool-less designs save time: Seek enclosures with toolless SSD installation for quick swaps.
- Calculate cost versus need: Compare enclosure+SSD price to pre-built externals for your required capacity.
📑 Table of Contents
- What Exactly Is an M.2 NVMe SSD Enclosure?
- Key Features to Look For: Speed, Build, and Cooling
- How to Choose the Right Enclosure for Your Needs
- Installation and Setup: It’s Easier Than You Think
- Real-World Performance: What Speeds Can You Actually Expect?
- Common Pitfalls and How to Avoid Them
- The Future-Proof Question: PCIe 4.0, 5.0, and Beyond
What Exactly Is an M.2 NVMe SSD Enclosure?
At its core, an M.2 NVMe SSD enclosure is a small, typically aluminum or plastic chassis designed to house a specific type of solid-state drive. To understand it, we need to quickly break down its name:
- M.2: This refers to the physical form factor—a small, stick-like drive that plugs directly into a motherboard slot. They are about the size of a stick of gum.
- NVMe: This is the communication protocol. It’s the high-speed standard that runs over the PCIe bus, offering vastly superior speeds to the older SATA protocol. NVMe is what makes your internal SSD so fast.
- Enclosure: The protective case that converts the internal M.2 NVMe drive into an external device with a standard port like USB-C.
The Bridge Between Two Worlds
The magic inside every enclosure is a small controller chip. This chip’s job is to take the NVMe/Pcle signals from your SSD and convert them into signals that your external port (USB 3.2 Gen 2, USB4, Thunderbolt 3/4) can understand and transmit. It’s a real-time translation job that, in a good enclosure, happens with minimal loss of speed. Without this bridge, your fast NVMe drive would be useless outside your computer’s motherboard.
Not All Enclosures Are Created Equal: Key Physical Differences
You’ll notice enclosures come in a few varieties, and choosing the right one starts with matching the physical SSD you have or plan to buy:
- M.2 B+M Key (SATA & NVMe): These enclosures have a socket that accepts both older SATA-based M.2 drives and NVMe drives. They are more versatile but often have a lower speed ceiling for NVMe drives because the controller is designed to handle both protocols. They are usually more affordable.
- M.2 M Key (NVMe Only): These are dedicated, high-performance enclosures. The “M Key” socket only accepts NVMe drives (which have a different notch position than SATA M.2 drives). They use a controller optimized solely for NVMe, allowing them to achieve the maximum possible speeds from your drive. These are the choice for professionals needing every megabyte per second.
- Single vs. Dual Slot: Most are single-drive enclosures. However, you’ll find dual-bay enclosures that hold two M.2 drives, often presenting them as a single RAID volume (like RAID 0 for speed or RAID 1 for mirroring) to your computer. These are great for massive, ultra-fast storage pools or backup redundancy.
Key Features to Look For: Speed, Build, and Cooling
Buying an M.2 NVMe SSD enclosure isn’t just about finding a case that fits. The difference between a $20 and a $60 enclosure often lies in the details that determine real-world performance, reliability, and durability. Let’s dissect the critical features.
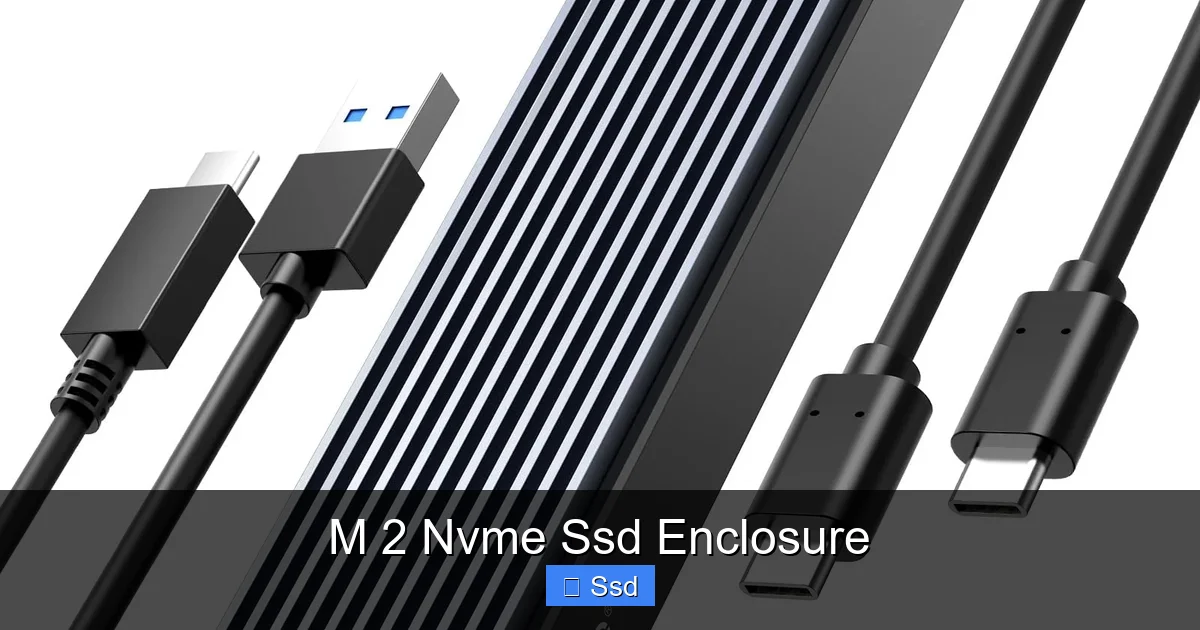
Visual guide about M 2 Nvme Ssd Enclosure
Image source: m.media-amazon.com
Interface & Speed: The Bottleneck You Must Know
This is the most important factor. The external port on the enclosure dictates your maximum possible speed, regardless of how fast your internal NVMe SSD is rated for (e.g., 7,000 MB/s). Here’s the hierarchy, from slowest to fastest:
- USB 3.2 Gen 1 (5 Gbps): Avoid for NVMe. The theoretical max is ~625 MB/s, which is slower than a good SATA SSD and a massive waste of an NVMe drive.
- USB 3.2 Gen 2 (10 Gbps): The current mainstream sweet spot. Theoretical max is ~1,250 MB/s. Real-world, you’ll see 900-1,100 MB/s. This is excellent for most users, handling 4K video editing and large game loads with ease.
- USB 3.2 Gen 2×2 (20 Gbps) / USB4 (20 Gbps): The next step up. Theoretical max ~2,500 MB/s. You’ll see consistent 2,000+ MB/s reads/writes. Ideal for 8K video workflows or if you have a very high-end NVMe drive (like a PCIe 4.0 drive) and want to use most of its potential externally.
- Thunderbolt 3 / 4 (40 Gbps): The king for now. Theoretical max ~5,000 MB/s. It can fully utilize even the fastest consumer PCIe 3.0 NVMe drives and a good chunk of PCIe 4.0 drives. It also supports daisy-chaining and higher power delivery. The downside? It’s more expensive and was, until recently, mostly on Macs and high-end Windows laptops.
Pro Tip: Always check if your computer’s port supports the speed you’re buying. A USB4 enclosure plugged into a USB 3.2 Gen 2 port will only run at Gen 2 speeds. Match the enclosure to your computer’s capabilities.
Build Quality, Materials, and Portability
This enclosure will likely get tossed in a bag. It needs to survive.
- Material: Aluminum is king. It acts as a giant passive heat sink, dissipating heat from the SSD. High-quality aluminum enclosures (often CNC-machined) stay cooler than plastic ones, which is critical for maintaining speed (NVMe drives throttle when hot). Some even have built-in fans for extreme workloads.
- Connector: Look for a reinforced USB-C port. A flimsy, soldered-on port is the #1 point of failure. Some premium enclosures use a removable cable, which is great for replacing a broken cable without ditching the whole unit.
- Size & Weight: Most single-slot M.2 enclosures are tiny, about the size of a matchbox. If you need extreme portability (e.g., for travel), weight and thickness matter. For a desktop dock, size is less critical.
Thermal Management: The Silent Speed Killer
NVMe SSDs are fast but hungry for power and generate heat. Without adequate cooling inside an enclosure, the drive’s internal thermal controller will throttle its speed to prevent damage. You might buy an enclosure advertised for 2,000 MB/s and only get 500 MB/s after 30 seconds of a large file copy because it’s overheating.
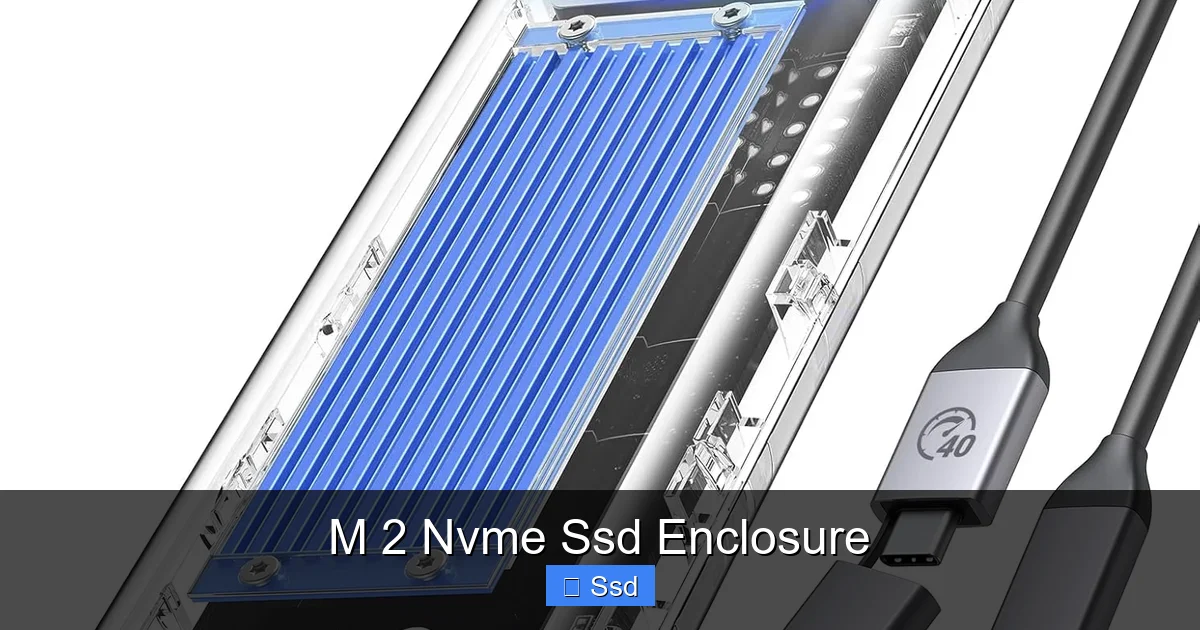
- Heat Pads: Most good enclosures include a thermal pad (a sticky, conductive pad) that makes contact between the SSD’s memory chip and the enclosure’s metal case. This is the bare minimum.
- Heatsinks & Vents: Better designs have internal fins or a thicker chassis that acts as a more effective heatsink. Some have strategic vents.
- Active Cooling: Rare, but exists. Some high-end or dual-bay enclosures have tiny fans. This is overkill for most but can be useful for sustained, heavy workloads in warm environments.
My Experience: I once used a cheap plastic enclosure for a Samsung 980 Pro. In the first minute of a CrystalDiskMark test, it hit 1,800 MB/s. By minute two, it dropped to 300 MB/s. Swapping to an aluminum enclosure with a good thermal pad kept speeds consistently above 1,600 MB/s. The difference was night and day.
How to Choose the Right Enclosure for Your Needs
With a dizzying array of options, how do you narrow it down? It starts with two questions: What SSD do you have (or plan to get)? and What will you use it for?
Visual guide about M 2 Nvme Ssd Enclosure
Image source: m.media-amazon.com
Step 1: Identify Your SSD’s Form Factor and Keying
Look at your M.2 SSD. The notch (the missing pins) tells you the key. An NVMe SSD will have a single notch in the “M” position. A SATA M.2 SSD will have two notches, for B and M. If you’re buying a new SSD for an enclosure, get an NVMe (M Key) drive for best performance. Measure the length too—most are 2280 (22mm wide, 80mm long), but 2230 and 22110 exist. Ensure the enclosure supports your SSD’s length.
Step 2: Match the Enclosure’s Interface to Your Computer
Be brutally honest about your computer’s ports. Do you have a USB-C port that says “SS” (SuperSpeed) or “10 Gbps”? Do you have a Thunderbolt 3/4 port (has a lightning bolt icon)? Or just old USB-A ports? Buying a Thunderbolt enclosure for a computer without a Thunderbolt port is a costly mistake. For most modern laptops and desktops with USB-C, a USB 3.2 Gen 2 (10 Gbps) enclosure offers the best price-to-performance ratio.
Step 3: Define Your Use Case (The Speed You Actually Need)
- Causal User / Media Storage: Storing photos, documents, movies. A USB 3.2 Gen 2 (10 Gbps) enclosure is more than enough. Speeds of 1,000 MB/s feel instantaneous for large photo batches or 4K movie files.
- Content Creator (4K/8K Video, Large Projects): You’re moving multi-gigabyte files constantly. You need sustained speed. Prioritize an enclosure with excellent thermal design (aluminum, heat pads) and at least a USB 3.2 Gen 2×2 or Thunderbolt interface to avoid bottlenecks.
- Gamer / Game Library: Loading times benefit from high read speeds. A USB 3.2 Gen 2 enclosure will load modern games faster than any external HDD. For the absolute best on a PC or Xbox Series X/S (which supports external NVMe via USB), a high-speed USB4 or Thunderbolt enclosure can be worth it for the largest, most demanding titles.
- Boot Drive / OS Install: Yes, you can run an OS from an external NVMe enclosure! This is popular for Macs (to run Windows via Boot Camp) or for having a portable, high-performance Windows installation. Here, thermal design and a stable, high-bandwidth interface (Thunderbolt is ideal) are non-negotiable for system stability.
Step 4: Consider Brand Reputation and Support
Stick with known brands in the storage space: Sabrent, OWC (Mac-focused), ASUS, EZDIY, UGREEN, Acasis, etc. They use better controllers, have better quality control, and offer warranties (often 1-3 years). Read recent reviews specifically about heat and long-term reliability. A no-name $15 enclosure might work for a month and then die, taking your data with it.
Installation and Setup: It’s Easier Than You Think
One of the best parts of an M.2 NVMe SSD enclosure is how simple it is to set up. No tools are usually required. Here’s a step-by-step guide that applies to 95% of enclosures.
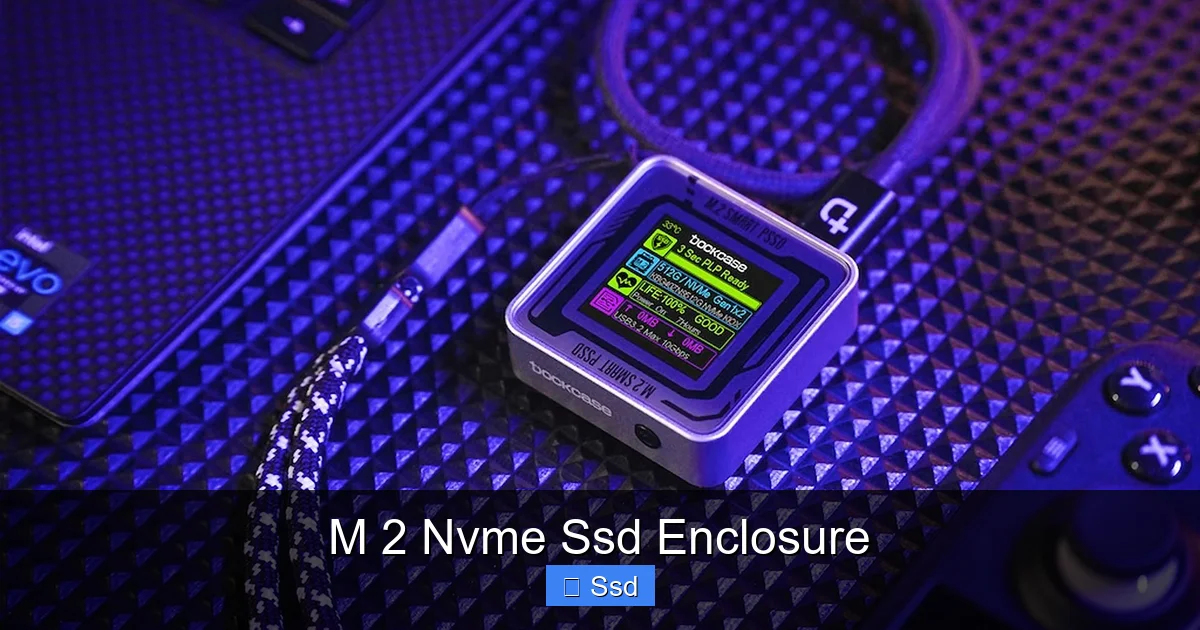
Visual guide about M 2 Nvme Ssd Enclosure
Image source: d2cdo4blch85n8.cloudfront.net
What You’ll Need
- Your M.2 NVMe SSD (and a compatible screw if your enclosure requires one, often included).
- The M.2 NVMe SSD enclosure.
- A small Phillips head screwdriver (sometimes included).
- The USB cable that came with the enclosure (usually USB-C to USB-C or USB-C to USB-A).
The Process: Five Simple Steps
- Open the Enclosure: Most have a simple slide-off back plate or two screws on the bottom. Gently pry open the case. Be mindful of any internal connector cables.
- Insert the SSD: Locate the M.2 slot. It will have a notch that matches your SSD. Hold the SSD at a slight angle (about 30 degrees) and insert it firmly into the slot until it’s seated. It should not require force.
- Secure the SSD: Once inserted, lay the SSD flat. There will be a small screw hole on the enclosure’s PCB or a standoff. Use the provided screw to secure the SSD in place. This prevents it from vibrating loose.
- Apply Thermal Pad (If Not Pre-Applied): If your enclosure came with a separate thermal pad, peel off the protective film on both sides and stick it onto the SSD’s memory chips (the black chips on one side). Then, when you close the case, the pad will press against the metal chassis.
- Close and Connect: Snap or screw the enclosure back together. Connect the USB cable to the enclosure and then to your computer. That’s it! Your operating system should recognize it as a new external drive. You may need to initialize and format it (this erases all data!) via Disk Management (Windows) or Disk Utility (macOS) if it’s brand new.
Common Installation Pitfalls
- SSD Not Detected: Ensure it’s fully inserted. Check the SSD is compatible (NVMe, not SATA, for M-key only enclosures). Try a different port/cable.
- Drive Shows Up but is Slow: This is almost always a thermal issue. Reseat the SSD, ensure the thermal pad is making good contact, and consider a better enclosure if it’s a flimsy plastic one.
- Formatting Issues: If the drive shows as “RAW” or unallocated, you need to initialize it. WARNING: This erases everything. Only do this on a new, empty drive.
Real-World Performance: What Speeds Can You Actually Expect?
Marketing numbers are always “up to” and based on perfect, unrealistic conditions. Let’s talk real-world, sustained performance. Below is a general guideline based on the enclosure’s interface, using a high-end PCIe 3.0 NVMe SSD (like a Samsung 970 EVO Plus) as the baseline.
| Enclosure Interface | Theoretical Max | Typical Sustained Read | Typical Sustained Write | Best For |
|---|---|---|---|---|
| USB 3.2 Gen 2 (10 Gbps) | ~1,250 MB/s | 900 – 1,100 MB/s | 800 – 1,000 MB/s | General use, 4K video, game libraries |
| USB 3.2 Gen 2×2 / USB4 (20 Gbps) | ~2,500 MB/s | 1,800 – 2,200 MB/s | 1,600 – 2,000 MB/s | Heavy 4K/6K editing, large datasets |
| Thunderbolt 3 / 4 (40 Gbps) | ~5,000 MB/s | 2,500 – 3,000 MB/s* | 2,200 – 2,800 MB/s* | Pro 8K video, boot drives, maxing out PCIe 3.0 drives |
*Note: Even Thunderbolt 3/4 cannot fully saturate a high-end PCIe 4.0 NVMe SSD (7,000 MB/s+), but it will use about 40-50% of its potential. The limiting factor becomes the SSD itself and thermal throttling within the enclosure.
Testing Your Own Setup
Don’t just trust the table. Use a free tool like CrystalDiskMark (Windows) or Blackmagic Disk Speed Test (macOS) to test your actual enclosure/SSD combo. Run the test multiple times. If the second run is significantly slower than the first, you have a thermal problem. That’s your cue to improve cooling or upgrade the enclosure.
Common Pitfalls and How to Avoid Them
Even with the right hardware, things can go wrong. Here are the most common headaches and their fixes.
The Overheating Throttle: The Silent Killer of Speed
Symptom: Speeds are fast for the first 10-30 seconds of a large file copy or benchmark, then plummet to half or less.
Causes & Solutions:
- Cheap plastic enclosure with no thermal path. Fix: Upgrade to an aluminum enclosure.
- Thermal pad missing, misaligned, or low-quality. Fix: Ensure the pad covers the SSD’s memory chips and is making firm contact with the metal case. Replace with a higher-quality, thicker pad if needed.
- Sustained workload in a hot environment. Fix: Give the drive breaks during long transfers, or use an enclosure with active cooling (a fan).
Compatibility Confusion: “It’s Not Working!”
Symptom: The drive doesn’t show up at all in your OS.
- Check the SSD key vs. enclosure socket. An M-key only enclosure won’t work with a B+M key SATA M.2 drive.
- Check your computer’s port. Is it actually providing enough power? Some USB hubs or older ports can’t power an NVMe drive. Connect directly to a computer port.
- On Windows, open Disk Management. The drive may be there but needs to be initialized and formatted.
- On macOS, check System Information > USB. Is the enclosure listed? If not, the cable or port may be faulty.
Power Delivery Woes
Some high-capacity or dual-bay enclosures require more power than a single USB port can provide. They may come with a separate DC power adapter. If your drive is disconnecting during heavy use, this is likely the culprit. Ensure you’re using the provided power supply.
The Future-Proof Question: PCIe 4.0, 5.0, and Beyond
You might be holding a blazing-fast PCIe 4.0 or even the new PCIe 5.0 NVMe SSD. Can an enclosure keep up? The honest answer is: not fully, yet.
The current external interface bottleneck is Thunderbolt 4 and USB4, both maxing out at ~5,000 MB/s. A top-tier PCIe 4.0 SSD can hit 7,000 MB/s+ internally. So, even the best external enclosure today will only use about 60-70% of a PCIe 4.0 drive’s potential. For a PCIe 5.0 drive (12,000+ MB/s), the gap is even wider.
Does this mean you shouldn’t buy a fast SSD for your enclosure? Absolutely not. Reasons:
- Future-Proofing the Drive: You can buy a fast PCIe 4.0 drive now, use it in an enclosure for a few years, and then move it into your next desktop or laptop to get its full internal speed later. You’re investing in the drive, not just the enclosure.
- Sustained Performance: Faster drives often have better controllers and more DRAM cache, which can help with sustained mixed workloads even when bottlenecked by the external interface.
- Thermals: High-end drives are built to handle heat better, which is even more important in an enclosed space.
For now, pairing a PCIe 4.0 SSD with a Thunderbolt 4 enclosure gives you the best possible external performance available to consumers. When USB4 v2 (80 Gbps) or future Thunderbolt versions become common in laptops, your fast SSD will be ready to take advantage of it.
An M.2 NVMe SSD enclosure is one of those simple, transformative pieces of tech that empowers you to reuse, repurpose, and supercharge your storage. It’s the bridge between the internal world of your computer and the portable, external world you need for work and play. By understanding the key differences in interfaces, the critical importance of thermal design, and by matching the enclosure to your actual use case and computer’s ports, you can avoid buyer’s remorse and build a blisteringly fast, reliable external drive. You don’t need to spend a fortune, but investing in a well-built, properly specced enclosure from a reputable brand is an investment that pays off every single time you transfer a file in seconds instead of minutes. Now, go dig that spare NVMe drive out of your drawer and give it a new life on the go.
Frequently Asked Questions
What is an M.2 NVMe SSD Enclosure?
An M.2 NVMe SSD enclosure is a small, external case that houses a bare M.2 NVMe solid-state drive. It connects the drive to your computer via a port like USB 3.2 or Thunderbolt, converting the internal drive into a portable external storage solution.
How fast is an M.2 NVMe SSD in an enclosure?
The speed depends on both the SSD and the enclosure’s interface. A high-quality enclosure with a USB 3.2 Gen 2 or Thunderbolt 3/4 connection can deliver speeds up to 1,000 MB/s or even 2,800 MB/s, respectively, which is much faster than traditional SATA external drives.
Is my M.2 SSD compatible with any enclosure?
Compatibility depends on two key factors: the SSD’s length (e.g., 2280) and its keying (M or B+M). You must ensure the enclosure supports your SSD’s physical length and has an M-key slot for NVMe drives, as B+M keys are typically for slower SATA M.2 drives.
Do I need a heatsink for my M.2 NVMe SSD Enclosure?
While not always necessary, a heatsink is highly recommended for sustained performance. NVMe SSDs can throttle due to heat during prolonged transfers, and an enclosure with a built-in heatsink or a passive aluminum case helps dissipate that heat more effectively.
Can I boot my computer from an M.2 NVMe SSD Enclosure?
It’s technically possible but generally not recommended. Enclosures add latency, and booting from external storage is often unsupported or unstable across different operating systems. Use an internal M.2 slot for your OS drive for reliable performance.
How do I choose the right M.2 NVMe SSD Enclosure?
First, confirm your SSD’s compatibility (length and key). Then, pick an enclosure with a connection port that matches your computer’s available ports (USB-C/Thunderbolt) to achieve your desired speed. Finally, consider build quality, material for heat dissipation, and cable inclusion.