Big Buck Trail Camera Pics
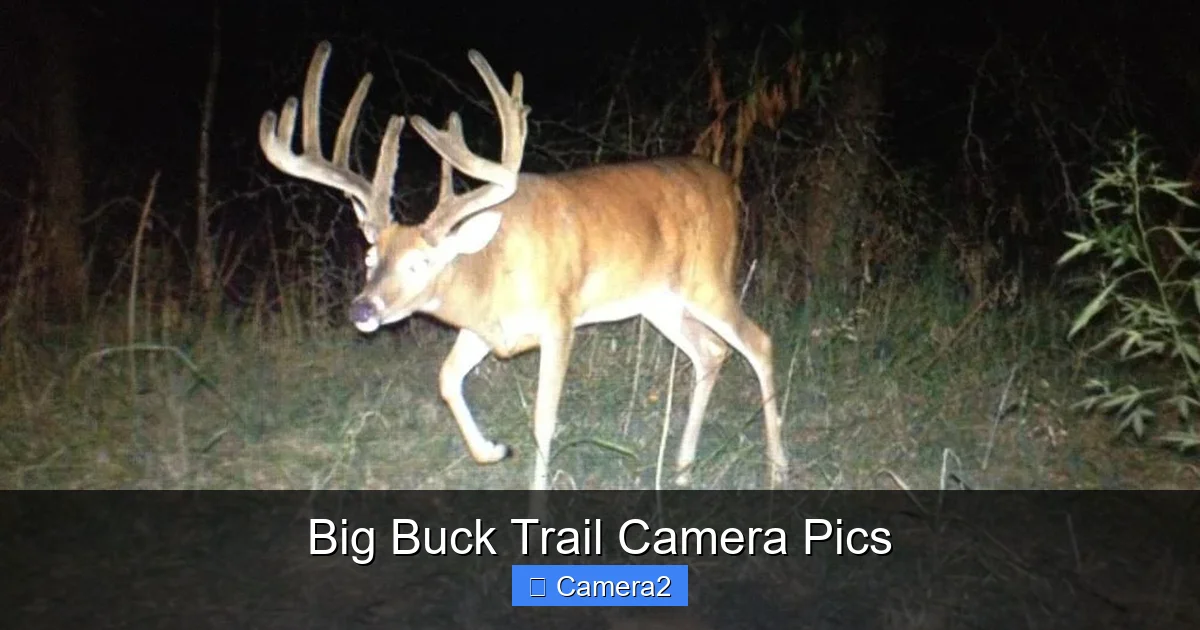
Looking for jaw‑dropping big buck trail camera pics? This guide walks you through the best camera choices, smart placement tricks, and simple settings that turn ordinary motion‑trigger shots into trophy‑worthy images. Read on for easy tips you can start using today.
Key Takeaways
- Choose the right sensor: Cameras with larger sensors (1/2.3″ or bigger) capture more detail in low light.
- Optimal placement matters: Angle, height, and distance from travel corridors determine image clarity.
- Use the correct flash mode: Infrared (no‑glow) or low‑glow LEDs keep deer calm and prevent spooking.
- Invest in a fast SD card: Class 10 or UHS‑I cards reduce lag and prevent missed shots.
- Check settings regularly: Update firmware and adjust resolution to match storage limits.
- Blend camouflage with tech: Simple camouflaged mounts hide the camera while maintaining a clear view.
- Analyze pics for patterns: Review images to learn deer habits and improve future placement.
📑 Table of Contents
- Introduction: Why Big Buck Trail Camera Pics Matter
- 1. Picking the Perfect Trail Camera for Trophy Shots
- 2. Mastering Camera Placement for Maximum Impact
- 3. Setting Up the Camera for Perfect Pictures
- 4. Managing Storage: SD Cards and Data Retrieval
- 5. Analyzing Your Photos for Deer Behavior Insights
- 6. Troubleshooting Common Issues
- Conclusion: Turn Every Shot into a Trophy Memory
Introduction: Why Big Buck Trail Camera Pics Matter
Imagine scrolling through a gallery of crystal‑clear photos showing a massive buck strolling through your property. Those pictures are more than just bragging rights—they’re valuable data that help hunters and wildlife managers make smarter decisions. A single high‑quality image can reveal antler size, movement patterns, and even the health of the animal.
But getting that perfect shot isn’t magic; it’s a blend of good equipment, smart placement, and a few technical tweaks. In this friendly guide we’ll break down everything you need to know to start collecting impressive big buck trail camera pics today.
1. Picking the Perfect Trail Camera for Trophy Shots
Sensor Size and Resolution
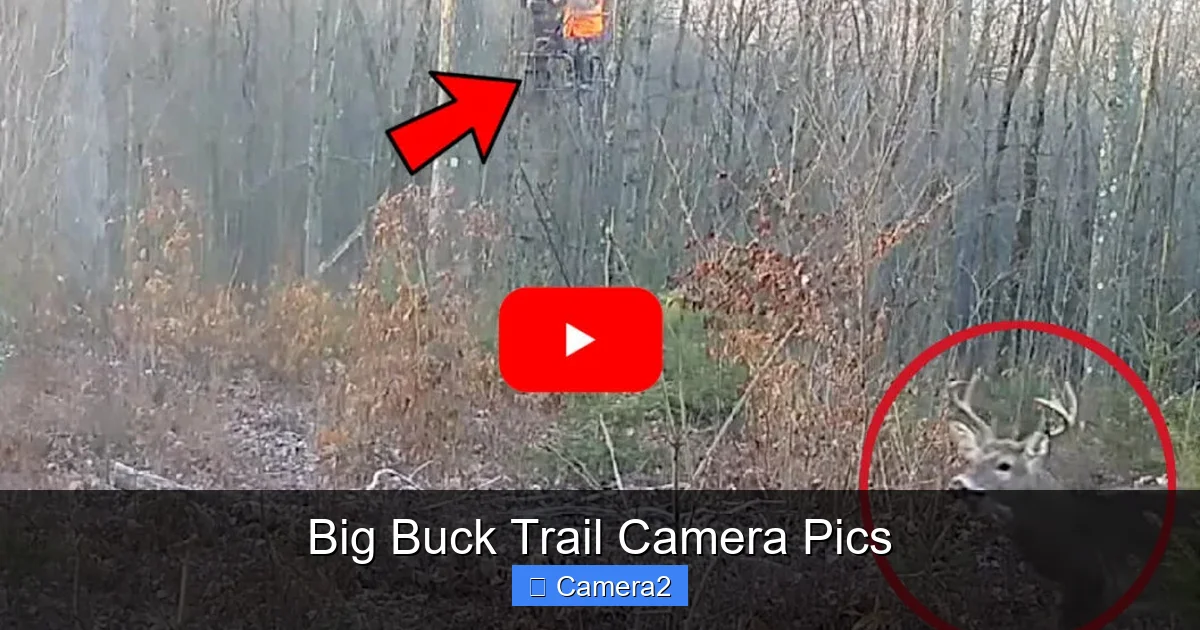
The sensor is the heart of any camera. For big buck trail camera pics, aim for at least a 1/2.3‑inch sensor. Larger sensors gather more light, which means clearer images at dawn or dusk when bucks are most active. Pair that with a resolution of 20 MP or higher; you’ll capture fine details like the texture of the antlers.
Visual guide about Big Buck Trail Camera Pics
Image source: oelmag.com
Trigger Speed and Recovery Time
Fast trigger speeds (under 0.3 seconds) reduce motion blur. Recovery time—how quickly the camera is ready for the next shot—should be under 1 second if you expect multiple bucks to pass in quick succession.
Night Vision Options
Most bucks move at night, so infrared (IR) LEDs are essential. Choose a camera with no‑glow (940 nm) LEDs to keep the animal calm. If you prefer a subtle amber glow, low‑glow LEDs work well and still produce clear night pics.
Durability and Weather Resistance
Look for an IP66 rating or higher. Weather‑proof housing protects the lens and internal electronics from rain, snow, and humidity—critical for year‑round monitoring.
Recommended Models
Brands like Browning, Bushnell, and Moultrie consistently rank high for big buck trail camera pics. While we won’t name a specific model, any camera meeting the criteria above will give you a solid foundation.
2. Mastering Camera Placement for Maximum Impact
Understanding Deer Travel Corridors
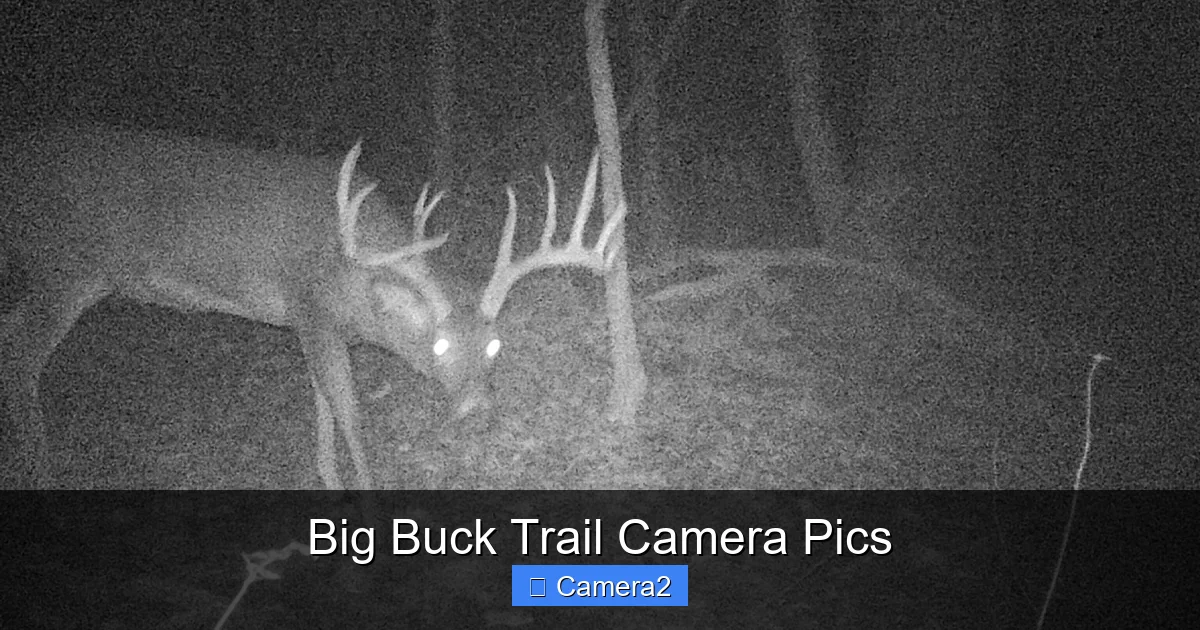
Deer follow natural pathways: ridgelines, fence lines, and game trails. Walk the area at dawn and dusk to spot fresh footprints and broken vegetation. Those are your prime spots.
Visual guide about Big Buck Trail Camera Pics
Image source: content.osgnetworks.tv
Height and Angle
Mount the camera 5‑7 feet off the ground. This height captures the full body and antlers without obstruction. Angle the lens slightly downward (about 10‑15 degrees) to keep the buck’s head in frame.
Distance from the Trail
Position the camera 10‑15 feet away from the trail. This distance allows the motion sensor to trigger reliably while still providing a close‑up view of the antlers.
Using Camouflage and Natural Cover
Blend the camera with surrounding foliage using a camouflage wrap or natural branches. Avoid obvious bright colors; they can spook deer and ruin your chances for clean big buck trail camera pics.
Testing and Adjusting
After mounting, walk in front of the camera to test the trigger. Review the image on the LCD or via the app. If the shot is too close or the buck is out of frame, adjust the angle or move the camera a few feet.
3. Setting Up the Camera for Perfect Pictures
Resolution and Image Quality Settings
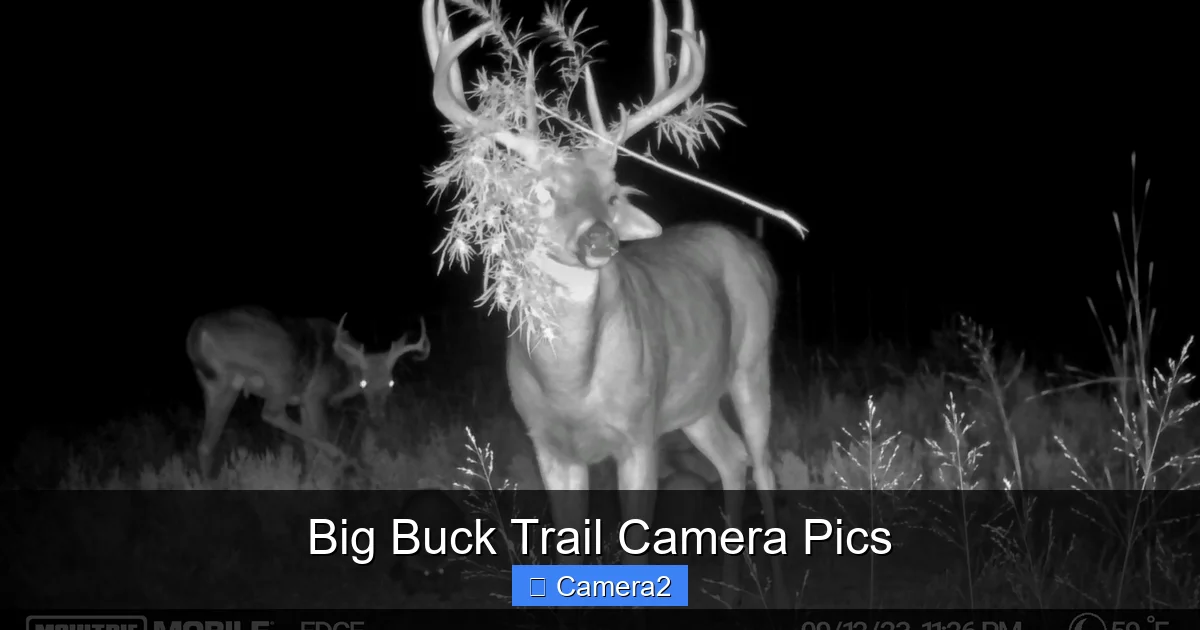
Set the resolution to the highest native setting (usually 20‑30 MP). While larger files use more storage, they preserve detail—crucial for evaluating antler size.
Visual guide about Big Buck Trail Camera Pics
Image source: images.ctfassets.net
Photo vs. Video Mode
For big buck trail camera pics, use photo mode with burst capability (3‑5 shots per trigger). This captures the buck from multiple angles as it moves, increasing the chance of a perfect frame.
Flash Mode Selection
Choose no‑glow IR for night shots to avoid startling the animal. If you’re in a low‑light situation and need a little extra illumination, low‑glow LEDs provide a subtle orange light that still yields clear images.
Timing and Delay Settings
Set a short delay (0‑1 seconds) between triggers to capture multiple passes. Avoid long delays that could miss a second buck following the first.
Power Management
Use high‑capacity AA lithium batteries for longer life. Pair them with a solar panel if you plan to leave the camera out for months without changing batteries.
4. Managing Storage: SD Cards and Data Retrieval
Choosing the Right SD Card
A fast, reliable SD card prevents missed shots. We recommend a Class 10 or UHS‑I card with at least 64 GB capacity for a month of high‑resolution images. For more details on selecting the best card, see our guide on SD Card For Trail Camera.
Formatting and Maintenance
Format the card in the camera before first use. Re‑format after every retrieval to keep the file system healthy.
Downloading and Organizing Photos
Use the camera’s USB port or a card reader. Create folders by date and location for quick reference. Naming conventions like “SiteA_2024-10-05” help you locate specific shots fast.
Backup Strategies
Store a copy on an external hard drive and consider cloud backup for critical images. This protects against data loss and lets you share big buck trail camera pics with friends or hunting partners.
5. Analyzing Your Photos for Deer Behavior Insights
Identifying Patterns
Look for recurring times when bucks appear. Early morning and late evening are typical, but local factors (e.g., hunting pressure) can shift patterns.
Measuring Antler Growth
Use photo‑editing software to measure antler spread. Compare images month‑to‑month to track growth or detect injuries.
Adjusting Placement Based on Results
If you notice most shots are too far or the buck’s profile is cut off, relocate the camera slightly. Small tweaks can dramatically improve your big buck trail camera pics.
Sharing and Using the Data
Share the best shots on hunting forums or social media to get feedback. Some states allow you to submit images for wildlife management programs.
6. Troubleshooting Common Issues
Camera Not Triggering at Night
If your device fails to record after dark, check the IR LEDs. A faulty LED array can be the culprit. For detailed troubleshooting steps, read our article on Wosoda Trail Camera Not Recording At Night.
Blurry or Overexposed Images
Blur often results from a slow shutter speed or movement of the camera itself. Secure the mount firmly and use a faster shutter setting if available.
Battery Drain
Rapid battery loss can indicate a camera set to capture video continuously. Switch to photo‑only mode and reduce the number of daily captures.
Firmware Updates
Manufacturers release firmware updates that improve sensor performance and add new features. Check the brand’s website quarterly and follow the update instructions.
Conclusion: Turn Every Shot into a Trophy Memory
Getting impressive big buck trail camera pics is within reach for anyone willing to invest a little time in the right gear and placement. By selecting a camera with a large sensor, positioning it wisely, and fine‑tuning the settings, you’ll start filling your gallery with crisp, detailed images of massive bucks. Remember to review your photos regularly, adjust your setup based on what you see, and keep your equipment maintained. Happy hunting, and may your next capture be the one that lands on the cover of the hunting magazine!
Frequently Asked Questions
What sensor size is best for capturing detailed big buck trail camera pics?
A sensor of at least 1/2.3‑inch provides enough light sensitivity to produce clear images, especially in low‑light conditions common during deer activity.
How far should I place my trail camera from a deer trail?
Position the camera 10‑15 feet away from the trail. This distance balances reliable motion detection with a close‑up view of the buck’s antlers.
Do infrared LEDs affect the behavior of bucks?
No‑glow (940 nm) infrared LEDs are invisible to deer and won’t spook them, making them ideal for natural‑looking big buck trail camera pics.
Can I use a solar charger to power my trail camera?
Yes, pairing a solar panel with high‑capacity lithium batteries can keep the camera running for months without manual battery changes.
What type of SD card should I use for high‑resolution images?
Choose a Class 10 or UHS‑I SD card with at least 64 GB capacity. Faster cards reduce lag and ensure no shots are missed.
How often should I check and clean my trail camera?
Inspect the camera every 2‑3 weeks for dust, spider webs, or animal interference. Cleaning the lens and checking the battery prolongs the life of your equipment.