How to Get More Ram on Laptop
Upgrading your laptop’s RAM is one of the most effective and affordable ways to dramatically improve its speed and multitasking ability. This guide walks you through every step, from checking your laptop’s current memory and compatibility to safely installing new RAM sticks yourself. We also cover software optimizations and when an upgrade might not be enough, ensuring you make the right decision for your specific machine and needs.
Is your laptop feeling sluggish? Do you have to close all your browser tabs just to open a spreadsheet? That frustrating feeling of your computer gasping for air is often caused by one thing: not enough RAM. Random Access Memory, or RAM, is your laptop’s short-term workspace. The more it has, the more applications and files it can keep instantly accessible, leading to a smoother, faster experience. The great news? Getting more RAM on a laptop is usually a straightforward, cost-effective upgrade that you can often do yourself. This comprehensive guide will take you from a state of frustration to one of fluid productivity, covering everything you need to know.
We’ll demystify the process. You don’t need to be a tech wizard. With a little patience and the right information, you can diagnose your laptop’s memory needs, purchase the correct upgrade modules, and physically install them in under an hour. We’ll also explore software fixes that can help you maximize your existing RAM and discuss the critical situations where adding more RAM simply won’t solve the problem. Let’s dive in and breathe new life into your trusted companion.
Key Takeaways
- Check Compatibility First: Never buy RAM without confirming your laptop’s model supports the type (DDR3/DDR4/DDR5), speed, and maximum capacity. Use system tools or manufacturer specs.
- Identify Your Slot Configuration: Understand if your laptop has empty slots or if all slots are filled. You often need to replace existing modules to upgrade, not just add.
- Tools and Safety Are Crucial: A small screwdriver and an anti-static wrist strap are essential. Always power down, unplug, and remove the battery if possible before opening the case.
- Software Tweaks Complement Hardware: Before or after upgrading, adjust Windows power settings, manage startup programs, and use lightweight browsers to maximize the benefit of your new RAM.
- Know When RAM Isn’t the Answer: If your laptop uses a traditional hard drive (HDD), upgrading to an SSD will provide a more noticeable speed boost for general use than adding RAM.
- Professional Help Is a Valid Option: If you’re uncomfortable opening your laptop, many computer repair shops offer quick, affordable RAM installation services for a small fee.
- 32GB is the New Sweet Spot: For most power users, students, and casual gamers, 16GB-32GB is ample. Only specialized workstations or extreme gaming rigs need 64GB+.
📑 Table of Contents
- Understanding RAM: What It Is and Why You Need More
- Step 1: How to Check Your Current RAM and Compatibility
- Step 2: Choosing the Right RAM for Your Laptop
- Step 3: The Physical Installation Process
- Step 4: First Boot and Verification
- Software Optimizations: Maximizing Your Existing and New RAM
- When Adding RAM Won’t Help (And What To Do Instead)
- The Final Word: Is It Time for a New Laptop?
Understanding RAM: What It Is and Why You Need More
Before we talk about how to get more, let’s quickly understand what we’re dealing with. Think of your laptop’s SSD or hard drive as a massive warehouse where all your files, programs, and the operating system are stored permanently. RAM is like the workbench in your workshop. When you open a program or file, the necessary data is copied from the slow warehouse (storage) onto the fast, accessible workbench (RAM). The bigger your workbench, the more projects you can have open and working on simultaneously without constantly shuffling things back to the warehouse, which causes slowdowns.
The Signs You’re RAM-Starved
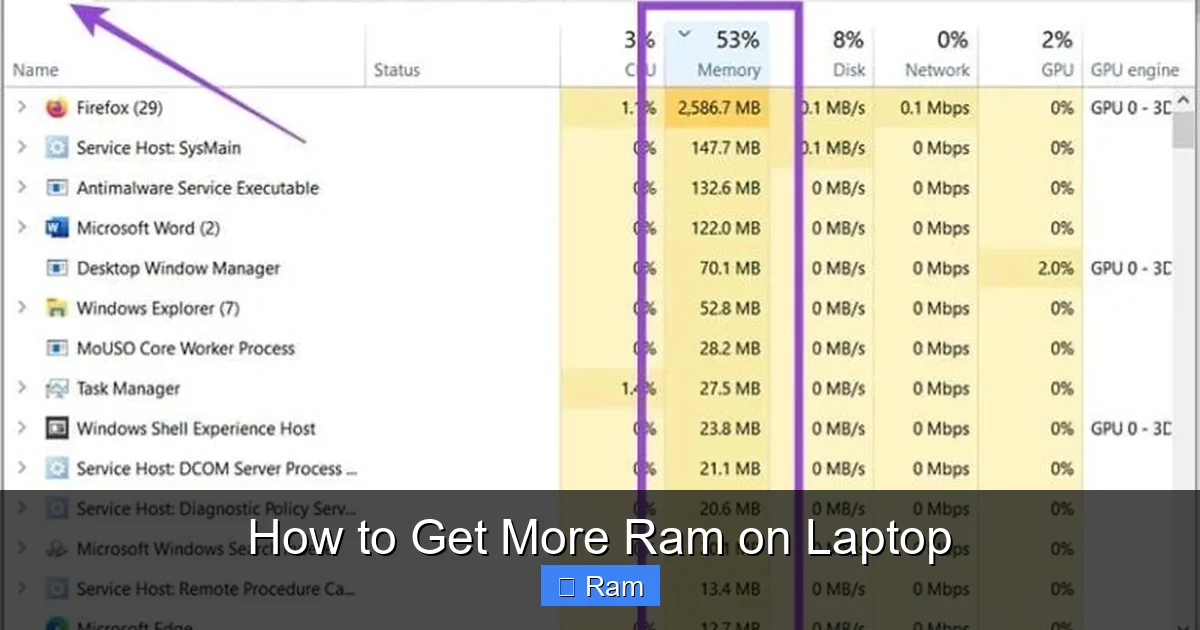
How do you know if you need more RAM and not, say, a new processor? The symptoms are specific. The most common sign is consistent slowdown when you have multiple programs open. Your web browser with ten tabs, a Word document, Spotify, and a video call all fighting for attention? That’s a RAM-intensive scenario. Open your Task Manager (Ctrl+Shift+Esc) and click the “Memory” tab. If you see the “In use (Compressed)” bar consistently hovering above 80% during your normal workflow, your system is struggling. You might also notice programs freezing momentarily or the hard drive activity light blinking constantly—that’s your system using the storage drive as “virtual memory” (a slow swap file) because the real RAM is full.
RAM vs. Storage (SSD/HDD): A Critical Distinction
This is the most common point of confusion. Upgrading your storage to a Solid State Drive (SSD) makes your laptop boot faster, launch programs quicker, and feel generally more responsive. Upgrading RAM allows you to do more things at once without slowdowns. They solve different problems. If your laptop is still on a spinning Hard Disk Drive (HDD), installing an SSD will feel like a night-and-day transformation and should be your first priority. However, if you already have an SSD and still hit performance walls during multitasking, then adding more RAM is your next logical step. In many modern ultrabooks, RAM is soldered and not upgradeable, making the initial purchase decision crucial.
Step 1: How to Check Your Current RAM and Compatibility
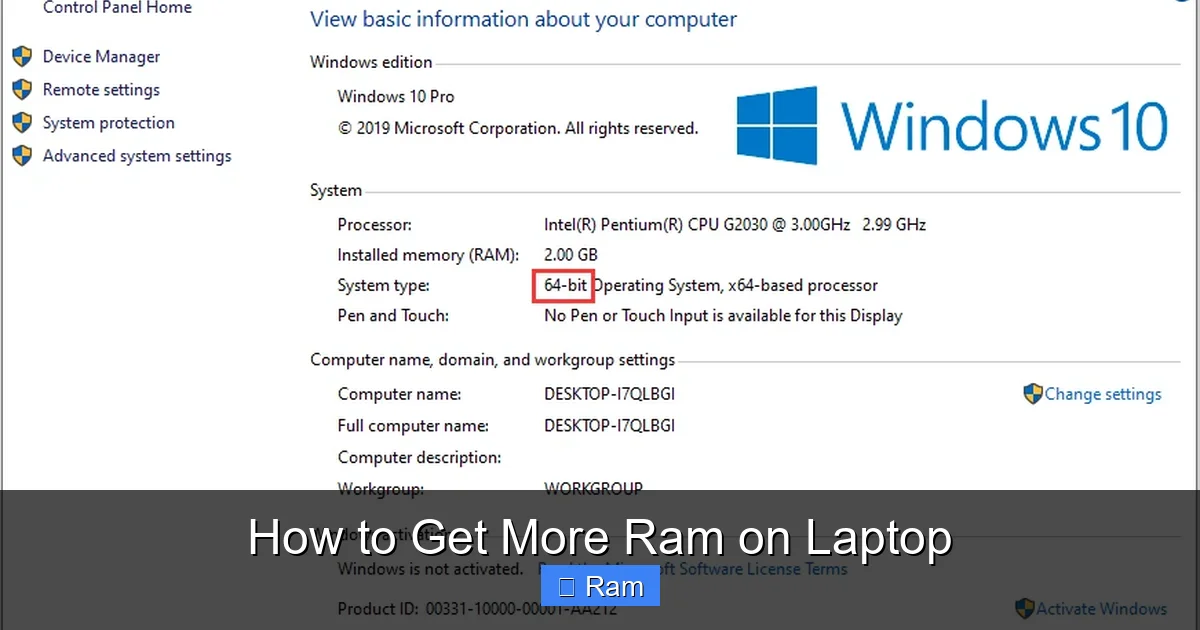
This is the most important step. Buying the wrong RAM is a waste of money. You need three key pieces of information: your laptop’s exact model, its current RAM configuration, and the maximum RAM it supports.
Visual guide about How to Get More Ram on Laptop
Image source: partitionwizard.com
Finding Your Laptop’s Exact Model
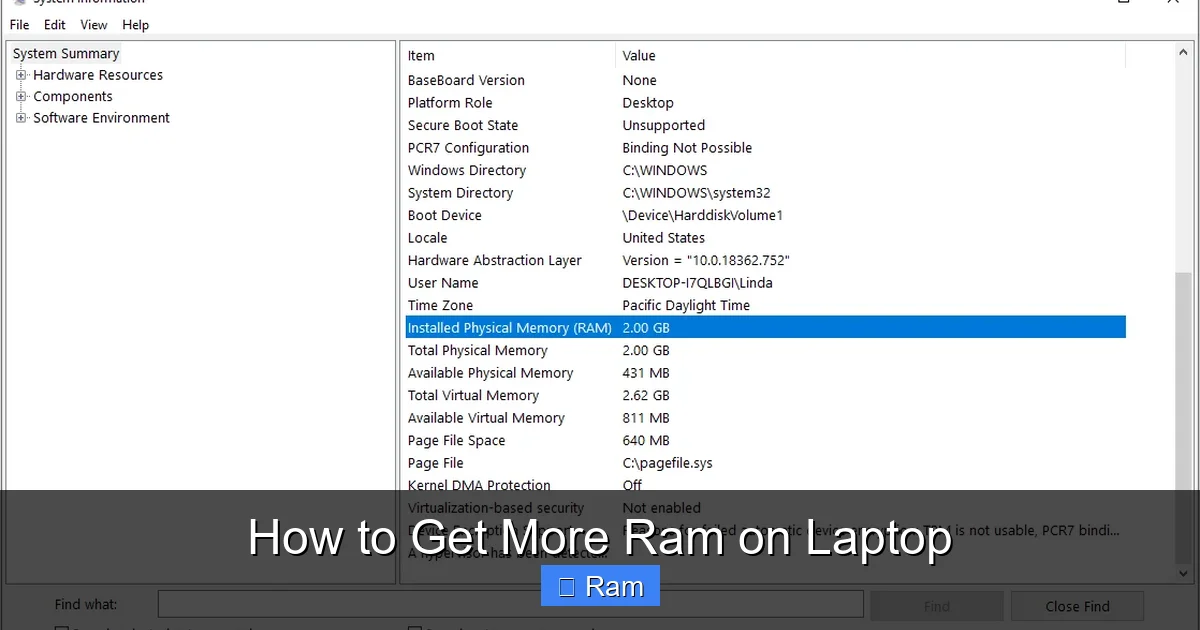
The model number is usually on a sticker on the bottom of your laptop or under the battery if it’s removable. It will look something like “Dell XPS 13 9310” or “HP Pavilion 15-ek1xxx.” You can also find it in Windows. Press Windows Key + R, type msinfo32, and hit Enter. The “System Model” field will give you the information you need. Write this down exactly.
Checking Current RAM and Slots with Task Manager
For a quick look at what you have, open Task Manager (Ctrl+Shift+Esc) and go to the “Performance” tab, then select “Memory.” At the bottom right, you’ll see the “Speed” (e.g., 3200 MHz) and the “Form factor” (almost always ” SODIMM” for laptops). More importantly, look at the top of the graph. It often says “2 of 4 slots used.” This tells you if you have empty slots to simply add a stick, or if you must replace the existing stick(s) to get more capacity. If it says “2 of 2 slots used,” you’ll need to buy two new sticks of higher capacity to replace the old ones.
Using Manufacturer Tools and Crucial’s Scanner
The most foolproof method is to consult your laptop manufacturer’s official specifications page. Go to their support site, enter your exact model number, and look for the “Specifications” or “Tech Specs” document. Search for “Memory” or “RAM.” It will list the type (DDR4, DDR5, etc.), speed, configuration, and maximum supported RAM.
For an even easier automated check, use the free scanner from Crucial (a major RAM manufacturer). Go to crucial.com and use their “System Scanner” tool. It will analyze your system and show you exactly which RAM modules are compatible and available for purchase. It’s incredibly reliable and takes the guesswork out. Always double-check the scanner’s results against your manufacturer’s official specs to be 100% certain.
Step 2: Choosing the Right RAM for Your Laptop
Armed with your laptop’s specs, you now need to select the correct upgrade. The key factors are generation (DDR type), speed, capacity, and voltage.
Visual guide about How to Get More Ram on Laptop
Image source: partitionwizard.com
DDR Generation: DDR3, DDR4, or DDR5?
This is non-negotiable. RAM is not backward or forward compatible. A DDR4 slot will only accept DDR4 RAM. The generation is determined by your laptop’s age and CPU. Laptops from roughly 2007-2014 likely use DDR3. 2015-2020 is mostly DDR4. 2021+ models are starting to use DDR5. Your system scanner or manufacturer specs will state this clearly. Do not guess.
Speed (MHz) and Timings (CL)
RAM speed is measured in megahertz (MHz), like 2666, 3200, or 4800. Your laptop’s CPU and motherboard support a maximum speed. You can install faster RAM, but it will run at the maximum speed your system supports. For best stability and compatibility, it’s generally recommended to match the speed of your existing RAM if you’re adding to it. If you’re replacing all modules, you can choose a faster speed within your laptop’s supported range. Timings (like CL16, CL18) are latency ratings; lower is slightly better, but speed differences are more noticeable. Matching timings between sticks in a dual-channel setup is ideal for performance.
Capacity: How Much Do You Need?
This depends on your use case:
- Basic Use (Web, Email, Office): 8GB is the absolute minimum today. Upgrading from 4GB to 8GB is a massive win.
- Mainstream & Power User: 16GB is the sweet spot for most people. It handles dozens of Chrome tabs, office suites, and light photo editing with ease.
- Heavy Multitasking, Content Creation, Gaming: 32GB is the new standard. Video editors, software developers, and gamers who stream will see real benefits here.
- Extreme Workloads: 64GB+ is for professional 4K/8K video editing, massive virtual machines, or scientific computing. Overkill for 99% of users.
Aim for a matched pair (two identical sticks) if your laptop uses dual-channel memory (most do). This provides a significant performance boost over two mismatched sticks. If you have one empty slot and one 8GB stick, buying another identical 8GB stick is better than buying a single 16GB stick.
Step 3: The Physical Installation Process
Ready to get your hands dirty? Good. The physical act of installing RAM is simple, but care is paramount.
Visual guide about How to Get More Ram on Laptop
Image source: partitionwizard.com
Gathering Your Tools and Preparing Your Workspace
You will need:
- The new RAM module(s).
- A small Phillips-head screwdriver (size #0 or #1).
- An anti-static wrist strap (highly recommended) or, at minimum, touch a grounded metal object (like a desk leg) before touching internal components to discharge static electricity.
- A clean, well-lit, flat workspace with plenty of room.
Shut down your laptop completely. Do not just sleep or hibernate it. Unplug the charger. If your laptop has a removable battery, take it out. This is a critical safety step to prevent any electrical short.
Opening the Laptop’s Back Panel
Flip the laptop over. Look for screws around the edge of the back panel. Some are under rubber feet or stickers—be careful not to damage these. Keep screws in a small container and note their locations, as they may be different lengths. Gently pry the panel off starting at a corner. It may be held by plastic clips; use a plastic spudger or a guitar pick if you have one, not a metal tool that can scratch. Once the clips release, lift the panel off.
Locating and Replacing the RAM Modules
You’ll see one or two small circuit boards (the RAM sticks) held down by small metal clips on either side. To remove an old stick, gently pry the clips outward (away from the module). The stick will pop up at an angle. Pull it out straight, holding it by the edges. To install the new stick, align the notch on the gold pins with the notch in the slot. It only fits one way. Insert the stick at the same angle the old one came out at, then press it down firmly and evenly until the clips snap back into place on their own. You should hear a soft click. If it doesn’t click, it’s not seated properly—recheck the alignment. Apply gentle, even pressure.
Final Checks and Closing Up
Visually inspect that the RAM is level and fully inserted, with the clips securely holding it. Reattach the laptop’s back panel, ensuring all clips engage. Reinsert all screws and tighten them snugly but do not over-tighten. If you removed the battery, put it back in. Connect the charger, but don’t power on yet.
Step 4: First Boot and Verification
This is the moment of truth. Power on your laptop. It may reboot once or twice as it recognizes the new hardware—this is normal. Log in and immediately go back to Task Manager > Performance > Memory. You should now see the new total capacity listed (e.g., “16.0 GB” instead of “8.0 GB”). It will also show the new speed. If your laptop doesn’t boot (stuck on logo, beeps, or black screen), power it off, unplug, and reopen it. Reseat the RAM modules—often they just need to be pressed in a little harder. If problems persist, try installing only one module at a time to identify a faulty stick.
Running a Memory Test
While Windows is generally good at detecting RAM, it’s wise to run a quick diagnostic. Use the built-in Windows Memory Diagnostic. Search for it in the Start menu, run it, and choose “Restart now and check for problems.” It will reboot and run a test, reporting any errors afterward. For a more thorough test, use MemTest86, which you boot from a USB drive. Let it run a few passes; if it finds any errors, one of your RAM modules is likely defective and should be replaced under warranty.
Software Optimizations: Maximizing Your Existing and New RAM
Adding RAM fixes a hardware limit, but you can also optimize how Windows uses what you have. These tweaks are beneficial whether you just upgraded or are making do with your current capacity.
Tame the Startup Programs
This is the #1 software fix for slow performance. Open Task Manager and go to the “Startup” tab. Disable everything you don’t need to run immediately when you log in. Messaging apps, cloud storage sync clients, and hardware utilities often don’t need to start at boot. Right-click and select “Disable.” This frees up RAM and CPU cycles from the moment you log in.
Adjust Windows Power Settings
For laptops plugged in, set the power plan to “High performance.” Go to Settings > System > Power & battery > Power mode. This prevents the CPU and RAM from throttling to save power, giving you consistent performance. When on battery, switch back to “Balanced” or “Power saver” to extend battery life.
Manage Browser Tabs and Extensions
Web browsers are RAM hogs. Each open tab is a separate process. Use browser extensions that suspend unused tabs (like The Great Suspender or similar) to reclaim their RAM. Also, audit your extensions—remove any you no longer use, as they run background processes.
Consider a Lighter OS or Software
If your laptop is older with limited upgrade potential (like soldered RAM), consider a lightweight Linux distribution like Lubuntu or Xubuntu. They use a fraction of the RAM that Windows 11 does. For specific tasks, use lighter alternatives: SumatraPDF instead of Adobe Reader, LibreOffice instead of full Microsoft Office (though the web versions are also efficient).
When Adding RAM Won’t Help (And What To Do Instead)
RAM is not a magical fix-all. In these scenarios, more memory won’t solve your core problem.
The HDD Bottleneck
If your laptop still uses a spinning Hard Disk Drive (HDD), the slow read/write speeds of that drive will make the entire system feel sluggish, regardless of how much RAM you have. The constant paging to the slow HDD when RAM fills up is the real killer. The single best upgrade for an HDD-based laptop is replacing it with a SATA or NVMe SSD. This will transform boot times, application launches, and file transfers. Do this first, *then* evaluate if you still need more RAM.
Soldered RAM and No Upgrade Slots
This is the sad reality for many modern ultrabooks, MacBooks, and thin-and-light laptops. The RAM chips are soldered directly onto the motherboard, making an upgrade impossible. If this is your situation, your only paths are: 1) Optimize software as described above, 2) Upgrade the storage to an SSD if you haven’t already, 3) Consider a cloud-based solution for heavy tasks (like using a remote desktop to a more powerful PC), or 4) Plan for a new laptop with more RAM from the start.
CPU or GPU is the True Limiting Factor
If your RAM usage never goes above 60-70% but programs are still slow, the bottleneck is elsewhere. An old, slow dual-core CPU or outdated integrated graphics will hold you back. Upgrading these is almost always impossible in a laptop. In this case, the only solution is a new machine. Use your experience to buy a laptop with a more powerful processor and, crucially, enough RAM from the outset.
The Final Word: Is It Time for a New Laptop?
We’ve covered how to get more RAM on a laptop that supports it. But what if your laptop is from 2014, has a 4th-gen Intel CPU, a 500GB HDD, and maybe maxes out at 8GB of slow DDR3? Pouring money into a RAM upgrade might give it a small lease on life, but the overall experience will still be dated. Sometimes, the most cost-effective “upgrade” is a new laptop. Modern laptops with 11th/12th/13th-gen Intel or AMD Ryzen CPUs, 16GB of fast RAM, and a 512GB NVMe SSD offer generational leaps in performance and battery life that an old machine simply cannot match, no matter how much you upgrade it.
So, before you buy that RAM stick, be honest about your laptop’s overall age and specs. If it’s a relatively recent model (last 4-5 years) with an SSD and an upgradeable RAM slot, adding more RAM is almost always the smartest, cheapest, and most effective performance boost you can give it. You now have the knowledge to do it correctly, safely, and confidently. Go forth and multitask without mercy!
Frequently Asked Questions
Can I add RAM to any laptop?
No. Many modern thin-and-light laptops and all MacBooks have RAM soldered to the motherboard, making it impossible to upgrade. You must check your specific model’s specifications to see if it has accessible, user-upgradable RAM slots.
Will mixing different RAM brands or speeds cause problems?
It can. While the system will usually run, using mismatched RAM sticks (different brands, sizes, speeds, or timings) can cause instability, prevent dual-channel mode (reducing performance), or cause the system to run at the speed of the slowest stick. For best results, use identical modules in a matched kit.
Is 8GB of RAM enough in 2024?
For very basic web browsing, document editing, and video streaming, 8GB is the bare minimum. However, for a smooth experience with modern web browsers (which are memory-intensive), multiple applications, and future-proofing, 16GB is strongly recommended as the new standard for most users.
How much does laptop RAM upgrade cost?
Cost varies by type and capacity. A reliable 16GB (2x8GB) DDR4 kit from a reputable brand typically costs between $35 and $60. A 32GB (2x16GB) DDR4 kit might be $70-$120. DDR5 is currently more expensive. The cost is often far less than the price difference between a low-RAM and high-RAM configuration when buying a new laptop.
What happens if I install incompatible RAM?
The most common outcome is that the laptop will power on but show no display (POST failure) or will beep an error code. It usually won’t damage the laptop or the RAM, but it won’t boot. You’ll need to remove the incompatible module and reinstall the correct one. Always double-check compatibility before purchasing.
Should I upgrade RAM or the SSD first?
If your laptop still has a traditional Hard Disk Drive (HDD), upgrade to an SSD first. The performance leap from an HDD to an SSD is enormous for overall system responsiveness. If you already have an SSD but suffer slowdowns during heavy multitasking, then upgrading the RAM is the next logical step. Do the SSD upgrade before the RAM upgrade if you have to choose one.