Nvme Ssd Not Showing Up in Bios
An nvme ssd not showing up in bios is a common but fixable problem. Whether your drive is dead, loose, or simply not recognized by your motherboard, this guide walks you through every solution. You will learn how to check connections, update your bios, adjust settings, and get your nvme ssd back online quickly.
You power on your PC and head straight to the bios setup. But there it is. Empty. Your brand new nvme ssd is nowhere to be found. It is frustrating, confusing, and honestly a little scary. Did you buy a dud? Is your motherboard broken? Before you panic, take a deep breath. A nvme ssd not showing up in bios happens to thousands of people every day. In most cases, the fix is simple and takes just a few minutes.
This guide covers every reason your drive might be invisible and every step you can take to bring it back. From loose cables to outdated firmware, we will go through it all. By the end, you will know exactly what to do and why it works. Let us get your drive detected.
Key Takeaways
- Check physical connections first: A loose M 2 screw or cable is the most common cause.
- Update your bios firmware: Outdated bios versions often fail to recognize newer nvme drives.
- Disable CSM and Secure Boot: These legacy settings can block nvme ssd detection.
- Verify slot compatibility: Not all M 2 slots support nvme pcie protocols.
- Reset bios to defaults: A simple reset can resolve detection issues fast.
- Try a different slot or system: This helps rule out hardware failure.
📑 Table of Contents
- Why Your Nvme Ssd Not Showing Up in Bios
- Step by Step Fixes for Nvme Ssd Not Showing Up in Bios
- Preventing Nvme Ssd Detection Issues
- What Happens When a Nvme Ssd Disconnects?
- Common Mistakes People Make When Troubleshooting
- Expert Tips for Nvme Ssd Compatibility
- When to Seek Professional Help
- Conclusion
Why Your Nvme Ssd Not Showing Up in Bios
There are several reasons an nvme ssd might not appear in your bios. Understanding the root cause is the first step toward a fix. Sometimes it is a simple hardware issue. Other times, it is a software or settings problem. Let us break down the most common causes.
Loose or Improperly Seated M 2 Drive
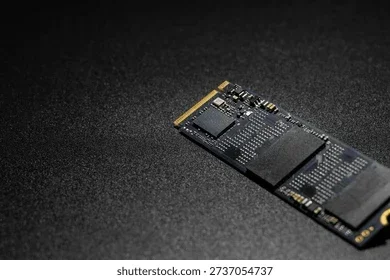
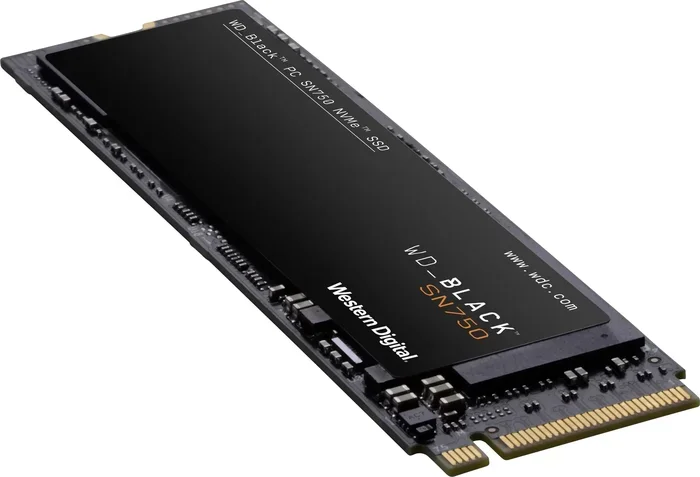
The most common reason is a loose connection. M 2 drives sit directly into the motherboard slot. If the screw is not tight or the drive is not fully inserted, the bios will not see it. This happens often, especially after building a new PC or moving your computer around.
Take a moment to open your case and check the drive. Make sure it is pushed in all the way and secured with the M 2 screw. Even a millimeter of wobble can cause detection failure. If you recently installed the drive, this is very likely the culprit.
Wrong M 2 Slot on Your Motherboard
Not all M 2 slots are created equal. Some support nvme pcie speeds. Others only support SATA protocols. If you plug your nvme drive into a SATA only M 2 slot, your system will not detect it as an nvme device. Check your motherboard manual to confirm which slots support nvme.
Many motherboards have two or three M 2 slots. They may share bandwidth with other connectors. For example, using one M 2 slot might disable a SATA port. This is important to know when troubleshooting an nvme ssd not showing up in bios issue.
Outdated Bios Firmware
Your motherboard bios controls how it communicates with hardware. Older bios versions may not support newer nvme ssd models. This is especially true for Gen 4 and Gen 5 drives installed on older boards. A simple bios update can add the necessary support.
Manufacturers release bios updates regularly. These updates fix bugs, improve compatibility, and add support for new hardware. If your drive was working before and suddenly stopped showing up, a bios issue could be the reason.
Disabled Nvme Support in Bios Settings
Some motherboards have settings that can disable or hide nvme drives. The most common offender is CSM, which stands for Compatibility Support Module. CSM is designed for legacy booting. When it is enabled, it can block modern nvme ssd detection.
Secure Boot is another setting that can interfere. While Secure Boot is great for security, it sometimes conflicts with certain drives. Disabling CSM and Secure Boot in your bios often resolves detection problems quickly.
Drive Failure or Hardware Defect
It is not the most common reason, but it does happen. Your nvme drive could be defective right out of the box. Physical damage from dropping or overheating can also cause failure. If none of the software fixes work, the drive itself may need to be replaced.
To test this, try the drive in a different system. Or try a different nvme drive in your current system. This helps you figure out if the problem is the drive or the motherboard.
Step by Step Fixes for Nvme Ssd Not Showing Up in Bios
Now that you know the common causes, let us walk through the fixes. Follow these steps in order. Each one addresses a different possible issue. Most people find a solution in the first three steps.
Step 1: Reseat the Nvme Drive
Start with the simplest fix. Power off your PC completely. Unplug it from the wall. Open your case and locate the M 2 drive. Carefully remove the screw and slide the drive out. Then reinsert it firmly at a slight angle. Push it down and secure it with the screw.
This alone fixes the problem for many users. The drive may have shifted slightly over time. Reseating ensures a solid connection. After you close up the case, boot into bios and check if the drive appears.
Step 2: Try a Different M 2 Slot
If reseating does not work, move the drive to a different M 2 slot. This is especially helpful if your motherboard has multiple slots. A different slot may use a different pcie lane, which can bypass detection issues.
Make sure the new slot supports nvme. Refer to your motherboard manual or the manufacturer website. Some slots share bandwidth with SATA ports. Using the right slot can make all the difference for nvme ssd not showing up in bios problems.
Step 3: Update Your Bios
Updating your bios is a powerful fix. It adds support for newer hardware and resolves known bugs. To update, visit your motherboard manufacturer website and find the latest bios version for your model.
Most modern motherboards support bios flashback. This lets you update without even booting into your operating system. Simply download the file, put it on a USB drive, and use the flashback button on the motherboard. If you are not sure how, check your motherboard manual for instructions.
After updating, enter bios again and check if your nvme ssd is now visible. This fix has resolved countless detection issues for users around the world.
Step 4: Adjust Bios Settings
Sometimes the problem is not the hardware but the settings. Enter your bios and look for the boot or advanced settings section. Disable CSM (Compatibility Support Module) first. This is the most common setting that blocks nvme detection.
Next, look for Secure Boot and disable it temporarily. Save your changes and restart. Check the bios again to see if the drive appears. If it does, you can re-enable Secure Boot if needed. But many users find they can keep it disabled without any issues.
You should also check the boot priority order. Sometimes the drive is detected but hidden because it is not set as a boot device. Make sure your nvme drive is listed in the boot order.
Step 5: Clear Cmos and Reset Bios
If changing settings did not help, try clearing your CMOS. This resets your bios to factory defaults. It removes any custom settings that might be causing conflicts. To do this, locate the CMOS battery on your motherboard.
Remove the battery for about 30 seconds. Then put it back in and power on your PC. You will need to reconfigure your bios settings, but this often fixes stubborn detection issues. Another way to clear CMOS is using the jumper pin on the motherboard. Check your manual for the exact location.
After the reset, enter bios and check if your nvme ssd shows up. This method works surprisingly well for drives that were previously visible and then disappeared.
Step 6: Test the Drive Elsewhere
If none of the above steps work, it is time to test the drive on another system. Borrow a friend’s PC or try it in a different motherboard. This helps you determine whether the problem is the drive or your motherboard.
If the drive works in another system, the issue is with your motherboard or its settings. If it does not work anywhere, the drive may be faulty. In that case, contact the manufacturer for a warranty replacement. Most nvme drives come with a limited warranty that covers defects.
Preventing Nvme Ssd Detection Issues
Once you get your drive working, you want to keep it that way. Prevention is always better than troubleshooting. Here are some tips to keep your nvme ssd running smoothly and visible in bios.
- Keep your bios updated. Check for updates every few months. New updates often improve hardware compatibility.
- Secure your M 2 screw. Make sure the drive is tight. A loose drive can slowly lose connection over time.
- Monitor drive temperatures. Nvme drives can get hot under heavy workloads. Use software to keep an eye on temps.
- Avoid unplugging while powered. Always shut down completely before touching internal hardware.
- Use quality motherboards. Cheaper boards sometimes have weaker nvme support. Invest in a board that fully supports your drive speed.
Taking these simple precautions can save you hours of frustration. A well maintained system keeps all your drives running reliably.
What Happens When a Nvme Ssd Disconnects?
Sometimes a drive that was working fine suddenly disappears. This can happen during operation or after a reboot. If you are dealing with an nvme ssd not showing up in bios after it was previously detected, the cause may be different from a new installation issue.
When a nvme ssd disconnects unexpectedly, it is often due to a power delivery problem. M 2 drives draw power from the motherboard slot. If your power supply is struggling or the motherboard slot is damaged, the drive may lose connection. Overheating can also cause sudden disconnects.
Another common cause is a corrupted bios setting. A failed bios update or an accidental setting change can hide your drive. Resetting the CMOS usually fixes this, as we covered above. In rare cases, a failing drive will show up intermittently before stopping completely. This is a clear sign the drive needs replacement.
If you have experienced this issue before, you know how stressful it can be. The good news is that most cases are fixable without replacing any hardware. Start with the simplest solutions and work your way up. Patience and a methodical approach will get your drive back.
Common Mistakes People Make When Troubleshooting
When your nvme drive is not showing up, it is easy to make mistakes in your troubleshooting process. Here are the most common errors people make and how to avoid them.
- Skipping the physical check. Many people jump straight to software fixes without checking if the drive is seated properly. Always start with the hardware.
- Ignoring the motherboard manual. Your manual tells you exactly which slots support nvme and which do not. Skipping this step leads to wasted effort.
- Updating bios incorrectly. Using the wrong bios file for your motherboard model can brick your board. Always double check the model number before flashing.
- Not trying another system. If you skip this step, you might replace a perfectly good motherboard when the drive itself is the problem.
- Giving up too soon. Some fixes require multiple attempts. Try each step thoroughly before moving on.
Avoiding these mistakes will save you time and money. A careful and systematic approach always beats random trial and error.
Expert Tips for Nvme Ssd Compatibility
Not all nvme drives work perfectly with all motherboards. Compatibility is a real factor. Here are some expert tips to ensure your nvme ssd works smoothly from day one.
First, check the pcie generation. A Gen 4 drive works in a Gen 3 slot but runs at Gen 3 speeds. This does not cause detection issues, but it does affect performance. Second, make sure your motherboard supports the drive’s capacity. Very old boards sometimes have limits on drive size.
Third, consider your operating system. Windows 10 and Windows 11 generally support nvme drives well. Older operating systems may need additional drivers. If you are using Linux, make sure your kernel version supports your drive model.
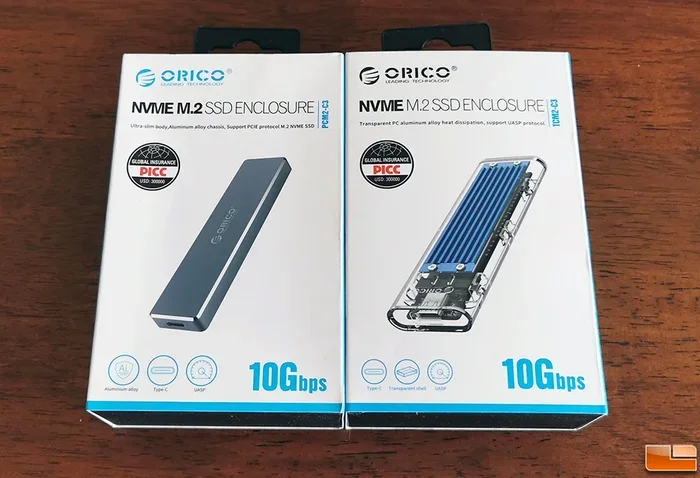
Finally, if you are using an add on card or enclosure, make sure it supports nvme. Not all adapters work with every drive. A quality ssd nvme pcie m 2 adapter or enclosure ensures proper communication between your drive and your system.
When to Seek Professional Help
Most of the time, you can fix an nvme ssd not showing up in bios issue on your own. But there are situations where professional help makes sense. If your motherboard has been damaged by a failed bios flash, you need expert repair. Similarly, if your drive contains critical data and you suspect hardware failure, a data recovery specialist is your best bet.
Do not attempt to open or repair the drive yourself. This voids the warranty and can cause permanent damage. Trust the professionals for sensitive hardware issues. For everything else, the steps in this guide should get you back on track.
Conclusion
Dealing with an nvme ssd not showing up in bios is frustrating but rarely permanent. The fix is usually simple. Reseat the drive, check your slot, update your bios, and adjust your settings. These steps resolve the issue for the vast majority of users. Remember to start with the basics and work your way up. Patience and a methodical approach will save you time and money.
Keep your bios updated and your connections secure. These small habits prevent most detection problems before they start. If the drive is truly faulty, most manufacturers offer warranty replacements. You are never stuck with a bad drive for long.
Now that you know how to troubleshoot this issue, you can handle it confidently the next time it happens. Your nvme ssd deserves to be seen and used. With the right knowledge, you will get it working again in no time.
Frequently Asked Questions
Why is my nvme ssd not showing up in bios at all?
The most common reason is a loose M 2 connection or the drive being in the wrong slot. Reseat the drive and make sure it is in an nvme compatible M 2 slot. If that does not work, update your bios firmware. Outdated bios versions often fail to recognize newer drives.
Can an outdated bios cause an nvme ssd not showing up?
Yes, absolutely. Older bios versions may not support newer nvme ssd models, especially Gen 4 and Gen 5 drives. Updating your bios to the latest version often resolves detection issues immediately. Always check the motherboard manufacturer website for updates.
Should I disable CSM in bios to fix nvme detection?
Yes, disabling CSM (Compatibility Support Module) is one of the most effective fixes. CSM is designed for legacy booting and can block modern nvme drives from being detected. Go to your bios settings, find CSM, and disable it. Save and restart to check if the drive appears.
What should I do if reseating the drive does not work?
Try moving the drive to a different M 2 slot on your motherboard. If that does not work, update your bios and reset your CMOS settings. Testing the drive in another system can help determine if the drive or motherboard is the problem.
Is it possible the nvme ssd itself is defective?
Yes, though it is less common. If none of the troubleshooting steps work and the drive does not show up in any system, it may be faulty. Contact the manufacturer for a warranty replacement. Most nvme drives come with a limited warranty covering defects.
How do I know which M 2 slot supports nvme on my motherboard?
Check your motherboard manual or the manufacturer website. It will list which M 2 slots support nvme pcie protocols and which only support SATA. Using the correct slot is essential for proper detection. When in doubt, consult the manual before installing your drive.