Poe Injector for Ip Camera
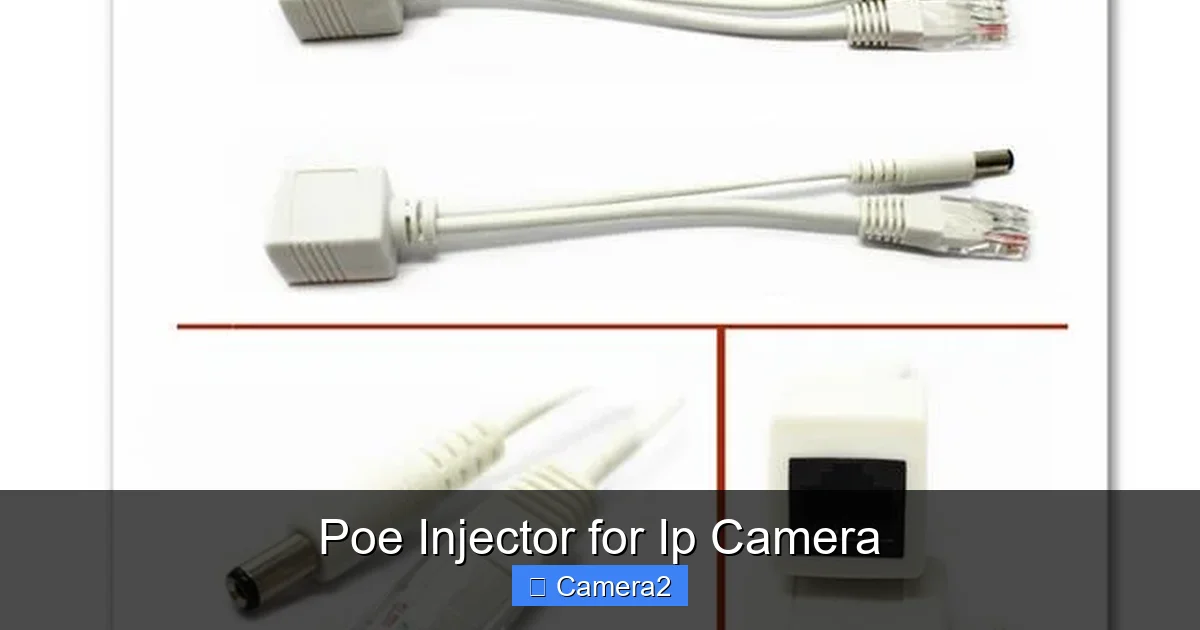
Power over Ethernet (PoE) injectors let you run IP cameras with a single cable, cutting clutter and installation costs. Our guide walks you through choosing the right injector, wiring basics, and troubleshooting tricks so your surveillance stays crystal‑clear.
Key Takeaways
- One‑cable solution: A PoE injector combines power and data, eliminating the need for separate power adapters.
- Compatibility matters: Match the injector’s power class (IEEE 802.3af/at/bt) with your camera’s requirements.
- Installation is easy: Plug‑and‑play design means most users can set up a PoE injector in minutes.
- Safety first: Look for built‑in surge protection and temperature monitoring to protect outdoor cameras.
- Scalability: Multi‑port PoE switches grow with you, while single‑port injectors are perfect for starter kits.
- Cost‑effective: PoE injectors often cost less than running new AC lines, especially in retrofits.
- Future‑proofing: Choosing a higher‑power class prepares you for 4K or PTZ cameras down the line.
📑 Table of Contents
- Introduction: Why a PoE Injector Is a Game Changer for IP Cameras
- 1. Understanding PoE Basics
- 2. Choosing the Right PoE Injector for Your IP Camera
- 3. Step‑by‑Step Installation Guide
- 4. Troubleshooting Common Issues
- 5. Advanced Topics: Scaling Up and Future‑Proofing
- Conclusion: Power Up Your Surveillance with Confidence
Introduction: Why a PoE Injector Is a Game Changer for IP Cameras
If you’ve ever tangled with a mess of power cords and Ethernet cables while mounting an IP camera, you know the frustration. Traditional setups require a power outlet near the camera, a separate network cable, and often a bulky power adapter that sits in the shade, sweating in the sun.
Enter the PoE injector for IP camera. This little device feeds both electricity and data through a single Cat5e/Cat6 cable, turning a complex job into a quick plug‑and‑play operation. Whether you’re securing a backyard, monitoring a parking lot, or setting up a small office, a PoE injector can save time, money, and a lot of head‑scratching.
In this guide we’ll break down the technology, help you pick the right injector, walk through step‑by‑step installation, and troubleshoot common hiccups. By the end, you’ll feel confident adding more cameras without the cable chaos.
1. Understanding PoE Basics
What Is PoE?
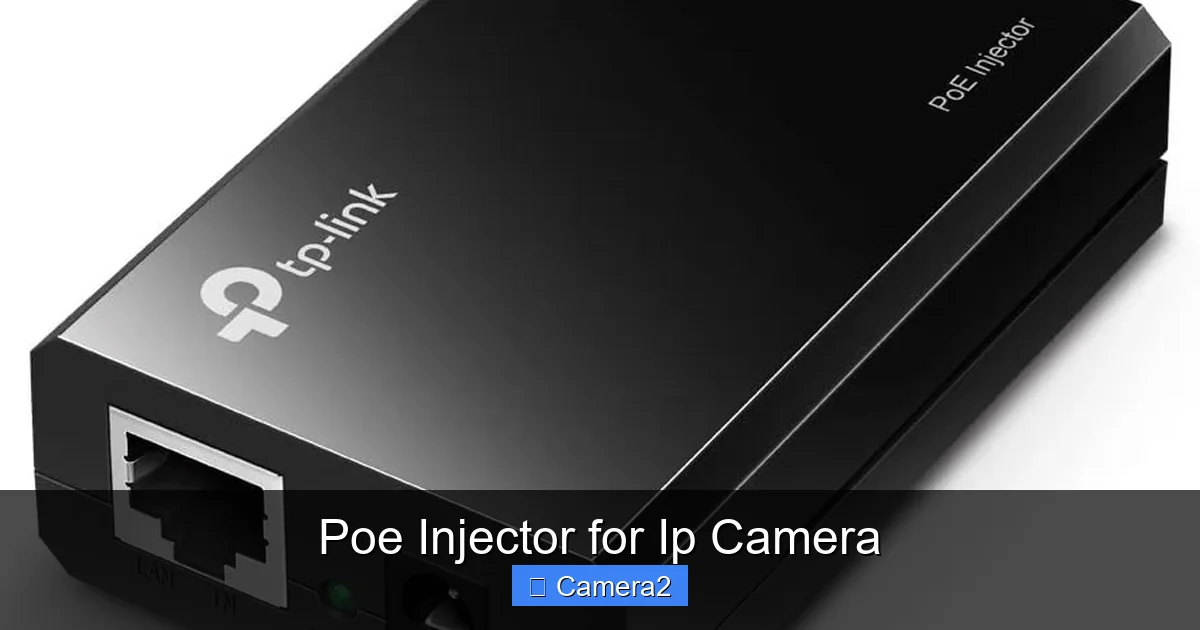
Power over Ethernet (PoE) is a standardized method (IEEE 802.3af, 802.3at, and the newer 802.3bt) that delivers low‑voltage DC power along with Ethernet data. The power is sent from a source—either a PoE switch or a PoE injector—through the same twisted‑pair wires that carry your network traffic.
Visual guide about Poe Injector for Ip Camera
Image source: securitycamcenter.com
Why Use a PoE Injector Instead of a PoE Switch?
Many small‑scale installations only need one or two cameras. Buying a full PoE switch can be overkill. A PoE injector is a single‑port (or a few ports) device that adds power to an existing non‑PoE network. It’s cheaper, takes up less rack space, and is perfect for DIY projects.
Power Classes Explained
- Class 0 / 15.4 W (802.3af) – Suitable for most 720p‑1080p cameras.
- Class 2 / 30 W (802.3at) – Needed for PTZ cameras, IR‑illuminated units, or 4K models.
- Class 3 / 60 W (802.3bt) – Future‑proofing for high‑end devices and multi‑camera hubs.
Check your camera’s specs; using a lower‑class injector on a high‑power camera will cause it to reboot or not turn on at all.
2. Choosing the Right PoE Injector for Your IP Camera
Key Features to Look For
- Power rating: Match the injector’s class to the camera’s wattage.
- Port type: Most injectors use RJ45. Some rugged models have weather‑sealed connectors for outdoor use.
- Surge protection: Lightning strikes are a real risk for outdoor cameras; built‑in protection can save your gear.
- Heat management: Look for vents or metal housings that dissipate heat.
- LED indicators: Helpful for confirming power and link status at a glance.
Top Picks for Different Needs
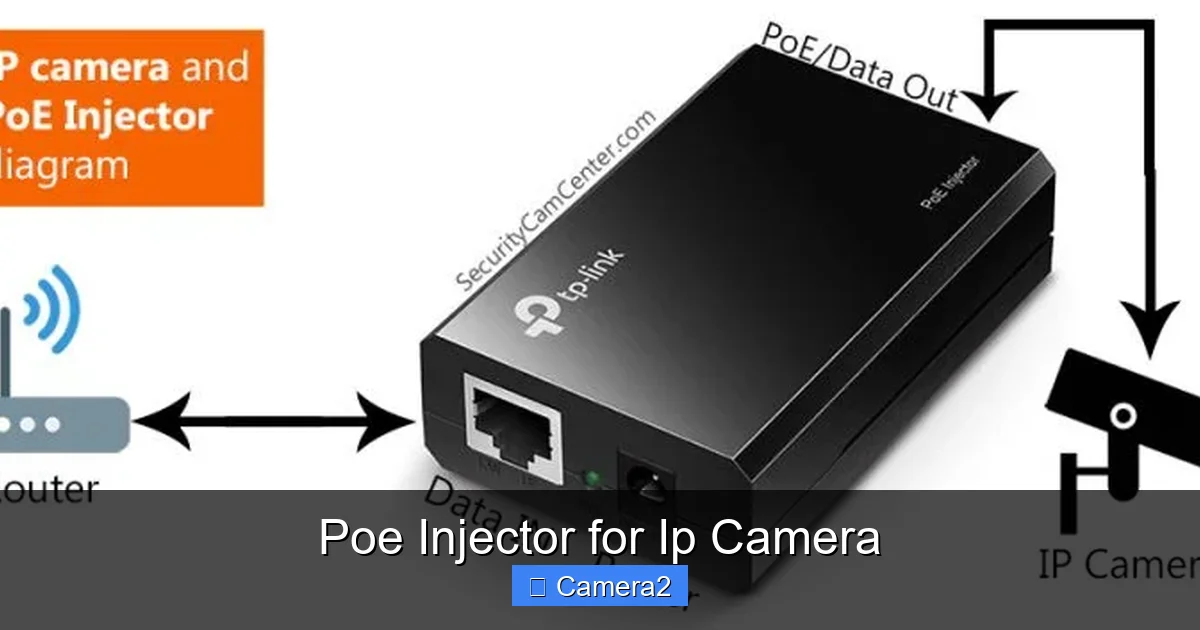
Best Budget Single‑Port Injector: TP-Link TL‑POE150S – 15.4 W, compact, 10/100 Mbps, under $20.
Visual guide about Poe Injector for Ip Camera
Image source: securitycamcenter.com
Best Mid‑Range Dual‑Port Injector: Ubiquiti POE‑48‑24W‑G – 30 W per port, metal case, ideal for two 4K cameras.
Best Rugged Outdoor Injector: Netgear ProSafe FGS108PE – 8‑port, weather‑rated enclosure, 30 W each, perfect for parking‑lot deployments.
Internal Link Example
When planning a larger surveillance system, consider pairing your PoE injector with a 16 channel security camera system for seamless expansion.
3. Step‑by‑Step Installation Guide
What You’ll Need
- PoE injector (single or multi‑port)
- Cat5e/Cat6 Ethernet cable (length as required)
- Network switch or router (non‑PoE)
- IP camera with PoE support
- Power outlet for the injector
- Optional: Weather‑proof conduit for outdoor runs
Wiring Diagram Overview
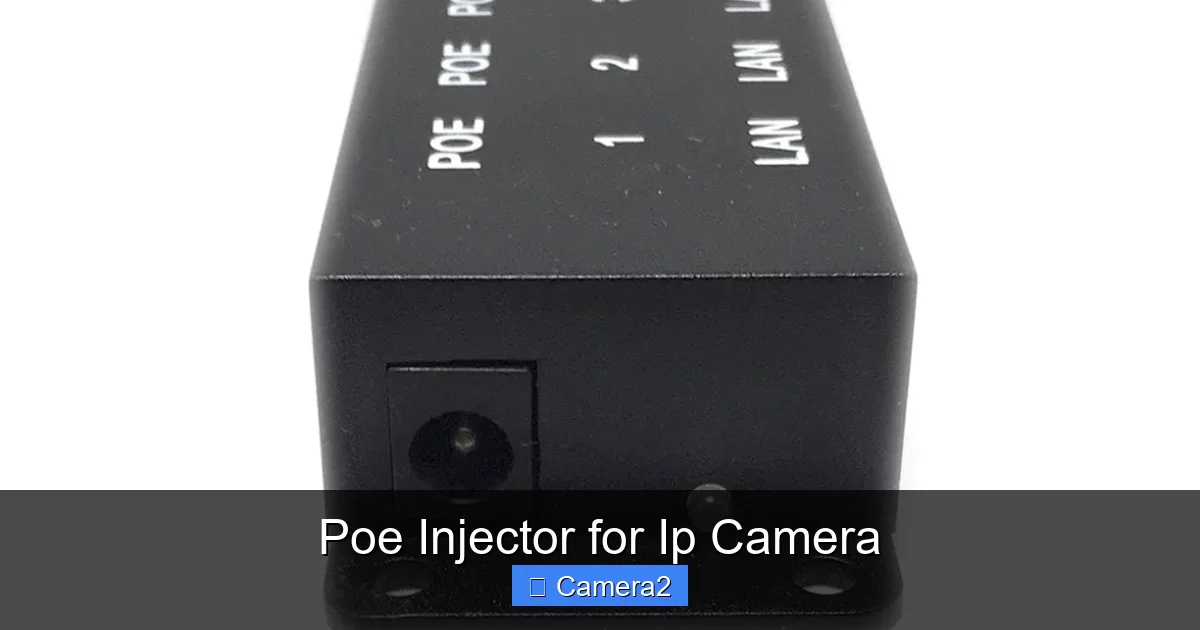
The basic flow is: Network Switch → PoE Injector → Ethernet Cable → IP Camera. Power comes from the injector’s AC input, while data travels from the switch to the camera.
Visual guide about Poe Injector for Ip Camera
Image source: images.nexusapp.co
Installation Steps
- Mount the camera: Secure the camera on the wall or pole using the appropriate bracket. Ensure the Ethernet port is accessible.
- Run the Ethernet cable: Pull a Cat5e/Cat6 line from the nearest network switch to the camera location. For outdoor runs, use UV‑resistant cable and a conduit.
- Connect the injector: Plug the Ethernet cable from the switch into the “Data In” port of the injector. Connect the same cable’s other end to the “Data & Power Out” port (often labeled “PoE”).
- Power up: Plug the injector’s AC adapter into a nearby outlet. LED indicators should turn green, showing power and link.
- Configure the camera: Access the camera’s web interface using its default IP address. Adjust resolution, motion detection, and storage settings.
- Test the feed: Verify live video on a monitor or mobile app. If the image is blank, double‑check the cable connections and LED status.
Mounting Tips for Outdoor Cameras
- Use a solar‑powered birdhouse camera as inspiration for weather‑proof enclosures.
- Seal all cable entry points with silicone grommets.
- Angle the camera slightly downward to reduce glare from the sun.
4. Troubleshooting Common Issues
No Power Light on the Injector
Check the AC outlet—try another device to confirm it’s live. Verify the injector’s power cord is firmly seated. If the injector still shows no light, the unit may be defective.
Camera Reboots Randomly
This usually indicates insufficient power. Upgrade to a higher‑class injector (e.g., from 15.4 W to 30 W) or replace the Ethernet cable with a lower‑resistance Cat6 run.
Video Lag or Dropouts
Lag can stem from network congestion. Ensure the switch port is set to “full‑duplex” and consider a gigabit switch if you have multiple high‑resolution cameras.
Interference from Electrical Storms
Lightning can travel through Ethernet lines. Use injectors with built‑in surge protectors and consider adding an external Ethernet surge suppressor.
Example of a Real‑World Fix
A small retail store upgraded from a 15.4 W injector to a 30 W Ubiquiti model for their new 4K door‑entry camera. After the swap, the camera’s night‑vision LEDs stopped flickering, and the video stream became smooth.
5. Advanced Topics: Scaling Up and Future‑Proofing
From Single Injector to PoE Switch
When you add more than four cameras, managing multiple injectors can become messy. Switching to a PoE switch centralizes power and data, reduces cable clutter, and offers easier management through a single web UI.
Power Budget Planning
Calculate the total wattage: add each camera’s power draw, then add a 20 % safety margin. Choose a switch or injector array that exceeds this total.
Integrating with NVRs
Network Video Recorders (NVRs) often have built‑in PoE ports. If your NVR supports the required power class, you can eliminate external injectors altogether.
Smart Power Management
Some modern injectors support IEEE 802.3az (Energy Efficient Ethernet). They lower power consumption when cameras are idle, extending the life of battery‑backed or solar‑powered setups.
Linking to Related Content
For a deeper dive into protecting your footage, read our article on parking lot security camera footage and learn how proper storage complements a solid PoE infrastructure.
Conclusion: Power Up Your Surveillance with Confidence
A PoE injector for IP camera is more than a convenience; it’s a strategic upgrade that reduces installation time, cuts costs, and future‑proofs your security system. By matching the right power class, following a simple wiring plan, and keeping an eye on common pitfalls, you can enjoy reliable, crystal‑clear video without the headache of tangled cords.
Whether you’re a homeowner protecting a backyard, a small business securing a storefront, or a hobbyist building a wildlife observation station, the right PoE injector will make your job easier and your system more robust. Pick a quality injector, follow the steps above, and you’ll be watching your world in high definition in no time.
Frequently Asked Questions
What is the difference between a PoE injector and a PoE switch?
A PoE injector adds power to a single Ethernet line, while a PoE switch provides power to multiple ports and also handles network switching.
Can I use any Ethernet cable with a PoE injector?
Yes, but for best performance use Cat5e or higher. Longer runs (>100 m) may need a repeater or higher‑grade cable to maintain power.
Do I need a PoE injector for a POE‑enabled camera?
If your network switch already supplies PoE, you don’t need an injector. The injector is only required when the switch is non‑PoE.
How do I know which power class my camera needs?
Check the camera’s specifications sheet. It will list the required wattage or the IEEE class (af, at, or bt).
Is a PoE injector safe for outdoor use?
Choose a weather‑rated injector with IP66 or higher enclosure and built‑in surge protection for outdoor installations.
Can I power a PTZ camera with a 15.4 W injector?
Usually not. PTZ cameras often need 30 W or more, so a 802.3at (30 W) injector is recommended.