Looking to elevate your home theater? A wall mount for surround speakers delivers crisp audio, frees up floor space, and adds a sleek look. Our guide walks you through choosing, installing, and maintaining the perfect mount so you can enjoy cinema‑quality sound without the hassle.
Key Takeaways
- Proper placement matters: Positioning your surround speakers at ear level and the right angle creates an immersive sound field.
- Mount type selection: Choose between fixed, swivel, or articulated mounts based on room layout and speaker size.
- Weight capacity is crucial: Always verify the mount’s load rating to match your speaker’s weight.
- Installation tips: Use studs, anchors, and a level for a secure, vibration‑free setup.
- Cable management: Concealed channels keep wires hidden and maintain a clean aesthetic.
- Compatibility: Ensure the mount’s bracket pattern fits your speaker’s mounting holes.
- Future‑proofing: Opt for adjustable mounts that accommodate upgrades or speaker swaps.
📑 Table of Contents
Why a Wall Mount Is a Game‑Changer for Surround Speakers
Imagine watching a movie and feeling the action swirl around you, just like in a theater. That’s the magic of a well‑placed surround sound system. While floor‑standing speakers can work, they eat up valuable space and often produce unwanted reflections off furniture.
A wall mount for surround speakers solves those problems in one tidy package. It lifts the speakers to the optimal height, directs sound precisely toward the listening area, and hides unsightly wires. The result? Cleaner visuals, richer audio, and a room that looks as good as it sounds.
Choosing the Right Wall Mount
Fixed vs. Swivel vs. Articulated Mounts
Fixed mounts hold the speaker in a single position. They’re cheap and sturdy, perfect for rooms where the listening spot never moves.

Visual guide about Wall Mount for Surround Speakers
Image source: blogger.googleusercontent.com
Swivel mounts let you rotate the speaker left or right, ideal for small spaces where you need to angle the sound toward the couch.
Articulated (or multi‑axis) mounts offer tilt, pan, and sometimes even extension, giving you the most flexibility. If you plan to rearrange furniture often, this is the way to go.
Weight Capacity and Build Quality
Never guess a mount’s strength. Check the manufacturer’s specifications and compare them to your speaker’s weight. A good rule of thumb is to select a mount rated for at least 20% more than the speaker’s weight. Look for steel or aluminum brackets, reinforced screws, and a solid back‑plate that spreads the load across the wall.
Compatibility with Speaker Design
Most surround speakers have standardized mounting holes, but some boutique models use unique patterns. Measure the distance between holes and match it to the mount’s bracket layout. If you’re unsure, the Speaker Stands For Surround Speakers guide offers a quick compatibility checklist.
Preparing Your Wall for Installation
Finding Studs and Using the Right Anchors
Studs provide the strongest anchor point. Use a stud finder to locate them, then drill pilot holes before securing the mount. If you can’t hit a stud, opt for heavy‑duty wall anchors designed for drywall or plaster.
Visual guide about Wall Mount for Surround Speakers
Image source: i1.wp.com
Leveling and Measuring
Accuracy matters. Mark the top and bottom of the mount with a level, and double‑check the height. For surround speakers, ear level (about 38‑42 inches from the floor) is usually ideal. Measure the distance from the TV or main front speakers to keep the surround channel balanced.
Concealing Cables
Neatness isn’t just about aesthetics; it also prevents cable wear. Run speaker wire through the wall cavity using in‑wall rated cable, or use surface‑mount raceways that paint to match the wall color. This keeps your setup looking professional.
Step‑by‑Step Installation Guide
Tools You’ll Need
- Stud finder
- Power drill with appropriate bits
- Level
- Screwdriver set
- Measuring tape
- Wall anchors (if needed)
- Safety goggles
Installation Process
- Mark the spot: Use the stud finder to locate a stud at ear level. Mark the center point for the mount.
- Attach the back plate: Align the mount’s back plate with the mark, drill pilot holes, insert anchors if not on a stud, then screw the plate securely.
- Secure the speaker bracket: Clip the bracket onto the back plate, ensuring it locks in place.
- Mount the speaker: Lift the speaker onto the bracket, align the mounting holes, and fasten the supplied bolts.
- Adjust angle: If you have a swivel or articulated mount, tilt and pan the speaker toward your listening position.
- Run the wires: Connect speaker wire, then tidy up any excess with cable clips or in‑wall raceways.
- Test the sound: Play a movie scene with surround effects and fine‑tune the speaker angle for the best immersive experience.
Maintaining Your Wall‑Mounted Surround Speakers
Regular Checks
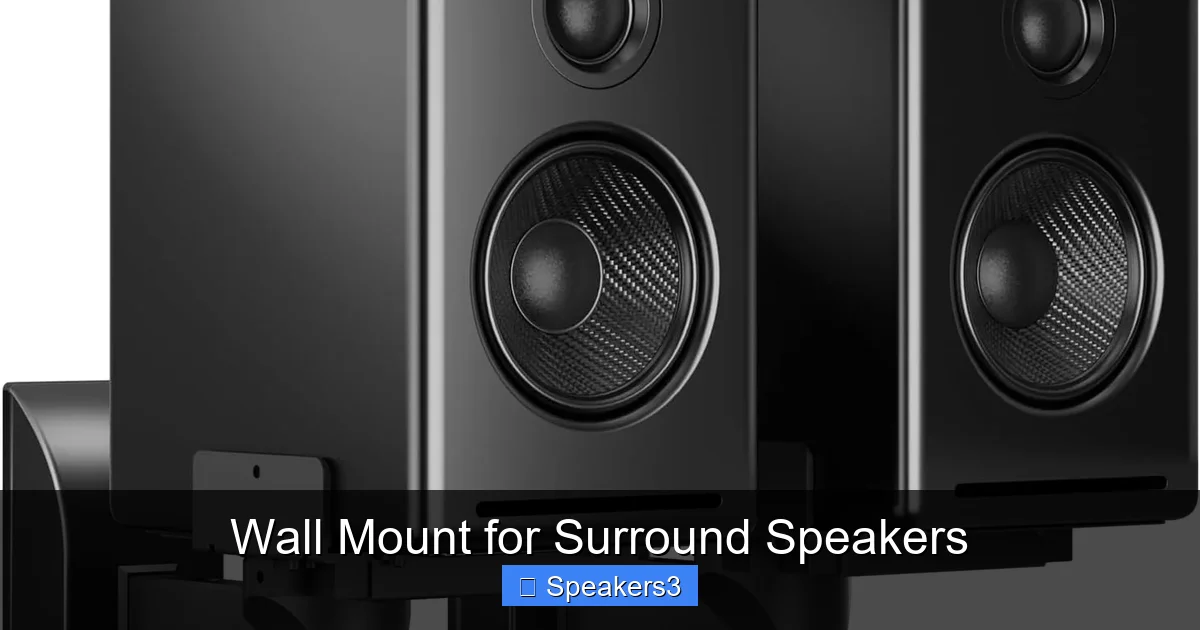
Every few months, inspect the screws and brackets for looseness. Vibrations from low‑frequency effects can gradually work a fastener loose.
Visual guide about Wall Mount for Surround Speakers
Image source: m.media-amazon.com
Cleaning Tips
Dust can mute high frequencies. Use a soft brush or a low‑power vacuum attachment to clean the speaker grille and the mount’s surface. Avoid spray cleaners that could seep into the speaker’s interior.
Upgrading or Re‑positioning
Because many mounts are adjustable, swapping out a speaker for a newer model is straightforward. Just ensure the new speaker’s weight stays within the mount’s limit.
Choosing the Best Wall Mount for Your Setup
Top Features to Look For
- Adjustability: Swivel and tilt functions give you control over sound direction.
- Weight rating: At least 20% higher than your speaker’s weight.
- Build material: Steel or aluminum for durability.
- Ease of installation: Pre‑drilled holes and included hardware.
- Cable management: Integrated channels or compatible with external raceways.
Recommended Brands and Models
While we won’t name specific products, brands that consistently receive high marks include Sanus, OmniMount, and Vogel’s. Check user reviews for real‑world feedback on sturdiness and ease of use.
Conclusion
Investing in a wall mount for surround speakers is a small step that yields huge rewards. You gain a cleaner room, better sound placement, and the flexibility to adapt as your home theater evolves. By selecting the right mount, preparing your wall properly, and following a simple installation routine, you’ll enjoy cinema‑level immersion without the clutter.
Ready to upgrade? Pick a mount that matches your speaker’s weight, offers the adjustability you need, and follow our guide for a secure, invisible setup. Your ears—and your guests—will thank you.
Frequently Asked Questions
What height should I mount my surround speakers?
For most rooms, ear level—around 38‑42 inches from the floor—provides the most natural sound. Adjust slightly higher or lower based on furniture height and listening position.
Can I mount a surround speaker on plaster walls?
Yes, but you’ll need heavy‑duty anchors designed for plaster. If possible, locate a stud behind the plaster for the strongest hold.
Do I need a special wall mount for Dolby Atmos speakers?
Dolby Atmos speakers often have upward‑firing drivers. A mount that allows a slight upward tilt or a ceiling mount is ideal to direct sound overhead.
Is it safe to hide speaker wires inside the wall?
Only use CL2 or CL3 rated speaker wire for in‑wall runs, and follow local building codes. This prevents fire hazards and keeps the installation legal.
How do I know if my mount can support my speaker?
Check the speaker’s weight in the manual, then compare it to the mount’s load rating. Choose a mount rated at least 20% higher than the speaker’s weight for safety.
Can I use a TV wall mount for surround speakers?
TV mounts are typically designed for larger, heavier loads and may not have the correct bracket spacing for speakers. It’s best to use a mount specifically engineered for audio equipment.