Speaker Stands for Surround Speakers
Speaker stands for surround speakers are not just decorative furniture; they are critical acoustic tools that position your speakers correctly to unlock true surround sound immersion. Proper placement, typically at ear level or slightly above and to the side/rear of the listener, creates a seamless, enveloping soundstage. Choosing the right stand—considering height, weight capacity, stability, and material—directly impacts sound clarity, bass response, and the overall 3D audio experience by eliminating vibrations and ensuring precise speaker aiming.
So, you’ve spent weeks researching AV receivers, comparing speaker specifications, and debating the merits of Dolby Atmos versus DTS:X. You’ve carefully unboxed your new surround sound system, connected the front left, center, and right channels, and marveled at the clarity of your favorite movie’s dialogue. But now you’re staring at those two smaller speakers meant for the back or sides of your room, and you’re wondering: “What do I do with these?” The answer, more often than not, is a dedicated pair of speaker stands for surround speakers. This might seem like a minor detail, a simple piece of furniture to hold a speaker off the floor. In reality, it’s one of the most crucial, yet frequently overlooked, elements in achieving a truly immersive and accurate home theater experience. This guide will walk you through everything you need to know about selecting, placing, and using speaker stands to transform your surround sound from good to breathtaking.
Key Takeaways
- Placement is Paramount: Surround speakers belong at your sides or slightly behind the listening position, ideally at ear level or angled down from above, to create a cohesive sound field.
- Stability Prevents Distortion: A wobbly or lightweight stand can cause speaker vibrations that muddy the midrange and smear effects, robbing your system of clarity.
- Height is Adjustable: Fixed-height stands limit flexibility; adjustable or tall stands allow you to fine-tune the speaker’s tweeter height for optimal dispersion based on your seating.
- Material Matters: Heavy, dense materials like MDF or metal provide better vibration damping than hollow or lightweight plastic, leading to tighter bass and cleaner sound.
- Weight Capacity is Non-Negotiable: Always choose a stand with a weight rating significantly higher than your speaker’s actual weight for ultimate safety and stability.
- Cable Management is Key: Look for stands with built-in cable channels or grommets to keep wires hidden and prevent tripping hazards, maintaining a clean aesthetic.
- It’s a System Component: Treat your surround speaker stands as an integral part of your audio system, not an afterthought, as they directly influence performance.
📑 Table of Contents
- The Critical Role of Speaker Stands in Surround Sound
- Optimal Surround Speaker Placement: The Golden Rules
- Types of Speaker Stands: Finding Your Perfect Match
- Materials and Construction: Stability vs. Aesthetics
- Beyond the Stand: Fine-Tuning Your Surround Experience
- Common Mistakes and How to Avoid Them
- Conclusion: The Stand as a System Integrator
The Critical Role of Speaker Stands in Surround Sound
Before we dive into types and materials, let’s address the fundamental “why.” Why can’t you just plop your surround speakers on a bookshelf, a console table, or even the floor? The answer lies in the core principles of sound propagation and psychoacoustics—how our brains perceive sound.
The Physics of Positioning
Surround speakers are designed to create an ambient, diffuse sound field. They deliver ambient cues, directional effects (like a helicopter passing overhead), and musical detail that places you *inside* the movie or game. Their job is not to be the primary sound source like your front speakers. For this ambient effect to work correctly, the sound from these speakers needs to reach your ears in a very specific way.
When a speaker is placed too high, too low, or aimed at the wrong angle, the high-frequency sounds (the “detail” and “directionality”) don’t interact with your listening position as intended. You might hear a sound effect, but it won’t feel like it’s coming from the correct spot in the room. It can sound like it’s coming from the ceiling or the wall behind the speaker, breaking the illusion. A proper speaker stand for surround speakers allows you to achieve the precise height and angle recommended by audio engineers and standards bodies like the Dolby and DTS setup guides.
Combating Vibration and Resonance
Imagine your surround speaker as a精密 instrument. It’s designed to move air with extreme precision to recreate sound waves. Now, place that same speaker on a flimsy shelf or a hollow table. The speaker’s own vibrations, especially in the lower midrange and bass frequencies, will transfer into that surface. The surface will resonate, vibrate, and essentially become a second, poorly controlled speaker itself. This creates a muddy, boomy sound that masks fine detail and smears transients. A purpose-built speaker stand is constructed to be inert. Its mass and rigidity absorb and dissipate these vibrations, ensuring the speaker’s energy is directed outward into your room, not into your furniture. This results in tighter, cleaner, and more defined sound across the entire frequency spectrum.
Safety and Peace of Mind
This is a practical but vital point. High-quality bookshelf speakers can weigh anywhere from 10 to 30 pounds. A standard IKEA shelf or a wobbly end table is not engineered to support that dynamic weight, especially when the speaker is playing loudly and generating internal forces. A dedicated speaker stand is engineered with a specific weight capacity, a broad, stable base, and often features like spikes or rubber feet to secure it to the floor. This prevents accidental tipping, which is a safety hazard for children and pets, and protects your valuable audio investment from a catastrophic fall.
Optimal Surround Speaker Placement: The Golden Rules
Now that we understand *why* stands matter, we must establish *where* to put the speakers. There are established industry guidelines, but your specific room and seating will dictate the final position. The stands are the tool that gets you there.
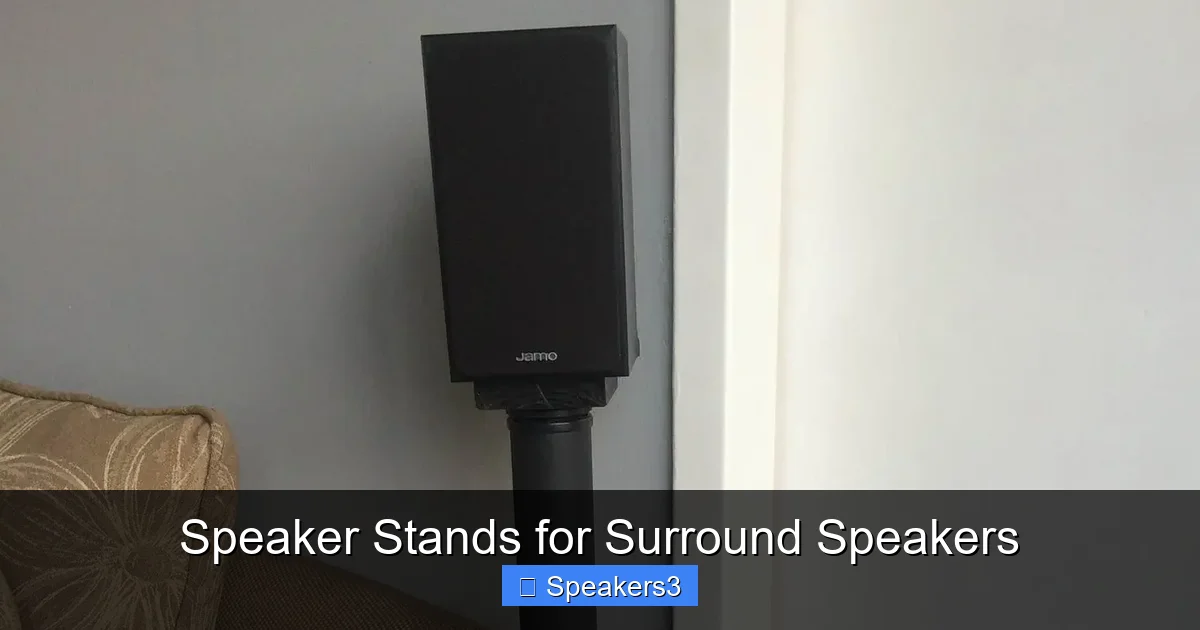
Visual guide about Speaker Stands for Surround Speakers
Image source: i1.wp.com
The 90 to 110-Degree Arc
For a traditional 5.1 or 7.1 setup, your surround speakers should be placed to the sides or slightly behind the primary listening position. Imagine a circle around your main couch or chair. The surrounds should sit on this circle, typically between 90 and 110 degrees from the front center speaker. This creates the classic “surround” effect. For a 7.1 system, the additional “rear” surrounds would be placed behind the listening position, at about 150 to 170 degrees. The speaker stands allow you to position them exactly on this arc, regardless of where your side tables or walls are located.
The Height Debate: Ear-Level vs. Above
This is the most common point of confusion. Traditional Dolby guidelines for dipole surround speakers (which radiate sound in a figure-8 pattern) recommended mounting them 2-3 feet *above* ear level. However, with the vast majority of modern systems using direct-radiating (monopole) surround speakers, the consensus has shifted. For these speakers, the tweeter should be aimed *at* the listening position, which generally means the speaker’s tweeter is at or slightly *above* ear level when you’re seated.
Here’s the practical rule: your surround speakers should be at ear level **or** 1 to 2 feet above ear level, and they should be *toed-in* (angled inward) so the tweeter points directly at the main listening spot. If your seating has a high back, you may need taller speaker stands to clear it and achieve this above-ear-level placement. The goal is for the sound to “wash” over the listeners, not blast them from a low angle or come from an unnaturally high source.
Distance from the Listening Position
The surrounds should be equidistant from the main listening position as your front speakers are from each other. This helps maintain proper soundstage balance and accurate panning effects. If your fronts are 10 feet apart, your surrounds should also be about 10 feet apart from each other, forming a cohesive rectangle around your seating area. Measuring this distance and marking the floor with painter’s tape before placing your speaker stands is a pro-level tip that saves endless repositioning later.
Types of Speaker Stands: Finding Your Perfect Match
The market for speaker stands for surround speakers is diverse. Understanding the primary types will help you match a stand to your speaker’s size, weight, and your room’s aesthetics.
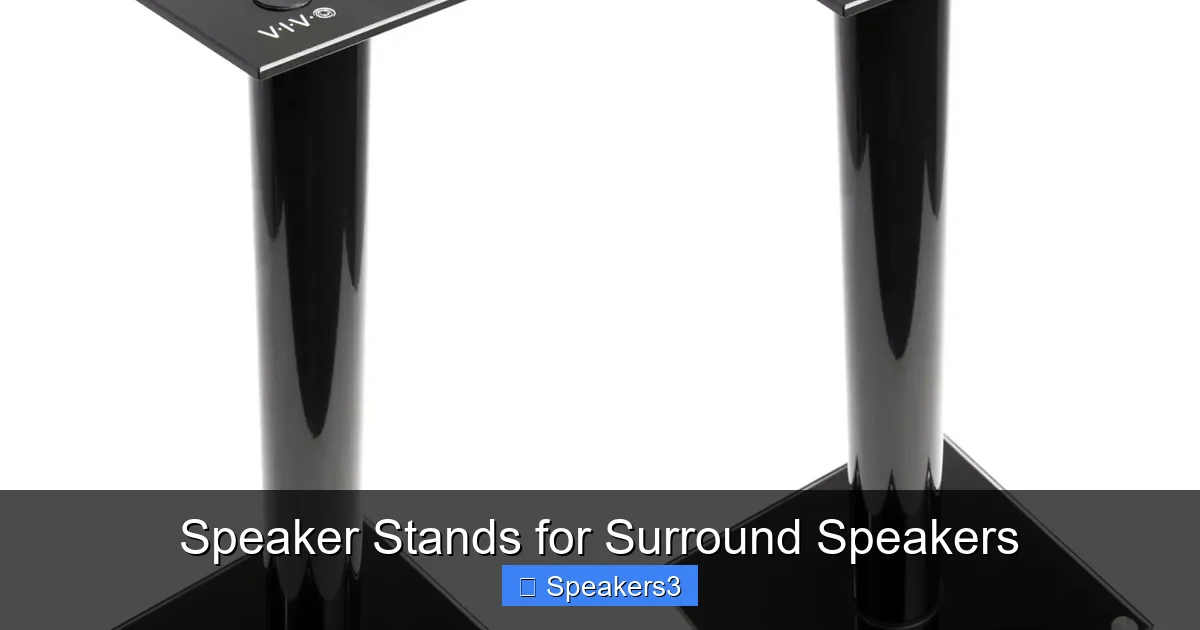
Visual guide about Speaker Stands for Surround Speakers
Image source: bestwaterproofspeaker.com
Fixed-Height Stands
As the name implies, these stands have a set, non-adjustable height. They are often the most affordable and simplest option. The key is to meticulously measure your room’s requirements—the height from your floor to your desired tweeter position—and select a fixed stand that matches. They are excellent for rooms with consistent seating height and where you’ve already determined the perfect speaker elevation. Their simplicity means fewer parts that can loosen over time.
Adjustable-Height Stands
These are the most versatile and popular choice for surround applications. They feature a central column with multiple locking holes or a threaded pole that allows you to change the height in increments (usually 1-2 inches). This is invaluable for fine-tuning. You can start with a baseline height, listen, and then adjust up or down a few inches to find the absolute sweet spot for your specific room acoustics and seating. Many adjustable stands also allow you to change the speaker platform’s angle (toe-in), offering another layer of precision aiming.
Floor-Standing “Pillars” and Brackets
In some installations, especially with in-wall or in-ceiling surround systems that have a speaker bracket, a simple floor-standing pillar or “duckbill” stand is used. This is a heavy, often metal, base with a pole that the speaker’s mounting bracket clamps onto. It’s minimalist and very stable, perfect for speakers with built-in mounting threads. For standard bookshelf-style surrounds, a full platform stand is usually preferred.
Wall-Mounts vs. Stands: The Big Decision
Should you even use a stand? Wall-mounting your surrounds is a permanent, space-saving solution that can achieve perfect height and angle. However, it requires drilling into walls, running cables inside walls (or using surface raceways), and offers zero flexibility if you rearrange furniture. Speaker stands provide portability, easy adjustment, and no permanent alteration to your home. For renters or anyone who values flexibility, stands are the clear winner. For a dedicated, permanent home theater, well-executed wall mounts can be equally effective but are a different category of installation.
Materials and Construction: Stability vs. Aesthetics
The build quality of a speaker stand directly correlates with its performance. Don’t be fooled by a beautiful veneer if the core construction is weak.
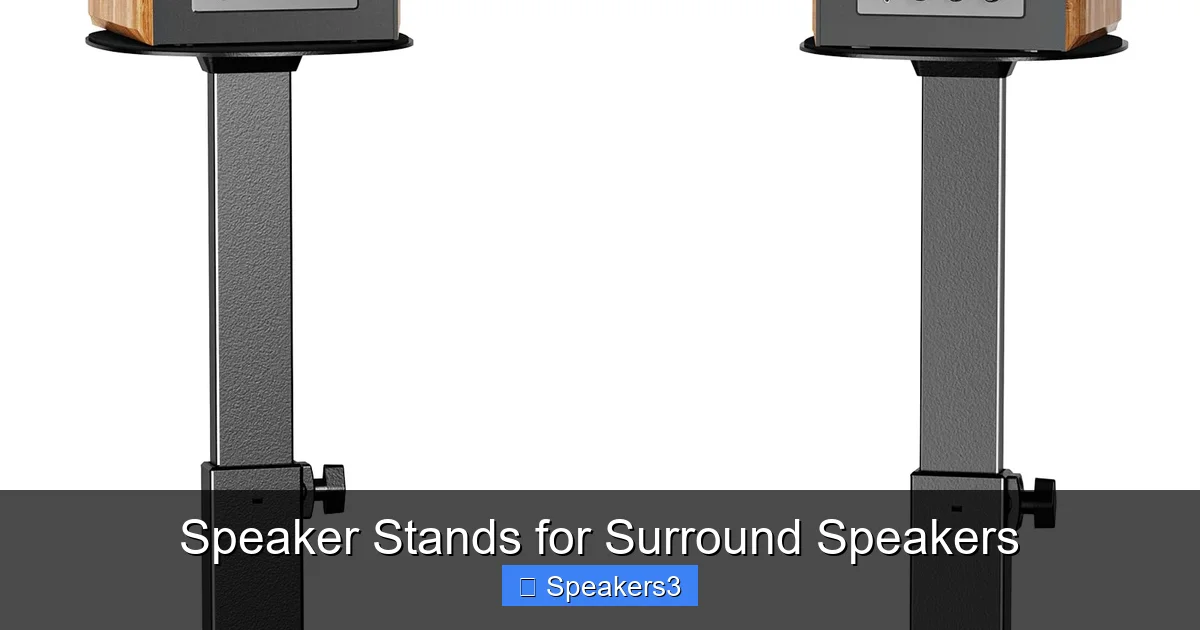
Visual guide about Speaker Stands for Surround Speakers
Image source: m.media-amazon.com
The Importance of Mass and Density
Physics 101: an object at rest stays at rest. A heavy, dense stand resists movement. When your speaker’s driver pushes air, it creates a backward force (Newton’s third law). A light stand will wobble in response. A heavy stand—made from thick MDF, medium-density fiberboard, solid wood, or steel—absorbs this energy. Look for stands with substantial weight. A good rule of thumb: the stand should weigh at least half as much as the speaker it will hold. A 20lb speaker should be on a stand weighing 10lbs or more. This mass acts as an acoustic anchor.
Column Design: Hollow vs. Solid
Many stands use a hollow column to save on material and shipping cost. This is a major red flag for vibration control. A hollow tube can actually resonate like a pipe, amplifying certain frequencies. The best designs use a solid, dense column throughout. Some premium stands even fill their hollow columns with sand or lead shot—a DIY trick many enthusiasts use—to dramatically increase mass and damping. If buying a hollow-column stand, plan to fill it yourself for a significant performance boost.
Base and Footing
The base must be wider than the column to ensure a low center of gravity and prevent tipping. Look for a broad, flat base. The feet are equally important. Metal spikes are excellent for piercing carpet and making solid contact with a concrete or wood subfloor, dramatically improving stability. Rubber isolators or pads are better for hard floors (tile, hardwood) to prevent scratching and decouple minor vibrations from the floor itself. Some stands offer interchangeable feet, giving you options based on your flooring.
Platform and Speaker Mounting
The top platform must be large enough to comfortably accommodate your speaker’s footprint. It should have a non-slip surface, like rubber pads or a textured finish, to prevent the speaker from sliding. For added security, many stands include a simple L-bracket or a strap that screws into the stand and wraps around the speaker. This is highly recommended, especially in households with children or pets, or if the stand is on a low-pile carpet where shifting can occur. Ensure the mounting holes or bolt patterns are compatible with your speaker’s bottom (most have standard 1/4” or M6 threaded inserts).
Beyond the Stand: Fine-Tuning Your Surround Experience
You’ve bought the stands, placed the speakers at the correct angle and height. You’re not done. The final few percent of performance comes from integration and calibration.
Leveraging Your AV Receiver’s Calibration
Modern AV receivers from Denon, Marantz, Yamaha, and others come with automated room correction systems (Audyssey, YPAO, Dirac Live, etc.). These systems use a microphone to measure the acoustic response of your room and then apply digital filters to your speakers to flatten the frequency response and correct for timing delays. **This step is non-negotiable for optimal sound.** After physically placing your speaker stands and speakers, run the full calibration routine. It will set the correct distance (delay), channel level (volume), and EQ for each speaker, including your surrounds. This process often confirms you’ve placed your surrounds correctly or may suggest a minor height adjustment.
The Art of Manual Toe-In
While automated calibration sets levels, it doesn’t physically aim the speaker. After running Audyssey or similar, listen to a familiar movie scene with distinct surround effects (the opening of “Saving Private Ryan” is a classic test). Sit in your main listening position. Have an assistant gently rotate each surround speaker on its stand, toeing it more in or out. You’ll quickly notice a “sweet spot” where the effects feel most precisely located and integrated with the front soundstage. Lock the stand’s angle adjustment at this point. This manual fine-tuning, combined with the receiver’s EQ, is a powerful one-two punch for surround accuracy.
Cable Management: The Final Touch
Exposed speaker wire running up a speaker stand can be an eyesore and a hazard. Many quality stands include a built-in cable channel—a hollow passage inside the column from base to platform. Run your speaker wire through this channel before attaching the speaker. If your stand lacks this, use flexible conduit or spiral wrap that matches the stand’s color. Secure the cable at the base with a clip or adhesive hook to keep it taut and out of walkways. A clean cable run not only looks professional but also prevents someone from tripping and pulling your speaker off its stand.
Common Mistakes and How to Avoid Them
Even with the best intentions, it’s easy to misstep. Here are the most frequent errors with speaker stands for surround speakers and their fixes.
Mistake 1: Using Inadequate Furniture
The “temporary” solution of a bookshelf, end table, or stack of books becomes permanent. These surfaces are rarely stable, are often the wrong height, and vibrate terribly. Solution: Commit to proper stands. If budget is an issue, prioritize stands for your surrounds before upgrading front speakers or other components. The difference is that dramatic.
Mistake 2: Ignoring Weight Limits
That stand’s label says “25lb capacity,” and your speaker is 22lbs. You’re safe, right? Not really. That rating is a static, ideal-laboratory number. In the real world, with dynamic bass content, the forces multiply. You want a significant safety margin. Solution: Choose a stand with a weight capacity at least 1.5x your speaker’s weight. A 25lb speaker belongs on a 40lb+ rated stand.
Mistake 3: Poor Placement Relative to Seating
Placing surrounds too far forward (toward the front speakers) or too far back. This ruins the surround field, making effects feel like they’re coming from the front or creating a distracting “hole” behind you. Solution: Use the 90-110 degree rule. Physically measure the angle from your main listening position to your surround speakers, using your front center as the zero-degree reference.
Mistake 4: Forgetting the Floor Type
Using metal spikes on a beautiful hardwood floor will leave permanent divots. Using only rubber pads on thick carpet can lead to a wobbly, unstable stand. Solution: Assess your flooring. Use rubber/cork pads on hard floors. Use metal spikes on carpet, but consider small, sacrificial floor protectors underneath the spike points. Some stands offer both options.
Mistake 5: Not Securing the Speaker
Relying on friction and gravity alone. A minor bump or a low-frequency “thump” from a movie can dislodge a speaker. Solution: Always use the provided mounting strap, bracket, or at the very least, a non-slip pad. If your stand and speaker have matching threaded holes, use a bolt through the platform to secure it. It’s a five-minute job for lifetime security.
Conclusion: The Stand as a System Integrator
In the pursuit of perfect sound, we obsess over amplifier watts, driver materials, and codec support. Yet, the physical bridge between the speaker and your room—the humble speaker stand for surround speakers—is often an afterthought. As we’ve explored, this is a critical mistake. The right stand does more than hold a speaker; it enables correct acoustic positioning, damps destructive resonances, ensures safety, and provides the stable foundation your surround channels need to perform their job of wrapping you in sound.
Think of it this way: your front three speakers anchor the soundstage in front of you. Your surrounds are responsible for the sides and rear of that stage. If the surrounds are poorly positioned or vibrating on an unstable platform, that entire rear portion of the soundstage collapses. The immersive, you-are-there effect you paid for evaporates, replaced by a flat, directional, and often disappointing audio experience. Investing in the right stands—adjustable, sturdy, and properly placed—is one of the highest-impact, cost-effective upgrades you can make to your entire home theater system. It’s the final, essential step in turning a collection of speakers into a true surround sound environment. So, measure your room, understand your speaker’s needs, choose a stand built for the job, and take your seat. The immersive audio you’ve been dreaming of is waiting, perfectly positioned, just behind you.
Frequently Asked Questions
What is the ideal height for surround speaker stands?
For direct-radiating (monopole) surround speakers, the tweeter should be at ear level or 1-2 feet above the listening position when seated. This typically means stands between 24 to 36 inches tall, but your specific seating height is the final determinant. The goal is to have the speaker aimed at your ears.
Can I wall-mount my surround speakers instead of using stands?
Yes, wall-mounting is a permanent, space-saving solution that can achieve perfect positioning. However, it requires drilling, permanent cable routing, and offers no flexibility. Speaker stands are better for renters, those who rearrange furniture, or anyone wanting easy adjustment. Stands are generally the more versatile and recommended option.
How much weight should my speaker stand support?
Always choose a stand with a weight capacity at least 1.5 times the actual weight of your speaker. This provides a crucial safety margin for dynamic forces during loud playback. A 20lb speaker should be on a stand rated for 30lbs or more. Never max out the stand’s rated capacity.
Do I need to fill my speaker stand with sand or shot?
If your stand has a hollow column, filling it with sand, lead shot, or even heavy rocks is one of the most effective and inexpensive upgrades you can make. It dramatically increases the stand’s mass and damping, reducing resonance and improving overall sound clarity and bass tightness.
What’s better for my carpet: spikes or rubber feet?
For carpeted floors, metal spikes are generally superior as they pierce the carpet padding and make solid contact with the subfloor, preventing wobble. However, use small furniture coasters or protectors under the spike points to avoid damaging the carpet or floor. Rubber feet are better suited for hard-surface flooring.
Can I use a speaker stand for a different type of speaker (e.g., a bookshelf for Atmos)?
Absolutely. The principles are the same: stability, correct height, and secure mounting. A sturdy, adjustable speaker stand is a perfect solution for mounting Dolby Atmos enabled speakers on top of front speakers or for placing height-channel speakers in non-ideal locations. Just ensure the stand’s weight capacity and platform size match your specific speaker.