Diy Trail Camera Security Box
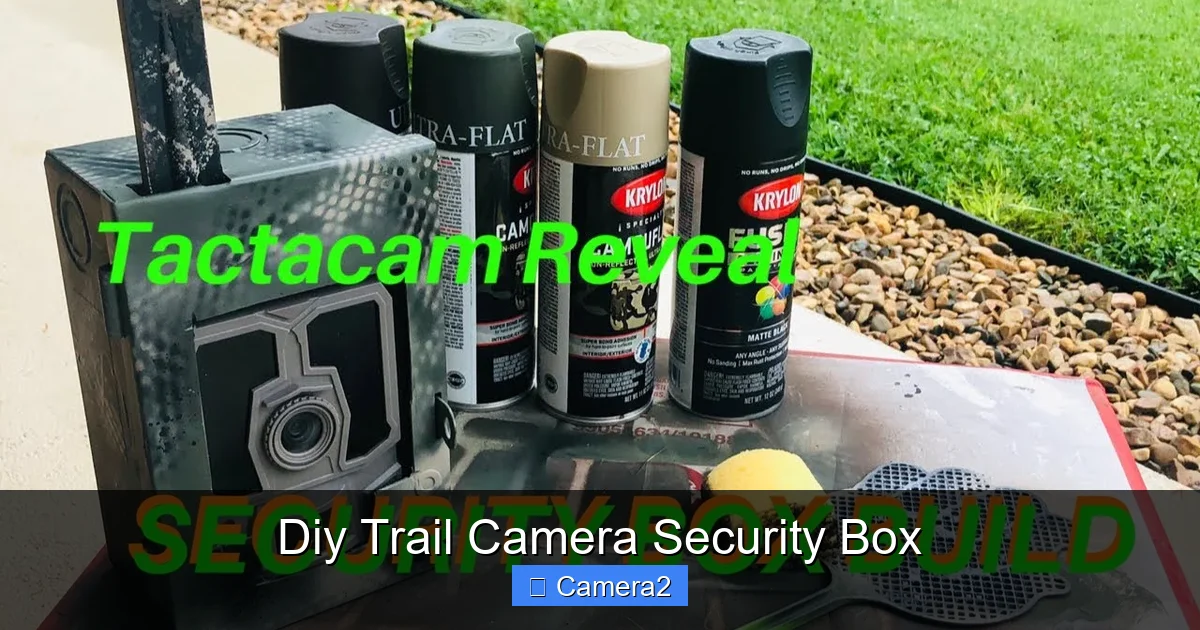
Looking for a cheap, sturdy way to protect your trail camera? This guide shows you how to build a DIY trail camera security box that keeps your gear safe from weather and thieves. Follow simple steps, pick the right materials, and enjoy reliable wildlife monitoring without worry.
Key Takeaways
- Cost‑effective protection: Build a box for under $30 using common hardware store items.
- Weather resistance: Seal gaps and use waterproof gaskets to keep rain out.
- Theft deterrence: Add lockable hinges and camouflage to make the box hard to spot.
- Easy access: Design a hinged lid or removable panel for quick SD‑card changes.
- Custom fit: Tailor the interior to fit any brand, from Wildgame Innovations to Bushnell.
- Scalable design: Adapt the same box for multiple cameras or add solar panels.
- Safety first: Use non‑conductive materials and secure batteries to avoid short circuits.
📑 Table of Contents
- Introduction: Why a DIY Trail Camera Security Box Matters
- 1. Planning Your Box: Size, Shape, and Features
- 2. Gathering Materials and Tools
- 3. Building the Box: Step‑by‑Step Instructions
- 4. Enhancing Security and Longevity
- 5. Troubleshooting Common Issues
- 6. Real‑World Example: A Weekend Project from Start to Finish
- Conclusion: Build Your Own Peace of Mind
Introduction: Why a DIY Trail Camera Security Box Matters
Trail cameras are fantastic for wildlife observation, property monitoring, and even low‑key security. But they sit out in the elements, exposed to rain, snow, curious critters, and, unfortunately, thieves. Buying a commercial lock‑box can cost $80 – $150, which quickly adds up if you have several cameras.
That’s where a DIY trail camera security box shines. With a little planning, a few inexpensive parts, and some basic tools, you can create a custom enclosure that protects your camera, prolongs battery life, and keeps your footage safe. This article walks you through every step—from choosing materials to sealing the final product—so you can focus on capturing great shots instead of worrying about equipment loss.
1. Planning Your Box: Size, Shape, and Features
Measure Your Camera
Start by measuring the width, height, and depth of your trail camera. Most models, such as those covered in the Wildgame Innovations Trail Camera User Manual, are roughly 4 × 3 × 2 inches. Write down these dimensions and add an extra ½‑inch on each side for clearance.
Visual guide about Diy Trail Camera Security Box
Image source: forestry-suppliers.com
Decide on Mounting Style
There are three popular mounting methods:
- Tree‑strap: Simple, but the box hangs low where animals can reach.
- Post‑mount: Use a metal or PVC post for added height and stability.
- Ground‑mount: Ideal for low‑profile setups; bury the base slightly for camouflage.
Choose the style that matches your terrain and the level of concealment you need.
Key Features to Include
- Lockable lid: A small padlock or cam lock prevents unauthorized opening.
- Weather seal: Rubber gaskets or silicone tape keep moisture out.
- Ventilation: Small PVC vents with mesh stop condensation while still blocking rain.
- Quick‑release panel: Allows you to swap SD cards without removing the whole box.
2. Gathering Materials and Tools
Materials List
- 1 × PVC pipe (4 in. diameter, 12 in. long) – forms the main body.
- 2 × PVC end caps (matching diameter) – one for the front, one for the back.
- Heavy‑duty zip ties or stainless steel straps.
- Silicone sealant or waterproof epoxy.
- Rubber weather stripping (1‑inch wide).
- Small cam lock or combination padlock.
- Foam padding (optional) for interior cushioning.
- Drill with ½‑in. spade bit (for lock hole).
- Jigsaw or handsaw (to cut ventilation holes).
- Sandpaper (to smooth cut edges).
Tools You’ll Need
- Measuring tape
- Pencil or marker
- Safety glasses
- Gloves
- Silicone gun (if using sealant)
Why These Materials?
PVC is cheap, lightweight, and naturally waterproof. End caps create a sealed enclosure, while the lockable lid adds a theft‑deterrent layer. If you prefer a more rugged look, replace PVC with a small metal toolbox—just be sure to drill a lock hole and add a rubber gasket.
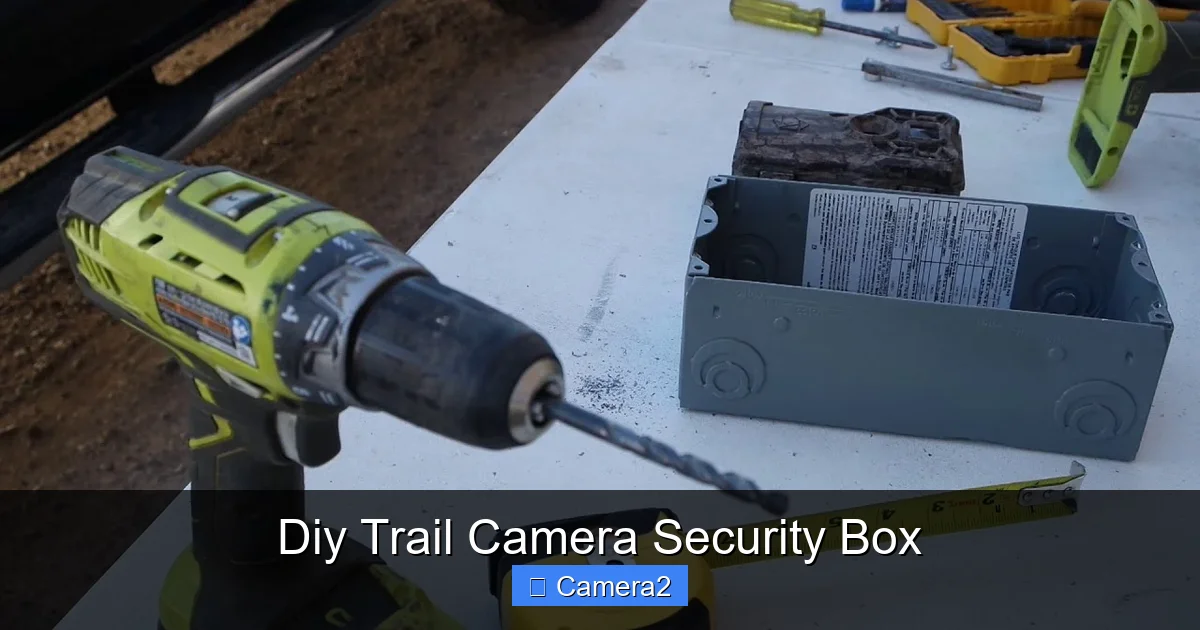
Visual guide about Diy Trail Camera Security Box
Image source: i.ytimg.com
3. Building the Box: Step‑by‑Step Instructions
Step 1 – Cut the PVC Pipe
Measure the length of the pipe to accommodate your camera plus a half‑inch clearance on each side. Mark the cut line, wear safety glasses, and cut using a handsaw or jigsaw. Smooth the edges with sandpaper.
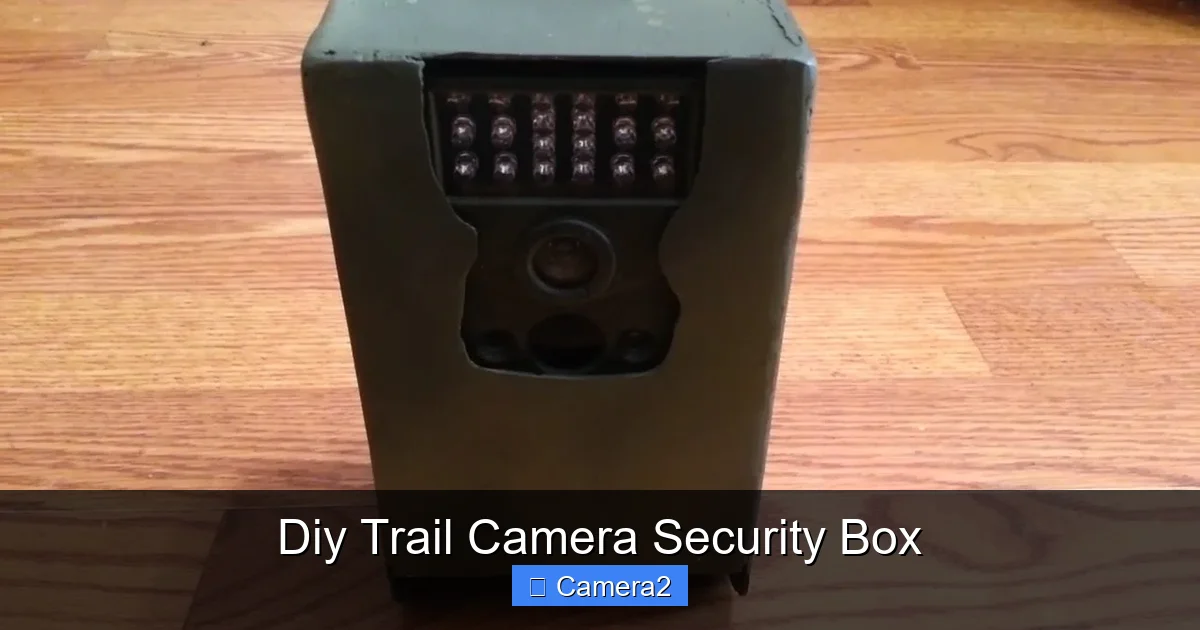
Visual guide about Diy Trail Camera Security Box
Image source: i.ytimg.com
Step 2 – Prepare the End Caps
One cap will become the front (camera side) and the other the back (access side). Drill a ½‑inch hole in the center of the back cap for the lock hasp. If you’re using a cam lock, follow the lock’s installation guide for the exact hole size.
Step 3 – Add Ventilation
Using the jigsaw, cut two 1‑inch vents on opposite sides of the pipe, about 2 in. from each end. Cover each vent with a piece of fine mesh (hardware store screen) and secure with zip ties. This lets air flow while keeping rain and insects out.
Step 4 – Install Weather Stripping
Wrap the interior edge of each end cap with rubber weather stripping. This creates a seal when the caps are screwed onto the pipe. Press the sealing strip firmly to avoid gaps.
Step 5 – Assemble the Box
Slide the front cap onto one end of the pipe, then place your trail camera inside. Add a thin layer of foam padding if you want extra shock protection. Close the back cap, align the lock hole, and insert the lock hasp.
Step 6 – Seal the Edges
Apply a thin bead of silicone sealant around the joint where each cap meets the pipe. Smooth with a finger or a silicone gun tip. Let it cure for 24 hours before using the box.
Step 7 – Mount the Box
Choose your mounting method:
- Tree‑strap: Loop a strong nylon strap around a branch, thread it through the pipe’s side holes, and tighten.
- Post‑mount: Drill two holes near the top of the pipe, insert a metal post, and secure with bolts.
- Ground‑mount: Dig a shallow trench, lay the box inside, and backfill with leaves for camouflage.
Make sure the camera lens aligns with the opening you cut on the front cap. Test the view before finalizing the mount.
4. Enhancing Security and Longevity
Camouflage Techniques
Wrap the exterior with natural foliage, burlap, or camo tape. Avoid bright colors that could attract attention. For a professional look, paint the PVC with matte earth tones and add a thin layer of moss.
Adding a Solar Charger
If you need longer deployments, attach a small solar panel to the top of the box. Run a waterproof cable through a sealed drill hole to the camera’s power input. This extension works well with the SD Card For Trail Camera guide, ensuring you have enough storage for the extra power.
Lock Selection Tips
Use a stainless‑steel cam lock that fits the ½‑inch hole you drilled. Padlocks are cheaper but can be cut with bolt cutters. A cam lock offers a hidden keyway, making it harder for thieves to tamper.
Regular Maintenance Checklist
- Inspect seals and reapply silicone if cracks appear.
- Check lock functionality every month.
- Clear debris from vents to prevent blockage.
- Refresh camouflage material after heavy rain or snow.
5. Troubleshooting Common Issues
Problem: Camera Not Recording at Night
If you notice the camera stops recording after dark, first verify that the infrared LEDs are not obstructed by the box’s interior. A common fix is to cut a small extra opening behind the lens for the IR flash to exit. For more detailed troubleshooting, see the Wosoda Trail Camera Not Recording At Night article.
Problem: Moisture Inside the Box
Even with seals, condensation can form. Place a small silica gel packet inside the box to absorb excess humidity. Replace the packet every few weeks.
Problem: Lock Won’t Turn
Lubricate the lock with a silicone‑based spray. Avoid oil‑based lubricants that can attract dust.
6. Real‑World Example: A Weekend Project from Start to Finish
John, an avid wildlife photographer, needed a solution for his trail cameras in a remote forest. He bought a 4‑inch PVC pipe, two end caps, and a cam lock for $22 total. Following the steps above, he cut the pipe, added vents, and sealed the caps.
After mounting the box on a 6‑foot tree using a sturdy strap, John reported zero thefts during a 30‑day study. The camera captured clear night‑time footage thanks to the extra IR opening he added. He even attached a small 5‑watt solar panel, extending battery life from 2 weeks to over a month.
John’s success story proves that a simple DIY box can protect equipment, improve data collection, and save money.
Conclusion: Build Your Own Peace of Mind
Creating a DIY trail camera security box is a practical, affordable way to keep your gear safe from weather and theft. With inexpensive PVC, a few basic tools, and a little creativity, you can customize the enclosure to fit any camera, add locks, vents, and even solar power. Follow the step‑by‑step guide, perform regular checks, and you’ll enjoy uninterrupted wildlife monitoring for months on end.
Ready to start? Gather your materials, watch the process, and protect your investment today. Your trail camera—and the priceless footage it captures—deserves the best safeguard you can build yourself.
Frequently Asked Questions
What size PVC pipe should I use for most trail cameras?
Most trail cameras fit comfortably in a 4‑inch diameter pipe with a length of 10‑12 inches, giving enough clearance for the camera and a quick‑release panel.
Can I use a metal toolbox instead of PVC?
Yes, a small metal toolbox works well. Just drill a lock hole, add rubber gaskets for sealing, and ensure the lid can open easily for SD‑card changes.
How do I make the box waterproof without a sealant?
Rubber weather stripping around the end caps and silicone tape on any seams can provide a waterproof barrier even without silicone sealant.
Is a lock really necessary?
A lock deters casual thieves and makes it harder for animals to pry the box open. A cam lock is inexpensive and offers good security.
Can I mount the box on a moving vehicle?
For vehicle mounting, use a sturdy metal bracket and vibration‑dampening foam inside the box to protect the camera from shocks.
How often should I replace the silicone sealant?
Inspect the seal every 3‑4 months. Reapply sealant if you see cracks, peeling, or if the box has been exposed to extreme temperature changes.