Rear View Camera Mounting Bracket
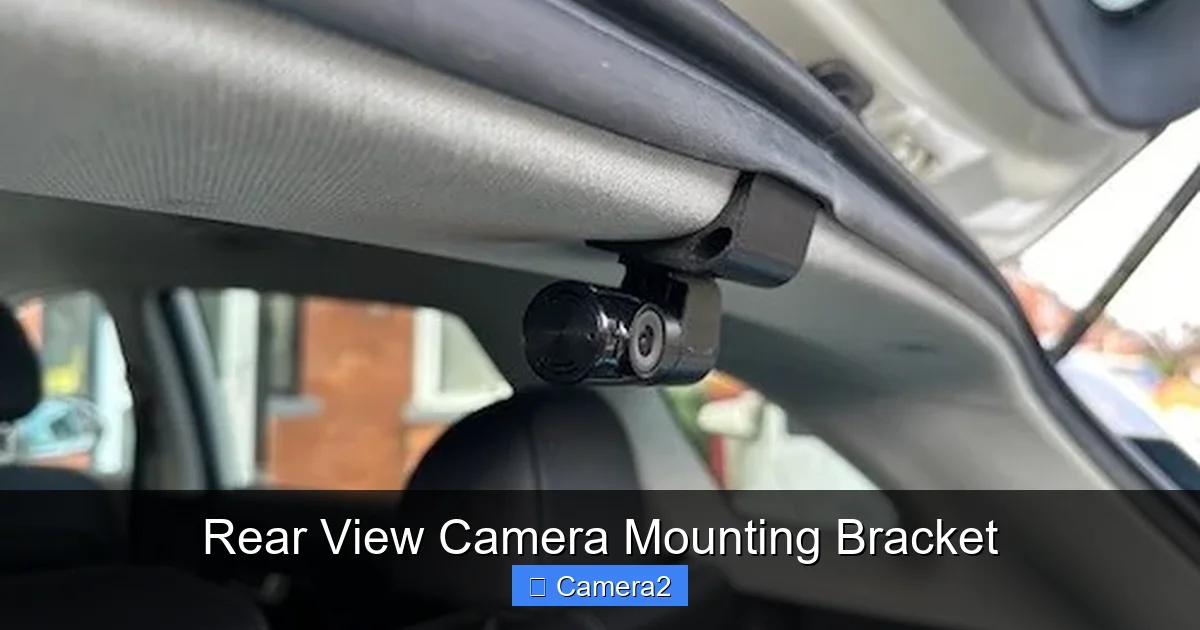
Looking for a reliable rear view camera mounting bracket? This guide walks you through choosing the right bracket, installing it like a pro, and keeping it in top shape. Boost your vehicle’s safety and confidence with simple, budget‑friendly steps.
Key Takeaways
- Fit matters: Match the bracket to your vehicle’s make, model, and camera type for a seamless install.
- Material counts: Stainless steel and aluminum offer durability, while plastic is lighter but less robust.
- Adjustability is key: Brackets with tilt and swivel features let you fine‑tune the view.
- DIY-friendly: Most rear view camera mounting brackets can be installed with basic tools and no wiring expertise.
- Maintenance matters: Regular cleaning and torque checks keep the bracket secure and the image clear.
- Safety first: Proper installation prevents vibration, glare, and legal issues.
- Future‑proof: Choose a bracket that can accommodate upgrades like wider‑angle lenses or license‑plate cameras.
📑 Table of Contents
- Introduction: Why a Good Rear View Camera Mounting Bracket Matters
- 1. Types of Rear View Camera Mounting Brackets
- 2. Choosing the Right Bracket for Your Vehicle
- 3. Step‑by‑Step Installation Guide
- 4. Common Mistakes and How to Avoid Them
- 5. Maintenance Tips to Extend the Life of Your Bracket
- 6. Frequently Asked Questions About Rear View Camera Mounting Brackets
- Conclusion: Secure Your View, Secure Your Confidence
Introduction: Why a Good Rear View Camera Mounting Bracket Matters
Imagine backing out of a tight parking spot with confidence, knowing the view behind you is crystal clear. That peace of mind starts with a solid rear view camera mounting bracket. The bracket holds the camera steady, protects it from road shock, and lets you angle the lens for the perfect field of view.
In recent years, rear view cameras have moved from luxury add‑ons to safety standards in many regions. But a camera is only as good as the bracket that secures it. A weak or poorly positioned bracket can cause blurry footage, wobble, or even camera damage. This article breaks down everything you need to know about rear view camera mounting brackets—from choosing the right style to installing it yourself and keeping it in tip‑top shape.
1. Types of Rear View Camera Mounting Brackets
1.1 Fixed Brackets
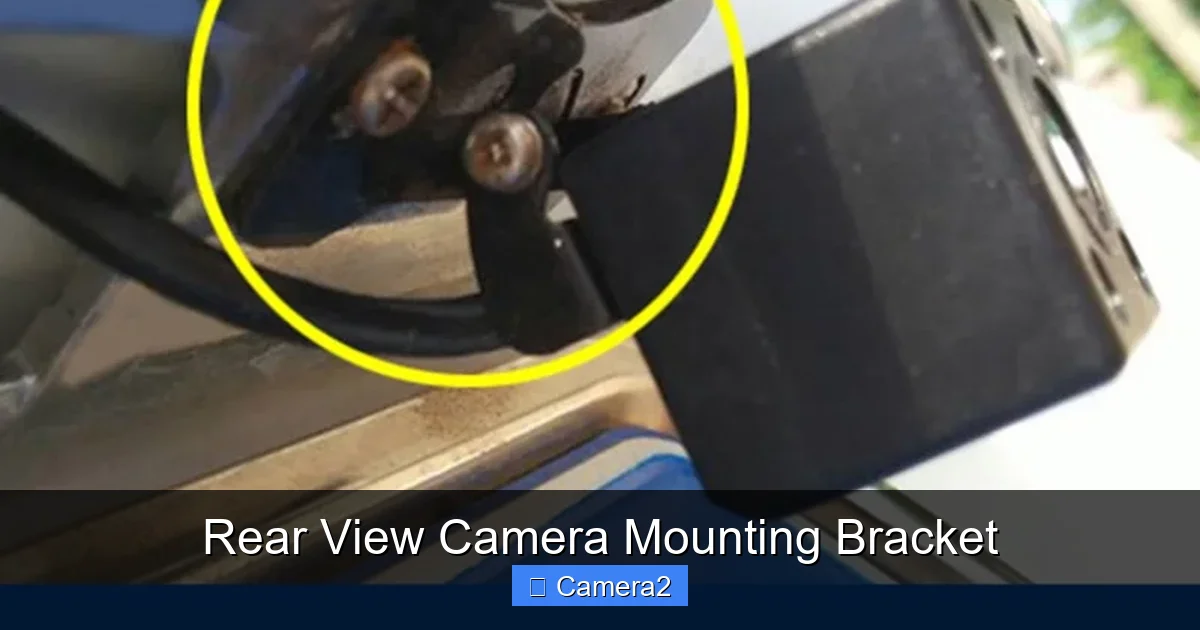
Fixed brackets are the simplest design. They attach to a surface—usually the rear bumper or license‑plate area—and hold the camera in a single, non‑adjustable position. These are great for drivers who never need to tweak the angle after the initial install.
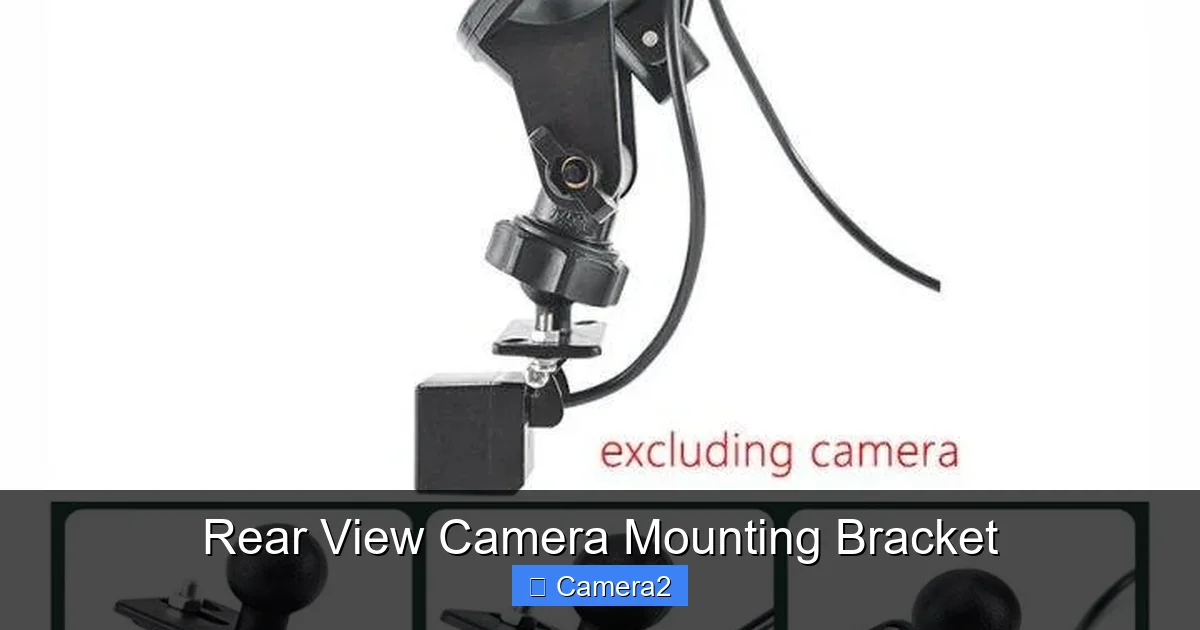
Visual guide about Rear View Camera Mounting Bracket
Image source: lzd-img-global.slatic.net
1.2 Adjustable Brackets
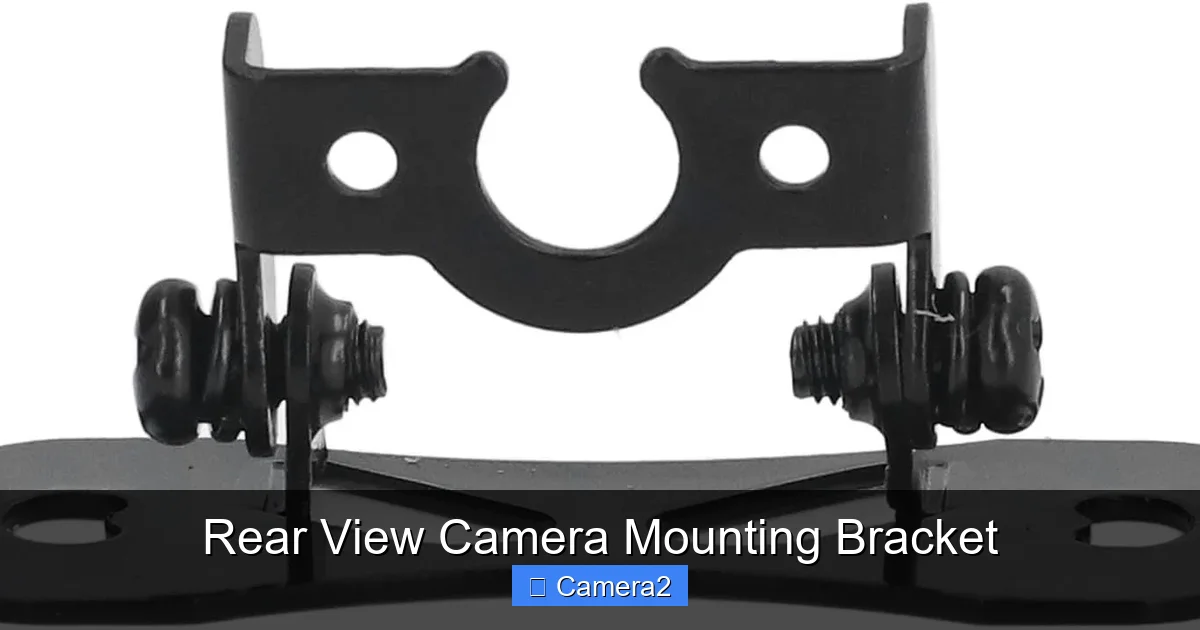
Adjustable brackets feature tilt, swivel, or sliding mechanisms. They let you angle the camera up or down, left or right, to eliminate blind spots. Most aftermarket kits include a small wrench or Allen key for fine‑tuning.
1.3 Magnetic Brackets
Magnetic brackets use strong neodymium magnets to cling to metal bumpers. They’re perfect for temporary installs or for owners who like to swap cameras between vehicles. Just make sure the magnet rating exceeds the camera’s weight.
1.4 License‑Plate Integrated Brackets
These brackets combine a camera mount with a license‑plate holder, giving a clean look and reducing the number of protruding parts. If you’re interested in a dual‑purpose solution, check out the License Plate Rear View Camera article for more details.
1.5 Universal vs. Vehicle‑Specific Brackets
Universal brackets claim to fit any make and model, using adaptable clamps or brackets. Vehicle‑specific brackets are engineered for a particular car’s mounting points, ensuring a perfect fit but limiting cross‑compatibility.
2. Choosing the Right Bracket for Your Vehicle
2.1 Know Your Camera’s Dimensions and Weight
Before you buy a rear view camera mounting bracket, check the camera’s length, width, and weight. A bracket rated for 150 g will struggle with a 300 g rugged unit, leading to sag or vibration.
Visual guide about Rear View Camera Mounting Bracket
Image source: down-ph.img.susercontent.com
2.2 Material Considerations
- Stainless steel: Corrosion‑resistant, strong, ideal for harsh climates.
- Aluminum: Light yet sturdy, good for most passenger cars.
- High‑grade plastic: Budget‑friendly, but watch for cracking under UV exposure.
2.3 Mounting Location
The most common spot is the center of the rear bumper, aligning with the vehicle’s license plate. Some drivers prefer a higher mount on the trunk lid for a wider view. Ensure the chosen spot offers a clear line of sight and complies with local regulations.
2.4 Compatibility with Other Devices
If you plan to add a backup license‑plate camera later, pick a bracket that can accommodate both. The Back Up License Plate Camera guide explains how to integrate multiple cameras without crowding the rear.
2.5 Price vs. Performance
Budget brackets start around $10, while premium adjustable steel models can exceed $50. We recommend spending a little more for adjustable, corrosion‑resistant brackets—they pay off in durability and flexibility.
3. Step‑by‑Step Installation Guide
3.1 Gather Your Tools
You’ll need:
Visual guide about Rear View Camera Mounting Bracket
Image source: m.media-amazon.com
- Phillips and flat‑head screwdrivers
- Torx or Allen wrench (often included)
- Drill with appropriate bits (if drilling new holes)
- Masking tape and a marker
- Thread‑locking compound (optional)
3.2 Prepare the Mounting Surface
Clean the bumper or trunk surface with soap and water, then dry thoroughly. Use rubbing alcohol to remove any wax or grease—this ensures the bracket adheres securely.
3.3 Mark the Hole Locations
Place the bracket on the desired spot and use masking tape to hold it in place. Mark the screw holes with a fine‑point marker. Double‑check alignment with the camera’s field of view before drilling.
3.4 Drill Pilot Holes
For metal bumpers, start with a small 2 mm drill bit, then step up to the final screw size (usually 4–6 mm). If your vehicle has a plastic bumper, use a drill bit designed for plastics to avoid cracking.
3.5 Attach the Bracket
Secure the bracket with the supplied screws or bolts. Tighten to the manufacturer’s torque specifications—usually 8–12 Nm. Apply a dab of thread‑locking compound if you anticipate frequent vibration.
3.6 Mount the Camera
Slide the camera into the bracket’s slot. If the bracket is adjustable, set the angle now while you can see the live feed on your monitor. Tighten any set‑screws to lock the position.
3.7 Connect Power and Test
Run the power wire from the camera to the vehicle’s reverse‑light circuit or a dedicated fuse. Plug the video cable into your monitor or head unit. Engage reverse gear and verify the image is clear and correctly oriented.
3.8 Seal and Finish
Apply a bead of automotive silicone around the screw heads to keep water out. Clean any fingerprints from the camera lens with a microfiber cloth.
3.9 Quick Tip: Using a Monitor for Rear View Camera
Pairing your rear view camera with a quality monitor improves visibility, especially at night. Learn more about choosing the right screen in our Monitor For Rear View Camera article.
4. Common Mistakes and How to Avoid Them
4.1 Ignoring Vibration
Even a sturdy bracket can loosen if you skip torque checks. Re‑torque the screws after the first 50 miles of driving.
4.2 Poor Angle Selection
Mounting the camera too low creates a “blind spot” directly behind the vehicle. Use an adjustable bracket to aim the lens slightly upward—about a 10‑15° tilt works for most sedans.
4.3 Over‑Drilling
Drilling holes larger than the screw size weakens the mounting area. Always use the exact drill bit size recommended by the bracket manufacturer.
4.4 Neglecting Weatherproofing
Water ingress can corrode screws and damage the camera. Seal all openings with silicone and consider a bracket with built‑in gaskets.
4.5 Forgetting Legal Requirements
Some regions prohibit mounting cameras that obstruct the license plate or exceed a certain height. Check local laws before finalizing placement.
5. Maintenance Tips to Extend the Life of Your Bracket
5.1 Regular Cleaning
Dust and road grime can accumulate on the bracket and lens. Clean the bracket with a damp cloth and mild detergent every month.
5.2 Torque Checks
Vibrations from daily driving can gradually loosen bolts. Perform a torque check every six months or after any major impact.
5.3 Inspect for Corrosion
Even stainless steel can develop pitting in salty environments. If you notice rust, replace the affected screws or apply a rust‑inhibiting spray.
5.4 Re‑align After Repairs
If you have bumper work done, the bracket may shift. Re‑measure the angle and re‑secure it before using the camera again.
5.5 Upgrade Opportunities
Technology evolves quickly. When a new camera with a wider field of view or higher resolution becomes available, you can often reuse the same mounting bracket—provided it supports the new size and weight.
6. Frequently Asked Questions About Rear View Camera Mounting Brackets
Can I install a rear view camera mounting bracket on a motorcycle?
Yes, but you’ll need a specialized bracket designed for the narrow rear of a motorcycle. Check out our guide on Mounting A Camera On A Motorcycle for tips.
Do I need a separate power source for the camera?
Most rear view cameras draw power from the reverse‑light circuit, so no extra battery is required. If you want a constant‑on view, you’ll need a dedicated fuse tap.
Will a rear view camera mounting bracket affect my car’s warranty?
Installing a bracket is generally considered an aftermarket accessory and does not void the vehicle warranty, as long as you don’t alter factory wiring.
How do I choose between a fixed and an adjustable bracket?
Pick a fixed bracket if you’re confident about the ideal angle after a test install. Choose adjustable if you want flexibility for different parking situations or future camera upgrades.
Is it legal to mount a camera that covers the license plate?
In many jurisdictions, the license plate must remain fully visible. Use a bracket that positions the camera above or beside the plate, not over it.
Can I use the same bracket for a backup license‑plate camera?
Yes, many brackets are designed to hold both a rear view camera and a license‑plate camera simultaneously. Look for models with dual mounting slots.
Conclusion: Secure Your View, Secure Your Confidence
The rear view camera mounting bracket may seem like a small component, but it’s the foundation of a reliable backup system. By selecting the right material, ensuring proper fit, and following a careful installation routine, you’ll enjoy clear rear visibility for years to come. Remember to check torque, keep the bracket clean, and stay aware of local mounting regulations. With the right bracket in place, every reverse maneuver becomes a breeze, and you’ll drive with the confidence that only a solid, well‑mounted camera can provide.
Frequently Asked Questions
What is the best material for a rear view camera mounting bracket?
Stainless steel offers the best corrosion resistance and strength, making it ideal for harsh weather conditions. Aluminum is lighter and still durable, while high‑grade plastic works for light‑weight cameras in mild climates.
Can I install the bracket myself without professional help?
Absolutely. Most brackets come with detailed instructions and require only basic tools like screwdrivers and a drill. Follow the step‑by‑step guide above for a smooth DIY install.
How often should I re‑tighten the bracket bolts?
Check the bolts after the first 50 miles, then every six months or after any major impact. Re‑torque to the manufacturer’s specification to prevent loosening.
Do I need a separate monitor for the rear view camera?
While many vehicles route the video to the factory display, an aftermarket monitor can provide a larger, clearer view and easier adjustments. See our Monitor For Rear View Camera article for options.
Is a magnetic bracket safe for permanent installation?
Magnetic brackets are great for temporary setups or swapping cameras between vehicles, but they can lose grip over time, especially in extreme temperatures. For permanent use, a bolted bracket is more reliable.
Can the same bracket be used for both rear view and license‑plate cameras?
Yes, many dual‑purpose brackets are designed with separate mounting points or slots to hold both cameras securely, keeping the license plate visible and the view unobstructed.