Four Camera Wireless Security System
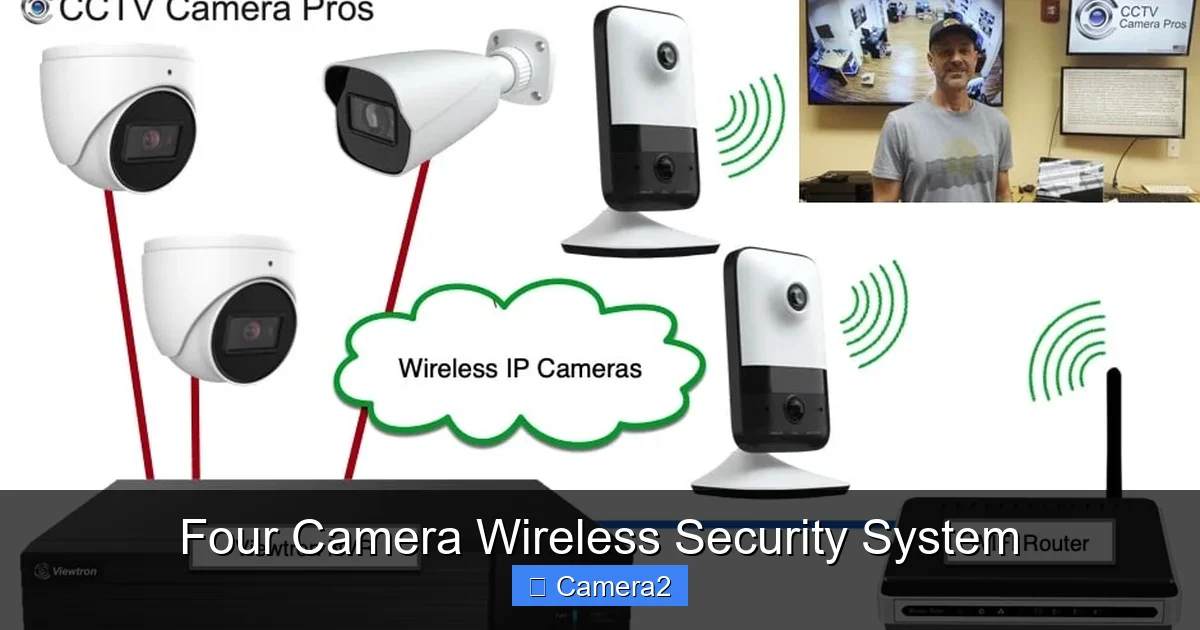
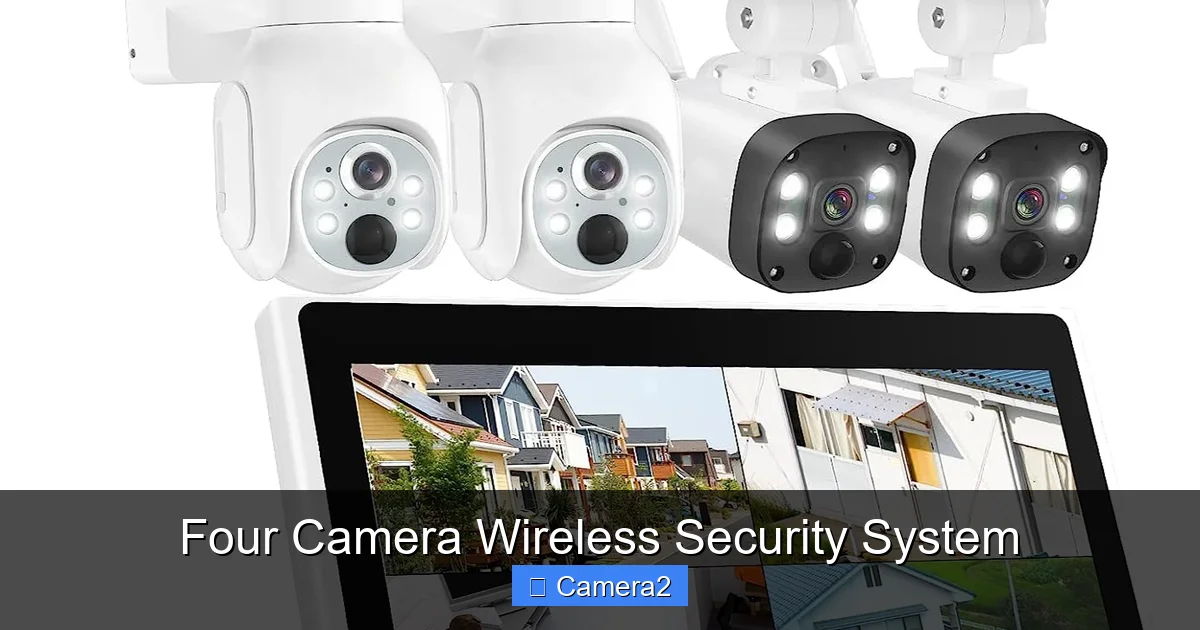
Protect your property with a four camera wireless security system that’s simple to install, works anywhere Wi‑Fi reaches, and gives you real‑time video on your phone. We break down the key features, installation steps, and tips for getting the best coverage without breaking the bank.
Key Takeaways
- All‑in‑one coverage: Four strategically placed cameras give you full‑home visibility without blind spots.
- Wireless convenience: No drilling, no cables – just power adapters and a stable Wi‑Fi network.
- Smart alerts: Motion detection, person‑classification, and customizable push notifications keep you informed.
- Easy expansion: Most systems let you add extra cameras or integrate with Alexa, Google Assistant, and Ring.
- Cost‑effective security: A four‑camera kit often costs less than hiring a professional monitoring service.
- DIY installation tips: Proper placement, Wi‑Fi signal testing, and mounting height are crucial for optimal performance.
- Privacy peace of mind: End‑to‑end encryption and local storage options protect your footage from hackers.
📑 Table of Contents
- Why a Four Camera Wireless Security System Is a Smart Choice
- Core Features to Look For
- Choosing the Right Four Camera Wireless Security System
- Step‑by‑Step Installation Guide
- Maintenance Tips to Keep Your System Running Smoothly
- Real‑World Scenarios: How a Four Camera Wireless Security System Saves the Day
- Cost Breakdown and Return on Investment
- Conclusion: Is a Four Camera Wireless Security System Right for You?
Why a Four Camera Wireless Security System Is a Smart Choice
When you think about home security, the first image that comes to mind is usually a set of bulky, wired cameras feeding a central monitor. Modern technology, however, has turned that idea upside down. A four camera wireless security system delivers the same level of protection—often better—while letting you install it yourself in a single afternoon.
Here are the top reasons why homeowners are swapping out old‑school DVR rigs for a sleek wireless kit:
- Flexibility: Because the cameras talk to your router, you can move them from the front porch to the garage without rewiring.
- Scalability: Most four‑camera kits are part of a larger ecosystem, so you can start small and add more lenses as your budget grows.
- Mobile access: Live streaming and recorded clips are viewable on any smartphone or tablet, 24/7.
- Smart integration: Voice assistants, smart locks, and lighting can all be linked to trigger actions when motion is detected.
Core Features to Look For
Resolution and Image Quality
Resolution is the foundation of any security camera. Today’s entry‑level four‑camera wireless systems start at 1080p (Full HD), but 2K or 4K options are becoming common. Higher resolution means you can zoom in on a license plate or a face without losing detail.
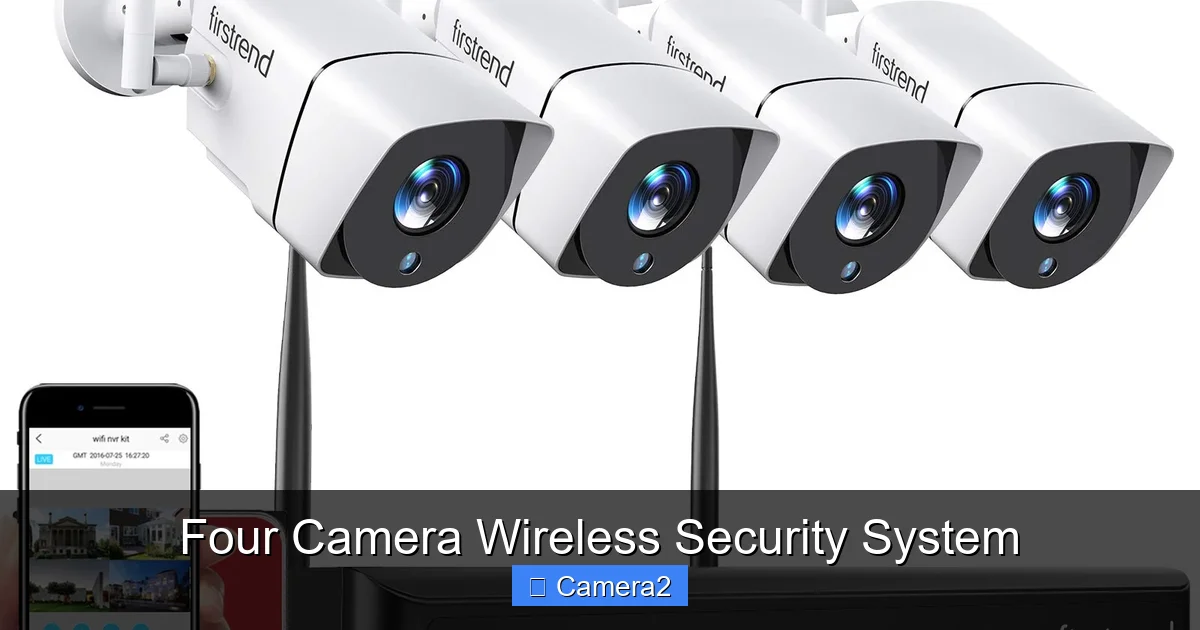
Visual guide about Four Camera Wireless Security System
Image source: m.media-amazon.com
Night Vision Capability
Look for infrared (IR) LEDs that provide at least 30 feet of night vision. Some premium models use color night vision, which adds a hint of red‑tinted color to the footage, making it easier to identify objects in low light.
Power Options
Most cameras are powered by a plug‑in adapter, but a few offer solar panels or battery packs for truly cordless placement. If you plan to mount a camera on a detached garage or a shed, a solar‑powered option can be a game‑changer.
Motion Detection & Smart Alerts
Basic motion detection triggers a recording, but advanced systems use AI to differentiate between people, animals, and vehicles. This reduces false alarms and lets you set custom alerts for “person only” events.
Storage Solutions
There are three main ways to store video:
- Cloud: Subscription‑based, easy to set up, and accessible from anywhere.
- Local: MicroSD cards (usually up to 128 GB) that keep footage on the camera itself.
- Hybrid: A combination of both, offering redundancy in case one method fails.
Integration with Other Smart Home Devices
If you already use Alexa, Google Assistant, or Apple HomeKit, choose a system that works with those platforms. Voice commands like “show the front door camera” become possible, and you can set routines such as turning on porch lights when motion is detected.
Choosing the Right Four Camera Wireless Security System
Assess Your Coverage Needs
Start by drawing a simple floor plan of your home. Mark the entry points—front door, back door, garage, and any side windows. A four‑camera kit typically covers:
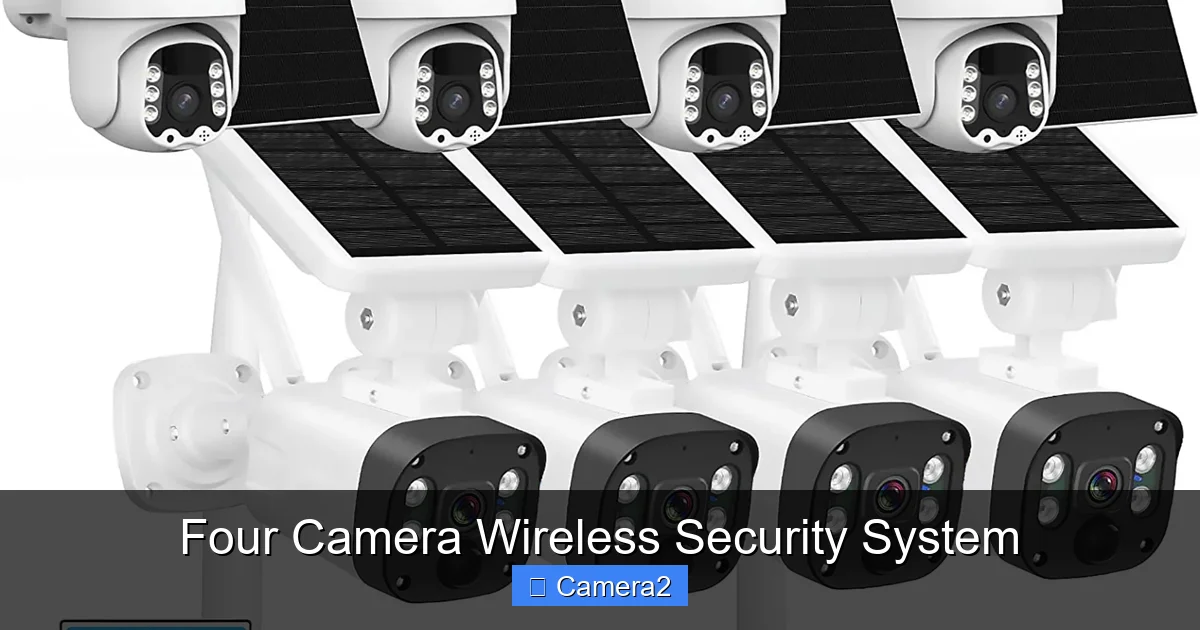
Visual guide about Four Camera Wireless Security System
Image source: firstratemold.com
- Front door (wide‑angle view)
- Backyard or side entrance
- Garage or drive‑way
- Interior common area (living room or hallway)
Place each camera where it can see the most activity without being obstructed by trees or awnings.
Check Your Wi‑Fi Strength
Wireless cameras need a reliable signal. Use a phone app or a free Wi‑Fi analyzer to test signal strength at each intended spot. If a camera sits too far from the router, consider a Wi‑Fi extender or a mesh network.
Budget vs. Features
Entry‑level four‑camera kits range from $120 to $250. Mid‑range models (often $250‑$400) add 2K resolution, AI detection, and a longer warranty. High‑end kits can exceed $500 but include premium night vision, solar power, and professional‑grade cloud storage.
Read Reviews and Look for Warranty
Customer reviews reveal real‑world reliability. Look for comments about firmware updates, app stability, and customer support. A minimum one‑year warranty is standard; three years is a solid indicator of confidence from the manufacturer.
Internal Links for Further Reading
If you’re interested in scaling up later, check out our guide on a 16 Channel Security Camera System for larger properties. For businesses, the Commercial Security Camera Installation Latexo article explains how to handle higher‑traffic environments. And if you need tips on positioning cameras in outdoor spaces, our piece about Parking Lot Security Camera Footage offers useful perspective.
Step‑by‑Step Installation Guide
What You’ll Need
- Four camera units (included in the kit)
- Power adapters for each camera
- Mounting brackets and screws
- Drill or screwdriver
- Smartphone with the manufacturer’s app installed
- Stable Wi‑Fi network (2.4 GHz recommended)
Step 1: Choose Camera Locations
Follow the floor‑plan you created earlier. Aim for a height of 7–9 feet for outdoor cameras—high enough to avoid tampering but low enough for a clear view of faces and license plates.
Visual guide about Four Camera Wireless Security System
Image source: firstratemold.com
Step 2: Test Wi‑Fi Signal
Plug each camera into power, turn it on, and use the app’s “Signal Test” feature. If a camera reports “Weak,” move it a few feet or add a Wi‑Fi extender.
Step 3: Mount the Brackets
Mark drilling spots through the bracket’s holes, then drill pilot holes. Secure the brackets with the supplied screws. For brick or concrete walls, use masonry anchors.
Step 4: Attach Cameras
Snap the camera onto the bracket, adjust the angle, and tighten the lock. Most cameras have a quick‑release clip for easy repositioning.
Step 5: Connect to Wi‑Fi
Open the app, select “Add Device,” and follow the on‑screen QR‑code or button‑press instructions. The app will guide you through entering your Wi‑Fi credentials.
Step 6: Configure Settings
- Resolution: Set to the highest level your network can handle without lag.
- Motion Zones: Draw boxes in the app to focus on high‑traffic areas.
- Alert Preferences: Choose push notifications, email alerts, or both.
- Storage: Insert a microSD card if you want local backup, and enable cloud sync if you have a subscription.
Step 7: Test the System
Walk through each camera’s field of view, trigger motion, and verify that you receive alerts and can view live video on your phone. Adjust angles as needed.
Step 8: Secure Your Network
Change the default router password, enable WPA3 encryption if available, and consider creating a separate guest network for IoT devices. This reduces the risk of hackers accessing your cameras.
Maintenance Tips to Keep Your System Running Smoothly
Regular Firmware Updates
Manufacturers release updates to patch security holes and improve performance. Enable automatic updates in the app, or check the support page monthly.
Clean Lenses Monthly
Dust and rain can blur the view. Use a microfiber cloth and a gentle lens cleaner to wipe each camera’s glass.
Check Power and Connectivity
Power adapters can overheat. Ensure they are placed in a well‑ventilated area. For battery‑powered units, replace or recharge the batteries every 6–12 months.
Rotate Storage Plans
If you rely on cloud storage, review your subscription annually. Some services offer rollover video, while others overwrite older clips after a set period.
Real‑World Scenarios: How a Four Camera Wireless Security System Saves the Day
Scenario 1: Package Theft Prevention
Jane receives a delivery while at work. Her front‑door camera records a delivery driver placing the box on the porch. An hour later, a stranger attempts to steal it. Motion detection sends Jane an instant alert, and she watches the live feed to see the thief. She calls the police, and the video evidence leads to a quick recovery.
Scenario 2: Monitoring a Rental Property
Mike rents out his basement apartment. He installs a four‑camera wireless system covering the entrance, hallway, and the shared laundry area. When a noisy party violates the lease, the system’s “person‑only” alerts notify Mike, allowing him to address the issue before neighbors complain.
Scenario 3: Enhancing Home Automation
Sara links her cameras to Alexa. When motion is detected at the back door after sunset, Alexa turns on the porch light and announces, “Motion detected at the back door.” The integrated approach makes her feel safer without lifting a finger.
Cost Breakdown and Return on Investment
Below is a typical cost analysis for a mid‑range four‑camera wireless security system:
- Hardware (cameras, mounts, adapters): $280
- Cloud storage (12‑month plan): $60
- Installation time (DIY): 2–3 hours – $0 if you do it yourself
- Potential insurance discount: 5–10% reduction on homeowner’s policy
Adding up the savings from a lower insurance premium and the peace of mind of preventing theft, many homeowners recoup their investment within the first two years.
Conclusion: Is a Four Camera Wireless Security System Right for You?
If you want a balance of coverage, convenience, and cost, a four camera wireless security system is an excellent starting point. It offers enough lenses to monitor all entry points, integrates with modern smart homes, and can be installed without professional help. By following the placement, setup, and maintenance tips in this guide, you’ll enjoy reliable protection and the confidence that comes with knowing your home is watched over—day and night.
Remember, security is an ongoing process. Keep your firmware up to date, review your alert settings regularly, and consider expanding the system as your needs evolve. With the right four‑camera kit, you’ll have a solid foundation for a safer, smarter home.
Frequently Asked Questions
What is the typical range of a wireless security camera?
Most Wi‑Fi cameras work best within 30 feet of the router, but using a mesh network or Wi‑Fi extender can extend reliable coverage up to 100 feet.
Can I view my cameras without an internet connection?
Yes, if the cameras store video locally on a microSD card, you can view footage through the app when you’re on the same local network, even without internet.
Do wireless cameras need a separate power source?
Standard models use a plug‑in power adapter. Battery‑ or solar‑powered options exist, but they may have shorter run times and require periodic charging.
How secure is the video data transmitted over Wi‑Fi?
Reputable brands use AES‑256 encryption for both live streaming and cloud storage, which protects the footage from most hacking attempts.
Can I integrate the system with my existing smart home devices?
Most four‑camera wireless systems support Alexa, Google Assistant, and Apple HomeKit, allowing voice commands and automation routines.
What should I do if one of the cameras stops recording?
First, check power and Wi‑Fi connectivity. Then, verify the microSD card is inserted correctly and not full. If the issue persists, reinstall firmware or contact the manufacturer’s support.