How Do I Connect a Mouse to a Laptop
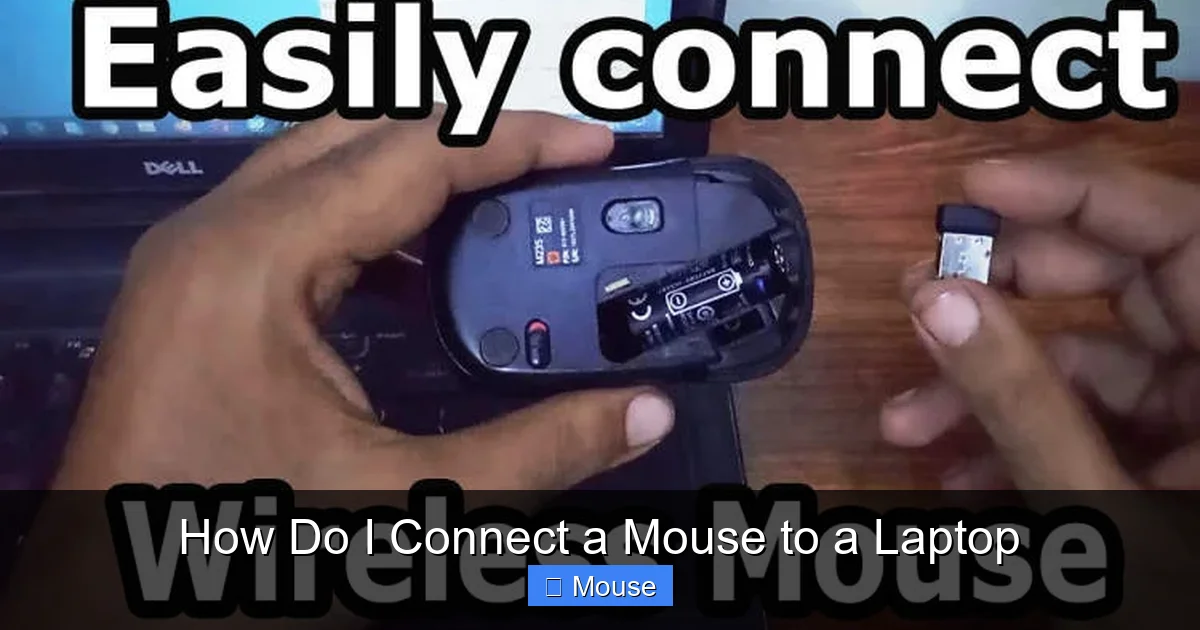
Connecting a mouse to your laptop is usually a simple plug-and-play process, but the exact steps depend on your mouse type. For a wired USB mouse, just plug it into an available USB port. For a wireless Bluetooth mouse, you’ll need to pair it through your laptop’s Bluetooth settings. For a mouse with a USB receiver (dongle), plug in the receiver and potentially install drivers. This guide breaks down every method in detail for all operating systems.
Let’s be honest: the trackpad on your laptop is a marvel of modern engineering. It’s compact, multi-touch capable, and always there. But sometimes, you just need the precision, speed, and comfort of a real mouse. Whether you’re editing photos, gaming, or just tired of that sticky feeling after a long day of scrolling, connecting an external mouse is one of the easiest and most impactful upgrades you can make to your laptop setup. The question “how do I connect a mouse to a laptop?” has a wonderfully straightforward answer, but the path you take depends on the kind of mouse you have. Don’t worry; we’ll walk through every single scenario together. By the end of this guide, you’ll have that cursor moving smoothly in under five minutes.
The world of computer mice broadly splits into three camps: the classic wired USB mouse, the wireless Bluetooth mouse, and the wireless mouse that uses its own tiny USB receiver (often called a dongle). Each has its own “connect” ritual. We’ll start with the simplest and most common method and work our way up. Remember, your laptop’s operating system—whether it’s Windows, macOS, or ChromeOS—handles the final step, but the initial physical connection is universal. Let’s dive in and demystify the process once and for all.
Key Takeaways
- Identify Your Mouse Type: The connection process is entirely determined by whether your mouse is wired USB, wireless Bluetooth, or wireless with a USB receiver.
- Wired USB is Simplest: For standard USB mice, connecting is almost always as easy as plugging the cable into an open USB-A or USB-C port on your laptop.
- Bluetooth Requires Pairing: Wireless Bluetooth mice must be put into pairing mode and then discovered and connected via your laptop’s system Bluetooth settings.
- Receiver Mice Need a Dongle: Mice with a small USB receiver require plugging that receiver in, and sometimes installing software from the manufacturer’s website.
- Troubleshooting is Key: Common fixes include checking batteries, trying different USB ports, restarting your laptop, and updating mouse drivers or firmware.
- Compatibility Matters: Almost all modern mice work with Windows, macOS, and ChromeOS, but always check the manufacturer’s specs for guaranteed support.
📑 Table of Contents
- Connecting a Wired USB Mouse: The Plug-and-Play Champion
- Connecting a Wireless Bluetooth Mouse: The Cable-Free Classic
- Connecting a Wireless Mouse with a USB Receiver (Dongle)
- Troubleshooting: What to Do When Your Mouse Won’t Connect or Work
- Compatibility and System-Specific Considerations
- Safety, Care, and Best Practices for Your Laptop and Mouse
- Conclusion: You’re Ready to Click
Connecting a Wired USB Mouse: The Plug-and-Play Champion
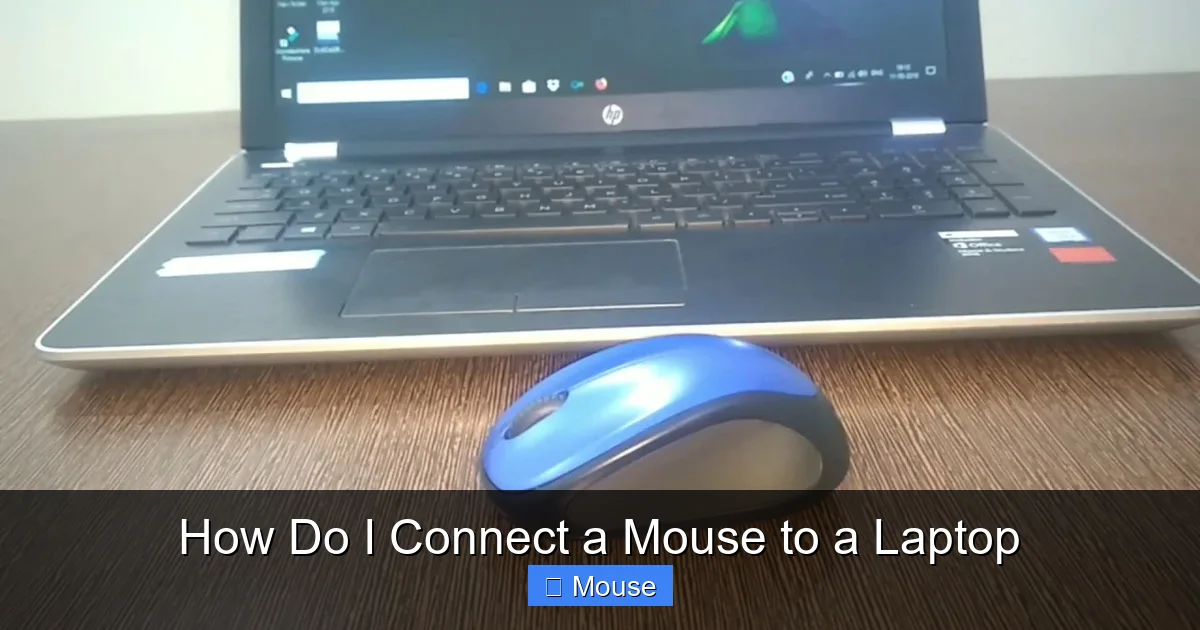
If you have a traditional mouse with a cable ending in a rectangular USB plug, you’ve chosen the path of least resistance. This method is famously “plug and play,” meaning your laptop’s operating system does almost all the work for you automatically. There’s no pairing, no batteries (usually), and no dongles to lose. It’s the reliable workhorse of the mouse world.
The Simple Steps: Unplug and Done (Almost)
Connecting a wired USB mouse is a one-step physical process, followed by a brief moment of waiting for your computer to recognize it. Here is the precise sequence:
- Locate an available USB port on your laptop. Most laptops have USB-A ports (the classic rectangular shape). If you have a newer, thinner laptop, you might only have USB-C ports. If your mouse has a USB-A plug but your laptop only has USB-C, you will need a simple USB-A to USB-C adapter or a USB-C hub. These are inexpensive and widely available.
- Plug the mouse’s USB connector firmly into the port. You should feel a slight click or resistance when it’s fully seated. Don’t force it; USB connectors are keyed to only fit one way.
- Wait 5-10 seconds. Your laptop will make a small sound (a “device connect” chime on Windows or macOS) and may show a brief notification in the corner of your screen. This is your computer installing the basic, generic driver that makes the mouse work.
That’s it. Move the mouse. Your cursor should now be under its control. If it’s not moving, try unplugging it and plugging it back in firmly. If it still doesn’t work, move to the troubleshooting section later in this guide.
What About USB-C Mice?
The rise of USB-C has brought a new type of wired mouse. These mice have a USB-C connector on both ends—one for the laptop, one for the mouse itself. The connection process is identical: plug it into your laptop’s USB-C port. The advantage is no adapter is needed if your laptop has USB-C ports, and these cables are often reversible (no “wrong side up”). The same plug-and-play principle applies.
Why It Just Works: The Role of Generic Drivers
You might wonder why you don’t need to install anything. This is thanks to a standard called “USB Human Interface Device” (HID). Every major operating system—Windows, macOS, Linux, ChromeOS—has a built-in, universal driver for any mouse or keyboard that follows this standard. Nearly every mouse manufacturer designs their products to be HID-compliant so they work instantly out of the box on any computer. This is the magic of plug-and-play. For basic functionality (left/right click, scroll wheel, movement), you’re done. For advanced features like programmable buttons or adjustableDPI, you’ll need the manufacturer’s software, which we’ll discuss later.
Connecting a Wireless Bluetooth Mouse: The Cable-Free Classic
Bluetooth mice offer true cord-free freedom. They connect directly to your laptop’s built-in Bluetooth radio, meaning no receiver to plug in or lose. The process is a bit more involved than a wired mouse but remains very user-friendly. The key is “pairing”—creating a secure, one-time bond between the mouse and your laptop.
Visual guide about How Do I Connect a Mouse to a Laptop
Image source: cdn1.weasy.io
Step-by-Step Pairing for Windows 10/11
First, ensure your laptop’s Bluetooth is turned on. You can usually find a toggle in the system tray (notification area) at the bottom-right of your screen. Click the network/volume icon, and look for a Bluetooth icon. If it’s grayed out, click it to turn Bluetooth on. You can also go to Settings > Devices > Bluetooth & other devices.
Now, prepare your mouse:
- Find the power switch. Most Bluetooth mice have a physical on/off switch on the bottom. Turn it on.
- Initiate pairing mode. This is the critical step. Look for a small button, often labeled with a Bluetooth symbol or just “Connect.” Press and hold it for 3-5 seconds. You’ll usually see a small LED light start blinking rapidly (blue, white, or red). This blinking means the mouse is “discoverable” and actively searching for a device to pair with. Consult your mouse’s manual if you can’t find this button.
Back on your Windows laptop:
- In the Bluetooth & other devices settings page, click “Add Bluetooth or other device.”
- Select “Bluetooth.”
- Your laptop will scan. After a few seconds, your mouse’s name (e.g., “Logitech MX Master 3,” “Microsoft Surface Mouse”) should appear in the list.
- Click on it. Windows will connect and pair automatically. You might see a “Connected” notification. The blinking light on your mouse should turn solid or turn off, indicating a successful, stable connection.
Step-by-Step Pairing for macOS
On a Mac, the process is similarly smooth.
- Click the Apple menu > System Settings (or System Preferences).
- Go to Bluetooth in the sidebar.
- Make sure Bluetooth is On.
- Turn on your mouse and put it into pairing mode (hold the pairing button until the LED blinks).
- Your mouse should appear in the “Devices” list.
- Click the “Connect” button next to its name.
- The status should change to “Connected.” The light on your mouse will stabilize.
ChromeOS and Other Systems
ChromeOS (on Chromebooks) follows a similar pattern: click the time in the bottom-right > Settings (gear icon) > Bluetooth. Turn it on, put the mouse in pairing mode, and select it from the list. For Linux distributions, the process is usually identical to Windows, using the system’s Bluetooth settings panel.
The One-Time Nature of Pairing
Once paired, your Bluetooth mouse will automatically reconnect to your laptop every time you turn both devices on and they are within range (typically 10 meters/30 feet). You don’t need to repeat the pairing process unless you:
- Reset your laptop to factory settings.
- Remove the mouse from your laptop’s Bluetooth device list.
- Pair the mouse with a different computer (most mice can store multiple pairings).
To remove a mouse on Windows, go to Settings > Devices > Bluetooth & other devices, click the mouse, and select “Remove device.” On macOS, in Bluetooth settings, click the “x” next to the mouse name.
Connecting a Wireless Mouse with a USB Receiver (Dongle)
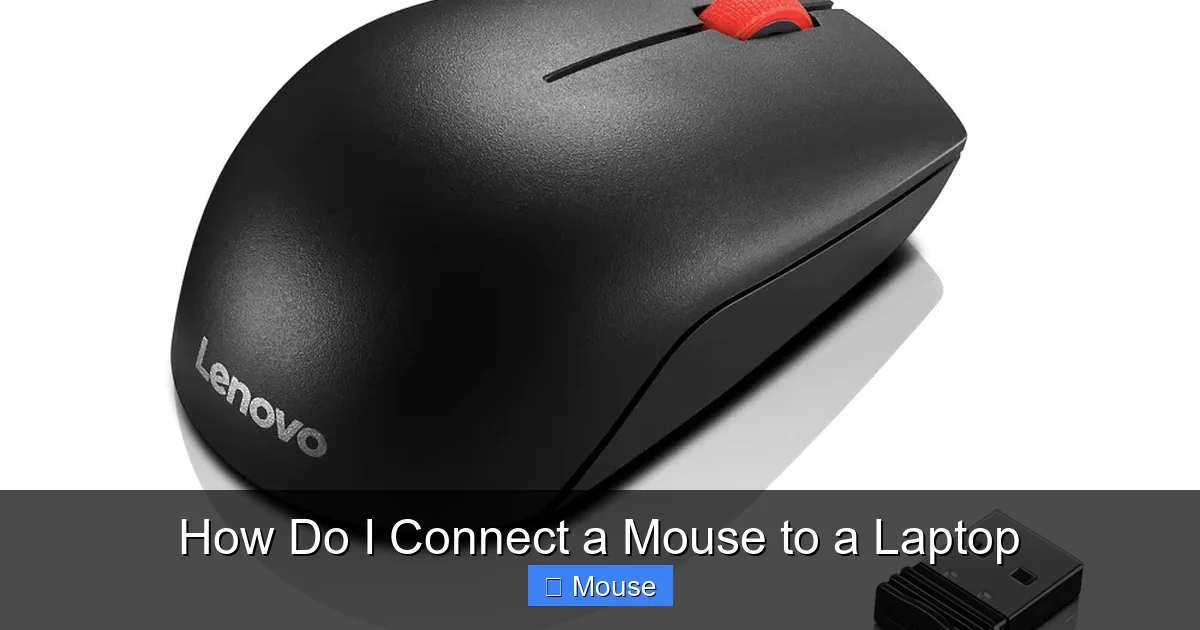
This is a very common wireless mouse type, especially in the gaming and office productivity space. Brands like Logitech (with their “Unifying” receiver) and many others use a small USB stick that plugs into your laptop. The mouse and receiver are pre-paired at the factory, so your job is simply to provide power and a USB port.
Visual guide about How Do I Connect a Mouse to a Laptop
Image source: i.ytimg.com
The Ultra-Simple Connection Process
This is, in most cases, even simpler than Bluetooth pairing.
- Locate the USB receiver. It’s often stored in a compartment on the bottom of the mouse. Take it out.
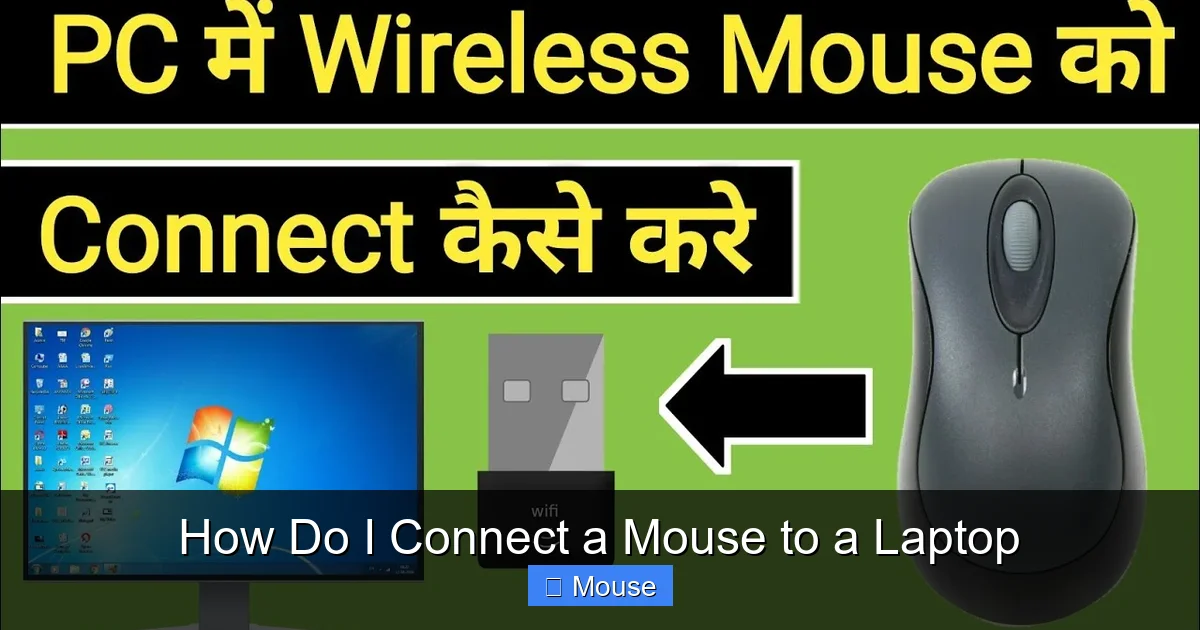
- Plug the receiver into an available USB port on your laptop. Use a USB-A to USB-C adapter if needed.
- Turn on the mouse using its power switch.
- That’s it. The mouse should work immediately. The receiver and mouse are already talking to each other on a dedicated, encrypted radio frequency (usually 2.4 GHz), so no operating system pairing is required.
When You Might Need Software
While basic functionality works instantly, the real power of these mice is unlocked with the manufacturer’s software:
- Logitech Options/Logi Options+: For Logitech mice, this software lets you remap buttons, set up app-specific profiles, adjust scroll direction and speed, and manage battery levels. If you have a Logitech “Unifying” receiver, this software also lets you pair additional compatible mice/keyboards to the same receiver, freeing up USB ports.
- Razer Synapse, SteelSeries GG, etc.: Gaming mouse brands offer software to adjust DPI (sensitivity), set RGB lighting, create macros, and calibrate the sensor for your mouse pad.
- Driver Installation: Sometimes, Windows will automatically download a basic driver from Windows Update. For full features, it’s best to visit the manufacturer’s website, find your specific mouse model in their support section, and download the latest software/drivers for your operating system.
The “Unifying” Receiver Special Case
Logitech’s Unifying receiver is special because it can connect to up to six compatible Logitech devices (mice and keyboards) simultaneously. If you have multiple Unifying devices, you must use the Logitech Options software to pair them to the receiver. The process is: install software > plug in receiver > open software > click “Add Devices” and follow the on-screen prompts to put each new device into pairing mode. This is fantastic for decluttering your desk with just one USB stick.
Troubleshooting: What to Do When Your Mouse Won’t Connect or Work
So you followed the steps, but the cursor is still stubbornly controlled by your trackpad. Don’t panic. 95% of connection issues have a simple fix. Let’s systematically diagnose the problem.
Visual guide about How Do I Connect a Mouse to a Laptop
Image source: i.ytimg.com
The Universal First Steps (For All Mouse Types)
Before anything else, perform this checklist:
- Check the power. Is the mouse turned on? For wireless mice, are the batteries fresh? For rechargeable mice, is it charged? A completely dead mouse won’t connect. Replace the batteries or plug in the charging cable.
- Try a different USB port. Plug the mouse (or receiver) into another port on your laptop. This rules out a faulty port. If you’re using a USB hub, try connecting directly to the laptop.
- Restart your laptop. The classic IT fix. A simple reboot clears temporary glitches and forces the OS to re-detect all USB and Bluetooth devices.
- Check for physical damage. Look at the USB plug or the mouse’s sensor. Is there lint or debris blocking the optical sensor? Is the cable frayed? Clean the sensor gently with compressed air.
- Test on another computer. If possible, plug the mouse into a different PC or Mac. If it works there, the problem is with your laptop’s settings or hardware. If it doesn’t work anywhere, the mouse itself may be faulty.
Troubleshooting Wired USB Mice
If the universal steps fail:
- Update your chipset/USB drivers. Go to your laptop manufacturer’s website (e.g., Dell, HP, Lenovo), find the support page for your exact model, and download the latest “Chipset” or “USB” drivers for your OS. Install and restart.
- Check Device Manager (Windows). Right-click the Start button > Device Manager. Expand “Mice and other pointing devices.” Do you see your mouse listed? If you see a yellow exclamation mark, right-click it and select “Update driver” or “Uninstall device” (then unplug and replug the mouse to reinstall).
- USB Port Power Issue: Some high-power USB devices can overload a port. Try a different port, preferably one directly on the laptop, not on a hub.
Troubleshooting Bluetooth Mice
Bluetooth issues are often about pairing, not hardware.
- Forget and Re-pair. Go into your Bluetooth settings, find the mouse in the list of paired devices, and select “Forget” or “Remove.” Then, go through the full pairing process from scratch, ensuring the mouse is in pairing mode (blinking light) when you search on the laptop.
- Check Bluetooth Radio. Is your laptop’s Bluetooth actually on? Can you see other Bluetooth devices? Can you connect a Bluetooth headphone or keyboard? If not, your laptop’s Bluetooth adapter may be disabled in BIOS/UEFI or have a driver issue. Update your Bluetooth drivers from the laptop manufacturer’s website.
- Interference. Bluetooth uses the 2.4 GHz band, as do Wi-Fi routers, microwaves, and cordless phones. Move the laptop and mouse away from such devices, or try turning off Wi-Fi temporarily to see if the mouse connects.
- Battery Check. Bluetooth mice can be very power-efficient, but a weak battery can cause connection drops. Replace them.
Troubleshooting USB Receiver Mice
Issues here are usually about the receiver or its drivers.
- Receiver Distance. Make sure the receiver is plugged in directly. If it’s on a long USB cable, try moving it closer to the mouse. The signal is short-range.
- Interference. Like Bluetooth, 2.4 GHz signals can be disrupted. Keep the receiver away from other USB 3.0 devices (they have blue inserts) and large metal objects.
- Re-pair the receiver and mouse. Some receivers have a small “Connect” or “Pairing” button. Consult the manual. Pressing this and the mouse’s pairing button simultaneously can reset the connection.
- Install/Update the Software. This is the most important step for these mice. Download and install the latest software from the manufacturer. The software often has a “Check for Updates” or “Firmware Update” option that can fix connectivity bugs.
Compatibility and System-Specific Considerations
You might be wondering: “Will this mouse work on my MacBook?” or “My laptop runs ChromeOS, is that a problem?” The vast majority of modern mice are cross-platform compatible, but there are a few nuances.
Windows vs. macOS vs. ChromeOS vs. Linux
Windows: The most universal platform. Any HID-compliant mouse will work for basic functions. Manufacturer software is almost always available for Windows.
macOS: Apple’s system also fully supports standard USB and Bluetooth HID mice. The experience is seamless. However, some advanced Windows-only software (like certain gaming mouse configurators) will not have a Mac version. In that case, you get basic functionality but lose programmable buttons and DPI control. Always check the product page for “macOS compatibility.” Major brands like Logitech, Razer, and SteelSeries all provide macOS software.
ChromeOS: Chromebooks are built on the Linux kernel and have excellent native support for USB and Bluetooth mice. The setup is identical to the processes described above. ChromeOS will recognize the mouse instantly. Advanced configuration software from manufacturers usually does not have a ChromeOS version, so you’ll be limited to the mouse’s default settings and any onboard profile switching it might support.
Linux: Support is generally excellent for standard mice. You may need to use the terminal or a third-party tool like `solaar` for Logitech Unifying receivers to manage advanced features, but basic use is plug-and-play.
Gaming Mice and High-Performance Considerations
If you’re a gamer, you care about polling rate (how often the mouse reports its position, measured in Hz) and latency. Wired mice offer the absolute lowest latency and highest polling rates (1000Hz+). Wireless technology has improved dramatically. Modern premium wireless mice from Logitech (Lightspeed) and Razer (HyperSpeed) use proprietary 2.4 GHz protocols that are virtually indistinguishable from wired in terms of latency for competitive gaming. Bluetooth, while convenient, can have slightly higher latency and is generally not recommended for competitive esports, though it’s fine for casual gaming.
Ergonomics and Laptop Compatibility
Laptops are mobile. Consider your workflow. A small, travel-sized mouse is great for a backpack. A larger, ergonomic mouse is better for a home office desk. If your laptop has only USB-C ports (common on ultrabooks), you have three options: buy a USB-C mouse, use a simple USB-A to USB-C adapter (often comes with the mouse), or get a USB-C hub/docking station with USB-A ports. For Bluetooth mice, ensure your laptop’s Bluetooth version is compatible (Bluetooth 4.0 or newer is standard and fine for all modern mice).
Safety, Care, and Best Practices for Your Laptop and Mouse
Connecting a device is easy, but a few mindful practices will keep both your mouse and laptop happy for years.
Physical Connections: Gentle Does It
When plugging in any USB device, align it carefully with the port. Never force it. The USB standard is designed to be inserted one way. If it doesn’t fit, flip it over. Forcing a misaligned plug can bend pins inside the port, causing permanent damage that may require costly repairs. When unplugging, pull on the plug itself, not the cable. This prevents stress on the solder joints inside the plug.
Battery Management for Wireless Mice
Forgetful battery changes are the #1 cause of wireless mouse failure. Get into a habit:
- Rechargeable Mice: Plug in the charging cable (often a hidden port on the bottom) when the mouse feels sluggish or you see a low-battery warning light. Many now charge via USB-C.
- Disposable Battery Mice: Use high-quality alkaline or lithium batteries. Keep a spare set in your laptop bag. When the mouse starts to lag or the LED dims, change them. Rechargeable NiMH AA/AAA batteries are a cost-effective, eco-friendly alternative—just have a spare pair charged and ready.
- Auto-Off Feature: Most wireless mice have an auto-sleep mode that activates after a few minutes of inactivity. This saves power. Just move the mouse or click to wake it. Some have a physical on/off switch—use it when packing your laptop away for a long flight.
Software and Driver Health
That manufacturer’s software? It’s not just for fancy lights.
- Update It. Check for updates every few months. These updates often fix bugs, improve battery life, and add compatibility for new operating system versions.
- Use It Wisely. Configure buttons to do useful things—like copy/paste, opening specific apps, or browser back/forward. This is where you get real productivity gains.
- Uninstall If Unused. If you never use the advanced features, the software is just taking up space and potentially running background processes. You can uninstall it safely; the mouse will retain its basic functions and any settings saved directly to its onboard memory.
Traveling with Your Mouse
For a wired mouse, loosely coil the cable and secure it with a twist tie or Velcro strap. Don’t wrap it tightly around the mouse body, which can stress the connection point. For wireless mice, turn them off. If it uses a receiver, either store it in the mouse’s compartment or plug it into your laptop’s USB port and let the laptop put the USB port to sleep (some laptops cut power to USB in sleep mode, which can drain the mouse’s battery if it’s on). The safest bet is to turn the mouse off and store the receiver separately.
Conclusion: You’re Ready to Click
Connecting a mouse to your laptop is a fundamental skill that unlocks a more comfortable and efficient computing experience. As we’ve seen, the method is straightforward: for a wired mouse, it’s a simple plug-in. For Bluetooth, it’s a quick pairing dance through your system settings. For a receiver-based mouse, it’s plug in the dongle and turn on the power. Each method has its own advantages in terms of convenience, performance, and reliability.
The real key is understanding the “why” behind the steps. Knowing that your Bluetooth mouse needs to be in discoverable mode, or that a USB receiver is a pre-paired dedicated radio, helps you troubleshoot when things go wrong. Armed with the troubleshooting checklist in this guide—checking batteries, ports, drivers, and performing a simple restart—you can solve almost any connectivity hiccup yourself.
So go ahead, grab that mouse. Find the right port or open your Bluetooth settings. Follow the simple steps outlined for your specific device, and within moments, you’ll feel the satisfying precision of a dedicated pointer under your command. You’ve earned that upgrade. Enjoy the smooth scrolling and precise clicking. Your wrist will thank you.
Frequently Asked Questions
My Bluetooth mouse won’t pair. What should I do?
First, ensure the mouse has fresh batteries and is turned on. Make sure you are holding the pairing button until the LED blinks rapidly (not just a solid light). Then, on your laptop, “Forget” any previous instance of the mouse in your Bluetooth settings before trying to pair again. Also, move other Bluetooth devices away to avoid interference.
I plugged my USB mouse in, but nothing happened. Is it broken?
Probably not. First, try a different USB port on your laptop. If that fails, restart your laptop. If it still doesn’t work, try the mouse on another computer. If it works elsewhere, your laptop’s USB driver may need updating from the manufacturer’s website. If it doesn’t work anywhere, the mouse may be faulty.
Can I use a wireless mouse receiver with a laptop that only has USB-C ports?
Yes. You will need a small, inexpensive adapter called a “USB-A to USB-C” adapter or a USB-C hub that includes USB-A ports. Simply plug the adapter into your laptop’s USB-C port, then plug the mouse’s receiver into the adapter.
My mouse cursor is laggy or stuttering. How can I fix it?
For wireless mice, lag is often caused by low batteries—replace them first. For Bluetooth, interference from other 2.4 GHz devices (Wi-Fi routers, microwaves) can cause lag; try moving closer to the laptop or turning off Wi-Fi temporarily. For receiver mice, ensure the receiver is plugged in directly without a long extension cable. Also, update the mouse’s firmware via the manufacturer’s software.
Do all mice work with MacBooks?
Yes, almost all USB and Bluetooth mice will work with a MacBook for basic functionality (clicking, scrolling, movement). However, advanced features like programmable buttons or DPI adjustment require software from the mouse manufacturer, and not all brands provide a macOS version of their configuration software. Check the product specifications before buying if you need those advanced features on a Mac.
Can connecting a mouse damage my laptop?
No, connecting a mouse will not damage your laptop. USB and Bluetooth ports are designed for these peripherals. The only risk is physical: forcing a USB plug in incorrectly can bend pins in the port. Always align the plug gently. Using a powered USB hub with many high-draw devices could theoretically strain a port, but a simple mouse draws negligible power and is completely safe.