How to Add More Ram on Laptop
Boost your laptop’s speed instantly by learning how to add more RAM on a laptop. This guide walks you through checking compatibility, gathering tools, installing the memory, and testing performance—all in plain, friendly language.
Key Takeaways
- Check compatibility first: Verify your laptop’s maximum RAM and module type before buying.
- Gather the right tools: A small screwdriver, anti‑static wrist strap, and a clean workspace make the job safe.
- Power down and unplug: Always shut off the laptop, remove the battery (if possible), and disconnect all cords.
- Install modules correctly: Align the notch, insert at a 30‑degree angle, and click the clips into place.
- Test after installation: Use BIOS or software utilities to confirm the new RAM is recognized.
- Know when to seek help: If the laptop won’t boot or shows errors, re‑seat the modules or consult a professional.
- Upgrade wisely: Pair RAM upgrades with SSDs and OS tweaks for the best overall performance boost.
📑 Table of Contents
- Introduction: Why Adding More RAM Matters
- 1. Verify Compatibility Before Buying
- 2. Gather Tools and Prepare a Safe Workspace
- 3. Opening the Laptop and Locating the RAM Slots
- 4. Installing the New RAM Module
- 5. Reassemble and Test the Upgrade
- 6. Troubleshooting Common Issues
- Conclusion: A Simple Upgrade for Big Gains
Introduction: Why Adding More RAM Matters
Imagine trying to juggle a dozen balls while only having two hands. That’s what a laptop feels like when it runs out of RAM. Memory (Random Access Memory) is the short‑term workspace your computer uses to keep apps and data it needs right now. When the space fills up, the system starts swapping to the slower hard drive, and everything slows down.
Adding more RAM is one of the cheapest, most effective ways to make a sluggish notebook feel fresh again. In this guide we’ll walk you through the entire process of how to add more ram on laptop models ranging from budget ultrabooks to gaming rigs. You’ll learn how to check if your machine even supports an upgrade, what tools you need, the step‑by‑step installation, and how to verify that the new memory is working properly.
1. Verify Compatibility Before Buying
1.1 Find Your Laptop’s Specifications
The first rule of any upgrade is to know exactly what your laptop can accept. Look up the model number on the manufacturer’s website or open the System Information utility (type msinfo32 on Windows). Key details to note are:
Visual guide about How to Add More Ram on Laptop
Image source: robots.net
- Maximum supported RAM: Most consumer laptops support 8 GB, 16 GB, or 32 GB.
- Memory type: DDR3, DDR4, or the newer DDR5. The generation determines the physical notch and speed.
- Form factor: SO-DIMM (the small laptop module) versus regular DIMM (desktop).
- Number of slots: Some laptops have one slot, others have two or more.
1.2 Check the Current Configuration
You can see how much RAM is already installed by opening the Task Manager (Ctrl + Shift + Esc) and looking at the “Performance” tab. For a more detailed view, use a free tool like CPU‑Z which shows each slot’s size, speed, and manufacturer.
1.3 Choose the Right Module
When you know the type (e.g., DDR4‑2666) and the maximum capacity, buy a matching module. It’s best to match the existing RAM’s speed and voltage for optimal compatibility, but many laptops will run mixed speeds by down‑clocking the faster stick.
2. Gather Tools and Prepare a Safe Workspace
2.1 Essential Tools
- Small Phillips screwdriver: Usually #0 or #1 size.
- Anti‑static wrist strap: Prevents static discharge that can damage components.
- Plastic pry tool or spudger: Helpful for opening the back panel without scratching.
- Soft, lint‑free cloth: Keeps dust off the internals.
2.2 Safety First
1. Shut down the laptop completely—do not just put it to sleep.
2. Unplug the AC adapter and any peripheral cables.
3. If your laptop has a removable battery, take it out. If not, you’ll work with the internal battery still connected; the anti‑static strap becomes even more important.
Visual guide about How to Add More Ram on Laptop
Image source: robots.net
2.3 Create a Clean Area
Work on a flat, non‑conductive surface such as a wooden table. Avoid carpeted floors, which generate static. Keep a small container nearby for screws so you don’t lose them.
3. Opening the Laptop and Locating the RAM Slots
3.1 Remove the Back Cover
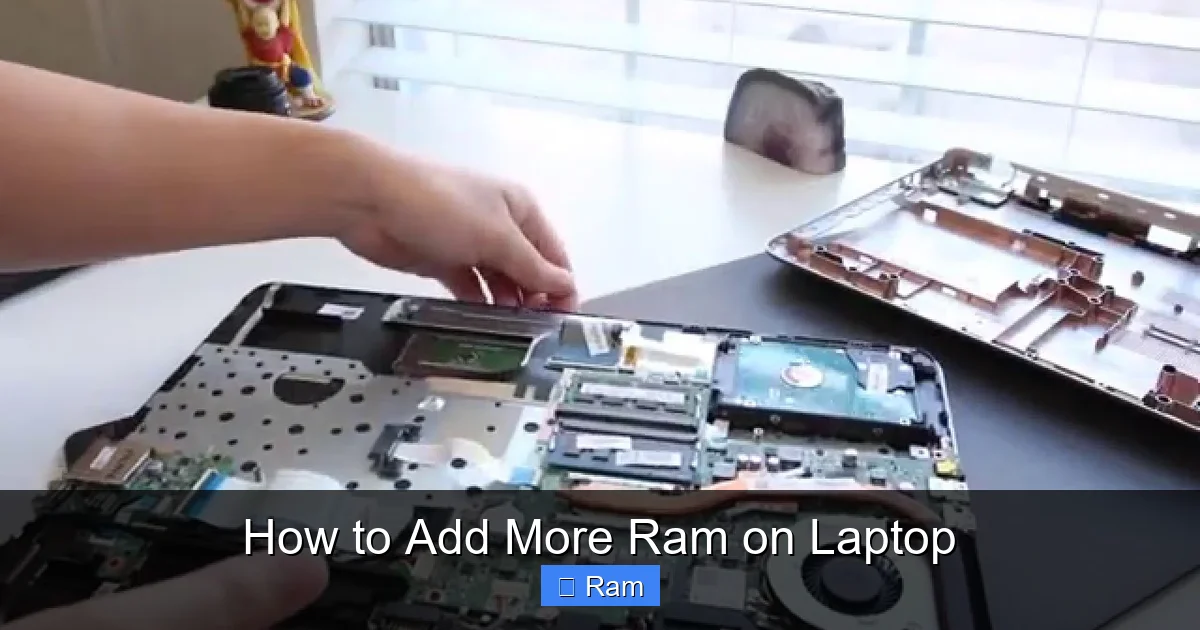
Most laptops have a dedicated access panel for memory and storage. Look for a rectangular piece held by several screws. Use the screwdriver to remove them, then gently pry the panel off with the plastic tool. If your model doesn’t have a separate panel, you may need to remove the entire bottom case—follow the service manual closely.
Visual guide about How to Add More Ram on Laptop
Image source: i.ytimg.com
3.2 Identify the Slots
Inside you’ll see one or two long, thin slots with metal clips on either side. If a slot already has a module, it will be lying flat against a heat‑sink or a small metal bracket.
3.3 Take a Photo
Before you touch anything, snap a quick photo of the layout. This visual reference helps you remember where each screw and cable belongs when you reassemble.
4. Installing the New RAM Module
4.1 Prepare the Module
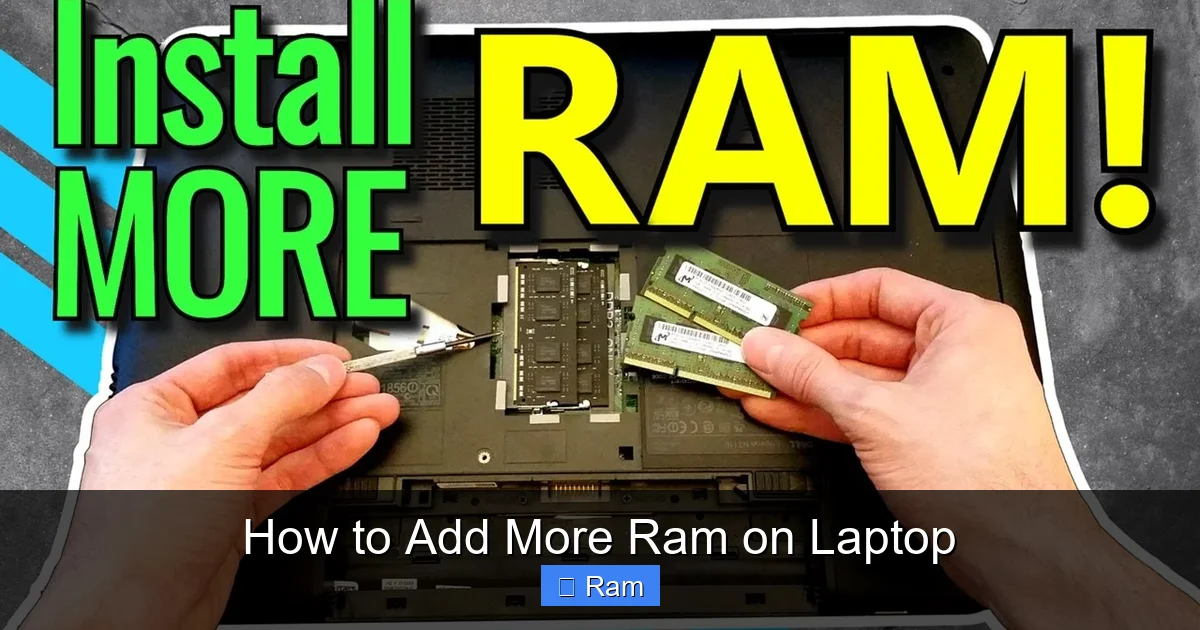
Hold the new SO‑DIMM by the edges. Avoid touching the gold contacts. Align the notch on the module with the ridge in the slot—there is only one correct orientation.
4.2 Insert at the Correct Angle
Slide the module into the slot at about a 30‑degree angle. You should feel a slight resistance as the contacts engage. Once fully seated, press the module down gently until the side clips snap into place.
4.3 Double‑Check the Seating
Make sure the module sits evenly and the clips are fully engaged. A loose stick can cause boot failures or intermittent errors.
4.4 If Adding a Second Stick
When your laptop supports dual‑channel operation, install the second module in the opposite slot. For best performance, use identical sticks (same size, speed, and brand). If you’re mixing sizes, the larger one usually goes in the first slot.
5. Reassemble and Test the Upgrade
5.1 Close the Back Panel
Replace the access panel, re‑insert all screws, and re‑attach the battery if you removed it. Double‑check that no cables were accidentally disconnected.
5.2 Power On and Enter BIOS
Turn the laptop on and immediately press the BIOS key (often F2, Del, or Esc). In the BIOS memory section you should see the total RAM reflecting the new amount. If the BIOS shows the correct value, you’re good to go.
5.3 Verify in the Operating System
On Windows, open Task Manager → Performance → Memory. On macOS, click the Apple menu → About This Mac. The displayed figure should match the combined capacity of the installed modules.
5.4 Run a Quick Stress Test
Use a free utility like MemTest86 or Windows Memory Diagnostic to scan for errors. Let the test run for at least one full pass; any errors indicate a bad module or seating issue.
6. Troubleshooting Common Issues
6.1 Laptop Doesn’t Power On
Re‑check that the RAM is fully seated. Remove and re‑insert the module, listening for a firm click. Also verify that the battery is reconnected and the power adapter is plugged in.
6.2 System Reports “Memory Not Recognized”
Make sure you bought the correct memory type (DDR4 vs DDR3). Some ultrabooks use proprietary soldered RAM that cannot be upgraded; in that case the slots will be empty or covered.
6.3 Random Crashes or Blue Screens
Run MemTest86 again; intermittent errors often mean a faulty stick. If the test passes, check that the BIOS is updated to the latest version—manufacturers sometimes release firmware to improve memory compatibility.
6.4 Performance Still Slow
More RAM helps multitasking, but if your storage is a slow HDD, the overall experience may still feel laggy. Pair the RAM upgrade with an SSD swap for a noticeable speed boost.
Conclusion: A Simple Upgrade for Big Gains
Adding more RAM on a laptop is a straightforward DIY project that can breathe new life into an aging machine. By confirming compatibility, gathering a few tools, and following the step‑by‑step installation process, you’ll see faster app launches, smoother multitasking, and a more responsive system—all without spending a fortune.
Remember to handle components with care, test thoroughly, and keep your BIOS up to date. With these habits, you’ll not only master this upgrade but also gain confidence for future hardware tweaks. Enjoy the speed boost and the satisfaction of having done it yourself!
Frequently Asked Questions
Can I upgrade the RAM on any laptop?
Not all laptops are upgradeable. Some ultrabooks have soldered‑on memory that cannot be replaced. Check the service manual or manufacturer specifications to confirm.
Do I need to match the speed of the existing RAM?
It’s best to use the same speed (e.g., DDR4‑2666) for optimal performance, but most laptops will run mixed speeds by down‑clocking the faster module.
Is it safe to work on a laptop with the internal battery still connected?
Yes, as long as you wear an anti‑static wrist strap and avoid touching circuitry. Removing the external battery adds an extra safety layer.
How much RAM should I add for gaming?
Modern games run smoothly with 16 GB of DDR4 RAM. If you already have 8 GB, upgrading to 16 GB is a good balance of cost and performance.
Will adding RAM void my warranty?
Most manufacturers allow memory upgrades without voiding the warranty, but it’s wise to read the warranty terms. Keep the original screws and panels for re‑installation if needed.
What if my laptop only has one RAM slot?
In a single‑slot design you must replace the existing module with a higher‑capacity one. For example, swap an 8 GB stick for a 16 GB stick if the laptop supports it.