How to Improve Ram on Laptop
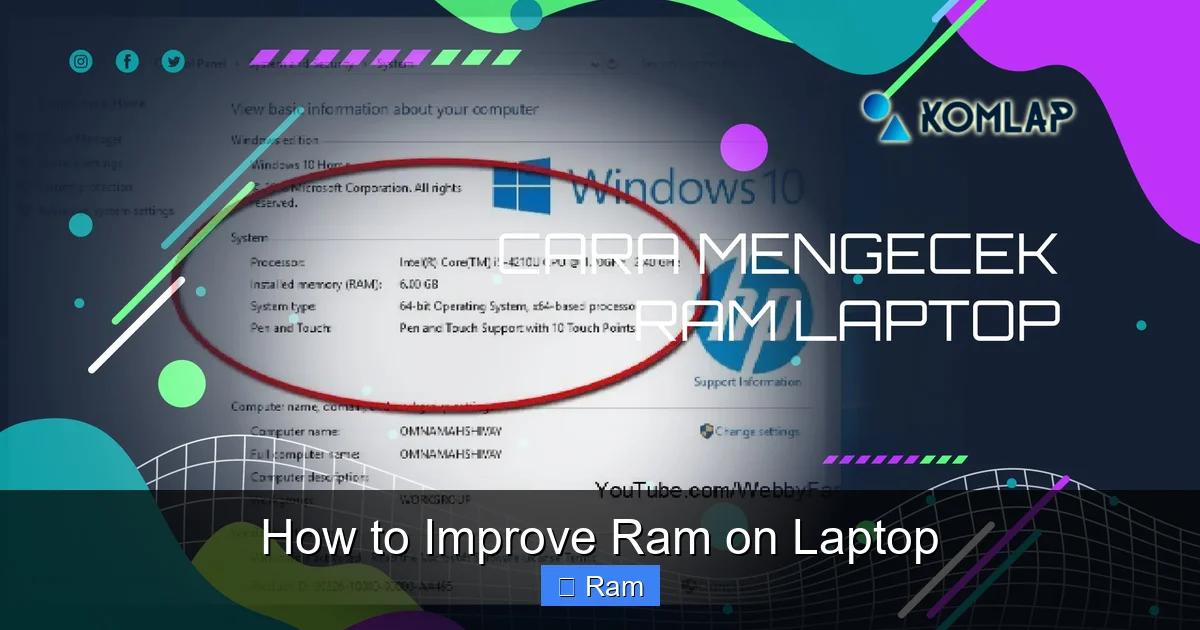
Is your laptop feeling sluggish? The solution might be simpler than you think: upgrading its RAM. This guide walks you through every step, from checking your laptop’s current memory and compatibility to safely installing new RAM sticks yourself. We also cover essential software tweaks and alternative solutions if a hardware upgrade isn’t possible. By the end, you’ll have the knowledge and confidence to give your laptop a significant performance boost without breaking the bank.
Have you ever been in the middle of a crucial project, with a dozen browser tabs open, a few documents, and maybe a video call humming in the background, only to watch your laptop cursor turn into that dreaded spinning wheel of doom? That frustrating lag is often your RAM throwing in the towel. Random Access Memory (RAM) is your laptop’s short-term workspace. When it’s full, your system starts using the much slower hard drive as “virtual memory,” and everything grinds to a halt. The good news? Learning how to improve RAM on laptop is one of the most cost-effective and impactful upgrades you can make. This isn’t just for tech wizards; with the right guidance, you can do it yourself and feel that instant speed boost. Let’s dive in.
Key Takeaways
- Check Your Current RAM: Use built-in tools like Task Manager or System Information to see your current RAM type, speed, and available slots before buying anything.
- Compatibility is Crucial: Your new RAM must match your laptop’s supported type (DDR3, DDR4, DDR5), speed (MHz), and voltage. Use tools like CPU-Z or your manufacturer’s specs to be sure.
- Physical Upgrades Are Often Simple: Many laptops allow RAM upgrades by accessing a panel on the bottom. The process usually involves unscrewing, removing old sticks, and inserting new ones.
- Software Optimization is Free and Immediate: Before spending money, clean up startup programs, adjust visual effects, and scan for malware to free up existing RAM.
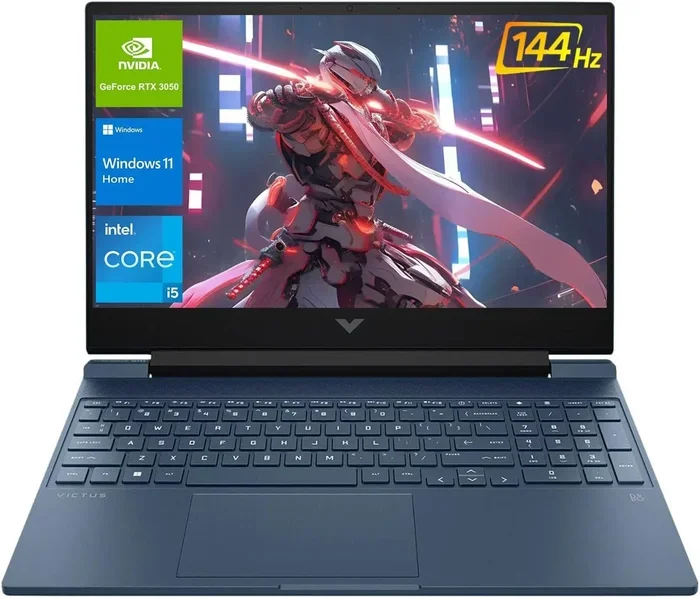
- Not All Laptops Are Upgradable: Some modern ultrabooks and gaming laptops solder RAM directly to the motherboard. Confirm your model has accessible slots.
- Consider a Fresh OS Install: If your laptop is several years old, a clean install of the operating system can dramatically improve performance, often feeling like a hardware upgrade.
- Balance Your Upgrade: Pairing an SSD with a RAM upgrade is the single most effective two-step upgrade for revitalizing an old laptop.
📑 Table of Contents
- Understanding RAM: Your Laptop’s Digital Workspace
- Phase 1: Diagnosing Your Laptop’s Memory Situation
- Phase 2: Choosing the Right RAM for Your Laptop
- Phase 3: The Physical Upgrade Process—A Step-by-Step Guide
- Phase 4: Software Optimization—Maximizing Your Existing RAM
- Phase 5: Alternatives and Advanced Considerations
- Conclusion: Your Laptop’s Second Wind Awaits
Understanding RAM: Your Laptop’s Digital Workspace
Before we talk about upgrades, let’s get a clear picture of what RAM actually does. Think of your laptop’s processor (CPU) as a brilliant chef. The hard drive or SSD is the giant pantry where all your ingredients (files, programs, OS) are stored. But the chef can’t work efficiently running back and forth to the pantry every second. That’s where RAM comes in—it’s the kitchen counter. The chef pulls all the active ingredients and tools (the running programs and data they’re using) onto this counter for instant access. The bigger your counter (more RAM), the more ingredients the chef can have ready at once, and the faster and smoother the cooking (your computing experience) becomes.
How RAM Affects Performance
When your RAM is maxed out, your operating system has to play a frustrating game of swapsies. It constantly moves data between the full RAM and the slower storage drive to make room for new tasks. This process, called “thrashing,” causes those noticeable lags, freezes, and slow application launches. More RAM means less swapping, allowing your CPU to work at its full potential. This is especially true for modern web browsers (each tab is a separate process!), creative software like photo/video editors, and even having many applications open simultaneously.
RAM vs. Storage (SSD/HDD): A Critical Distinction
This is a common point of confusion. Upgrading your storage to an SSD makes your laptop boot faster and load files quicker—that’s great for the “pantry.” But if your “kitchen counter” (RAM) is too small, you’ll still hit performance walls once multiple programs are running. An SSD improves *sequential* access speed; RAM improves *random* access speed for active tasks. They work together, and for a truly revitalized old laptop, you ideally want to do both. However, if you must choose one upgrade for a multitasker, more RAM often provides a more noticeable day-to-day improvement in smoothness.
Phase 1: Diagnosing Your Laptop’s Memory Situation
You wouldn’t buy a new couch without measuring your living room, right? The same principle applies here. Jumping straight to buying RAM is the most common mistake. First, you must become a detective and uncover your laptop’s specific secrets: what type of RAM it uses, how many slots it has, and what the maximum supported capacity is.
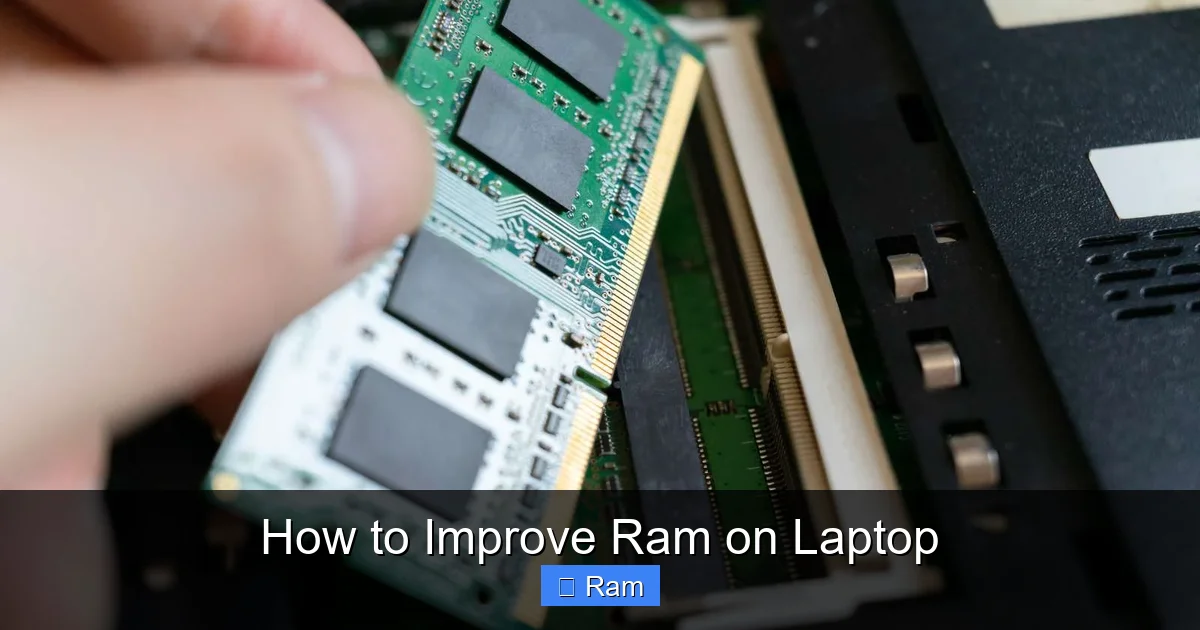
Visual guide about How to Improve Ram on Laptop
Image source: laptopworld.co.in
Using Built-in Windows Tools
Windows gives you a fantastic, no-download-required starting point. The easiest method is the Task Manager. Press Ctrl + Shift + Esc to open it, then click the “Performance” tab. On the left, select “Memory.” Here you’ll see a wealth of information:
- In use (Committed): How much RAM is currently being used.
- Speed: The megahertz (MHz) rating of your installed RAM (e.g., 2666 MHz).
- Form factor: Will say “SO-DIMM” for laptops (as opposed to DIMM for desktops).
- Hardware reserved: Memory reserved for your GPU. Important for gaming laptops.
For even more detail, type “System Information” into the Windows search bar and open it. Under System Summary, look for Installed Physical Memory (RAM). This tells you total capacity. To see the slots and individual stick details, expand Components and click Memory. This list will show you the size, speed, and manufacturer of each stick, and crucially, how many “Bank Locator” or “Device Locator” entries there are. Two entries usually mean two slots.
Employing Third-Party Diagnostic Software
For a truly comprehensive view, a free, lightweight tool like CPU-Z is invaluable. Download it from the official CPUID website. Run it and go to the “Memory” and “SPD” tabs.
- The Memory tab gives you the type (DDR3, DDR4, etc.), size, and channel information.
- The SPD tab is the goldmine. Click the dropdown for each Memory Slot. It will show you the exact specifications of whatever is plugged into that slot: part number, manufacturer, type, size, and most importantly, the maximum bandwidth (e.g., PC4-21300, which correlates to 2666 MHz). If a slot says “Empty,” that’s your upgrade opportunity!
The Ultimate Source: Your Laptop’s Manufacturer
The most authoritative answer comes from your laptop’s maker. Go to the support page for your exact model number (find it on a sticker on the bottom or in system settings). Look for the “Specifications” or “Technical Specifications” sheet. Find the section on memory. It will state:
- The type of RAM supported (e.g., “DDR4 SDRAM”).
- The number of slots.
- The maximum amount of RAM you can install (e.g., “Up to 32 GB”).
- The supported speeds.
This information is non-negotiable. It prevents you from buying incompatible RAM that simply won’t work or will be underclocked.
Phase 2: Choosing the Right RAM for Your Laptop
Armed with your laptop’s specs, it’s time to shop. The goal is to find RAM that perfectly matches your laptop’s requirements. The key specs to match are generation (DDR type), speed (MHz), and capacity.
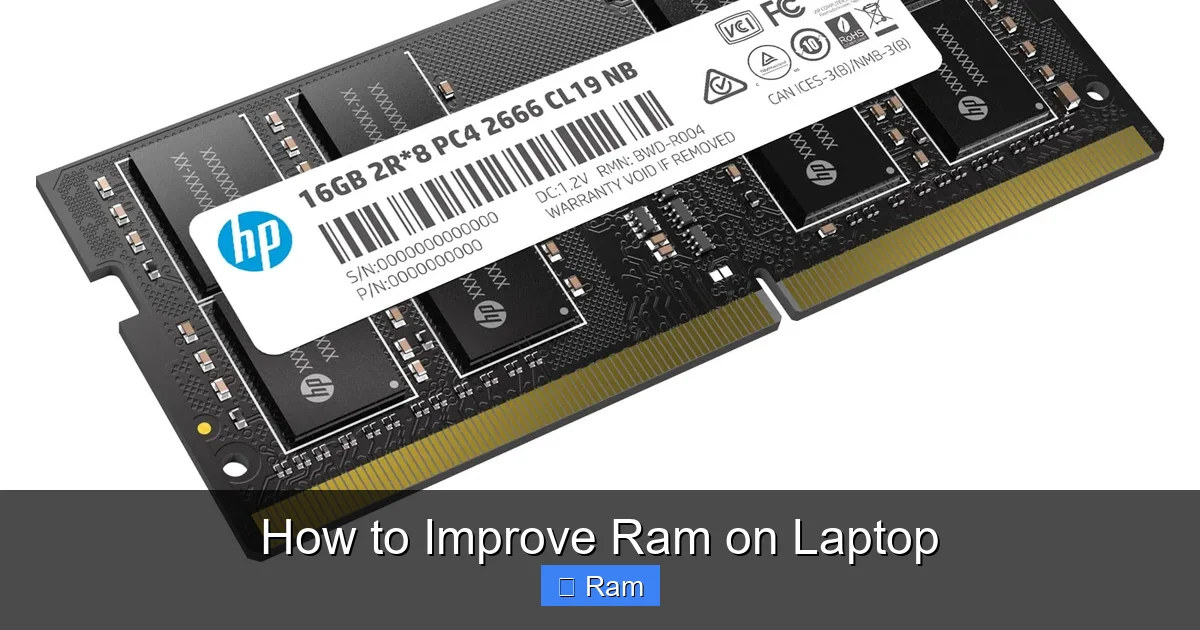
Visual guide about How to Improve Ram on Laptop
Image source: m.media-amazon.com
Decoding RAM Labels: DDR3, DDR4, DDR5
This is the most fundamental compatibility check. DDR stands for Double Data Rate. The number (3, 4, 5) indicates the generation. They are physically incompatible and will not fit into each other’s slots. Your diagnostic phase told you which one you have. DDR4 is the most common in laptops from ~2015-2022. DDR5 is the new standard in high-end 2022+ models. DDR3 is found in older machines. You must buy the same generation as your laptop supports.
Speed (MHz) and Timing (CL)
RAM speed is measured in megahertz (MHz), like 2666, 3200, or 4800. Your laptop’s motherboard and CPU support a maximum speed. Your RAM will run at the lower of two speeds: its own maximum or the motherboard’s maximum. It’s best practice to buy RAM with a speed equal to or lower than your system’s supported max. Buying faster RAM (e.g., 3200 MHz for a system that maxes at 2666 MHz) will simply run at 2666 MHz—no harm, but no extra benefit either. The timing, or CAS Latency (CL), like CL16 or CL19, is less critical for average users. Lower CL is slightly faster, but matching the speed is far more important.
Capacity and Single vs. Dual Channel
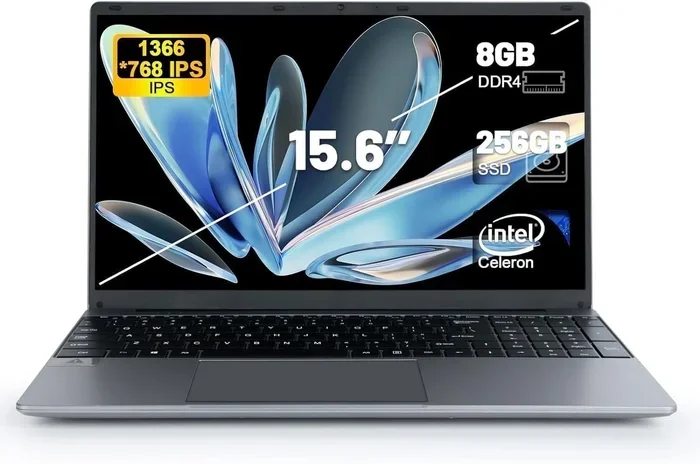
How much RAM do you need? For general use (web, office, streaming), 8GB is the bare minimum today. 16GB is the sweet spot for smooth multitasking and future-proofing. 32GB is for power users, gamers, and professionals running virtual machines or heavy editing software.
Regarding configuration: if your laptop has two slots and currently has one stick, the best performance upgrade is to add an identical second stick to enable dual-channel mode. This allows the memory controller to access both sticks simultaneously, roughly doubling the data throughput. For optimal dual-channel performance, use two sticks of the same capacity, speed, and ideally from the same manufacturer and model. If both slots are filled with 4GB sticks, replacing both with two 8GB sticks is the ideal path.
Brands, Voltage, and ECC
Stick with reputable brands like Crucial (by Micron), Kingston, Corsair, G.Skill, or Samsung. They are reliable and have good compatibility tools on their websites (Crucial’s System Scanner is excellent). RAM for laptops runs on low voltage, typically 1.2V for DDR4 and 1.1V for DDR5. Ensure your RAM matches this. Finally, ignore ECC (Error-Correcting Code) RAM. It’s for servers and workstations and is generally incompatible with consumer laptops.
Phase 3: The Physical Upgrade Process—A Step-by-Step Guide
Now for the hands-on part. If your laptop has a dedicated, easily accessible RAM compartment (most do), this process is straightforward and takes about 10 minutes. The golden rule: power off, unplug, and remove the battery if possible. Static electricity is your enemy.
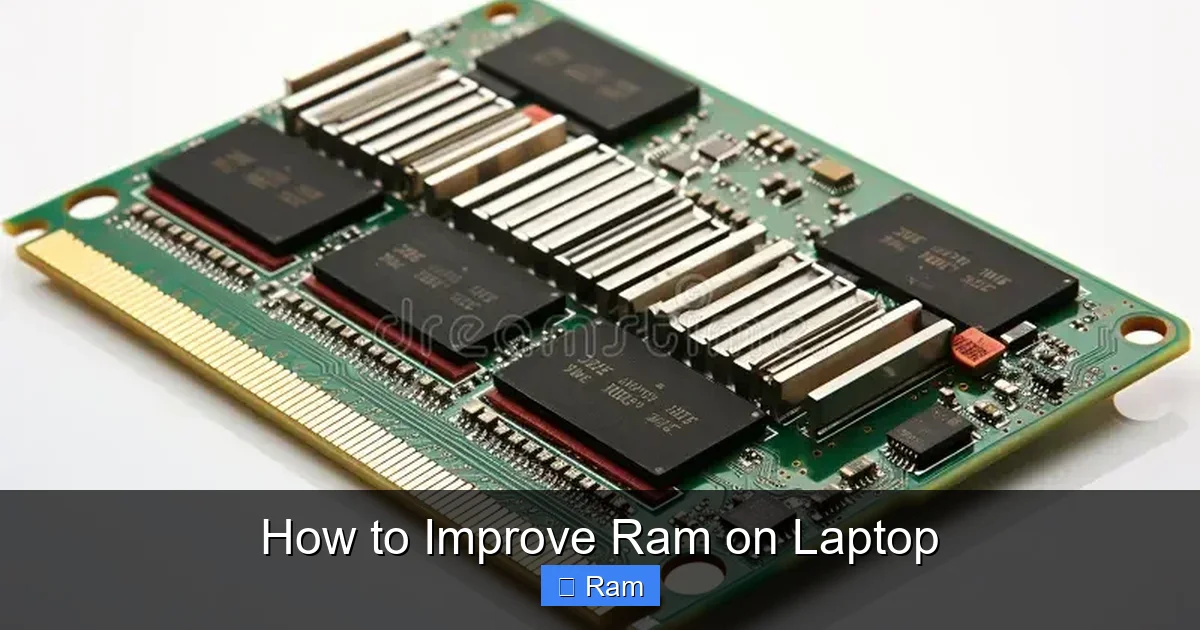
Visual guide about How to Improve Ram on Laptop
Image source: thumbs.dreamstime.com
Gather Your Tools and Prepare Your Workspace
You’ll need:
- Your new, compatible RAM stick(s).
- A small Phillips-head screwdriver (#0 or #1).
- A plastic spudger or pry tool (optional but helpful).
- A clean, flat, well-lit workspace with a soft cloth or mat.
Before you touch anything, touch a grounded metal object (like a plugged-in but switched-off desktop tower) to discharge any static from your body. Handle RAM sticks by the edges, avoiding the gold contacts and chips on top.
Accessing the RAM Compartment
Flip your laptop over. Look for a rectangular panel, often held down by one or two small screws. It might have a RAM symbol (two sticks with a diagonal arrow) next to it. Carefully unscrew it. Some panels have tabs you can gently pry up with a spudger. Set the screws aside in a safe spot and lift the panel off. You should now see one or two RAM slots with small sticks held down by metal clips on either side.
Removing the Old RAM
The retention clips on the sides of the RAM slot are spring-loaded. Gently but firmly pull both clips outward, away from the RAM stick. They should pop up slightly. The stick will then pop up at an angle, usually about 30 degrees. Grasp the stick by the edges and pull it straight out. If there are two sticks, repeat for the second one. Place the old RAM aside in an anti-static bag if you plan to keep it as a backup.
Installing the New RAM
This is the reverse process, but it requires a firm push. Take your new RAM stick and look at the notch on the bottom edge (the gold contacts). This notch is keyed to only fit one way in the slot. Align it perfectly with the ridge in the slot. Place the stick in the slot at the same 30-degree angle the old one came out at. Press down firmly and evenly on the top edge of the stick until the retention clips snap back into place, locking it in horizontally. You should hear/feel two distinct clicks. Ensure it’s seated evenly and fully. If installing two sticks, consult your motherboard manual (or the pattern of the empty slots) to see if they go in slots A2/B2 for optimal dual-channel (usually the second and fourth slots). For most two-slot laptops, it doesn’t matter; just fill both.
Final Steps and First Boot
Double-check everything is secure. Replace the access panel and screw it back in, but don’t overtighten. Flip the laptop over, reconnect the battery if you removed it, plug in the power adapter, and power it on. It might reboot once or twice as it recognizes the new memory—this is normal. Once you’re at your desktop, go back to Task Manager > Performance > Memory. You should see the new total capacity reflected (e.g., 16.0 GB). You’ve done it! Run a quick memory diagnostic to be safe. Type “Windows Memory Diagnostic” into the search bar, run it, and choose “Restart now and check for problems.” A clean result confirms your upgrade is stable.
Phase 4: Software Optimization—Maximizing Your Existing RAM
What if your laptop’s RAM is soldered and not upgradeable? Or what if you want to squeeze every last drop of performance before buying new parts? Software optimization is your powerful, free first line of defense. These steps reduce the memory footprint of your operating system and running applications, making your existing RAM feel like more.
Mastering Startup and Background Processes
This is the single most effective software tweak. Every program that launches with Windows sits in your RAM, whether you use it or not. Open Task Manager (Ctrl+Shift+Esc) and go to the “Startup” tab. Here you’ll see a list of all programs that run at boot. Disable anything you don’t immediately need. Things like cloud storage sync clients (OneDrive, Dropbox), hardware utilities from manufacturers, and instant messaging apps can often be started manually instead. Right-click any entry and select “Disable.” Be sensible—leave your antivirus and critical hardware drivers enabled. Also, regularly check the “Processes” tab sorted by “Memory” to identify any rogue applications consuming excessive resources.
Tuning Windows Visual Effects and Power Settings
Windows’ fancy animations and transparency effects use GPU and system memory. Toning them down can free up resources. Type “Adjust the appearance and performance of Windows” into the search bar and open it. You can select “Adjust for best performance” to disable all effects, or manually uncheck the ones you can live without (like “Animate windows when minimizing and maximizing”). For power settings, go to Settings > System > Power & battery > Power mode and select “Better performance” or “Best performance” if you’re plugged in. This prevents the CPU from aggressively throttling, which can sometimes help with memory responsiveness.
Browser Hygiene and Malware Scans
Web browsers are notorious RAM hogs, especially with many tabs open. Use browser extensions that hibernate unused tabs (like The Great Suspender or Auto Tab Discard). Also, limit the number of tabs you keep open. Regularly clear your browser cache and history. Finally, run a full scan with a reputable antivirus/anti-malware program (Windows Defender is fine, or Malwarebytes for a second opinion). Malware and bloatware can run hidden background processes that consume significant memory.
The Nuclear Option: Clean Windows Install
If your laptop is 3+ years old and has never had a fresh OS install, you’re likely running a bloated, slow version of Windows. Years of updates, leftover files, and registry entries accumulate. Backing up your data and performing a clean installation of Windows 11/10 from a USB drive is like giving your laptop a new brain. It will feel dramatically faster, boot in seconds, and use far less RAM on idle. This is often a more impactful upgrade than adding 4GB of RAM to a system crippled by years of digital clutter.
Phase 5: Alternatives and Advanced Considerations
Sometimes, a simple RAM upgrade isn’t the full answer, or it’s not possible. Let’s explore other paths to improved performance and advanced scenarios for the technically curious.
When RAM Isn’t the Bottleneck
How do you know for sure RAM is your problem? Use Task Manager’s Performance tab. If the Memory graph is consistently at or near 100% while your laptop is slow, that’s your culprit. But if the graph is below 80% and you’re still experiencing lag, the bottleneck lies elsewhere. Check the Disk graph—is it at 100%? That points to a failing or slow hard drive (an SSD upgrade is the fix). Is the CPU graph spiking? You might have a processor that’s too weak for your tasks. Diagnosing the correct bottleneck is essential to spending your upgrade money wisely.
ReadyBoost: Using a USB Drive as RAM
This is a legacy Windows feature that uses a fast USB flash drive or SD card as a cache for your hard drive. It can provide a small performance boost on systems with very little RAM (<4GB) and a slow hard drive. However, on any system with an SSD and 8GB+ of RAM, the effect is negligible or even negative due to the speed difference. It's generally not recommended as a primary solution today but exists as a quirky last resort for ancient machines.
Virtual Memory (Page File) Adjustments
Windows automatically manages a page file on your drive, which is the “virtual memory” we discussed. Manually adjusting its size is rarely needed. The old rule of thumb “set it to 1.5x your RAM” is obsolete. Let Windows manage it. However, if you have a very small SSD and a large amount of RAM (32GB+), you *could* set a smaller, fixed page file to save SSD space, but this is an advanced tweak with minimal real-world benefit for most users.
Optimizing for Gaming and Professional Workloads
For gamers, RAM speed and capacity matter in some titles, especially paired with AMD Ryzen CPUs. The sweet spot is 16GB of fast DDR4 (3200-3600 MHz). For video editing, 3D rendering, or running virtual machines, capacity is king—32GB or 64GB is often the target. In these professional cases, ensure you are buying certified RAM from your laptop manufacturer’s list (if available) for maximum stability, as these applications push memory to its limits.
Conclusion: Your Laptop’s Second Wind Awaits
Improving the RAM on your laptop is a journey from diagnosis to execution, but it’s a journey well worth taking. You’ve now learned to read your laptop’s memory profile like a pro, select the perfect compatible upgrade, safely perform the physical installation, and optimize the software environment to maximize every megabyte. Remember the hierarchy: first, diagnose with Task Manager and CPU-Z. Second, optimize software—clean startup, scan for malware, consider a fresh OS install. Third, if needed and possible, upgrade the hardware. Finally, pair your RAM upgrade with an SSD if your laptop still has a mechanical hard drive; this combination is transformative.
Don’t let a slow laptop dictate your productivity or enjoyment. With this knowledge, you have the power to change that. Open that back panel, listen for the satisfying click of new memory being seated, and boot into a faster, more responsive computing experience. You’ve earned it.
Frequently Asked Questions
Can I add RAM to any laptop?
No. Many modern, thin-and-light laptops have the RAM soldered directly to the motherboard, making upgrades impossible. Always check your laptop’s specific model specifications or open the back panel to look for accessible RAM slots before purchasing any memory.
Will more RAM make my laptop faster?
It will make your laptop feel faster if you were previously experiencing slowdowns due to running out of memory (high RAM usage in Task Manager). It allows you to keep more applications and browser tabs open simultaneously without slowing down. However, it will not make CPU-intensive tasks (like video rendering) or storage-limited tasks (loading games) run faster if those are the actual bottlenecks.
Do I need to install RAM in pairs?
For optimal performance (dual-channel mode), it’s best to install RAM in matched pairs (same size, speed, and model) if your laptop has two slots. If you have one empty slot, you can add a single stick, but you will run in single-channel mode, which has slightly lower bandwidth. If both slots are empty, always install two identical sticks.
What’s the difference between DDR3, DDR4, and DDR5 RAM?
They are different generations of memory technology. DDR4 is faster and more power-efficient than DDR3, and DDR5 is faster still. They are not physically compatible—a DDR4 stick will not fit in a DDR3 or DDR5 slot. Your laptop’s age and specifications dictate which type you must use.
My laptop has 4GB of RAM. Should I upgrade to 8GB or 16GB?
For most users today, 8GB is the recommended minimum for comfortable multitasking with a modern OS and browser. If your budget allows, jumping directly to 16GB provides a much better future-proofing and smoother experience, especially if you use many browser tabs, run office suites, or do light photo editing. The performance difference from 8GB to 16GB for general use is often very noticeable.
Is it better to upgrade RAM or get an SSD?
If your laptop still has a traditional hard disk drive (HDD), upgrading to an SSD will provide the most dramatic overall improvement in boot times, application launches, and system responsiveness. However, if you already have an SSD and your issue is slowdowns when many programs are open (high RAM usage in Task Manager), then a RAM upgrade is the correct fix. The absolute best upgrade for an old laptop is to do both.