How to Increase a Laptops Ram
Want a faster, smoother laptop without buying a new machine? Learn how to increase a laptop’s RAM with easy, budget‑friendly steps, from checking compatibility to installing the modules yourself. Follow our friendly guide and feel the difference in seconds.
Key Takeaways
- Check compatibility first: Not all laptops accept any RAM; verify type, speed, and maximum capacity.
- Static safety matters: Use an anti‑static wrist strap or ground yourself to protect delicate components.
- Upgrade path matters: Decide between adding a second stick or replacing existing modules for best performance.
- BIOS/UEFI settings: Some laptops need a quick BIOS tweak to recognize the new memory.
- Testing is essential: Run MemTest86 or Windows Memory Diagnostic after installation to confirm stability.
- Cost‑effective options: Refurbished or second‑hand RAM can save money without sacrificing speed.
- When to seek professional help: If your laptop is soldered‑on or you feel unsure, a tech shop can finish the job safely.
📑 Table of Contents
- Introduction: Why More RAM Makes a Difference
- 1. Assessing Your Laptop’s Current RAM Situation
- 2. Choosing the Right RAM Modules
- 3. Preparing Your Workspace and Tools
- 4. Installing the New RAM
- 5. Verifying the Upgrade and Troubleshooting
- 6. Maximizing Performance After the Upgrade
- Conclusion: Your Laptop, Faster Than Ever
Introduction: Why More RAM Makes a Difference
Imagine trying to juggle ten balls at once—eventually you’ll drop a few. That’s what your laptop feels like when it runs out of RAM. Random‑Access Memory (RAM) is the short‑term workspace where your operating system, apps, and files live while you use them. The more RAM you have, the more “workspace” you get, which means smoother multitasking, faster loading times, and fewer frustrating freezes.
Many laptop owners think the only way to get more power is to buy a brand‑new machine. In reality, learning how to increase a laptop’s RAM is often the cheapest, quickest path to a noticeable performance boost. In the next few pages we’ll walk you through every step—checking specs, buying the right sticks, installing them safely, and testing the result—so you can feel confident whether you’re a first‑time upgrader or a seasoned tech hobbyist.
1. Assessing Your Laptop’s Current RAM Situation
1.1 Find Out How Much RAM You Already Have
Before you buy anything, you need to know what you start with. On Windows, open Task Manager (Ctrl + Shift + Esc) and click the Performance tab. On macOS, choose Apple Menu → About This Mac. Note the total amount, the type (e.g., DDR4), and the speed (e.g., 2400 MHz).
Visual guide about How to Increase a Laptops Ram
Image source: idcmayoristas.com
1.2 Check the Maximum Supported RAM
Every laptop has a ceiling—usually listed in the user manual or on the manufacturer’s website. If your laptop supports up to 32 GB but you only have 8 GB installed, you have room to grow. Use tools like Crucial System Scanner or CPU‑Z to pull up detailed specs automatically.
1.3 Identify the Form Factor and Slot Count
Most laptops use SODIMM (Small Outline DIMM) modules, which are half the size of desktop DIMMs. Some ultra‑thin ultrabooks have a single slot; others have two. Count the slots by looking at the service manual or, if you’re comfortable, by removing the back panel (see Section 3).
2. Choosing the Right RAM Modules
2.1 Matching Type and Speed
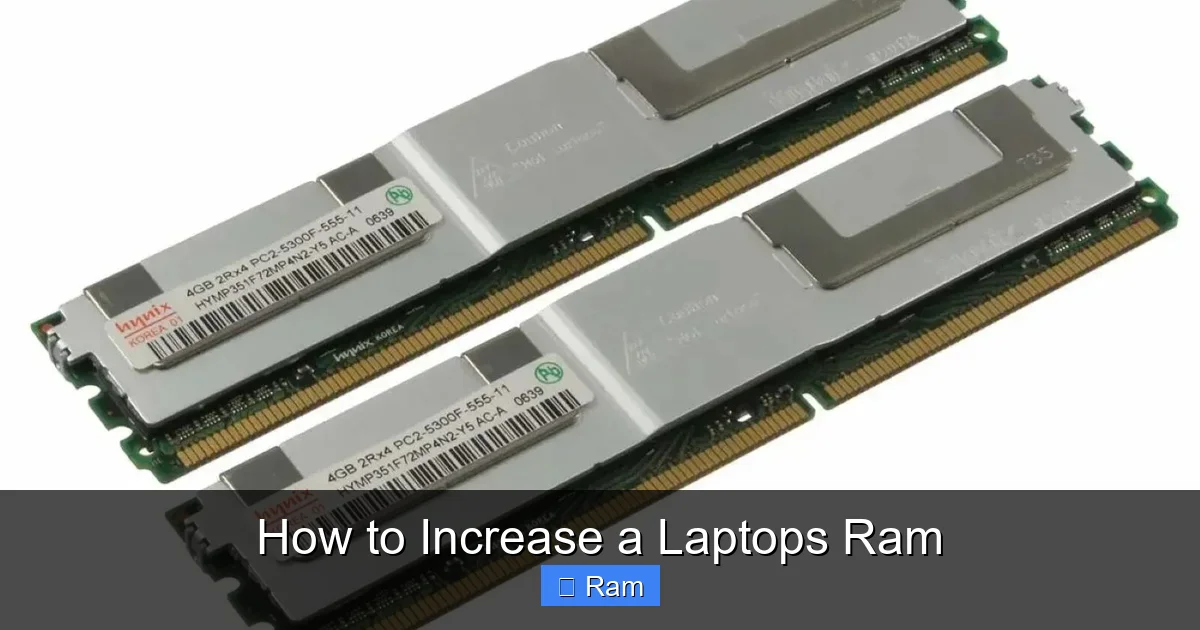
RAM comes in generations: DDR3, DDR4, and the newest DDR5. Your laptop’s motherboard only accepts the generation it was designed for. Mixing different generations (e.g., DDR3 with DDR4) simply won’t work. Also, match the speed—if your laptop supports 2400 MHz, buying 3200 MHz RAM will still run at the lower speed, but it’s wasteful.
Visual guide about How to Increase a Laptops Ram
Image source: img2.tradewheel.com
2.2 Capacity Options and Dual‑Channel Benefits
Dual‑channel memory doubles the data path, giving a noticeable performance bump. To enable it, install two identical sticks (same size, speed, and timings). For example, two 8 GB DDR4‑2666 sticks give 16 GB in dual‑channel mode, which is faster than a single 16 GB stick.
2.3 Brand Reliability and Warranty
Stick with reputable brands like Crucial, Kingston, Corsair, or G.Skill. They usually offer a lifetime warranty and have been tested for laptop compatibility. Avoid “no‑brand” modules unless you’re buying from a trusted reseller with a return policy.
2.4 Buying New vs. Refurbished
New modules guarantee the latest specs, but refurbished or open‑box RAM can be 30‑50 % cheaper. Just verify the condition, test it quickly with MemTest86, and keep the receipt for returns.
3. Preparing Your Workspace and Tools
3.1 Gather Essential Tools
- Phillips #00 screwdriver (most laptops use tiny screws).
- Anti‑static wrist strap or a grounded metal surface.
- Plastic pry tool or spudger (to avoid damaging clips).
- Clean, well‑lit workspace—preferably a static‑free mat.
3.2 Safety First: Avoid Static Discharge
Static electricity can fry a laptop’s motherboard in an instant. Before you touch any components, attach the anti‑static wrist strap to a grounded object or touch the metal chassis of the laptop for a few seconds to discharge any built‑up static.
Visual guide about How to Increase a Laptops Ram
Image source: robots.net
3.3 Removing the Back Panel
Turn the laptop upside‑down, locate all screws, and keep them organized (e.g., in a small bead tray). Some laptops have hidden screws under rubber feet or stickers—lift them gently. Use the plastic pry tool to release the clips around the panel. Patience here prevents cracked panels.
3.4 Locating the RAM Slots
Once the panel is off, you’ll see one or two long, thin slots with metal levers on each side. If there’s a single stick already installed, you’ll see a small notch on the module that aligns with a ridge in the slot. Take a photo for reference before you remove anything.
4. Installing the New RAM
4.1 Removing Existing Modules (If Needed)
Push the metal levers outward gently; the module should pop up at an angle. Grip the edges—never the gold contacts—and pull the stick out carefully. Place it on an anti‑static bag if you plan to reuse it later.
4.2 Inserting the New Modules
Align the notch on the RAM stick with the ridge in the slot. The stick only fits one way. Slide it in at a 30‑degree angle, then press down firmly until the levers click back into place. You should hear a faint “click” indicating a secure connection.
4.3 Double‑Check Seating and Clear Obstructions
Make sure both ends of each stick are fully seated; a partially inserted module can cause boot failures. Verify that no screws or cables were displaced during the process.
4.4 Re‑assemble the Laptop
Replace the back panel, reinstall all screws in their original positions, and re‑attach any removed rubber feet or stickers. Turn the laptop upright and power it on.
5. Verifying the Upgrade and Troubleshooting
5.1 BIOS/UEFI Confirmation
During the boot sequence, press the key for BIOS/UEFI (often F2, Del, or Esc). In the system information screen, you should see the new total RAM amount. If the BIOS shows the old amount, double‑check the seating and compatibility.
5.2 Operating System Recognition
Once Windows loads, open System (right‑click This PC → Properties) or go to About This Mac on macOS. The displayed memory should match your installed capacity.
5.3 Running Memory Diagnostics
Download MemTest86 onto a USB stick, boot from it, and let it run at least one full pass (about an hour). Any errors indicate a faulty module or compatibility issue.
5.4 Common Issues and Fixes
- Computer won’t boot: Reseat the RAM, ensure the levers are locked, and verify the module matches the required type.
- Only part of the RAM is recognized: Check if the slot is dirty; clean gently with compressed air.
- Blue screen or random crashes: Run MemTest86 again; if errors persist, try the original stick alone to isolate the problem.
5.5 Updating Drivers and Firmware
Some manufacturers release firmware updates that improve memory compatibility. Visit the laptop maker’s support page, enter your model, and install any BIOS or chipset updates available.
6. Maximizing Performance After the Upgrade
6.1 Adjust Virtual Memory Settings
Windows automatically manages the paging file, but you can fine‑tune it for heavy workloads. Go to System Properties → Advanced → Performance Settings → Advanced → Virtual memory and let Windows choose, or set a custom size (typically 1.5× the RAM amount).
6.2 Keep Your System Clean
More RAM means you can run more apps, but a cluttered startup slows you down. Use Task Manager → Startup to disable unnecessary programs, and run a regular disk cleanup.
6.3 Pair RAM Upgrade with SSD
If you haven’t already, consider adding an SSD. The combination of faster storage and more RAM yields the most noticeable speed gains, especially for boot times and large file transfers.
6.4 Monitor Performance Gains
Use tools like HWMonitor or Task Manager to track memory usage before and after the upgrade. You’ll often see a drop in “Memory Pressure” and smoother multitasking.
Conclusion: Your Laptop, Faster Than Ever
Increasing a laptop’s RAM is one of the most rewarding DIY upgrades you can do. With a little research, the right tools, and a careful hand, you can add 8 GB, 16 GB, or even 32 GB of memory in under an hour—and feel the difference instantly. Remember to check compatibility, protect against static, and test the new modules before declaring victory.
Whether you’re a student juggling research papers, a gamer craving higher frame rates, or a professional handling large datasets, the extra memory will make your laptop feel brand new. If you hit a snag, don’t hesitate to consult the manufacturer’s guide or seek a local tech shop. Happy upgrading!
Frequently Asked Questions
Can I install RAM in any laptop?
Most laptops with removable memory slots allow upgrades, but ultra‑thin models often have soldered‑on RAM. Check the service manual or use an online configurator to confirm.
Do I need to match the exact speed of my existing RAM?
It’s best to match speed and timings for dual‑channel performance. If you mix speeds, the system will run all modules at the lowest common speed.
Will adding more RAM improve gaming performance?
Yes, especially in games that load large textures or run many background processes. However, the GPU is still the main factor for frame rates.
How much RAM is enough for everyday use?
For typical web browsing, office work, and streaming, 8 GB is sufficient. Power users and multitaskers benefit from 16 GB or more.
Is it safe to upgrade RAM myself?
Yes, as long as you follow anti‑static precautions and use the correct tools. Most upgrades are straightforward and risk‑free.
What should I do if my laptop doesn’t recognize the new RAM?
First, reseat the module and double‑check compatibility. Then, run a memory diagnostic and look for BIOS updates that might add support.