How to Mount Speakers on Wall

Mounting speakers on the wall can transform your listening space with better sound coverage and a clean look. This guide walks you through planning, tools, installation, and wiring, so you can enjoy great audio without a hassle. Follow our easy steps and avoid common mistakes for a secure, professional finish.
Key Takeaways
- Plan before you drill: Measure, locate studs, and decide speaker height for optimal sound.
- Use the right hardware: Choose brackets, anchors, and screws that match your wall type and speaker weight.
- Wire safely: Route speaker cables neatly, avoid power lines, and test connections before final mounting.
- Level every mount: A bubble level guarantees a straight, professional appearance.
- Secure the mount: Double‑check screw tightness and use studs whenever possible for safety.
- Fine‑tune after install: Adjust angle and distance for balanced audio in your room.
- Consider future upgrades: Install extra cable slack and use universal brackets for flexibility.
📑 Table of Contents
Introduction: Why Mount Speakers on Wall?
Imagine walking into a living room where the sound seems to float in the air, perfectly balanced, and the floor stays clear of bulky boxes. That’s the magic of mounting speakers on wall. Not only does it free up floor space, it also directs sound toward your listening spot, reduces unwanted reflections, and gives the room a sleek, modern vibe.
Whether you’re setting up a home theater, a gaming den, or a simple music corner, the process can feel daunting if you’ve never held a drill before. Don’t worry—this article breaks everything down into bite‑size steps, explains the tools you’ll need, and shares practical tips to keep the job safe and tidy. By the end, you’ll be confident enough to mount speakers on wall like a pro.
1. Planning Your Speaker Layout
1.1 Choose the Right Wall
The first decision is which wall will host your speakers. Look for a solid, stud‑filled surface. Avoid plasterboard that’s only a thin veneer unless you use heavy‑duty anchors. A wall opposite the main listening position often works best for stereo pairs, while a side wall can house surround speakers.
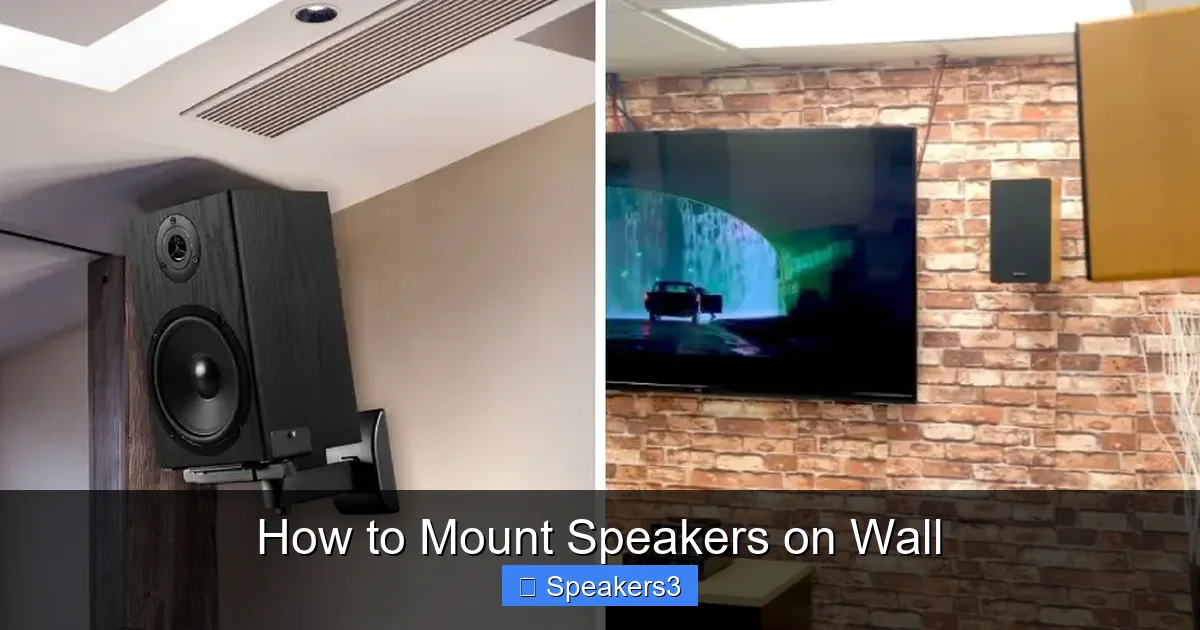
Visual guide about How to Mount Speakers on Wall
Image source: officefixes.com
1.2 Determine Ideal Height and Angle
For most bookshelf or wall‑mountable speakers, the tweeter (the high‑frequency driver) should be at ear level when you’re seated—usually 36‑42 inches from the floor. Tilt the speakers slightly downward (about 5‑10 degrees) so the sound beams directly at the listening spot. Use a simple cardboard template to visualize the angle before drilling.
1.3 Measure Distances and Mark Studs
Grab a stud finder and locate the vertical studs behind the drywall. Mark the centre of each stud with a pencil. Then, using a tape measure, mark the exact spot where the top and bottom of the speaker will sit. Double‑check that the marks are level; a quick bubble level will save you from a crooked mount.
1.4 Sketch a Quick Layout
Draw a rough floor plan on paper or a phone note. Indicate speaker positions, cable routes, and power outlet locations. This visual guide helps you spot potential obstacles—like windows, light switches, or HVAC vents—early on.
2. Gathering the Right Tools and Materials
2.1 Essential Tools
- Stud finder
- Power drill with appropriate bits (wood and masonry)
- Socket set or screwdriver
- Bubble level
- Measuring tape
- Pencil and masking tape
- Wire stripper and crimping tool (if you’ll splice speaker wire)
2.2 Mounting Hardware
Choose brackets that match your speaker’s weight and mounting pattern. Most wall‑mountable speakers use a ¼‑inch (6.35 mm) threaded hole; however, some require a custom plate. Look for:
- Heavy‑duty steel brackets with built‑in level
- Toggle bolts or molly anchors for drywall without studs
- Lag screws (¼‑inch diameter) when drilling directly into studs
2.3 Cables and Connectors
Use 16‑gauge speaker wire for most home setups; 14‑gauge if you have long runs (over 50 ft). Buy enough length to reach the amplifier with a little slack for future adjustments. Terminate the ends with banana plugs, spade connectors, or simply strip the wire for direct binding posts.
Need a quick refresher on wiring? Check out our guide on how to wire speakers to amp for clear, step‑by‑step instructions.
3. Preparing the Wall and Mounting the Brackets
3.1 Drill Pilot Holes
Start with a small pilot hole (⅛‑inch) at each marked stud location. This prevents the wood from splitting when you drive the larger lag screw. If you’re using drywall anchors, follow the manufacturer’s recommended drill size.
3.2 Install Anchors or Lag Screws
For studs, drive the lag screw through the bracket and into the pilot hole using a socket wrench. Tighten until the bracket sits flush against the wall—don’t over‑tighten, as this can strip the wood. For drywall, insert the toggle bolt, pull the wings tight against the back of the wall, then screw the bracket into place.
3.3 Double‑Check Level and Alignment
Place the bubble level on the bracket’s top edge. Adjust the bracket or re‑drill if necessary. A perfectly level mount ensures that your speakers will look professional and sound balanced.
4. Running and Managing Speaker Cables
4.1 Choose the Cable Path
Run the speaker wire either inside the wall (if you’re comfortable with in‑wall wiring and local codes) or along the surface using cable raceways. Surface raceways keep cables hidden and protect them from accidental pulls.
4.2 Secure the Cables
Use zip ties or small clips every 12‑18 inches to prevent sagging. Keep the wire away from power cords to avoid interference—maintain at least a 2‑inch separation.
4.3 Test Before Final Mount
Before you attach the speaker to the bracket, connect the wires to your amp or receiver and play a test tone. Verify that both left and right channels are working and that there’s no buzz or distortion. Fix any wiring issues now, not after the speakers are hanging.
5. Mounting the Speakers
5.1 Attach Mounting Plate to Speaker
Most wall‑mountable speakers have a small plate with pre‑drilled holes. Align this plate with the bracket’s mounting points and use the supplied screws. Hand‑tighten first, then finish with a screwdriver.
5.2 Hang the Speaker on the Bracket
Lift the speaker and slot the mounting plate onto the wall bracket. Some brackets have a locking latch—engage it to keep the speaker from wobbling.
5.3 Final Level Check
Place the level on the speaker’s front grille. If it’s off, gently loosen the screws, adjust, and retighten. Small tweaks now prevent a crooked look later.
6. Fine‑Tuning and Calibration
6.1 Adjust Angle and Distance
Step back and listen from your main seating spot. If the sound feels too “on‑axis” or harsh, tilt the speaker a few more degrees downward. Use a small piece of cardboard to simulate ear height and experiment before locking the angle.
6.2 Use Your Receiver’s Calibration
Most modern AV receivers include an auto‑calibration mic. Run the setup routine to let the receiver adjust speaker distance, level, and crossover settings. This step ensures that the new wall placement integrates smoothly with the rest of your system.
6.3 Hide the Extras
Cover any exposed cable ends with decorative wall plates or paint‑matching cable concealers. This finishing touch makes the installation look seamless.
Conclusion: Enjoy Your New Soundscape
Mounting speakers on wall is a rewarding DIY project that upgrades both aesthetics and audio performance. By planning carefully, using the right hardware, and testing each step, you avoid common pitfalls like wobbling mounts or noisy connections. Now that your speakers are securely mounted, sit back, press play, and let the room fill with crystal‑clear sound. Remember, a well‑mounted speaker not only looks great—it delivers the immersive experience you’ve been chasing.
Ready for the next upgrade? Keep your system future‑proof by adding extra cable slack and choosing universal brackets. And if you ever decide to expand your home theater, the same principles apply—just repeat the steps, and you’ll have a cinema‑quality setup in no time.
Frequently Asked Questions
Can I mount speakers on a plaster wall?
Yes, but you’ll need heavy‑duty drywall anchors or toggle bolts designed for plaster. Locate studs whenever possible for the strongest hold.
Do I need a stud finder for every speaker?
Using a stud finder is highly recommended for each mount. It ensures you anchor the brackets to solid wood, preventing the speakers from pulling out over time.
How far should speaker wire run from the amp?
Keep runs under 50 ft for 16‑gauge wire to avoid signal loss. If you need longer distances, step up to 14‑gauge wire or use a speaker wire amplifier.
Is it okay to use adhesive mounts?
Adhesive mounts can work for very light satellite speakers, but they are less reliable than screws and brackets for anything over 5 lb.
What if I can’t find studs where I want to mount?
Use toggle bolts or molly anchors rated for the speaker’s weight. Alternatively, shift the speaker a few inches to hit a stud.
Should I tilt my wall speakers?
Tilting them 5‑10 degrees downward helps direct sound toward the listening area and reduces reflections from the floor, improving clarity.