Nvme Ssd Add on Card
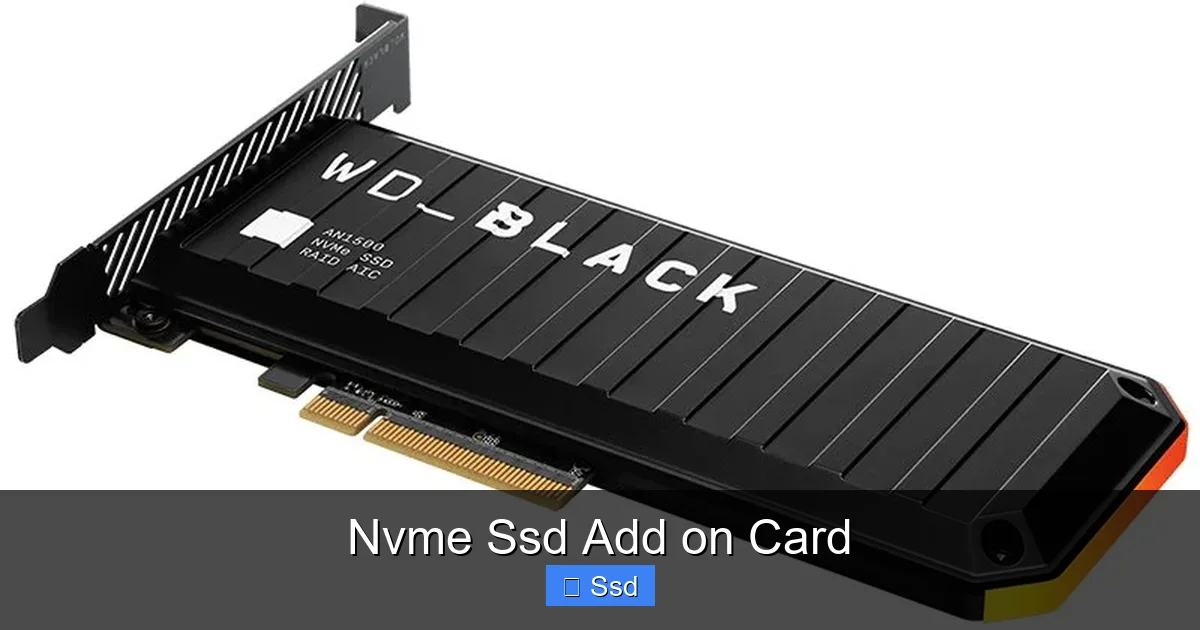
An NVMe SSD add-on card is a powerful upgrade that slots into your motherboard’s PCIe slot, bypassing slower SATA connections to deliver maximum speed from your high-performance SSD. It’s the simplest way to supercharge your desktop’s storage, offering a dramatic leap in system responsiveness, file transfer rates, and application load times for gamers, creators, and power users. Just ensure your motherboard has an available PCIe slot and supports NVMe booting for the best experience.
Key Takeaways
- What It Is: An NVMe SSD add-on card is a printed circuit board (PCB) with an M.2 or U.2 slot that plugs into a standard PCI Express (PCIe) slot on your motherboard, providing a direct, high-bandwidth pathway for an NVMe SSD.
- Massive Speed Boost: It unlocks the full potential of PCIe 3.0, 4.0, or 5.0 NVMe SSDs, offering read/write speeds many times faster than SATA SSDs and vastly superior to hard drives.
- Compatibility is Key: You must have an available PCIe x4, x8, or x16 slot (physically and electrically) and a motherboard BIOS that supports booting from a PCIe-based NVMe device.
- Thermal Management Matters: High-speed NVMe SSDs generate significant heat. Many add-on cards include heatsinks and thermal pads, and some even have active cooling fans to prevent thermal throttling and maintain peak performance.
- Not Just for Desktops: While primarily for desktop PCs, these cards can also be used in workstations, small form factor (SFF) builds, and even some older servers to add modern, ultra-fast storage.
📑 Table of Contents
- Why Your PC is Begging for an NVMe SSD Add-On Card
- How Does an NVMe SSD Add-On Card Actually Work?
- Choosing the Right NVMe SSD Add-On Card for Your Build
- The Step-by-Step Guide to Installing Your NVMe SSD Add-On Card
- Real-World Performance: What Speed Gains Can You Actually Expect?
- Common Pitfalls and How to Avoid Them
- Who is the NVMe SSD Add-On Card For? (And Who Should Skip It)
- The Final Verdict: Is an NVMe SSD Add-On Card Right for You?
Why Your PC is Begging for an NVMe SSD Add-On Card
Let’s be honest. That spinning hard drive or even your old SATA SSD might be the single biggest bottleneck in your otherwise fantastic PC. You’ve got a lightning-fast CPU, a graphics card that chews through games, and tons of fast RAM. But when you click to open a program, load a game level, or transfer a huge video file, you wait. Thatwaiting is your storage calling for help. The solution isn’t just *any* SSD. To truly feel the future, you need the raw, unadulterated speed of an NVMe SSD. And if your motherboard’s M.2 slots are full or non-existent, the NVMe SSD add-on card is your hero.
Think of it like this: a standard SATA connection is a narrow, winding country road. An M.2 slot connected directly to the CPU is a modern, multi-lane highway. An NVMe SSD add-on card? That’s building your own private, dedicated hyperloop tunnel directly into the heart of your system. It takes the already blistering speed of an NVMe SSD and delivers it through the most direct PCIe lane available, often with better cooling than a motherboard’s built-in M.2 slot. This isn’t a minor upgrade; it’s a fundamental shift in how your computer accesses data. For gamers tired of long load screens, content creators waiting on 4K footage to load, or anyone who values instant responsiveness, this card is a game-changer.
How Does an NVMe SSD Add-On Card Actually Work?
To understand the magic, we need to peel back the layers. At its core, an NVMe SSD add-on card is beautifully simple in concept. It’s a translator and a highway.
Visual guide about Nvme Ssd Add on Card
Image source: m.media-amazon.com
The PCIe Expressway
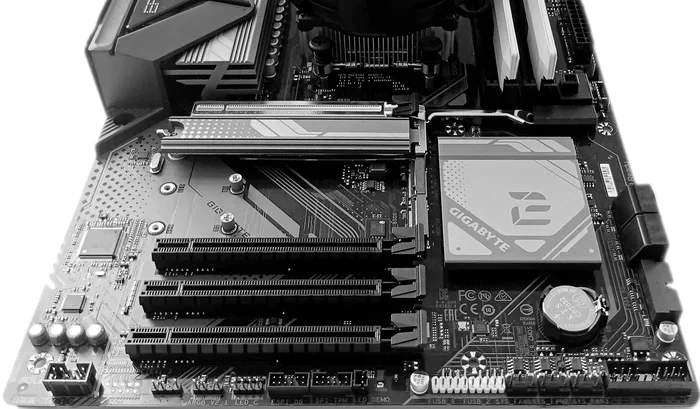
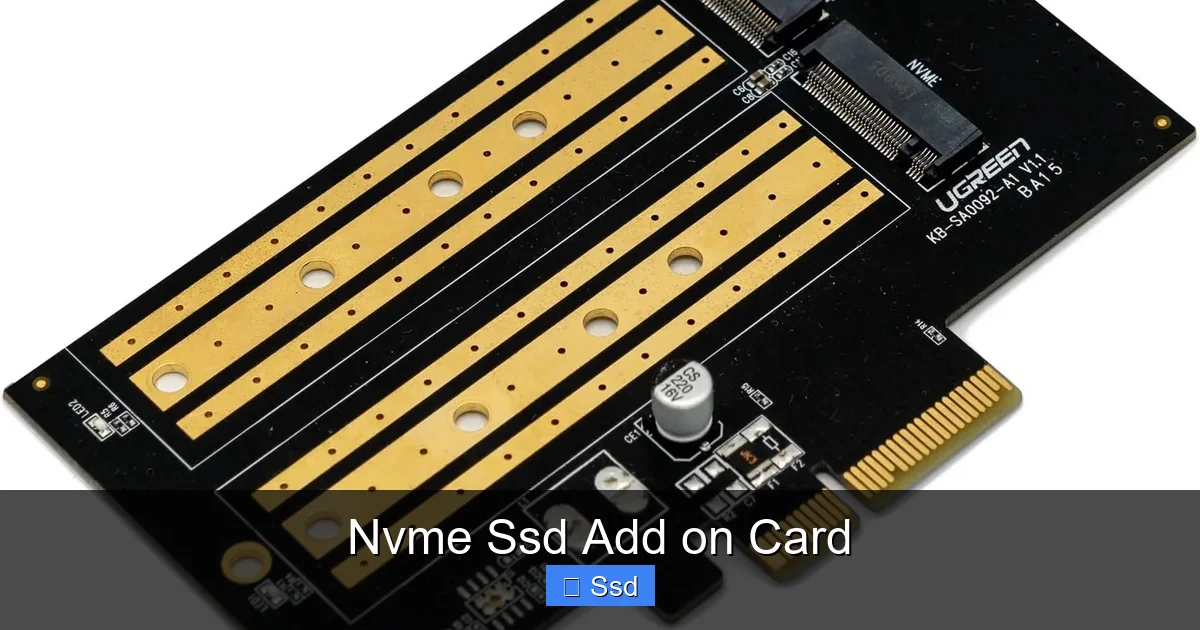
Your motherboard has long PCIe slots, typically used for graphics cards. These slots come in different sizes (x1, x4, x8, x16) which indicate how many data “lanes” are available. An NVMe SSD add-on card is designed to fit into one of these slots, most commonly a PCIe x4 slot (the physical length of an x16 slot but wired for x4 lanes). It doesn’t need all 16 lanes of a graphics card; it just needs the high-bandwidth pathways that x4 provides. This gives it a direct, high-speed connection to the CPU and chipset, just like a native M.2 slot.
From M.2/U.2 to PCIe: The Translation
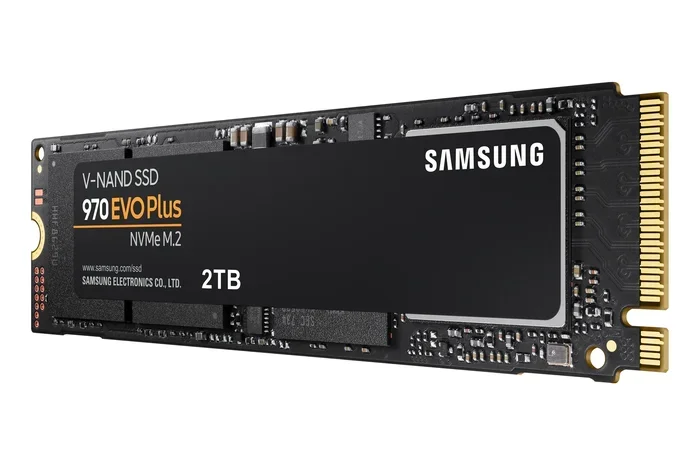
The card itself is a small PCB. On one side, it has a slot—either an M.2 slot (for the common gumstick-sized NVMe SSDs) or a U.2 port (for thicker, enterprise-style SSDs). On the other side, it has the gold-plated contacts that slide into the PCIe slot. Inside the card’s silicon, a simple but crucial controller chip manages the communication protocol, translating the NVMe protocol from the SSD into the PCIe language your motherboard understands. There’s no complex processing; it’s a pure, low-latency data conduit.
Power and Bootability
Power is supplied through the PCIe slot itself, so no extra power cables are needed from your PSU. The critical, often overlooked step is bootability. For the card to work as your primary drive holding your operating system, your motherboard’s firmware (BIOS/UEFI) must have a feature called “CSM” (Compatibility Support Module) disabled and must explicitly support booting from a PCIe NVMe device. Most modern motherboards (from roughly 2015 onward) do, but it’s the #1 troubleshooting step if your system won’t see the drive after installation.
Choosing the Right NVMe SSD Add-On Card for Your Build
Not all cards are created equal. Walking into a purchase without a plan can lead to wasted money or poor performance. Here’s your buyer’s guide, broken down by the critical decisions you’ll face.
Visual guide about Nvme Ssd Add on Card
Image source: m.media-amazon.com
PCIe Generation: Matching Your SSD and Motherboard
This is the most important spec. PCIe 3.0, 4.0, and 5.0 are not backward compatible in a forward-direction speed sense. A PCIe 4.0 SSD in a PCIe 3.0 card (or slot) will run at PCIe 3.0 speeds. Similarly, a PCIe 3.0 SSD in a PCIe 4.0 card will still run at PCIe 3.0 speeds. The card itself is just a pathway. You must match the card’s supported PCIe generation to your motherboard’s available slot generation and your SSD’s capabilities for peak performance. For most users today, a PCIe 4.0 card offers the best balance of future-proofing and cost, as PCIe 4.0 SSDs are now standard and affordable.
Heatsink: The Silent Performance Guardian
NVMe SSDs are power-hungry and get hot. Sustained high speeds can cause thermal throttling, where the SSD deliberately slows itself down to avoid damage. A good heatsink on the add-on card is non-negotiable for performance. Look for cards with:
- Large Surface Area: A big aluminum or copper heatsink with fins to dissipate heat.
- Quality Thermal Pads: Pre-applied, high-quality thermal pads that make perfect contact between the SSD’s controller/NAND chips and the heatsink.
- Active Cooling (Optional):strong>> Some high-end cards include a small fan. This is excellent for extreme, sustained workloads (like 4K video rendering) but adds noise and a potential point of failure.
A passive heatsink with excellent contact is usually sufficient for gaming and general use.
Form Factor and Slot Usage
Consider your case and other components. Most cards are full-height, full-length (FHFL) and will use a PCIe x16 slot physically. They will often block adjacent slots. If you need those slots for other cards (like a sound card or capture card), look for a low-profile card that comes with a shorter bracket. Also, check the card’s length—some are shorter than a typical GPU, which can help with fit in smaller cases.
Brand Reliability and Warranty
Stick with reputable brands in the storage space (Sabrent, ASUS, MSI, Corsair, Gigabyte, SilverStone). They use better components, have better QC, and offer meaningful warranties (often 3-5 years). Read reviews specifically looking for long-term thermal performance and compatibility reports with various motherboards.
The Step-by-Step Guide to Installing Your NVMe SSD Add-On Card
Installation is famously simple, but the devil is in the details. Follow this checklist to avoid the most common pitfalls.
Visual guide about Nvme Ssd Add on Card
Image source: ir.ozone.ru
Before You Touch Anything: The Prep Work
First, power down your PC completely and unplug the power cable. Press the power button a few times to discharge any residual power. Ground yourself by touching the metal case or using an anti-static wrist strap. Now, open your case. Locate an available PCIe slot. It should be at least x4 in electrical wiring (your motherboard manual will confirm this). If you’re replacing a graphics card temporarily, you’ll use that slot. If you have an open slot, perfect.
The Physical Installation
- Unlock the Slot: Find the small latch or clip at the end of the PCIe slot (towards the motherboard I/O). Push it down or out to open it.
- Align and Insert: Hold the card by the edges. Align the gold contacts on the card with the slot. It only fits one way. Press down firmly and evenly until the card is fully seated. You should hear/feel a click as the latch closes and locks the card in place.
- Secure the Card: Immediately screw the card’s bracket to the case’s standoff. This is crucial for physical stability and to prevent the card from flexing, which can damage the slot or the card over time.
Mounting the SSD and Applying Thermal Pads
This is where many go wrong. Lay the card flat. Most have a single M.2 screw and standoff already mounted. If not, install the standoff and screw loosely.
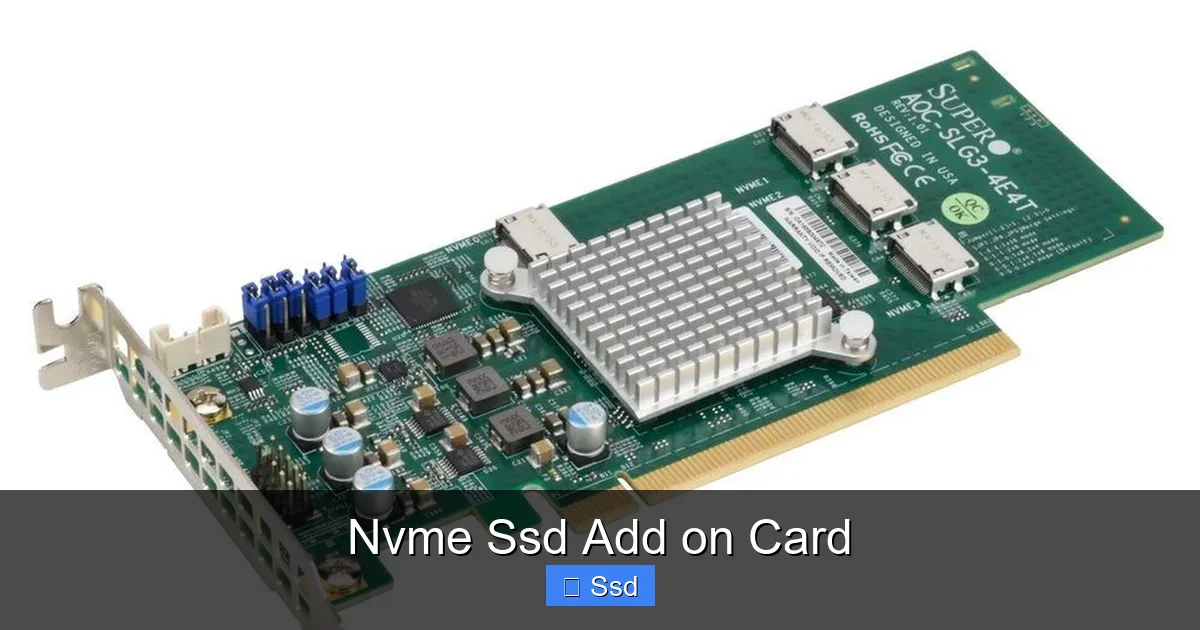
- Apply Thermal Pads: If the card didn’t come with pads pre-installed on the heatsink, carefully apply the supplied thermal pads. They should cover the exact area where the SSD’s controller (the larger chip) and one or two NAND chips will sit. Do not cover the entire SSD.
- Install the SSD: Insert your NVMe SSD into the M.2 slot at a ~30-degree angle. Press it down flat and secure it with the screw. Do not overtighten. The pressure from the screw and the thermal pad should make perfect contact.
- Double-Check: Ensure the SSD is straight and the screw is snug but not stripped.
The Final, Critical Step: BIOS Configuration
This is where the magic happens or the frustration begins.
- Plug your monitor into your existing graphics card (if you have one). Power on the system and immediately spam the Delete or F2 key to enter the BIOS/UEFI.
- Navigate to the “Boot” tab. Look for “Boot Option #1” or similar. Your new NVMe SSD should appear in the list, often labeled with its brand and capacity (e.g., “Sabrent Rocket 4.0 2TB”). Select it as the first boot device.
- Disable CSM: Find the setting for “CSM” or “Legacy Boot.” It must be Disabled. CSM is for old operating systems and will prevent the modern UEFI bootloader from seeing the NVMe drive.
- Save changes and exit (usually F10). Your system should now boot from the new, incredibly fast drive.
Real-World Performance: What Speed Gains Can You Actually Expect?
Spec sheets are fun, but let’s talk about what you’ll *feel*. We’ll compare a good PCIe 4.0 NVMe SSD on an add-on card to a common SATA SSD and a fast PCIe 4.0 SSD on a motherboard M.2 slot.
Boot Times and Application Launches
This is the most noticeable win. A Windows 10/11 boot from a quality NVMe drive will be in the 8-12 second range, versus 15-25 seconds on a SATA SSD. That’s not just “faster”—it’s the difference between making coffee and already having it. Launching large applications like Adobe Photoshop or Visual Studio? We’re talking 1-2 seconds vs. 4-6 seconds. The system *feels* instant. The difference between a motherboard M.2 slot and a PCIe add-on card for boot/launch times is usually negligible (sub-second) if both are running the same SSD at the same PCIe generation.
File Transfer and Heavy Workloads
Here, the sheer bandwidth of PCIe shines. Copying a 100GB folder of game assets or raw 8K video footage:
- SATA SSD: ~500 MB/s (the interface limit). Takes ~3+ minutes.
- PCIe 3.0 NVMe: ~3,000 MB/s. Takes ~35 seconds.
- PCIe 4.0 NVMe: ~5,000-7,000 MB/s (real-world). Takes ~20-25 seconds.
The jump from SATA to NVMe is monumental. The jump from a motherboard M.2 slot to a dedicated add-on card is minimal in raw throughput, unless the motherboard’s M.2 slot shares PCIe lanes with other devices (like a SATA port or another M.2 slot), causing a bottleneck. The add-on card often gets a dedicated, full x4 link, guaranteeing consistent, maximum speed.
Gaming: Load Screens Become a Memory
Modern open-world games with massive asset streams (like *Cyberpunk 2077*, *Starfield*, *Red Dead Redemption 2*) benefit hugely. You’ll see texture pop-in reduced, and fast travel or level loading times slashed. In competitive games, getting into the match 5-10 seconds faster than the opposition is a tangible advantage. The difference between a PCIe 4.0 drive on a good card vs. the motherboard slot is again, minimal in-game, as game engines rarely saturate the full bandwidth of even a PCIe 3.0 drive.
Common Pitfalls and How to Avoid Them
Even with perfect installation, things can go wrong. Here are the top three headaches and their fixes.
“My Computer Won’t Boot/BIOS Doesn’t See the Drive!”
This is almost always a boot configuration issue.
- Fix 1: Enter BIOS. Disable CSM/Legacy Boot. Enable “UEFI” boot. Save and reboot.
- Fix 2: Ensure the PCIe slot is enabled. Some motherboards let you disable slots. Check your manual.
- Fix 3: Try a different PCIe slot. Some older boards have slots that are only x1 electrically.
- Fix 4: Update your motherboard BIOS to the latest version. This often adds NVMe boot support to older boards.
“My SSD is Throttling and Slowing Down!”
Your drive is overheating. The controller is hitting its thermal limit and slowing to protect itself.
- Fix 1: Ensure the thermal pad on your add-on card is making firm, even contact with the SSD’s controller chip. Re-seat the SSD carefully.
- Fix 2: Improve case airflow. Add a case fan blowing air directly over the card’s heatsink.
- Fix 3: Consider a card with an active fan or a larger passive heatsink.
- Fix 4: If your workload is constantly writing huge files (video editing), you may need to accept some throttling on a budget drive/card combo, or upgrade to a higher-end SSD with better sustained performance.
“The Card is Blocking My Other Components!”
Physical space is a real issue, especially in smaller cases.
- Fix 1: Before buying, measure the available space from the PCIe slot to the nearest obstruction (usually the CPU cooler or front of the case). Compare this to the card’s length spec.
- Fix 2: Purchase a low-profile card with a shorter bracket.
- Fix 3: If your card is blocking a GPU fan, you can sometimes use a right-angle PCIe riser cable to relocate the card to a different slot, though this adds complexity.
Who is the NVMe SSD Add-On Card For? (And Who Should Skip It)
Perfect For:
- Desktop Users with Full M.2 Slots: Your motherboard has 1 or 2 M.2 slots, and they’re all occupied. This card adds a third (or fourth!) without replacing existing drives.
- Owners of Older Motherboards: Your pre-2017 board has no M.2 slots at all. This is the only way to get NVMe speeds. (Just triple-check NVMe boot compatibility!).
- Small Form Factor (SFF) Builders: Some ITX motherboards have only one M.2 slot. A low-profile add-on card in the sole PCIe x16 slot can be a clever way to add a second drive.
- Workstation & Server Upgrades: Adding fast, affordable storage to a workstation that lacks M.2, or breathing new life into an older server.
- Enthusiasts Seeking Maximum Cooling: Many add-on cards have superior heatsinks to the tiny, often poorly-cooled M.2 heatsinks on motherboards. For sustained workloads, this can mean consistent, higher performance.
Think Twice Before Buying If:
- You Have a Free M.2 Slot: Use it! A direct M.2 connection is simpler and uses no PCIe slot. Only use the card if you need that PCIe slot for something else.
- Your Motherboard is Very Old (Pre-2013):strong>> Even if it has a PCIe slot, the BIOS almost certainly won’t support booting from an NVMe drive. You’d be limited to using it as a secondary data drive, which is often not worth the hassle.
- You’re Building a Laptop: These cards are for desktops. Laptops use proprietary storage formats.
- You Need a Boot Drive in a Multi-Boot System with Legacy OSes: If you need to boot Windows 7 or an old Linux distro without NVMe drivers, CSM must be on, which blocks NVMe booting. The card won’t work as a boot drive in that scenario.
The Final Verdict: Is an NVMe SSD Add-On Card Right for You?
The NVMe SSD add-on card is a specialist tool with a clear, powerful purpose. It’s not for everyone, but for the right user, it’s pure magic. If your motherboard’s M.2 slots are spoken for, or if they don’t exist at all, this card is your direct line to the speed revolution. It delivers performance that is, for all intents and purposes, identical to a native M.2 connection, often with better cooling.
The installation is a 10-minute job for anyone comfortable with a screwdriver. The potential pitfalls—mostly around BIOS settings and physical fit—are well-documented and solvable. The performance gain moving from any SATA-based storage is so vast that it fundamentally changes your computing experience. Files copy in seconds, systems boot before you can finish your first sip of coffee, and games load you into the action almost instantly.
So, take stock of your motherboard. Check for an open PCIe x4 (or larger) slot. Peek into your BIOS to confirm NVMe boot support (or be prepared to update it). If the stars align, buy a reputable card with a good heatsink, pair it with a modern PCIe 4.0 NVMe SSD, and prepare to be amazed. Your future, faster self will thank you.
Frequently Asked Questions
Will an NVMe SSD add-on card work with any PCIe slot on my motherboard?
It will physically fit into any PCIe x4, x8, or x16 slot. However, for best performance, it needs a slot that runs at PCIe 3.0 or 4.0 x4 speed. Some older motherboards have PCIe x16 slots that only run at x4 or x8 speed, or share lanes with other devices, which can limit performance. Always consult your motherboard manual to understand slot configurations.
Can I use an NVMe SSD add-on card as my main boot drive?
Yes, absolutely. This is a very common use case. The critical requirement is that your motherboard’s BIOS/UEFI supports booting from a device connected via a PCIe NVMe add-on card. Most motherboards from 2015 onward do. You typically need to disable “CSM” (Compatibility Support Module) in the BIOS to enable full UEFI booting from the NVMe drive.
Do I need a special heatsink or fan for the NVMe SSD on the card?
Most quality add-on cards come with an integrated heatsink and thermal pads, which are sufficient for typical gaming and productivity workloads. The heatsink is crucial to prevent thermal throttling. Only consider a card with an active fan if you are doing sustained, extreme workloads like 4K/8K video rendering or scientific computing that constantly maxes out the SSD’s write speed for minutes on end.
Will using this card affect my graphics card’s performance?
It depends on your motherboard’s lane allocation. If you install the card in a PCIe x16 slot that normally shares lanes with your GPU (common on some mid-range boards), both devices may run at reduced speeds (e.g., x8/x8). For a single GPU system, using the primary x16 slot for the GPU and a secondary x16 (wired as x4 or x8) slot for the SSD card is ideal and will not impact GPU performance. Check your motherboard manual for PCIe lane sharing details.
Can I put multiple NVMe SSDs on one add-on card?
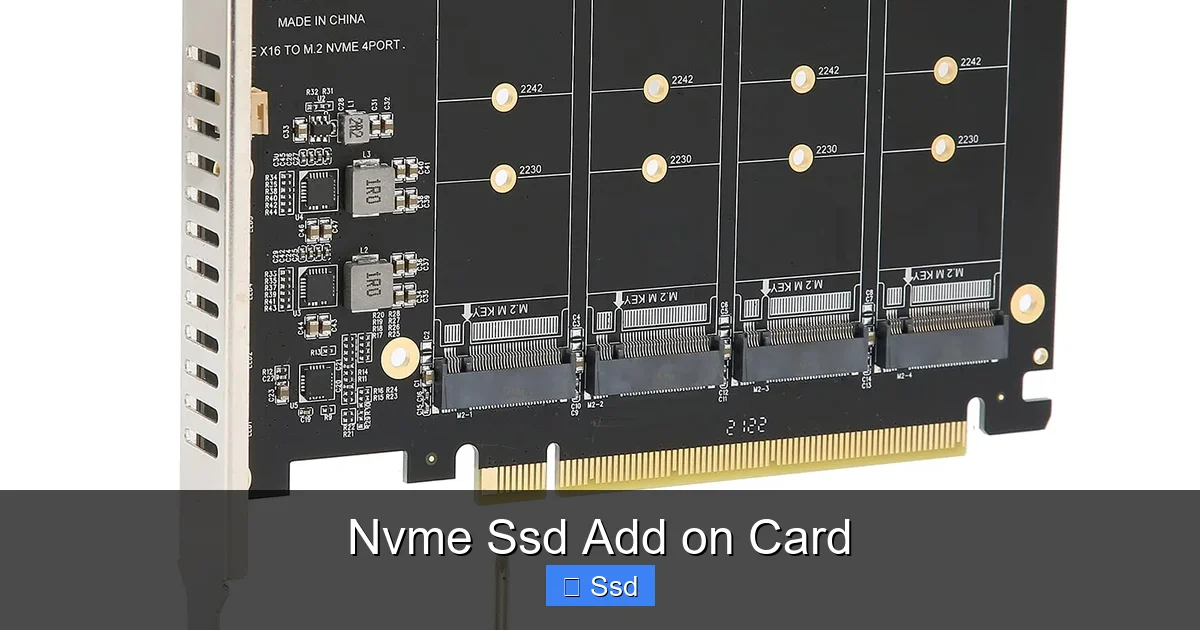
Yes. Some add-on cards, often called “NVMe expansion cards,” feature two or even four M.2 slots. These cards require more PCIe lanes (typically a PCIe x8 or x16 slot) and sufficient power/thermal design to handle multiple SSDs. They are perfect for workstations needing massive fast storage arrays or for consolidating many SSDs in a server.
I have a laptop. Can I use an NVMe SSD add-on card?
No. NVMe SSD add-on cards are designed for the standard PCIe slots found in desktop PCs and workstations. Laptops use proprietary, smaller form factors for storage (like M.2, but soldered or in a unique bay) and do not have accessible PCIe slots. To upgrade laptop storage, you must replace the internal M.2 SSD directly.