Dome Camera Mounted on Wall
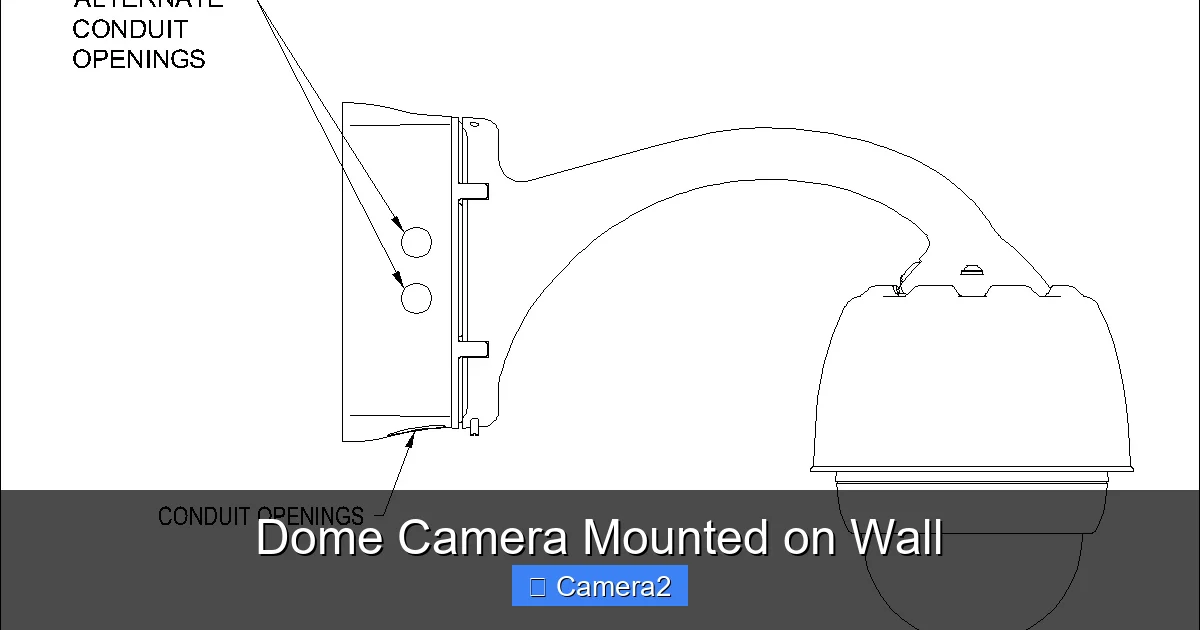
Mounting a dome camera on a wall gives you a discreet, durable view of any area while keeping the lens protected from tampering. This guide walks you through selecting the right spot, prepping the wall, wiring safely, and finishing with a professional‑grade installation that lasts years.
Key Takeaways
- Placement matters: Height, angle, and lighting determine how well the dome camera captures details.
- Tools you need: A drill, level, stud finder, and proper mounting hardware are essential for a secure fit.
- Power options: Choose between PoE, AC adapters, or battery‑powered models based on your wiring situation.
- Weatherproofing: Even indoor‑rated domes benefit from silicone sealant when mounted on exterior walls.
- Legal considerations: Respect privacy zones and local surveillance laws to avoid fines.
- Testing first: Connect the camera before final tightening to ensure the view is perfect.
- Maintenance tips: Clean the dome regularly and check mounts yearly for loose screws.
📑 Table of Contents
Introduction: Why Mount a Dome Camera on a Wall?
When you think about home or business security, the first image that comes to mind is often a sleek, round dome camera perched on a ceiling. While ceiling mounts look clean, they aren’t always practical. Low ceilings, obstructed views, or the need to monitor a specific entry point often make wall mounting the smarter choice.
Wall‑mounted dome cameras combine the low‑profile look of a dome with the flexibility of a wall mount. They stay out of reach of vandals, blend into décor, and can be angled precisely to capture doorways, parking lots, or hallways. In this article we’ll break down every step—from picking the perfect model to wiring, mounting, and maintaining your dome camera—so you can feel confident that your installation will work flawlessly for years to come.
1. Choosing the Right Dome Camera for Wall Installation
1.1. Indoor vs. Outdoor Ratings
First, decide where the camera will sit. If the wall is exposed to rain, snow, or direct sunlight, you need an IP66 or higher rating. Indoor‑only models may fog up or fail when faced with moisture.
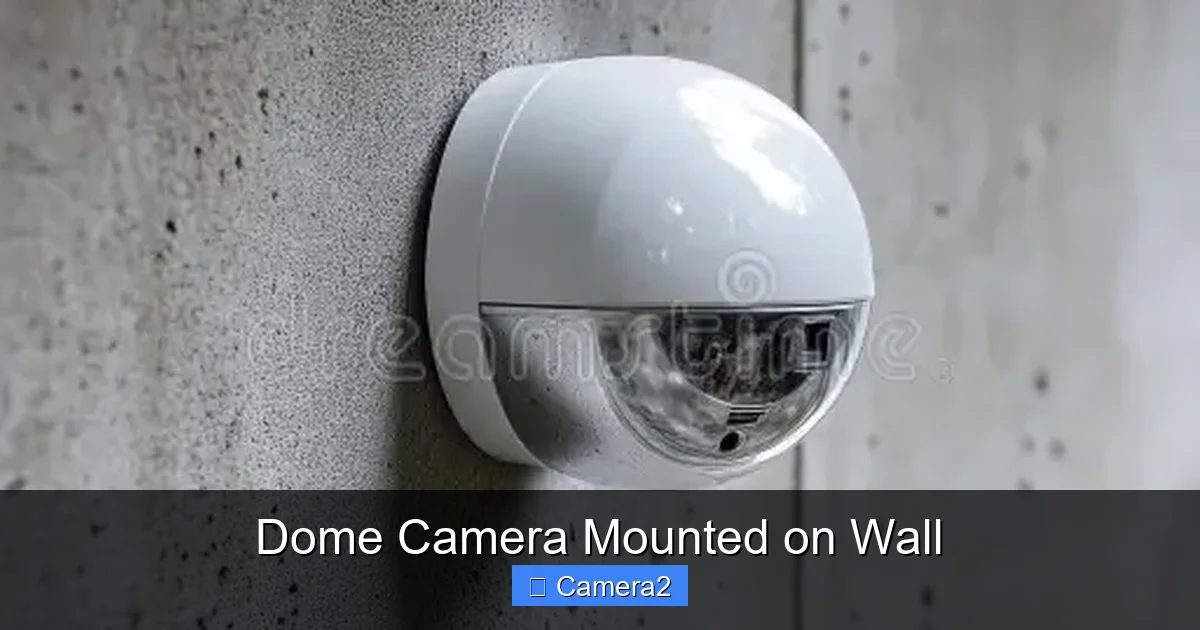
Visual guide about Dome Camera Mounted on Wall
Image source: thumbs.dreamstime.com
1.2. Fixed vs. Varifocal Lenses
Fixed lenses are simple—set the focal length and forget it. Varifocal lenses let you adjust the field of view (FOV) after mounting, which is handy if you’re unsure about the exact coverage area.
1.3. Power Over Ethernet (PoE) vs. Traditional Power
PoE delivers both data and power through a single Ethernet cable, reducing clutter. If your building already has PoE switches, go for a PoE dome camera. Otherwise, an AC adapter or battery‑backed model works too.
1.4. Smart Features to Consider
- Motion detection with customizable zones.
- Night vision (IR LEDs or color‑night for low‑light).
- On‑board analytics such as people counting or line crossing.
2. Planning the Mounting Location
2.1. Height and Angle Guidelines
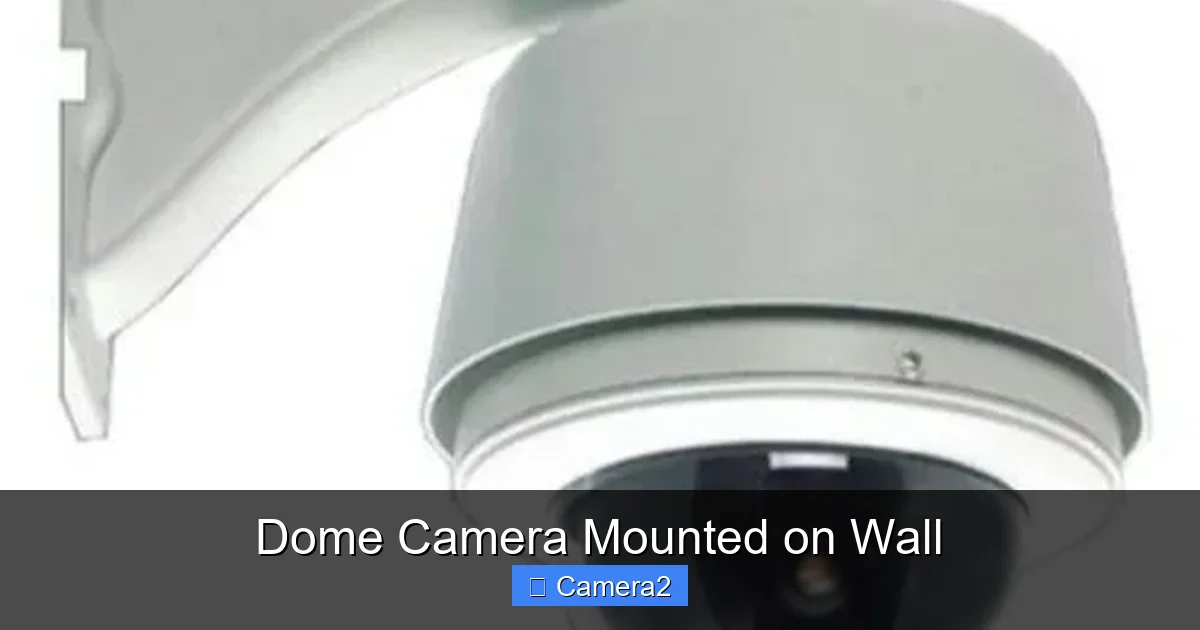
Most experts recommend mounting dome cameras between 8 and 10 feet high. This height keeps the camera out of easy reach while providing a clear line of sight. Tilt the dome slightly downward (about 5‑10°) if you need to capture faces or license plates.
Visual guide about Dome Camera Mounted on Wall
Image source: tiimg.tistatic.com
2.2. Finding a Solid Backing
Studs, concrete blocks, or metal studs give the strongest support. Use a stud finder on drywall or a hammer drill for masonry. Avoid mounting on plaster without reinforcement; it can crack under the camera’s weight.
2.3. Wiring Path Considerations
Plan a clean route for power and data cables. Run them through conduit or behind baseboard trim whenever possible. If you’re using PoE, keep the Ethernet cable away from high‑voltage lines to prevent interference.
3. Tools and Materials You’ll Need
- Drill with appropriate bits (masonry, wood, metal)
- Level and measuring tape
- Stud finder
- Screwdriver set (Phillips & flathead)
- Wall anchors or masonry plugs
- Silicone sealant (for exterior installations)
- Cable ties and conduit
- Safety glasses and dust mask
4. Step‑by‑Step Installation Process
4.1. Mark the Mounting Points
Hold the mounting bracket against the wall. Use a level to ensure it’s perfectly horizontal, then mark the screw holes with a pencil.
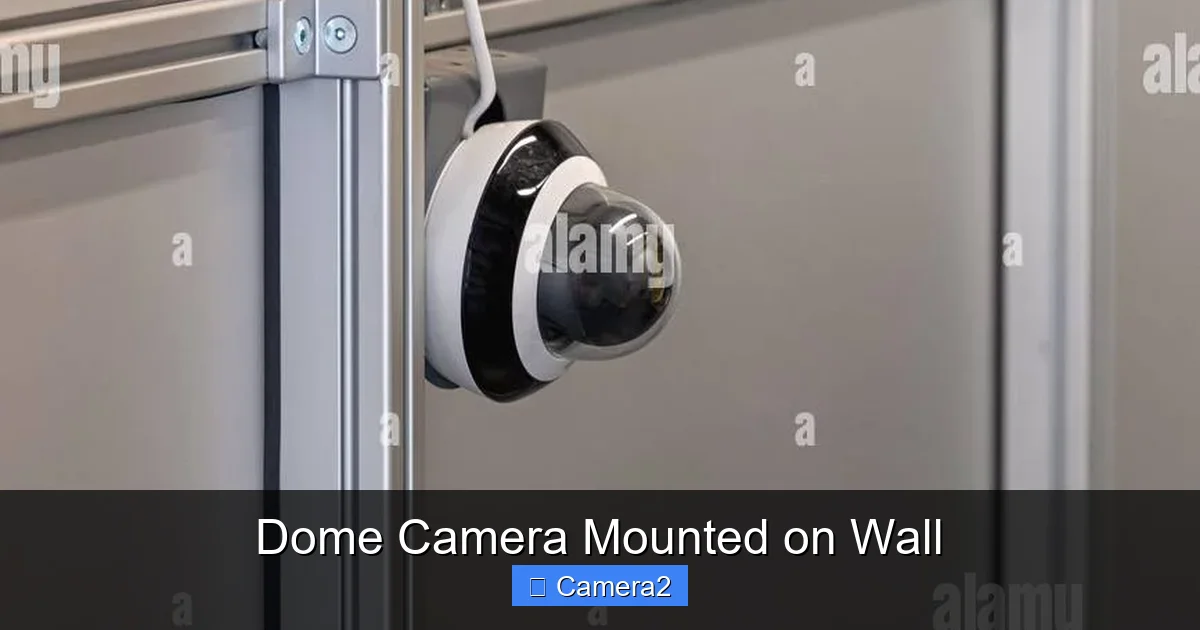
Visual guide about Dome Camera Mounted on Wall
Image source: c8.alamy.com
4.2. Drill Pilot Holes
Choose a drill bit that matches your wall anchors. For drywall studs, a 1/8‑inch bit works; for concrete, use a masonry bit sized for the plug.
4.3. Install Anchors and Secure the Bracket
Push anchors into the holes (tap gently with a hammer if needed). Then, screw the bracket tightly but avoid over‑tightening, which can strip the anchor.
4.4. Connect Power and Data
- PoE: Plug the Ethernet cable into the camera and run it back to your switch or NVR.
- AC Adapter: Connect the power brick, then route the cable through a wall grommet.
- Battery: Insert the battery pack according to the manufacturer’s instructions.
4.5. Attach the Camera to the Bracket
Slide the dome into the mounting plate, align the locking tabs, and tighten the set screws. Before final tightening, power the camera and check the live view on your app or NVR.
4.6. Fine‑Tune the View
Use the camera’s software to adjust tilt, pan, and zoom (if applicable). Make sure the focal point covers the intended area without blind spots.
4.7. Seal and Finish
If the camera is outdoors, apply a thin bead of silicone sealant around the mounting screws and the cable entry point. This prevents water ingress.
4.8. Test the Installation
Verify motion alerts, night vision, and recording quality. Walk through the camera’s field of view to ensure faces and objects are captured clearly.
5. Maintenance and Troubleshooting
5.1. Regular Cleaning
Dust and smudges dull the dome’s clarity. Clean with a soft microfiber cloth and a mild glass cleaner. Avoid harsh chemicals that could damage the coating.
5.2. Checking Mount Integrity
Twice a year, inspect the screws and anchors for looseness. Tighten any that have shifted, especially after strong winds or vibrations.
5.3. Common Issues and Quick Fixes
- No video feed: Confirm power and Ethernet connections. A reset button on the camera often restores connectivity.
- Blurry or obstructed view: Re‑clean the dome and verify that no new objects (like vines or signage) have moved into the line of sight.
- False motion alerts: Adjust motion zones in the camera’s settings to ignore trees or passing cars.
6. Legal and Privacy Considerations
Before pointing a dome camera at a public sidewalk or neighboring property, check local regulations. Many jurisdictions require you to post signage indicating video surveillance. Respecting privacy not only keeps you compliant but also builds trust with employees and visitors.
Conclusion
Mounting a dome camera on a wall is a straightforward project that yields big security rewards. By choosing the right camera, planning the mount location, using proper tools, and following the step‑by‑step guide above, you’ll enjoy a clear, reliable view of your most valuable spaces. Remember to test thoroughly, keep the dome clean, and stay aware of privacy laws—then sit back and let your new wall‑mounted guardian do the watching.
Need more help with wiring or selecting the perfect model? Check out our commercial security camera installation guide for deeper insights, or explore tips on mounting a camera on a motorcycle to understand creative mounting techniques.
Frequently Asked Questions
Can I mount a dome camera on a brick wall?
Yes. Use a hammer drill with masonry bits, insert appropriate wall plugs, and secure the bracket with stainless‑steel screws. Seal the edges with silicone to keep moisture out.
Do I need a professional to run PoE cables?
Not necessarily. For short runs (under 100 ft) a basic Ethernet cable works fine. Just follow local building codes and use a cable tester to confirm connectivity.
How high should a dome camera be placed for license‑plate capture?
Mount the camera 9‑10 feet high and angle it slightly downward (5‑10°). Pair it with a varifocal lens set to a narrow field of view for the best detail.
What if my wall is drywall without studs?
Use heavy‑duty toggle bolts or Molly anchors designed for drywall. They spread the load across a larger area, providing a secure hold.
Will weather affect an indoor‑rated dome camera?
Yes. Indoor cameras lack the sealing needed for rain or extreme temperature changes. Use an outdoor‑rated dome or add a protective housing.
How often should I check the camera’s firmware?
Check for updates at least once a quarter. Firmware upgrades can add security patches, new features, and improve stability.