How Do You Upgrade Ram on a Laptop
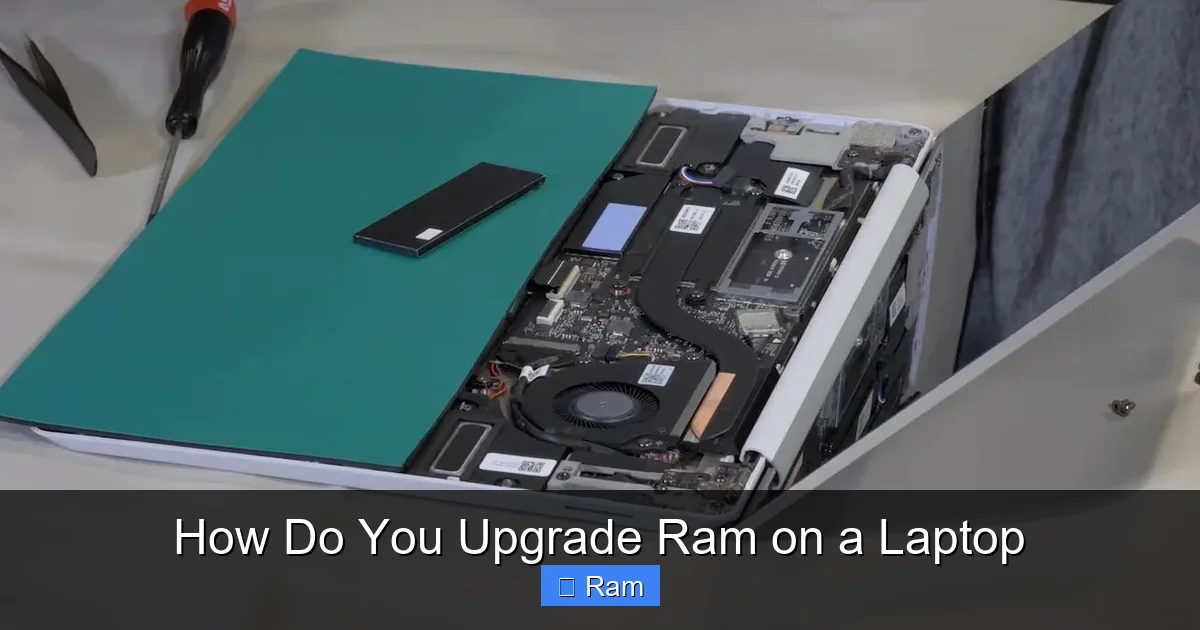
Upgrading your laptop’s RAM is one of the most effective and affordable ways to improve its speed and multitasking ability. The process involves checking your laptop’s specifications for compatibility, purchasing the correct SO-DIMM memory modules, and carefully installing them, often requiring only a screwdriver. While some modern laptops have soldered RAM, many still allow upgrades, making it a accessible DIY project for most users to breathe new life into an older machine.
Key Takeaways
- Compatibility is King: The most critical step is identifying your laptop’s exact supported RAM type (DDR3, DDR4, DDR5), speed, maximum capacity, and number of slots using tools like CPU-Z or the manufacturer’s manual.
- Not All Laptops Are Upgradable: An increasing number of ultrabooks and modern laptops have RAM soldered directly to the motherboard, making upgrades impossible. Always verify before buying parts.
- Safety First: Always power down completely, unplug the charger, and remove the battery (if possible) before opening the case. Discharge static electricity by touching a metal object or using an anti-static wrist strap.
- Installation is Simple: The physical process usually involves removing a bottom panel, releasing the retaining clips, inserting the new RAM module at a 45-degree angle, and pressing it down until the clips lock.
- Verify After Installation: Boot your laptop and enter the BIOS/UEFI or check the system information in your OS (like Task Manager on Windows or About This Mac) to confirm the new RAM is recognized at the correct speed.
📑 Table of Contents
- Introduction: Why Upgrade Your Laptop’s RAM?
- Phase 1: The Crucial Compatibility Check (Don’t Skip This!)
- Phase 2: Sourcing the Correct RAM Modules
- Phase 3: Gathering Tools and Preparing Your Workspace
- Phase 4: The Step-by-Step Disassembly and Installation
- Phase 5: Verification and Troubleshooting
- Beyond the Basics: Special Considerations and Advanced Tips
- Conclusion: Enjoy Your Faster, More Capable Laptop
Introduction: Why Upgrade Your Laptop’s RAM?
Has your once-speedy laptop started to feel sluggish? Do you find yourself waiting for applications to load, struggling to keep multiple browser tabs open, or hearing the ominous sound of your hard drive working overtime? Before you consider a costly replacement, there’s a powerful and often overlooked upgrade that can dramatically improve performance: adding more Random Access Memory (RAM).
Think of RAM as your laptop’s short-term memory or workspace. When you open a program or file, it gets loaded from your slower storage drive (HDD or SSD) into the fast, temporary storage of RAM so the CPU can access it quickly. The more RAM you have, the more applications and data your system can juggle at once without slowing down. Upgrading from 4GB to 8GB, or from 8GB to 16GB, can feel like getting a whole new machine, especially for tasks like web browsing with many tabs, office productivity, photo editing, and even light gaming.
The best part? For many laptops, it’s a straightforward do-it-yourself project. This comprehensive guide will walk you through every single step of how to upgrade RAM on a laptop, from the initial detective work to the final screw-tightening. We’ll cover compatibility checks, tool lists, safety precautions, the physical installation process, and post-installation verification. By the end, you’ll have the confidence and knowledge to tackle this upgrade yourself and unlock your laptop’s potential.
Phase 1: The Crucial Compatibility Check (Don’t Skip This!)
This is the most important phase. Installing incompatible RAM is a waste of time and money, and in rare cases, can cause boot failures. You must answer three key questions: What type of RAM does my laptop use? How many slots are available? What is the maximum supported RAM?
Visual guide about How Do You Upgrade Ram on a Laptop
Image source: a7la-home.com
Identifying Your Laptop’s RAM Specifications
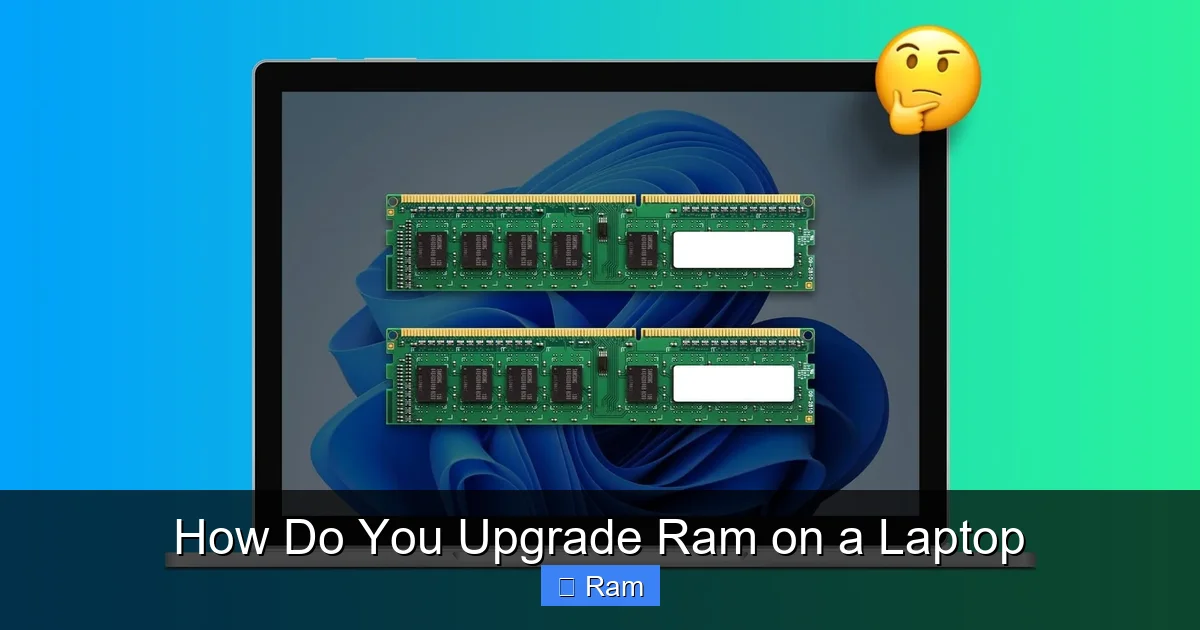
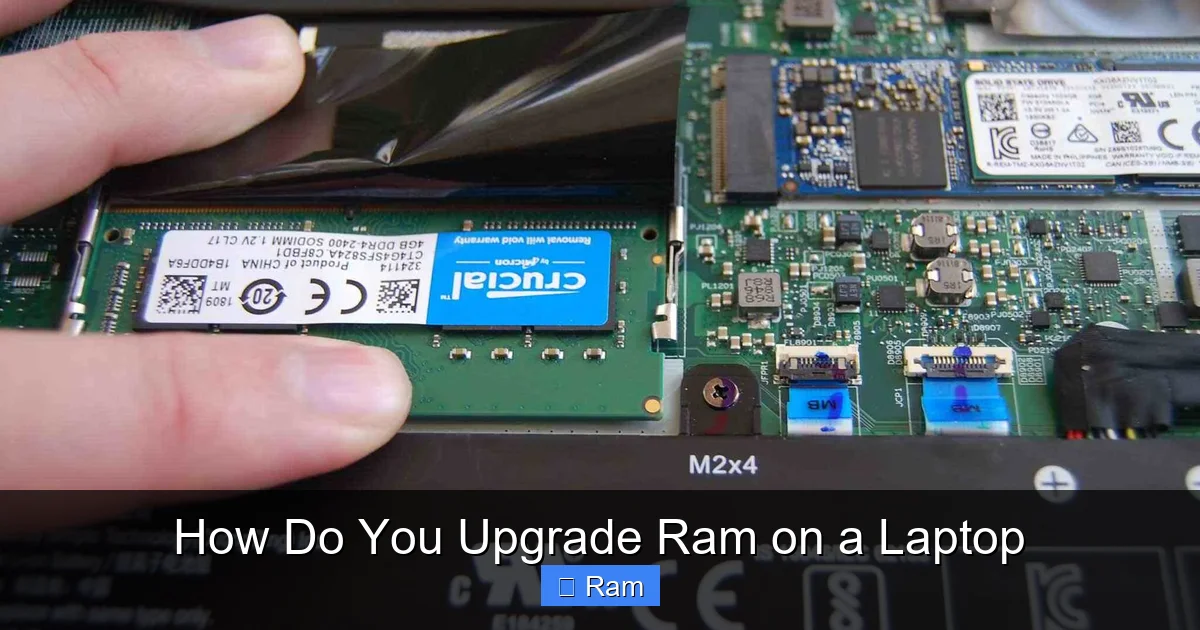
You need to know the exact type of memory module your laptop uses. Laptops use a smaller form factor called SO-DIMM (Small Outline Dual In-line Memory Module), not the larger DIMM sticks found in desktops. Within SO-DIMM, the generations are not physically compatible:
- DDR3: Has 240 pins. An older standard, still found in laptops from ~2007-2015.
- DDR4: Has 260 pins. The standard for most laptops from ~2015-2020.
- DDR5: Has 262 pins. The newest standard, found in high-end models from 2021 onward. The notch is in a different position than DDR4.
You also need to know the supported speed (e.g., 2666MHz, 3200MHz). Mixing speeds will cause all RAM to run at the speed of the slowest module.
How to Find Your Laptop’s RAM Info
There are several reliable methods:
1. Use System Information Tools (Easiest & Most Accurate):
On Windows, press Ctrl+Shift+Esc to open Task Manager. Go to the “Performance” tab, click “Memory,” and you’ll see details like speed, form factor (should say “SO-DIMM”), and in-use/available amounts. For even more detail, download the free, trusted utility CPU-Z. Open it and click the “Memory” and “SPD” tabs. The “SPD” tab will show details for each slot, including type (DDR3/4/5), size, and speed.
2. Check the Manufacturer’s Website:
Find your laptop’s exact model number (usually on a sticker on the bottom or under the battery). Go to the support or specs page on the manufacturer’s website (Dell, HP, Lenovo, ASUS, etc.). Look for the “Memory” or “Specifications” section. It will list the type, number of slots, maximum supported RAM per slot, and total maximum.
3. Physical Inspection (Last Resort):
If you’re already planning to open it, you can remove the existing RAM stick(s) and read the label. It will clearly state something like “8GB DDR4 2666MHz SO-DIMM.” However, you should still verify the maximum supported capacity from the manual or website first.
Understanding “Soldered” vs. “Socketed” RAM
This is the dealbreaker. Soldered RAM is permanently attached to the motherboard. You cannot upgrade it. Socketed RAM is installed in removable slots, which is what this guide covers.
How do you know? The manufacturer’s specs will often say “soldered” or “non-upgradable.” If your laptop is very thin and light (many ultrabooks from 2020 onward), there’s a high chance the RAM is soldered to save space. If it’s a larger traditional laptop or a gaming/workstation laptop, it almost certainly has socketed RAM. The CPU-Z “SPD” tab will show “Type” as “Unknown” or not list a slot if the RAM is soldered.
Phase 2: Sourcing the Correct RAM Modules
Once you know you have socketed RAM and have the specs (e.g., “DDR4, 2666MHz, 2 slots, max 32GB”), you can purchase the right memory.
Visual guide about How Do You Upgrade Ram on a Laptop
Image source: robots.net
New vs. Used: The Smart Choice
For RAM, buying new is strongly recommended. RAM has no moving parts and is very reliable, but used sticks could have hidden defects or be from systems that ran hot. The price difference is minimal for the peace of mind. Buy from reputable brands like Crucial (by Micron), Kingston, Corsair, G.Skill, or Samsung. These brands have excellent compatibility tools on their websites.
Using Manufacturer & Third-Party Compatibility Tools
Don’t just guess. Use these tools:
- Crucial System Scanner: Go to Crucial.com and run their online scanner. It will automatically detect your system and show you compatible RAM kits. It’s incredibly accurate and user-friendly.
- Kingston Memory Search: Similar tool on Kingston’s website. Enter your laptop make/model or let their tool scan your system.
- Manufacturer Part Numbers: If your laptop has two sticks (e.g., 2x4GB), you can often find the exact part numbers on the existing modules and search for identical or higher-capacity replacements.
Single vs. Dual Channel: Does It Matter?
Most modern laptops support dual-channel memory, which provides a significant performance boost by allowing the CPU to access two RAM modules simultaneously. For best performance:
- If you have two empty slots, install a matched pair (e.g., buy a 2x8GB kit, not two separate 8GB sticks). The kit is tested to work together at the advertised speed.
- If you have one empty slot and one occupied stick, try to buy a new stick that matches the speed, timings, and ideally the brand/model of the existing one for the smoothest dual-channel operation. However, most modern systems are flexible and will run a mixed configuration in “flex mode” (part dual-channel, part single-channel), which is still a huge upgrade over having less total RAM.
Phase 3: Gathering Tools and Preparing Your Workspace
Before you touch a screw, preparation is key to a safe, clean upgrade.
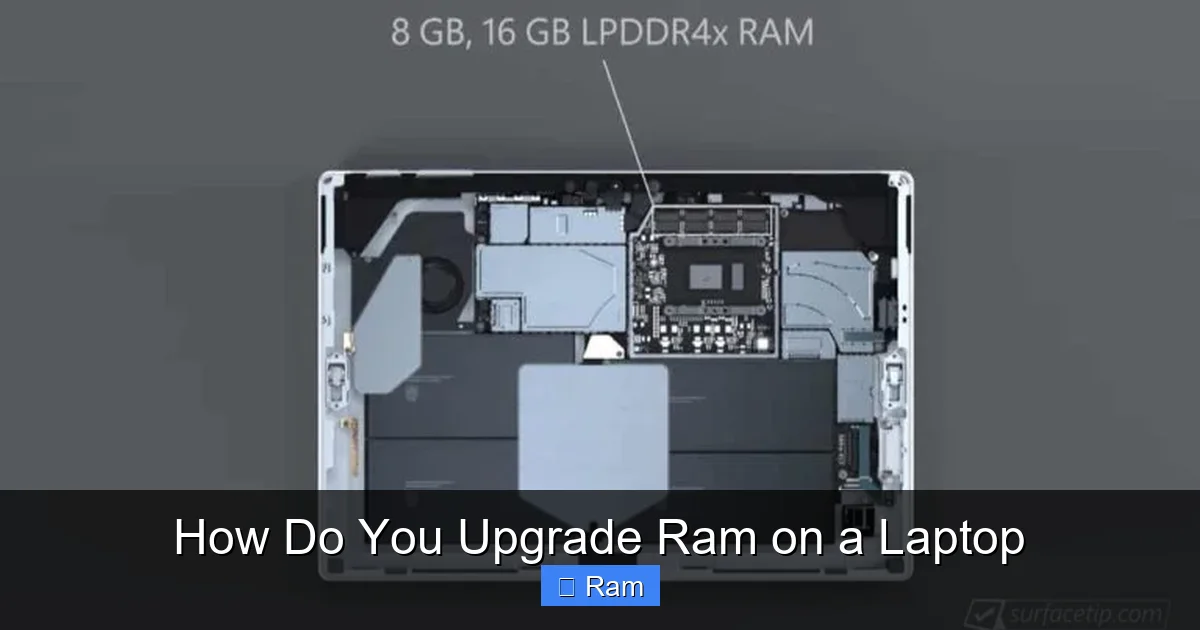
Visual guide about How Do You Upgrade Ram on a Laptop
Image source: surfacetip.com
The Essential Toolkit
You likely already have what you need:
- Small Phillips-head screwdriver (#0 or #1): This is the most common size for laptop bottom screws. Some laptops use Torx (star-shaped) screws; check your specific model.
- Plastic spudger or pry tool: For safely prying open plastic clips without scratching. A old credit card can work in a pinch.
- Anti-static wrist strap (Highly Recommended): Prevents static electricity from your body from discharging into and damaging sensitive components. Clip the alligator clip to a grounded metal object (like the unpainted screw on a light switch plate or the radiator). If you don’t have one, frequently touch the laptop’s metal chassis (with the battery removed) to discharge static.
- Small container or magnetic mat: To hold screws so they don’t get lost.
Workspace Setup: Clean, Lit, and Organized
Find a large, flat, clean surface with good lighting. A kitchen table or desk covered with a soft cloth (like a microfiber towel) works perfectly. Lay out your tools. Have your new RAM module ready in its anti-static bag until needed. Good lighting will help you see tiny screws and connector locations.
Phase 4: The Step-by-Step Disassembly and Installation
Now, let’s get hands-on. The general process is similar for most laptops, but always consult your specific service manual if available (a quick Google search for “[Your Laptop Model] service manual” often yields PDFs).
Step 1: Power Down and Disconnect
This is non-negotiable. Shut down your laptop completely—do not just sleep or hibernate. Unplug the AC adapter. If your laptop has a removable battery, take it out. For laptops with internal, non-removable batteries, this step is still critical; you’ll be working on a system with no external power, but the internal battery remains connected. This is why static safety is even more important.
Step 2: Remove the Bottom Cover
Flip the laptop over. Locate all the screws on the bottom panel. Note their locations and lengths! Often, screws near the hinge or in corners are longer. A trick: place each screw on a piece of paper next to a drawing of the laptop bottom, or use a segmented screw organizer. Gently pry around the edges with your plastic spudger. The panel is held by plastic clips. Start at a corner and work your way around. It may “pop” loudly as clips release—this is normal. Be patient and firm but not violent. Once all clips are free, lift the panel off.
Step 3: Locate the RAM Compartments
With the bottom off, you should see the motherboard. The RAM slots are typically located near the center or under a small metal shield. They look like small, green circuit boards with notches on one side, held down by two small metal or plastic clips on either end. There might be one or two slots. If you see two identical-looking slots, you likely have two channels available.
Step 4: Remove Existing RAM (If Upgrading/Replacing)
To remove a RAM module, gently but firmly pull the two retaining clips on the sides outward, away from the module. This will cause the module to pop up at about a 45-degree angle. Grasp the module by the edges (avoid touching the gold contacts) and pull it straight out. Place it in an anti-static bag if you plan to keep it.
Step 5: Install the New RAM Module
This is the reverse of removal and is surprisingly simple.
- Hold the new RAM module by the edges. Notice the notch on the bottom edge—it’s not centered. This notch is keyed to match a bump in the slot, ensuring it only fits one way.
- Align the notch on the RAM with the ridge in the slot. Don’t force it.
- Insert the module into the slot at a 45-degree angle. The gold contacts should go fully into the slot. Apply even pressure on the top edge until the module is seated flat against the slot’s base.
- Press the module down firmly and evenly until the two retaining clips on the sides snap into place, locking the module. You should hear/feel two distinct clicks. Give it a very gentle tug to ensure it’s locked.
Pro Tip: If you have two slots and are installing two sticks, install them in the slots recommended by your laptop’s manual (usually labeled DIMM0 and DIMM1, or slot 1 and 2). If no guide, just install them in the two available slots.
Step 6: Reassemble and Power On
Double-check that no tools or loose screws are left inside. Reconnect the battery if you removed it. Align the bottom cover and press it down firmly around all edges until all the plastic clips snap back into place. Re-insert all screws, using your location/length notes to ensure each goes back in its correct hole. Don’t overtighten; snug is sufficient.
Plug in the AC adapter and power on your laptop. Do not close the lid yet—watch the boot process to ensure there are no error beeps or messages.
Phase 5: Verification and Troubleshooting
Your laptop boots? Great! Now you must confirm the system sees and is using the new RAM correctly.
How to Verify the RAM Upgrade
On Windows:
- Press Ctrl+Shift+Esc to open Task Manager. Go to the “Performance” tab and select “Memory.” The top-right will show the total installed RAM (e.g., “16.0 GB”). It should also show the speed (e.g., “3200 MHz”).
- Go to Settings > System > About. Under “Device specifications,” it should list the installed RAM.
- For the most detailed view, open CPU-Z again. The “Memory” tab will show the type, size, and channel count. The “SPD” tab will list each slot’s individual module details.
On macOS: Click the Apple menu > About This Mac. The memory information is clearly displayed on the Overview tab.
Common Issues and Solutions
If your laptop doesn’t boot or doesn’t see the full RAM:
- No Power/Black Screen: Immediately disconnect power and battery. Reseat the RAM. Remove the new stick and try booting with only the old one to rule out a faulty new module. If it boots with the old stick, the new one might be defective or incompatible.
- RAM Not Fully Recognized (e.g., 16GB installed, shows 15.8GB): This is normal. Some RAM is reserved for the integrated graphics card or system hardware. Don’t panic.
- System Reports Incorrect Speed: RAM often runs at a default JEDEC speed (e.g., 2133MHz for DDR4) until the system’s BIOS/UEFI sets the XMP/AMP profile. Enter your BIOS/UEFI during boot (usually by pressing F2, F10, Del, or Esc) and look for an “XMP” or “Memory Profile” option to enable the advertised high speed. Not all laptops support XMP.
- Beep Codes or “Memory Error” Message: This indicates a hardware fault. Reseat the modules, ensure they’re in the correct slots, and try booting with one stick at a time to identify a bad stick or slot.
Beyond the Basics: Special Considerations and Advanced Tips
Upgrading in Laptops with Only One Slot
Some laptops have only one accessible RAM slot, with the other slot either non-existent or containing soldered RAM. In this case, you must replace the existing module with a higher-capacity one (e.g., replace a 4GB stick with an 8GB or 16GB stick). The total RAM will be the capacity of the single socketed stick plus any soldered RAM (e.g., 8GB soldered + 16GB in slot = 24GB total). Crucial’s scanner tool is invaluable here as it will show you the maximum for the slot.
The “Max RAM” Myth
The maximum RAM number listed by the manufacturer (e.g., “Supports up to 16GB”) is based on the memory controller’s validation at the time of the laptop’s release. Often, you can install more RAM than stated (e.g., a laptop that “supports 16GB” might work perfectly with 2x16GB = 32GB). However, there is no guarantee. The manufacturer’s number is the only officially supported figure. Installing more is an experiment. Check forums for your specific laptop model to see if others have successfully exceeded the spec.
Thermal Considerations
Modern RAM modules have their own heat spreaders. In most laptops, RAM doesn’t run extremely hot. However, in gaming laptops or if you’re installing very high-speed RAM (DDR4-3200+), ensure there is some airflow over the modules. Don’t cover them with tape or cables. Some high-performance laptops have a small RAM heatsink pad or pad that contacts the module; ensure it’s properly reattached if you remove it.
Conclusion: Enjoy Your Faster, More Capable Laptop
Congratulations! If you’ve followed this guide, you have successfully navigated the process of how to upgrade RAM on a laptop. You’ve moved from a state of frustration with a slow machine to the satisfaction of a hands-on fix that delivers immediate, tangible results. The extra gigabytes of RAM translate directly into smoother multitasking, faster application launches, and a more responsive overall experience.
Remember the core pillars of a successful upgrade: meticulous compatibility research, strict adherence to safety protocols, and careful, patient execution. The investment of an hour or two of your time and a modest amount of money on quality memory can extend the useful life of your laptop by several years. It’s a powerful lesson in the value of understanding your technology and taking control of its maintenance. So, close up the case, power it on, and enjoy that feeling of newfound speed. You’ve earned it.
Frequently Asked Questions
Can I upgrade the RAM on any laptop?
No. Many modern ultra-thin laptops and some newer consumer models have the RAM soldered directly to the motherboard, which makes it impossible to upgrade. You must first check your specific laptop model’s specifications to see if it has socketed, upgradeable RAM slots.
How much RAM do I actually need?
For most general use (web browsing, office apps, streaming), 8GB is the absolute minimum in 2024, and 16GB is the sweet spot for smooth performance. For more demanding tasks like video editing, 3D modeling, or running virtual machines, 32GB or more is recommended. Always check the requirements of the specific software you use most.
Do I need to install RAM in pairs?
For optimal dual-channel performance (which boosts speed), it’s best to install matched pairs (e.g., two identical 8GB sticks). However, if you have one empty slot and one occupied, you can install a single, larger stick. The system will run in “flex mode,” where part of the memory operates in dual-channel and the rest in single-channel, which is still a massive improvement over having less total RAM.
Will upgrading my RAM void my laptop’s warranty?
It depends on the manufacturer and warranty terms. Some brands (like Apple) consider any user-accessible compartment opening as voiding the warranty. Others (like many business-class Dell, Lenovo, HP models) allow user upgrades without voiding the warranty, as long as you don’t damage anything. Always check your warranty documentation before opening the case.
Can I mix RAM from different brands or with different speeds?
Technically, you can mix RAM, but it’s not recommended for best stability and performance. All modules will operate at the speed of the slowest stick. Mixing brands can sometimes cause compatibility issues. For a trouble-free upgrade, it’s safest to buy a matched kit from a single manufacturer that is on your laptop’s compatibility list.
What’s the difference between DDR3, DDR4, and DDR5 RAM for laptops?
They are different, incompatible generations. DDR4 and DDR5 are not physically interchangeable. DDR5 is newer, faster, and more power-efficient but also more expensive and only compatible with newer laptops that specifically support it. You must match the exact generation your laptop requires. CPU-Z or your laptop’s manual will tell you which one you need.