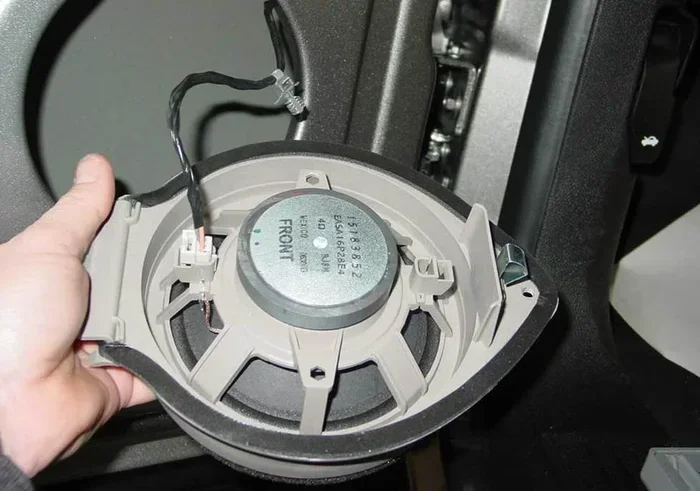
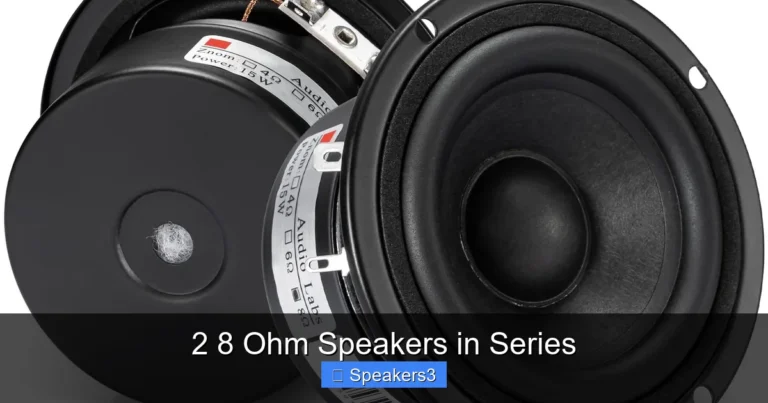
How to Check Polarity on Speakers with Multimeter

Want crystal‑clear audio? Knowing speaker polarity is the secret. With a simple multimeter and a few easy steps, you can quickly verify which terminal is positive and which is negative, ensuring your speakers are wired correctly for optimal performance.
Key Takeaways
- Polarity matters: Correct polarity keeps soundstage and imaging accurate.
- Multimeter basics: Use the continuity or resistance setting to test speaker wires.
- Safety first: Always disconnect power before probing.
- Label wires: Marking positive and negative saves time on future upgrades.
- Common mistakes: Ignoring polarity can cause phase cancellation and thin sound.
- Quick verification: A 1 kΩ resistor helps confirm polarity without removing the driver.
- Tools you need: A digital multimeter, a screwdriver, and optional speaker wire stickers.
📑 Table of Contents
- Introduction: Why Speaker Polarity Is More Than Just a Technical Detail
- Understanding Speaker Polarity
- Tools and Preparations
- Step‑By‑Step: Checking Polarity with a Multimeter
- Common Troubleshooting Scenarios
- Practical Tips for Maintaining Correct Polarity
- Why Correct Polarity Improves Your Listening Experience
- Conclusion: Polarity Checks Made Simple
Introduction: Why Speaker Polarity Is More Than Just a Technical Detail
If you’ve ever set up a home theater or built a desktop audio system, you know that the little details make the biggest difference. One of those details is speaker polarity. When the positive (+) and negative (‑) terminals are swapped, the driver moves in the opposite direction from the rest of the system. The result? A muddy bass, a washed‑out soundstage, and a listening experience that feels “off.”
Luckily, checking polarity doesn’t require a PhD in acoustics. A basic digital multimeter does the trick. In this guide we’ll walk you through everything you need to know—from the theory behind polarity to the exact steps for testing, troubleshooting, and labeling your speakers. By the end, you’ll be able to verify polarity in under five minutes, every time.
Understanding Speaker Polarity
What Is Polarity?
Polarity refers to the direction of electrical current flow through a speaker’s voice coil. The “positive” terminal moves the cone forward when a positive voltage is applied; the “negative” terminal does the opposite. When all speakers in a system share the same polarity, they move together, creating a cohesive sound image.

Visual guide about How to Check Polarity on Speakers with Multimeter
Image source: clipart-library.com
What Happens When Polarity Is Reversed?
- Phase cancellation: Low frequencies from one driver cancel those from another, thinning the bass.
- Imbalanced imaging: Stereo separation becomes skewed, making it hard to pinpoint instrument placement.
- Increased distortion: Drivers work against each other, putting extra stress on the amp.
Real‑World Example
Imagine two bookshelf speakers in a living room. If the left speaker’s polarity is flipped, the left channel’s bass will partially cancel the right channel’s bass. You’ll notice a “hole” in the low end when a song’s kick drum hits. Re‑wiring the speaker restores the full, punchy impact.
Tools and Preparations
Essential Tools
- Digital multimeter (DMM): Any model with continuity (beep) and resistance (Ω) settings will work.
- Screwdriver set: Needed to open speaker cabinets or access binding posts.
- Optional: 1 kΩ resistor, speaker wire stickers, and a small flashlight.
Safety First
Always turn off the amplifier or receiver and unplug the speakers before you begin. Even a low‑level signal can produce a small voltage that might surprise you.

Visual guide about How to Check Polarity on Speakers with Multimeter
Image source: static.vecteezy.com
Preparing Your Workspace
Clear a flat surface, lay down a soft cloth to protect speaker cones, and keep the multimeter batteries fresh. A tidy workspace speeds up the process and reduces the chance of accidental short circuits.
Step‑By‑Step: Checking Polarity with a Multimeter
1. Identify the Terminals
Most speakers have two binding posts labeled “+” (red) and “‑” (black). If the markings are faded, consult the manufacturer’s manual or look for a small arrow on the cone that points toward the positive terminal.

Visual guide about How to Check Polarity on Speakers with Multimeter
Image source: bankrate.com
2. Set the Multimeter to Continuity Mode
Turn the dial to the sound‑wave or diode symbol (often a beeping icon). This mode lets the meter emit a tone when the probes touch a continuous path.
3. Test the Cable Directly (If Accessible)
- Touch the red probe to the speaker’s “+” post and the black probe to the “‑” post.
- If the multimeter beeps, the cable is intact but you haven’t determined polarity yet.
- Now, place the probes on the opposite ends of the speaker wire (the other side of the connector or the amp’s terminals). The beep will confirm which wire corresponds to “+” and “‑”.
4. Using Resistance Measurement (Alternative Method)
If your multimeter lacks a continuity beep, set it to the lowest resistance (Ω) range. Measure between the two speaker terminals. A reading of 4–8 Ω (typical for most home speakers) indicates a proper connection. To find polarity, compare the reading when the probes are swapped; the lower reading will be on the correct polarity side because the meter measures the coil’s resistance in the same direction as the current flow.
5. Verify With a 1 kΩ Resistor (Optional)
Connect a 1 kΩ resistor between the speaker’s terminals. Then, place the multimeter probes on the resistor’s leads. The meter will show a small voltage drop when you briefly apply a test tone from the amp. The side that shows a positive voltage relative to ground is the “+” terminal.
6. Label the Terminals
Once you’ve identified the positive and negative wires, use heat‑shrink tubing, colored tape, or the supplied stickers to mark them. This small step saves hours when you upgrade or rearrange your system.
Common Troubleshooting Scenarios
Scenario 1: No Beep in Continuity Test
If the multimeter doesn’t beep, the wire may be broken or the connection loose. Check for:
- Frayed insulation.
- Corroded binding posts.
- Loose solder joints inside the speaker.
Repair or replace the cable before proceeding.
Scenario 2: Unexpected Resistance Reading
Very high resistance (over 20 Ω) suggests an open coil or damaged voice coil. In this case, the speaker may need professional repair or replacement.
Scenario 3: Polarity Appears Correct but Sound Is Still Off
Other factors could be at play:
- Phase inversion in the amp or receiver settings.
- Incorrect crossover wiring in multi‑driver speakers.
- Room acoustics causing perceived imbalance.
Double‑check the amp’s “phase” switch and verify crossover connections.
Practical Tips for Maintaining Correct Polarity
Label Everything
Use a permanent marker or label maker on both the speaker terminals and the corresponding amp outputs. Consistency prevents future mix‑ups.
Document Your Setup
Take a quick photo of the wiring before you close speaker cabinets. Store the image in a cloud folder labeled “Audio Setup.” This visual reference is priceless when you later add a subwoofer or new speakers.
Regular Checks
Every six months, run a quick continuity test on all speaker cables. Dust and movement can loosen connections over time.
Integrate With Other Home‑Theater Tasks
While you’re checking polarity, it’s a great time to clean the speaker grills, tighten mounting brackets, and verify that all cables are routed away from power cords to avoid interference.
Why Correct Polarity Improves Your Listening Experience
When every driver moves in sync, the soundstage becomes three‑dimensional. Bass feels tighter, mids are clearer, and high frequencies sparkle without harshness. In stereo and surround setups, correct polarity ensures that directional cues—like a car passing from left to right—are rendered accurately, immersing you deeper in movies and music.
Even professional studios pay close attention to polarity during mixing. A track that sounds perfect on a properly wired monitor can sound thin on a system with reversed polarity. That’s why mastering engineers often include a polarity check in their quality‑control checklist.
Conclusion: Polarity Checks Made Simple
Checking speaker polarity with a multimeter is a quick, inexpensive habit that pays huge audio dividends. By following the steps outlined above—identifying terminals, using continuity or resistance modes, verifying with a resistor, and labeling your wires—you’ll eliminate phase issues and enjoy a clean, balanced sound every time you press play.
Make polarity verification part of your regular audio maintenance routine, and you’ll notice the difference immediately. Happy listening!
Frequently Asked Questions
Can I use a battery tester instead of a multimeter?
A battery tester can show voltage but won’t provide the continuity beep needed for quick polarity checks. A multimeter is more reliable and versatile.
Do all speakers have clearly marked “+” and “‑” terminals?
Most modern speakers do, but older or budget models may have faded markings. In those cases, refer to the manufacturer’s diagram or use the resistance method described above.
Is it safe to check polarity while the speaker is still connected to the amp?
No. Always power down and unplug the amp before probing speaker terminals to avoid electrical shock and to protect your multimeter.
What if I find a broken wire during the test?
Replace the damaged section with new speaker wire, ensuring the same gauge. Solder or use high‑quality crimp connectors for a solid connection.
Can wrong polarity damage my amplifier?
Incorrect polarity won’t typically damage the amp, but it can cause the amp to work harder and generate more heat, potentially shortening its lifespan over time.
Do I need to re‑check polarity after moving my speakers?
Yes. Moving speakers can loosen connections, so a quick continuity test after relocation is a good habit.