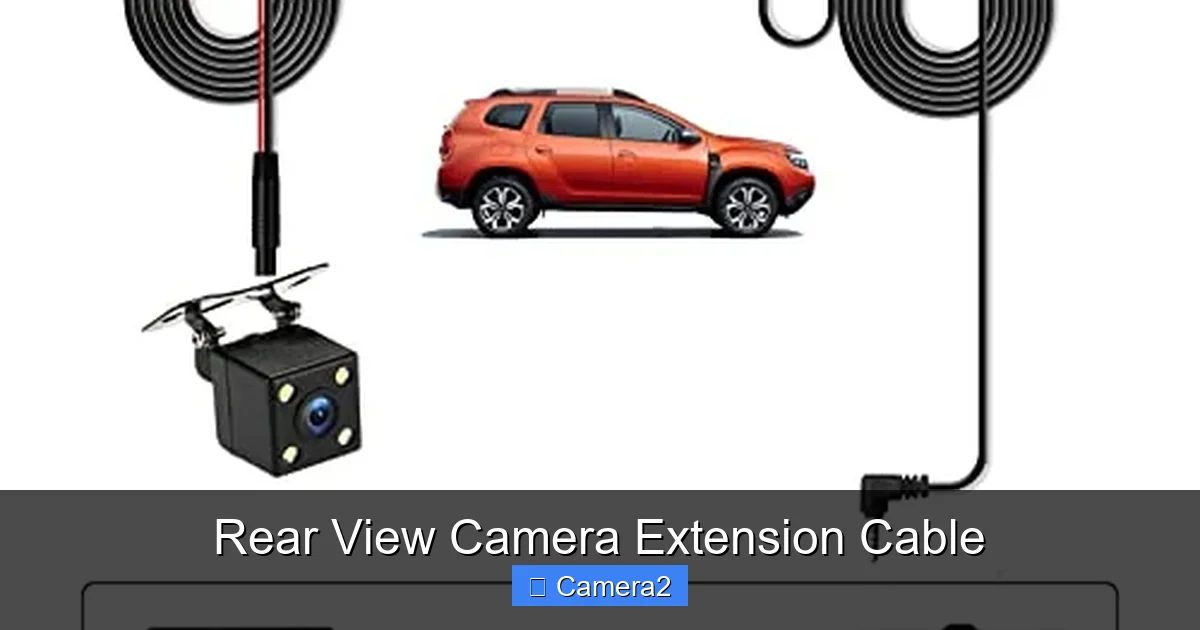
Rear View Camera Extension Cable
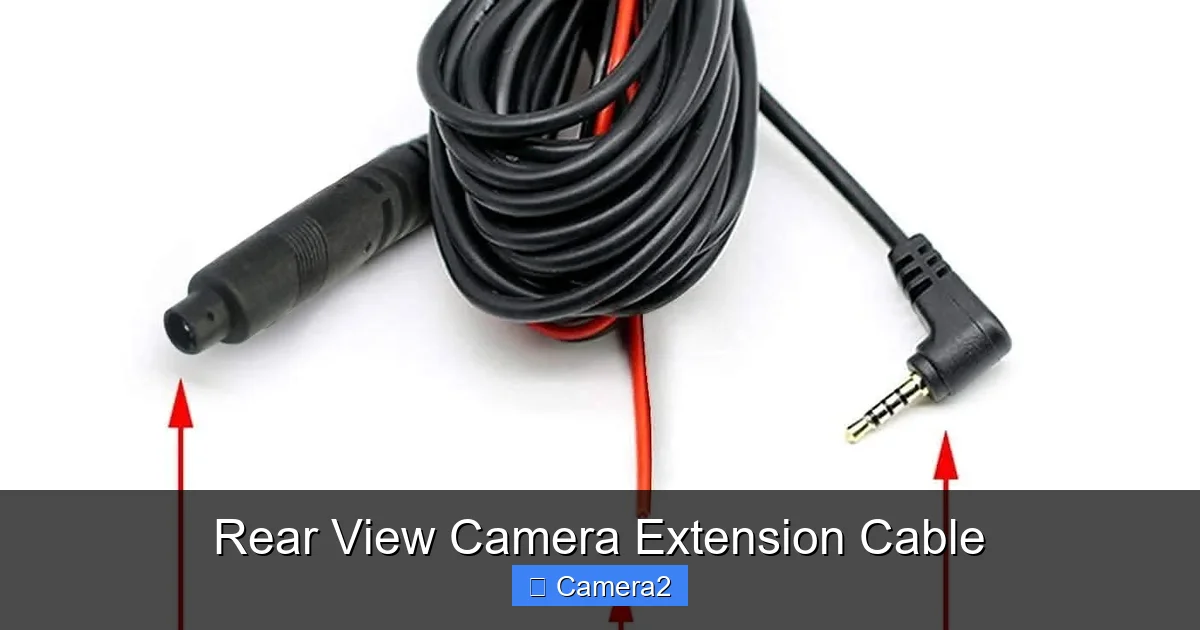
Looking to stretch your backup camera farther? This friendly guide walks you through everything you need to know about rear view camera extension cables—what they are, how to pick the right one, and simple DIY installation tips. Get clear, reliable rear‑view footage without a professional call‑out.
Key Takeaways
- What it is: A rear view camera extension cable simply lengthens the signal path between your camera and monitor.
- Compatibility matters: Match connector type, pin count, and video format (analog vs. digital) to avoid signal loss.
- Length limits: Most analog cables stay crisp up to 25 ft; digital (HD‑MI) can go 50 ft with repeaters.
- Installation tips: Route the cable away from power wires, secure with zip‑ties, and use waterproof grommets.
- Testing first: Always test the connection before finalizing the run to catch defects early.
- Future‑proofing: Choose a cable with extra shielding and a higher bandwidth for upcoming camera upgrades.
- Cost vs. quality: A modest‑priced, well‑shielded cable often outperforms cheap, thin options in harsh automotive environments.
📑 Table of Contents
- Introduction: Why You Might Need a Rear View Camera Extension Cable
- Understanding the Basics: Types of Rear View Camera Cables
- Key Factors to Consider When Buying a Rear View Camera Extension Cable
- Step‑by‑Step Installation Guide
- Common Problems and How to Fix Them
- Choosing the Right Cable for Specific Set‑ups
- Maintenance Tips to Extend Cable Life
- Conclusion: A Small Upgrade for Big Safety Gains
Introduction: Why You Might Need a Rear View Camera Extension Cable
Most modern vehicles come with a backup camera already wired to a monitor on the dash. But as you add accessories—like a larger aftermarket screen, a license‑plate rear view camera, or a custom mirror‑mounted display—you may quickly discover that the original cable is too short. That’s where a rear view camera extension cable steps in.
Think of it as the “extension cord” for your car’s eyes. It lets you move the camera farther back or the monitor farther forward without losing picture quality. In the next few pages, we’ll explore the different types of cables, how to choose the right one, and step‑by‑step installation tips that anyone can follow.
Understanding the Basics: Types of Rear View Camera Cables
Analog (Composite) Cables
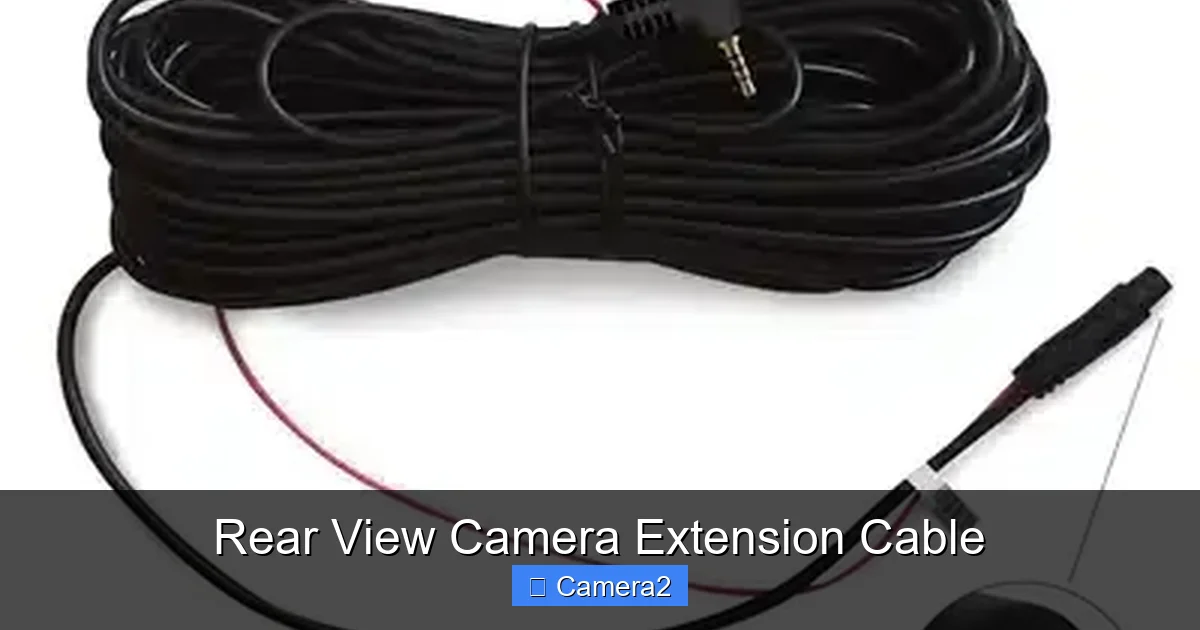
Older or budget‑friendly backup systems use an analog composite signal (RCA yellow). These cables carry video as a single‑channel voltage signal. They’re cheap, easy to find, and work well for standard‑definition (SD) cameras.
Visual guide about Rear View Camera Extension Cable
Image source: x5b7k3i9.delivery.rocketcdn.me
Digital (HD‑MI) Cables
Newer cameras output a high‑definition signal over an HDMI connector. Digital cables preserve every pixel, giving you crystal‑clear 720p or 1080p images. They require more careful handling because HDMI is more sensitive to interference.
Power‑over‑Cable (PoC) Solutions
Some premium kits combine video and power in one shielded conduit. This reduces clutter and makes routing easier, especially when the camera is mounted on a license‑plate bracket.
Key Factors to Consider When Buying a Rear View Camera Extension Cable
Connector Type and Pin Count
Match the connector on your camera (usually a 4‑pin or 5‑pin mini‑DIN, RCA, or HDMI) to the extension cable. A mismatch means you’ll need an adapter, which can add signal loss.
Visual guide about Rear View Camera Extension Cable
Image source: m.media-amazon.com
Length and Signal Degradation
Signal loss is the biggest enemy of a clean image. For analog cables, stay under 25 ft (≈7.5 m) for reliable video. Digital HDMI can stretch further—up to 50 ft with a quality, high‑speed cable, or you can add a repeater for extra distance.
Shielding and Build Quality
Automotive environments are harsh: temperature swings, vibration, and electromagnetic interference (EMI) from the engine. Look for cables with double‑braided shielding, a sturdy PVC jacket, and UV‑resistant outer coating.
Water‑Resistance and UV Protection
Since the cable often runs through the trunk or under the vehicle, choose a cable rated IP67 or higher. This ensures protection against rain, snow, and road spray.
Future‑Proofing
If you plan to upgrade to a higher‑resolution camera later, buy a cable that supports at least 1080p and has extra bandwidth. It saves you from replacing the whole run later.
Step‑by‑Step Installation Guide
Tools You’ll Need
- Wire cutters/stripper
- Crimping tool (if using custom connectors)
- Zip‑ties or cable clamps
- Drill with a ½‑inch spade bit (for grommets)
- Waterproof grommets
- Multimeter (optional, for testing continuity)
Step 1: Plan the Route
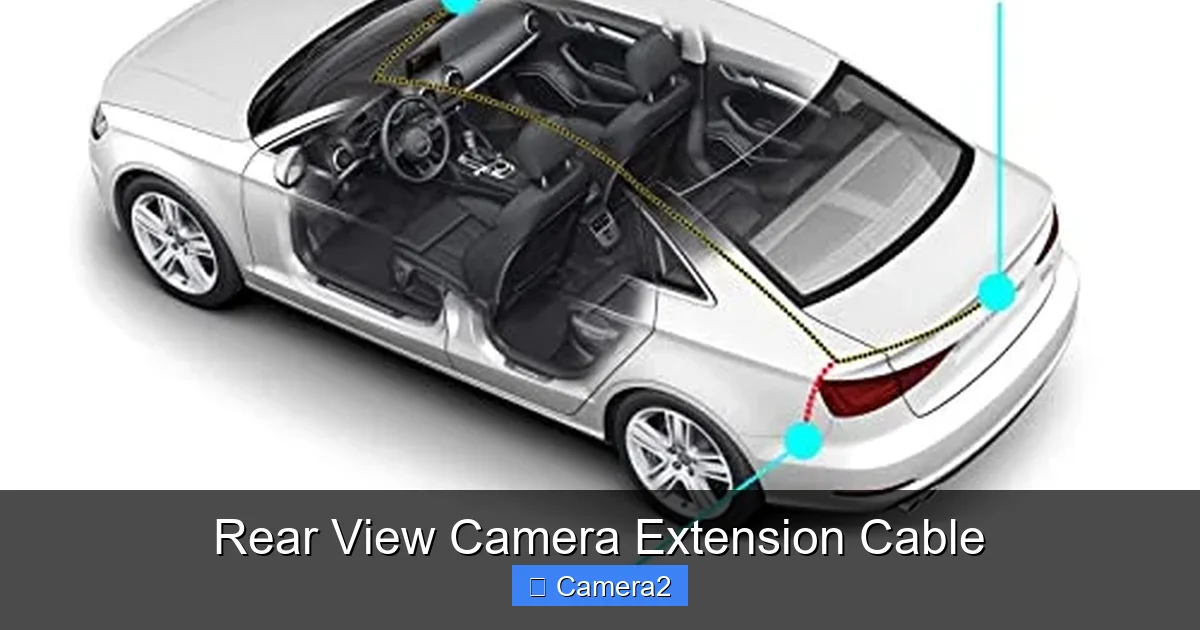
Before you cut or drill, map out the cable’s path. The most common route runs from the rear bumper, under the trunk floor, and up the A‑pillar to the dash. Keep the cable away from high‑current power wires to avoid EMI.
Visual guide about Rear View Camera Extension Cable
Image source: m.media-amazon.com
Step 2: Measure and Cut
Measure the distance twice—once following the vehicle’s interior contours and once as a straight line. Add an extra 6‑12 inches for slack and future adjustments, then cut the cable to length.
Step 3: Install Grommets
Drill a hole in any metal panel where the cable will pass. Insert a rubber grommet to protect the cable from sharp edges. This step is crucial for maintaining the IP rating.
Step 4: Connect the Ends
Match the connector type exactly. If your camera uses a 4‑pin mini‑DIN, snap the matching plug onto the cable’s end. Do the same for the monitor side—most aftermarket monitors use RCA or HDMI.
Step 5: Test the Signal
Before you zip‑tie everything down, reconnect the battery and turn on the vehicle. Switch to reverse and check the image on the monitor. Look for fuzziness, drop‑outs, or color distortion. If the picture is weak, double‑check the connections and consider a shorter cable or a signal booster.
Step 6: Secure the Cable
Use zip‑ties every 12‑18 inches to keep the cable tight against the vehicle’s frame. Avoid overtightening, which could crush the shielding.
Step 7: Final Checks
After everything is secured, test the system again. Verify that the camera works at night and in bright daylight. If you notice any intermittent loss, re‑route the cable away from the engine’s power harness.
Common Problems and How to Fix Them
Problem: No Image or Black Screen
Check that the connector pins are fully seated. Use a multimeter to confirm continuity. If the cable is longer than recommended, replace it with a shorter, higher‑quality version.
Problem: Flickering or Snowy Image
This is usually EMI. Reroute the cable away from the alternator or power cables, and add a ferrite bead near the camera end.
Problem: Intermittent Signal After Rain
Inspect the grommets and connectors for water ingress. Replace any damaged seals and consider a higher‑IP rating cable.
Choosing the Right Cable for Specific Set‑ups
Integrating a License Plate Rear View Camera
If you add a license‑plate rear view camera, you’ll likely need a second video feed. A dual‑channel analog cable or an HDMI splitter with a longer HDMI extension works well. For more details on license‑plate cameras, see our guide on License Plate Rear View Camera.
Upgrading to a Larger Monitor
Larger aftermarket monitors often have HDMI inputs. Pair them with a high‑speed HDMI rear view camera extension cable to keep the picture sharp. If your monitor also supports a separate monitor for rear view, you might explore a dedicated Monitor For Rear View Camera setup.
Historical Perspective
Understanding when rear‑view cameras became standard helps you gauge how modern your vehicle’s wiring is. Vehicles built after 2018 generally have factory‑grade wiring that can handle longer runs. Learn more in our article When Did Rear View Cameras Become Standard.
Maintenance Tips to Extend Cable Life
- Regular Visual Inspection: Look for cracks, frayed ends, or corrosion at connectors.
- Clean Connectors: Use a contact cleaner to remove dust and oxidation.
- Check Grounding: A poor ground can cause noise; ensure the camera’s ground wire is firmly attached to the vehicle chassis.
- Replace Wear‑Prone Sections: If you frequently open the trunk, consider a flexible, braided cable that resists bending fatigue.
Conclusion: A Small Upgrade for Big Safety Gains
Adding a rear view camera extension cable is one of the simplest upgrades you can make to improve visibility and safety while backing up. By selecting the right type—analog or digital—matching connectors, respecting length limits, and installing with care, you’ll enjoy a clear, reliable view of what’s behind you for years to come. Remember to test, secure, and maintain the cable, and you’ll avoid most common headaches. Happy driving, and enjoy the peace of mind that comes with a crystal‑clear rear view.
Frequently Asked Questions
What length of rear view camera extension cable is safe for analog signals?
For analog (composite) signals, stay under 25 feet (≈7.5 m). Going longer can cause noticeable signal loss and a fuzzy image.
Can I use a standard HDMI cable as a rear view camera extension cable?
Yes, but choose a high‑speed, automotive‑rated HDMI cable with proper shielding. For runs over 30 feet, add an HDMI repeater to maintain signal quality.
Do I need a separate power cable for my rear view camera?
Most cameras receive power from a 12 V source via a dedicated wire. Some newer models use Power‑over‑Cable (PoC) that combines video and power in one shielded line.
Is it legal to install a rear view camera extension cable myself?
Yes, you can install it yourself. Just follow safety precautions, disconnect the battery while working, and ensure all connections are secure.
How do I protect the cable from water and road spray?
Use IP67‑rated cables and install waterproof grommets wherever the cable passes through metal panels. Seal connector housings with silicone if needed.
Will a longer cable affect the warranty of my backup camera?
Most manufacturers state that using non‑OEM cables may void the camera’s warranty. Check the warranty terms before installing an aftermarket extension.