How to Install Nvme Ssd
Installing an NVMe SSD is a straightforward upgrade that dramatically improves laptop performance. With the right tools and a little patience, most users can complete the NVMe SSD installation in under 30 minutes. This guide covers preparation, physical installation, BIOS setup, and post-installation optimization to ensure your new M.2 drive runs at peak efficiency.
Key Takeaways
- Choose the Right Drive: Confirm your laptop supports NVMe M.2 SSDs before purchasing to avoid compatibility issues.
- Gather Your Tools First: A Phillips screwdriver and an anti-static wrist strap are all you need to get started.
- Follow Each Step Carefully: Proper alignment and screw tightness are critical when mounting the NVMe SSD.
- Check BIOS Settings: Enable AHCI mode and update firmware for the best performance from your new drive.
- Clone or Reinstall: You can either clone your existing drive or perform a fresh OS install on the new NVMe SSD.
- Manage Heat: Use a heat sink or thermal pad to prevent thermal throttling and maintain top speeds.
📑 Table of Contents
- What Is an NVMe SSD and Why Should You Install One?
- Tools and Preparation You Will Need
- Step by Step NVMe SSD Installation Guide
- Configuring Your New NVMe SSD After Installation
- Common Mistakes to Avoid When Installing an NVMe SSD
- Optimizing Your NVMe SSD for Best Performance
- When to Seek Professional Help
- Conclusion
What Is an NVMe SSD and Why Should You Install One?
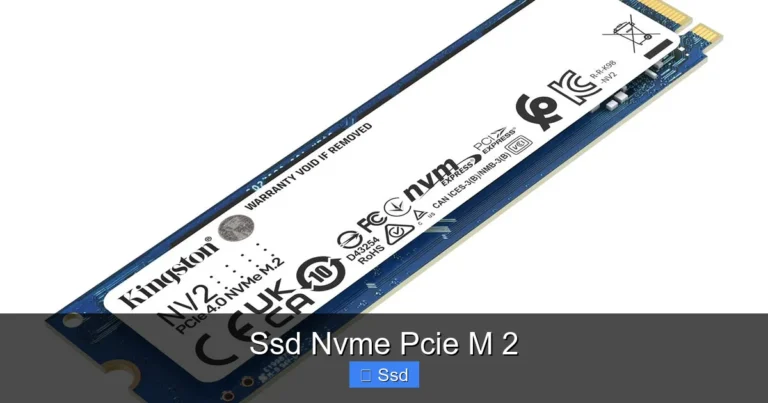
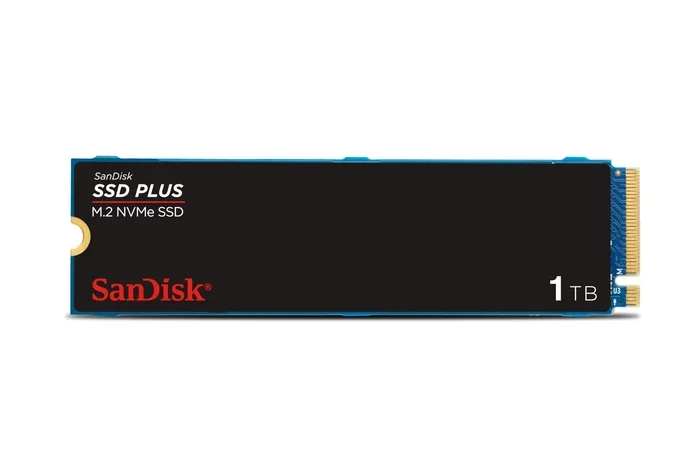
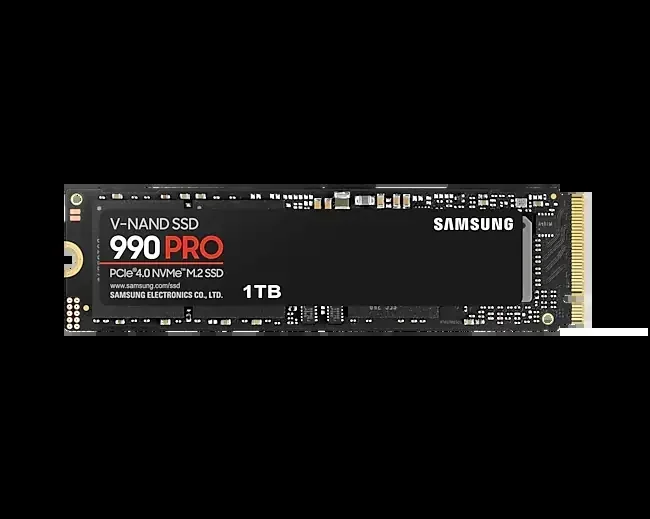
An NVMe SSD is a type of solid state drive that uses the NVMe protocol to communicate with your laptop’s motherboard. Unlike older SATA SSD drives, NVMe drives connect through the PCIe interface. This means they offer much faster read and write speed rates. If your laptop still uses a traditional hard drive or a slower SATA SSD, upgrading to an NVMe drive can transform your experience.
The difference is night and day. Boot times drop from minutes to seconds. Applications launch instantly. File transfers happen in a fraction of the time. A typical SATA SSD tops out around 550 MB/s, while a modern NVMe drive can reach 3,500 MB/s or more. That is a six-fold improvement in many cases.
People choose to perform a laptop upgrade with an NVMe storage upgrade for many reasons. Gamers want faster load times. Creators need quick access to large video and photo files. Professionals rely on speed for daily workflows. Whatever your reason, installing an NVMe SSD is one of the most impactful laptop upgrades you can make.
Tools and Preparation You Will Need
Before you start the NVMe SSD installation process, gather everything you need. Having the right tools ready prevents delays and frustration. Here is what you should have on hand:
- A small Phillips head screwdriver
- An anti-static wrist strap (optional but recommended)
- A clean, flat workspace with good lighting
- A USB drive or external hard drive for backing up data
- Your new NVMe M.2 SSD
- A heat sink or thermal pad if your laptop does not include one
Back Up Your Data First
Always back up your important files before opening your laptop. While the installation process itself does not erase your data, accidents can happen. Use a thumb drive or an external hard drive to save your most important documents, photos, and files. If you plan to clone your existing drive, connect your backup drive now.
You should also download any cloning software you might need ahead of time. Programs like Macrium Reflect or Clonezilla make it easy to copy your entire drive to the new NVMe SSD. This way, you keep all your files, settings, and applications intact after the laptop upgrade.
Confirm Compatibility
Not every laptop supports NVMe SSDs. Check your laptop model specifications before buying a drive. Look for M.2 slot support and NVMe protocol compatibility. Some older laptops only support SATA M.2 drives, which will not give you the speed benefits of true NVMe storage. You can usually find this information in your laptop manual or on the manufacturer website.
Also check the M.2 key type. Most NVMe drives use the M key, but some laptops use the B key or B+M key. Matching the key type ensures the drive fits properly and connects correctly.
Step by Step NVMe SSD Installation Guide
Now that you are prepared, let us walk through the actual installation. This process works for most laptops that have an accessible M.2 slot. If you are unsure about disassembling your specific model, consult a professional or refer to your laptop service manual.
Step 1: Power Down and Disconnect
Shut down your laptop completely. Unplug the power adapter and disconnect any external devices. Remove any USB drives, mouse receivers, or SD cards. This ensures safety while you work inside the laptop.
Step 2: Open the Laptop Housing
Flip your laptop over and locate the screws on the bottom panel. Use your Phillips screwdriver to remove them. Keep the screws in a safe place, like a small bowl or magnetic mat. Carefully lift off the bottom panel. Some laptops have clips that hold the panel in place. Gently pry them open with a plastic spudger if needed.
Once inside, locate the M.2 slot on the motherboard. It is a small horizontal slot, often covered by a small metal or plastic shield. You may see an existing drive already mounted there.
Step 3: Remove the Old Drive (If Applicable)
If there is an existing drive in the M.2 slot, you need to remove it first. Look for a small screw holding the drive in place. Use your screwdriver to remove it. Gently pull the drive outward at a slight angle. The drive will release from the slot. Set the old drive aside safely.
Step 4: Install the New NVMe SSD
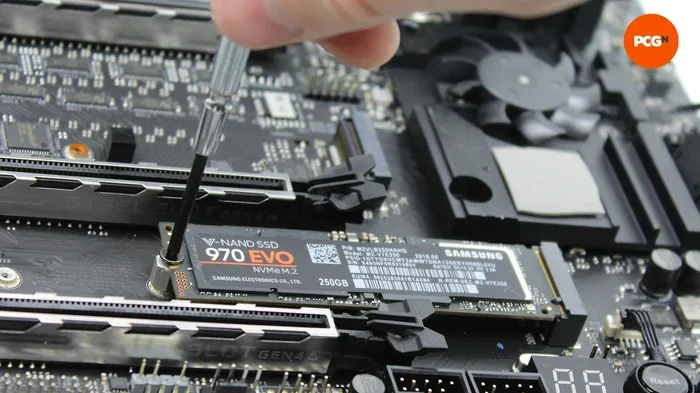
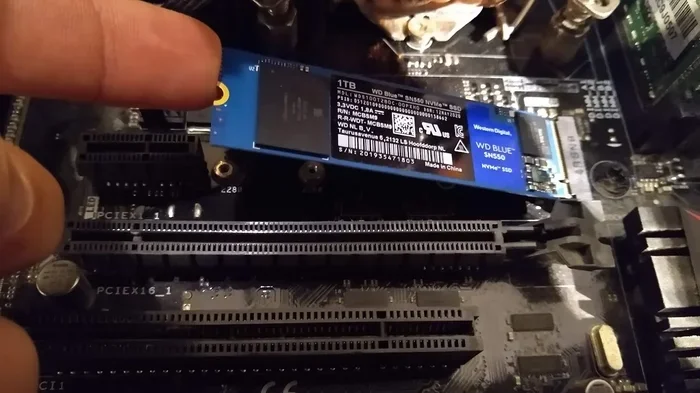
Take your new NVMe SSD out of its packaging. Hold it by the edges to avoid touching the gold connectors. Align the notches on the bottom of the drive with the keys in the M.2 slot. Insert the drive at a 30 to 40 degree angle. Gently press it down until it sits flat against the motherboard.
Use the small screw to secure the drive in place. Do not overtighten. The screw should be snug but not forced. If you are wondering how tight should screw be ssd nvme, the answer is just finger-tight plus a quarter turn with the screwdriver. Over-tightening can damage the drive or the motherboard.
Step 5: Reassemble and Power On
Replace the bottom panel of your laptop. Align it carefully and press down gently until the clips snap into place. Reinsert all the screws. Plug in your power adapter and turn on the laptop.
Enter your BIOS or UEFI settings by pressing the appropriate key during startup (usually F2, F12, Del, or Esc depending on your laptop brand). Check that the new NVMe drive is detected in the BIOS. If it shows up, you are on the right track.
Configuring Your New NVMe SSD After Installation
Once the drive is detected, you need to set it up for use. There are two main paths here: cloning your existing drive or performing a fresh installation of your operating system.
Option A: Clone Your Existing Drive
If you want to keep everything exactly as it is, cloning is the way to go. Connect your new NVMe SSD to your laptop using a USB-to-M.2 adapter or by installing it as described above. Use cloning software to copy your entire existing drive to the new NVMe SSD. This transfers your operating system, all your applications, and your personal files.
After cloning, you may need to change the boot order in your BIOS settings. Set the new NVMe SSD as the primary boot drive. Save your changes, restart, and your laptop should boot from the new drive just like before.
Option B: Fresh Installation
If you prefer a clean start, you can perform a fresh installation of your operating system on the new NVMe SSD. Create a bootable USB drive with your operating system installer. Boot from the USB drive and follow the on-screen prompts to install the OS on your new drive.
A fresh install gives you a clean system with no bloatware or accumulated clutter. It also ensures optimal performance from the new drive. Just remember to back up your files before wiping the old drive.
Common Mistakes to Avoid When Installing an NVMe SSD
Even with a good guide, mistakes can happen. Here are the most common errors people make during NVMe SSD installation and how to avoid them:
- Forcing the drive into the slot. The NVMe drive should slide in smoothly at an angle. If it resists, stop and check the alignment. Forcing it can bend or break the pins on the drive or the motherboard.
- Overtightening the screw. A snug fit is all you need. Excessive force can crack the drive or strip the threads on the motherboard.
- Skipping BIOS updates. Before installing, check if your laptop manufacturer has released a BIOS update that improves NVMe compatibility. Running an outdated BIOS can cause detection issues.
- Forgetting to enable AHCI mode. In your BIOS settings, make sure the SATA or storage mode is set to AHCI. This allows your system to take full advantage of the NVMe drive’s speed.
- Ignoring thermal management. NVMe drives can get hot under heavy load. Without proper cooling, they may throttle their speeds to protect themselves. Always use the heat sink that comes with your drive or purchase one separately.
Quick Tips for a Smooth Installation
- Work on a non-static surface like a wooden table.
- Keep your laptop on a flat, stable surface throughout the process.
- Take photos as you disassemble so you can remember how everything goes back together.
- If you feel stuck, consult a video tutorial specific to your laptop model.
- Handle the NVMe SSD by the edges only to avoid damaging the circuitry.
Optimizing Your NVMe SSD for Best Performance
After installation, there are a few steps you can take to get the most out of your new NVMe SSD. These small adjustments can make a big difference in day-to-day performance.
First, make sure your operating system recognizes the drive as an NVMe device and not a SATA device. You can check this in your system settings or disk management tool. If it shows as NVMe, you are getting the full speed benefit.
Second, keep your firmware update current. Drive manufacturers regularly release updates that improve stability, fix bugs, and sometimes even boost performance. Check the manufacturer website for your specific drive model and follow their instructions.
Third, enable TRIM support. TRIM helps your SSD maintain peak performance over time by efficiently managing deleted data. Most modern operating systems enable TRIM by default for NVMe drives, but it is worth double-checking in your system settings.
Finally, leave about 10 to 15 percent of your drive free. SSDs perform best when they have some free space available for wear leveling and garbage collection. This simple habit keeps your drive running fast for years to come.
If you are also considering upgrading your memory, many users who upgrade their storage also want to how to install ram in laptop at the same time. Boosting both your storage and memory gives you the best overall performance improvement from a laptop upgrade.
Similarly, if you have already added RAM and want to add more later, you can find guidance on how to install more ram laptop to complement your new NVMe drive for a complete system refresh.
When to Seek Professional Help
Most users can install an NVMe SSD without any issues. However, there are situations where professional help is the right call. If your laptop has a sealed or glued chassis that is difficult to open, a technician can handle the disassembly safely. If you are uncomfortable working inside electronics, there is no shame in asking for help.
Also, if your laptop is still under warranty, opening it yourself may void the coverage. Check your warranty terms before proceeding. Many manufacturers offer authorized service centers that can perform upgrades for you while keeping your warranty intact.
Remember, the goal is to improve your laptop’s performance, not to risk damaging it. If something feels wrong at any point during the process, stop and seek expert advice.
Conclusion
Installing an NVMe SSD is one of the most rewarding laptop upgrades you can perform. The process is simpler than most people think, and the results are immediate and noticeable. From faster boot times to quicker application launches, your new solid state drive will breathe new life into your laptop.
By following the steps in this guide, you have the knowledge to complete the NVMe SSD installation with confidence. Take your time, work carefully, and enjoy the speed. Your laptop is now ready to perform at its best.
Frequently Asked Questions
Can I install an NVMe SSD in any laptop?
Not all laptops support NVMe SSDs. You need to confirm that your laptop has an M.2 slot that supports the NVMe protocol. Check your laptop manual or the manufacturer website for compatibility details before purchasing a drive.
Do I need special tools to install an NVMe SSD?
You only need a small Phillips head screwdriver and a clean workspace. An anti-static wrist strap is helpful but not required. Most installations take less than 30 minutes with basic tools.
Should I clone my old drive or do a fresh install?
Cloning preserves everything exactly as it is, while a fresh install gives you a clean system. If you want to keep all your files and settings, cloning is the easier route. If you prefer a fresh start, go with a new OS installation on the NVMe drive.
Why is my new NVMe SSD not showing up in BIOS?
This can happen if the M.2 slot is not enabled in BIOS or if the drive is not seated properly. Try removing the drive and reinserting it at the correct angle. Also check that your BIOS is updated to the latest version for NVMe compatibility.
Does an NVMe SSD need a heat sink?
Many NVMe SSDs come with a small heat sink included. If yours does not, or if your laptop has limited airflow, adding a heat sink helps prevent thermal throttling. This keeps your drive running at full speed during heavy tasks.
Can I use an NVMe SSD as a secondary drive?
Yes, you can use an NVMe SSD as a secondary drive alongside your existing storage. This is a great way to keep your operating system and frequently used apps on the fast NVMe drive while storing larger files on a separate hard drive or SSD.