An NVMe SSD M.2 enclosure is a simple adapter that transforms your internal M.2 NVMe solid-state drive into a high-speed, portable external SSD. By housing the drive in a protective case with a USB or Thunderbolt interface, you can breathe new life into old storage or create a blazing-fast backup drive. Choosing the right enclosure involves matching your SSD’s form factor (like 2280) and keying (M+B or M) to the enclosure’s slot and ensuring your computer’s port (USB 3.2, Thunderbolt) can handle the SSD’s potential speed.
Have you ever upgraded your laptop or desktop and wondered what to do with the old, perfectly functional solid-state drive? Or maybe you need a ridiculously fast, portable storage solution for large video files or game libraries, but external SSDs feel too expensive. This is where the humble yet powerful NVMe SSD M.2 enclosure comes in. It’s the unsung hero of the storage world, a small adapter that can revolutionize how you think about old hardware and external drives. In this complete guide, we’ll unpack everything you need to know about these enclosures, from the confusing technical jargon to practical setup tips, ensuring you make the perfect choice for your needs.
Key Takeaways
- Revive Old Drives: An enclosure lets you reuse a perfectly good NVMe SSD from an old laptop or desktop as a super-fast external drive, saving money and reducing e-waste.
- Form Factor & Keying are Critical: You must match your M.2 SSD’s length (e.g., 2280 = 22mm wide, 80mm long) and its physical “key” (the notch: M-key or M+B key) to the enclosure’s supported specifications.
- Speed is Dictated by the Interface: The enclosure’s USB or Thunderbolt port is the speed bottleneck. A USB 3.2 Gen 2×2 (20Gbps) enclosure can handle most consumer NVMe SSDs, while Thunderbolt 3/4 (40Gbps) is for professionals needing maximum throughput.
- Heat is the Enemy of Speed: NVMe SSDs throttle when hot. Many enclosures include passive heatsinks or thermal pads; for sustained performance, consider an aluminum enclosure or an active model with a tiny fan.
- Plug-and-Play Simplicity: Most enclosures require no drivers. You simply insert the SSD, secure it, close the case, and connect via USB-C. Your OS will recognize it as a new external drive, ready to format.
- Not for Every SSD: Older SATA M.2 SSDs (which have a different key and use the SATA protocol) are incompatible with NVMe-only enclosures. Double-check your SSD’s specs before buying.
- Portability & Protection: Enclosures provide a rugged, pocketable case for your SSD, shielding it from physical damage and dust, making it ideal for travel, photographers, and IT professionals.
📑 Table of Contents
- What Exactly Is an NVMe SSD M.2 Enclosure?
- Compatibility: The Most Important Step Before You Buy
- Understanding Speeds & Interfaces: USB vs. Thunderbolt
- Installation & Setup: A Simple, 5-Minute Process
- Real-World Use Cases: Why You Need One
- Buying Guide: What to Look For in a Quality Enclosure
- Troubleshooting Common Issues
What Exactly Is an NVMe SSD M.2 Enclosure?
At its core, an NVMe SSD M.2 enclosure is a protective shell with a built-in circuit board (a bridge chip) and an external port, typically USB-C or Thunderbolt. Its job is to take the tiny, bare M.2 NVMe SSD—the kind that slots directly into a motherboard—and convert its internal PCIe/NVMe communication protocol into a standard external interface your computer’s USB or Thunderbolt port can understand. Think of it as a translator and a armored jacket for your SSD. It provides power through the USB/Thunderbolt cable and handles all the data translation on the fly. Without this bridge chip, you cannot simply plug an M.2 SSD into a USB port; the protocols are completely different.
The Bridge Chip: The Enclosure’s Brain
The quality and generation of the bridge chip inside the enclosure are arguably its most important components. This chip determines which standards it supports (like NVMe 1.3 or 1.4), the maximum speeds it can sustain, and its compatibility with different operating systems (Windows, macOS, Linux). A high-quality chip from a reputable manufacturer like ASMedia or Realtek will offer better stability, lower latency, and support for features like UASP (USB Attached SCSI Protocol), which significantly improves performance over the older USB mass storage standard. Cheaper, no-name enclosures often use older or less efficient bridge chips that can bottleneck your SSD’s speed and cause connection instability.
Enclosure vs. Adapter Card: A Key Distinction
It’s easy to confuse an enclosure with an M.2 to PCIe adapter card. An adapter card is a simple, passive PCB that lets you install an M.2 SSD into a desktop PCIe slot. It has no external port, no power delivery, and no bridge chip—it’s just a physical and electrical adapter. An NVMe SSD M.2 enclosure, by contrast, is an active device with its own controller, power management, and external connectivity. You always want the enclosure for external use.
Compatibility: The Most Important Step Before You Buy
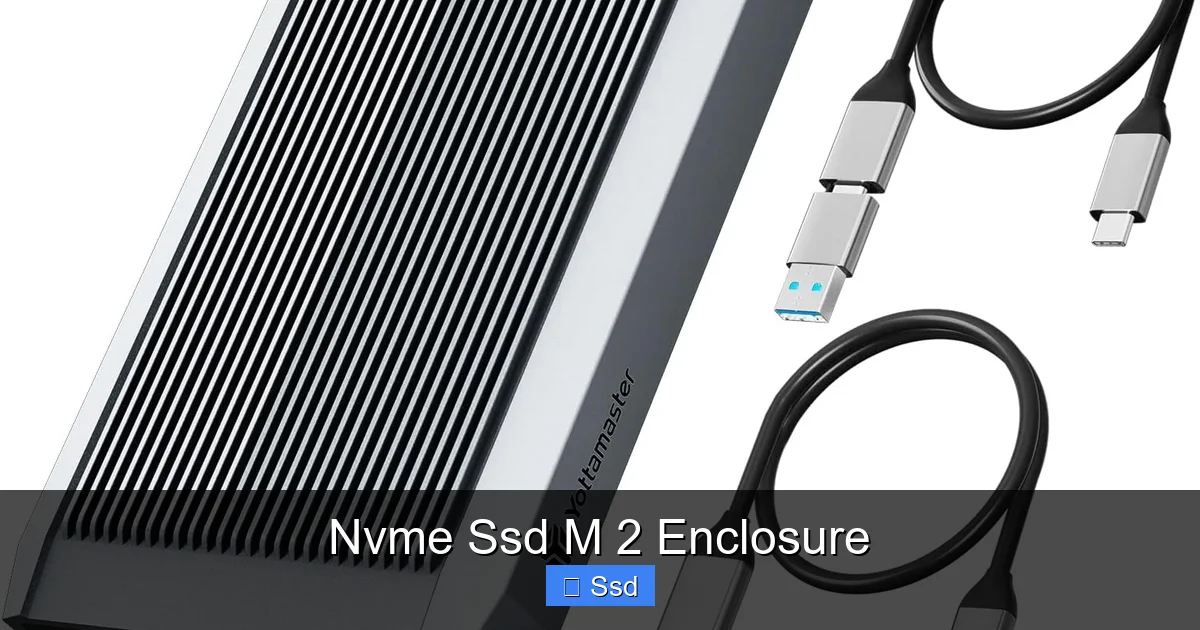
Before you click “buy,” you must become an expert on your existing M.2 SSD. Incompatibility is the number one reason for returns and frustration. There are three critical specifications to check: Length, Keying, and Protocol.
Visual guide about Nvme Ssd M 2 Enclosure
Image source: m.media-amazon.com
1. Physical Form Factor (Length & Width)
M.2 SSDs are named by their dimensions. The most common is 2280, meaning it’s 22 millimeters wide and 80 millimeters long. Other sizes include 2242 (42mm), 22110 (110mm), and 2230 (30mm). Most enclosures support the ubiquitous 2280 size, but high-end or specialized enclosures might support longer 22110 drives. You must ensure your SSD’s length is listed as compatible with the enclosure. Inserting a 22110 SSD into a 2280-only enclosure will either not fit or, worse, cause damage if forced.
2. The M.2 “Key” (The Notch)
Look at the gold contacts on your SSD. You’ll see a notch, which is the “key.” This prevents you from plugging the drive into an incompatible slot. For NVMe SSDs, you will almost always see an “M” key (a single, slightly off-center notch). Some older or dual-protocol SSDs have an “M+B” key (two notches, one M and one B). The enclosure’s M.2 slot must have a matching socket. An M-key SSD will fit into an M+B socket (it’s backward compatible), but an M+B SSD will not fit into a strict M-key socket. Always check the enclosure’s product images or spec sheet for a diagram of its M.2 slot.
3. Protocol: NVMe vs. SATA
This is the make-or-break compatibility issue. M.2 slots can host two different types of drives:
- NVMe SSDs: These are the fast, modern drives. They use the PCIe bus and the NVMe protocol. They are usually single-sided with components on only one side. They have an M key.
- SATA SSDs: These are the older, slower drives that use the SATA interface (same as 2.5″ drives). They have an M+B key and are often double-sided with components on both sides.
An NVMe SSD M.2 enclosure will ONLY work with NVMe (PCIe) M.2 SSDs. It will not work with SATA M.2 SSDs. The bridge chip inside the enclosure is designed specifically for the NVMe protocol. If you try to insert a SATA M.2 drive, it simply won’t be recognized. Double-check your SSD’s model number (e.g., Samsung 970 EVO Plus is NVMe; Crucial MX500 is SATA).
Understanding Speeds & Interfaces: USB vs. Thunderbolt
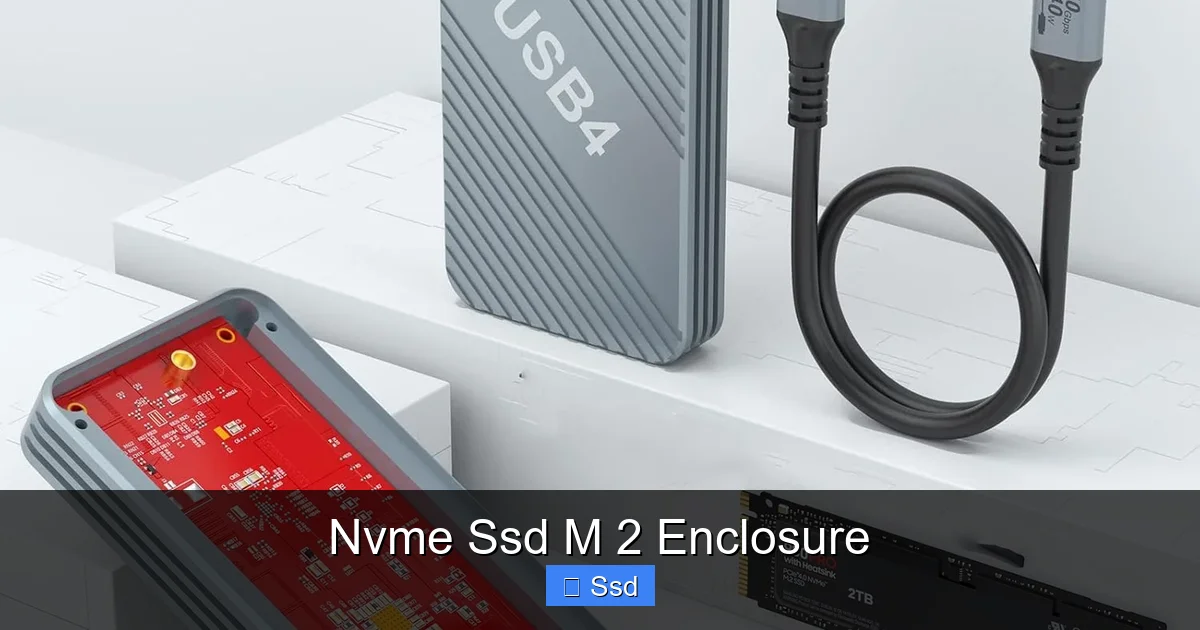
You’ve bought a fast PCIe 4.0 NVMe SSD with read speeds of 7,000 MB/s. You plug it into a generic USB 3.2 enclosure and get… 1,000 MB/s. What gives? The enclosure’s external interface is the speed limit. The SSD’s potential speed is almost always higher than what the external port can handle.
Visual guide about Nvme Ssd M 2 Enclosure
Image source: m.media-amazon.com
USB: The Universal, Good-Enough Choice
USB is everywhere, making USB-C enclosures the most popular. But not all USB is created equal.
- USB 3.2 Gen 1 (5 Gbps): The baseline. Max theoretical speed ~625 MB/s. Only suitable for SATA SSDs or very old NVMe drives. Avoid for new NVMe SSDs.
- USB 3.2 Gen 2 (10 Gbps): The common standard for good enclosures. Max theoretical speed ~1,250 MB/s. This is the sweet spot for most users, handling a high-end PCIe 3.0 NVMe SSD (up to ~3,500 MB/s) with room to spare and a fast PCIe 4.0 SSD up to its limit.
- USB 3.2 Gen 2×2 (20 Gbps): Requires a USB-C port that supports this mode. Max theoretical speed ~2,500 MB/s. Necessary to fully saturate a top-tier PCIe 4.0 NVMe SSD like the Samsung 980 Pro or WD Black SN850X in sustained writes. Becoming more common on newer motherboards and laptops.
Real-World Note: You will never hit the theoretical maximum. Expect about 70-85% of the rated speed in real-world file transfers due to overhead. A Gen 2 (10Gbps) enclosure will typically deliver 900-1,050 MB/s with a fast NVMe SSD.
Thunderbolt: The Professional’s Powerhouse
Thunderbolt 3 and 4 use the same USB-C connector but are a different, proprietary protocol co-developed by Intel and Apple. They offer a massive 40 Gbps (5,000 MB/s) of bandwidth.
- Use Case: Essential for video editors working with 4K/8K RAW footage, 3D artists, or anyone who regularly moves 100GB+ files and needs every second saved. It’s overkill for gaming or general use.
- Cost & Compatibility: Thunderbolt enclosures are significantly more expensive ($50-$100+). You need a computer with a Thunderbolt 3 or 4 port (common on Macs and high-end Windows laptops/desktops). They are backward compatible with USB, but if you plug a Thunderbolt drive into a plain USB port, it will run at USB speeds.
The PCIe Generation Factor
NVMe SSDs run on PCIe generations: 3.0, 4.0, and now 5.0. A PCIe 4.0 SSD is roughly twice as fast as a PCIe 3.0 SSD. However, your enclosure’s interface is the ultimate limiter. Putting a PCIe 4.0 SSD into a USB 3.2 Gen 2 (10Gbps) enclosure means the SSD’s extra speed is wasted—the USB port can’t feed it data fast enough. For cost-effectiveness, pairing a fast PCIe 3.0 SSD with a Gen 2 enclosure is a perfect match. To use a PCIe 4.0 SSD to its potential, you need a USB 3.2 Gen 2×2 (20Gbps) or Thunderbolt enclosure.
Installation & Setup: A Simple, 5-Minute Process
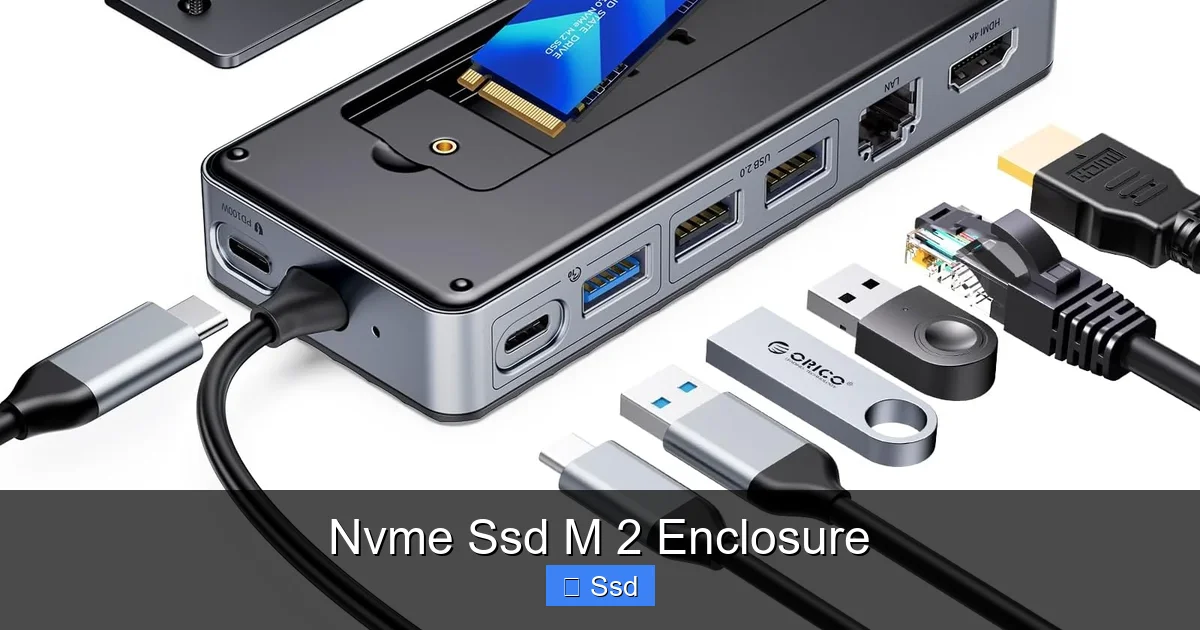
One of the best things about an NVMe SSD M.2 enclosure is how easy it is to set up. No technical wizardry required.
Visual guide about Nvme Ssd M 2 Enclosure
Image source: m.media-amazon.com
Step-by-Step Guide
- Gather Your Tools: You’ll need your M.2 NVMe SSD, the enclosure, and likely a small Phillips-head screwdriver. Some tool-less enclosures use a retaining clip or magnet.
- Open the Enclosure: Most have a simple slide-off back or two small screws. Gently pry open the case. You’ll see the M.2 slot and possibly a standoff (a tiny metal pillar).
- Insert the SSD: Hold the SSD by the edges. Align the notch on the SSD with the key in the enclosure’s slot. Insert it at a slight angle (about 30 degrees) until it’s seated firmly. Then, gently press it down flat.
- Secure the SSD: Use the provided screw or the tool-less mechanism to lock the SSD in place. This prevents it from vibrating loose. Do not overtighten.
- Close & Connect: Snap or screw the enclosure back together. Connect the USB-C/Thunderbolt cable to both the enclosure and your computer.
- Initialize & Format: On Windows, open Disk Management. On macOS, open Disk Utility. You should see a new, uninitialized disk. Right-click and initialize it (GPT partition style is standard). Then, create a new simple volume and format it as exFAT (for cross-platform use) or NTFS (Windows) or APFS (Mac).
Practical Tips for a Smooth Setup
- Anti-static Precautions: Ground yourself by touching the computer case or using an anti-static wrist strap before handling the SSD.
- Thermal Pads: Many enclosures come with a thin thermal pad. Peel the protective film off and place it between the SSD’s memory chips and the enclosure’s metal case. This transfers heat from the chips to the case, improving cooling and preventing thermal throttling.
- Cable Quality: Use the cable that came with the enclosure. A cheap, poorly shielded cable can cause instability and lower speeds. For Thunderbolt, ensure it’s a certified Thunderbolt cable, not just any USB-C cable.
- Driver Check: For basic USB 3.2 enclosures, drivers are almost always built into modern OSes. For some older or specialized Thunderbolt enclosures, you might need to install a driver from the manufacturer’s website, especially on Windows.
Real-World Use Cases: Why You Need One
An NVMe SSD M.2 enclosure isn’t just a novelty; it’s a versatile tool for countless scenarios.
1. The Ultimate Boot Drive for Old PCs & Laptops
Have an old desktop or laptop with a slow hard drive or a dead optical bay? You can install a lightweight, high-speed NVMe SSD into an enclosure, set it as the boot drive in the BIOS, and install your OS on it. This is a fantastic, low-cost way to resuscitate a sluggish system without opening it up to replace an internal drive (which might not even have an M.2 slot). The USB 3.0/3.1 bottleneck is irrelevant for booting and OS responsiveness.
2. Portable Media & Project Drive for Creators
Photographers, videographers, and music producers deal with massive files. Carrying a stack of external HDDs is slow and risky. A 2TB NVMe SSD in a rugged, aluminum enclosure (like those from Sabrent or OWC) is shock-resistant, silent, and reads/writes at over 1,000 MB/s. You can edit 4K video directly from the drive or shuttle project files between studio and home in minutes instead of hours. The form factor fits in a camera bag or backpack pocket.
3. Game Library Expansion for Consoles & PCs
The Xbox Series X/S and PlayStation 5 support external USB storage for playing last-gen games and storing current-gen games (PS5 requires a special internal SSD upgrade for playing PS5 games). An NVMe SSD enclosure with a fast SSD is a perfect, high-speed external game drive. On PC, you can install a large game library on it and move it between gaming rigs or use it for a LAN party without lugging a full desktop.
4. Secure, High-Speed Backup & Transfer
Backing up your primary drive? A fast external SSD means your backup completes in a fraction of the time compared to a traditional external HDD. For IT professionals or system administrators, carrying a pre-loaded OS, diagnostics, and tools on a bootable NVMe SSD in an enclosure is a powerful, portable toolkit.
5. Testing & Cloning Drives
Before committing to installing an internal SSD, you can test it in an enclosure. It’s also the perfect tool for cloning an old drive to a new one using software like Macrium Reflect or Clonezilla. You connect both the old drive (in your PC) and the new SSD (in the enclosure) and clone directly.
Buying Guide: What to Look For in a Quality Enclosure
Not all enclosures are built equal. Here’s your checklist for picking the best one for your NVMe SSD M.2.
Essential Compatibility Checks (Reiterated)
First and foremost, confirm the enclosure supports your SSD’s length (2280, etc.) and key (M or M+B). This is non-negotiable.
Material & Build Quality
- Aluminum: The gold standard. It acts as a giant passive heatsink, dissipating heat from the SSD. It’s sturdy, looks premium, and is the best choice for sustained performance. Brands like Sabrent, UGREEN, and Acasis use aluminum bodies.
- Plastic: Found on very cheap enclosures. It provides no heat dissipation, leading to thermal throttling under load. Avoid unless it’s for light, occasional use with a low-power SSD.
Thermal Management Solutions
Heat is the silent killer of SSD performance. When an NVMe drive gets too hot, it throttles its speed to protect itself. Look for:
- Included Thermal Pads: As mentioned, these are a must-have.
- Direct-Contact Heatsink: Some enclosures have a metal pad or finned heatsink that directly contacts the SSD’s controller and memory chips.
- Active Cooling (Fans): Rare but effective for extreme workloads. Models like the Thermaltake NVMe Enclosure have a tiny fan. They add noise but can maintain peak speeds indefinitely.
Bridge Chip & Interface Specs
Stick to known brands that disclose their chipset (e.g., ASMedia ASM2362 for USB 3.2 Gen 2). This is a mark of quality. Check the exact USB spec: is it Gen 1 (5Gbps), Gen 2 (10Gbps), or Gen 2×2 (20Gbps)? For Thunderbolt, ensure it’s certified (look for the Thunderbolt logo).
Extra Features to Consider
- Tool-less Design: A slide-out tray or magnetic lid makes drive swaps effortless without screws.
- LED Activity Light: A small LED to show power and data activity is helpful.
- Cable Included: A high-quality, short USB-C to USB-C cable is ideal. Some include both USB-C and USB-A cables for broader compatibility.
- Warranty: A good brand offers at least a 1-3 year warranty.
Top Brand Recommendations (as of late 2023)
- Sabrent: Excellent value, great aluminum enclosures, often include a high-speed USB 3.2 Gen 2×2 cable.
- UGREEN: Reliable, wide range of models, good build quality, often a budget-friendly choice.
- OWC (Other World Computing): The premium Mac-focused brand. Their Envoy Pro enclosures are exceptionally well-built, often Thunderbolt, and come with great software.
- Acasis: Known for robust, metal enclosures with good thermal performance.
Troubleshooting Common Issues
Even with perfect setup, you might hit a snag. Here’s how to fix the most common problems.
“The Drive Isn’t Showing Up”
This is the most frequent issue. Follow this checklist:
- Check Physical Connections: Unplug and firmly re-plug the USB/Thunderbolt cable at both ends. Try a different cable and a different port on your computer.
- Check Disk Management/Utility: As in the setup steps, the drive may be present but uninitialized or without a drive letter. Initialize and format it.
- Update Drivers: Go to your motherboard/laptop manufacturer’s website and install the latest chipset and USB drivers. For Thunderbolt, install the Thunderbolt software/driver.
- Power Issues: Some enclosures, especially those with large SSDs, draw more power. If your USB port can’t supply enough, use a Y-cable (two USB-A plugs into the computer) or an external powered USB hub.
- Test the SSD: If possible, install the SSD internally in a desktop to confirm it’s not a dead drive.
“Speeds Are Much Slower Than Expected”
- Know Your Bottleneck: Are you using a USB 3.2 Gen 1 (5Gbps) port? That caps you at ~500 MB/s. Use a port labeled SS (SuperSpeed) or 10 Gbps.
- Thermal Throttling: Is the enclosure and drive hot to the touch? It’s throttling. Use an aluminum enclosure, add thermal pads, or avoid large, sustained file transfers. Let it cool down.
- Test with the Right Software: Use a benchmark like CrystalDiskMark, not Windows Explorer’s copy dialog, which is inaccurate. Test with large file sizes (1GB+ test file).
- SSD Speed Grade: A DRAM-less SSD (like some budget models) will have slower sustained speeds, especially in writes, regardless of the enclosure.
Connection Drops or Drive Disconnects
This is usually a power or driver issue. Ensure you’re using a high-quality cable. Update USB/Thunderbolt drivers. On Windows, you can try disabling “USB selective suspend” in Power Options. For Thunderbolt, ensure the device is “trusted” in the Thunderbolt software control panel.
Frequently Asked Questions
Can I use an NVMe SSD M.2 enclosure with my Mac?
Yes, absolutely. Most modern Macs with USB-C/Thunderbolt ports are plug-and-play compatible with NVMe enclosures. For best performance, use a Thunderbolt enclosure if your Mac has Thunderbolt ports (most Macs from 2016 onward). macOS will recognize the drive immediately, and you can format it as APFS (for Mac-only) or exFAT (for cross-platform).
What’s the difference between a USB 3.2 Gen 2 and Gen 2×2 enclosure?
The “x2” refers to using two PCIe lanes instead of one. USB 3.2 Gen 2 (10 Gbps) uses one lane, while Gen 2×2 (20 Gbps) uses two lanes, doubling the theoretical bandwidth. To benefit from a Gen 2×2 enclosure, your computer’s USB-C port must also support the 20 Gbps mode. Check your motherboard or laptop specifications. If your port is only 10 Gbps, a Gen 2×2 drive will still work but at 10 Gbps speeds.
Do I need to worry about the SSD overheating inside the enclosure?
Yes, especially during large, sustained file transfers like copying a 100GB folder. NVMe SSDs are designed to throttle when they get hot (typically 70-80°C). An all-aluminum enclosure is the best passive cooling solution. Always use the included thermal pads. For the heaviest workloads (like constant 4K video rendering), consider an enclosure with active cooling (a fan) or ensure you have good airflow around the enclosure itself.
Can I boot my computer from an NVMe SSD in an enclosure?
Technically, yes, but with major caveats. Many modern UEFI/BIOS systems can boot from a USB-attached NVMe drive, but support is not universal. It will almost certainly be slower than an internal SSD due to the USB/Thunderbolt bottleneck. It’s a viable, low-cost solution for reviving an old PC that has no internal M.2 slot, but for a primary boot drive, an internal SSD is always the better, more reliable choice.
Should I buy a used NVMe SSD enclosure?
Exercise caution. The bridge chip is the critical component and has a finite lifespan, though it’s generally good. The main risk is physical damage to the M.2 slot or the USB-C port. Inspect photos carefully for bent pins or debris. Buy from a reputable seller with a return policy. For the peace of mind and the small price difference, buying new is usually recommended for a mission-critical drive.
What’s the single most important factor when choosing an enclosure?
Without a doubt, compatibility with your specific M.2 SSD’s length and keying. If the drive doesn’t fit physically or electrically, nothing else matters. Second to that is matching the enclosure’s interface (USB 3.2 Gen 2, Gen 2×2, Thunderbolt) to your computer’s port capabilities and your performance needs. Get these two right, and you’ll have a fantastic external drive.