How Do You Install Ram on a Laptop
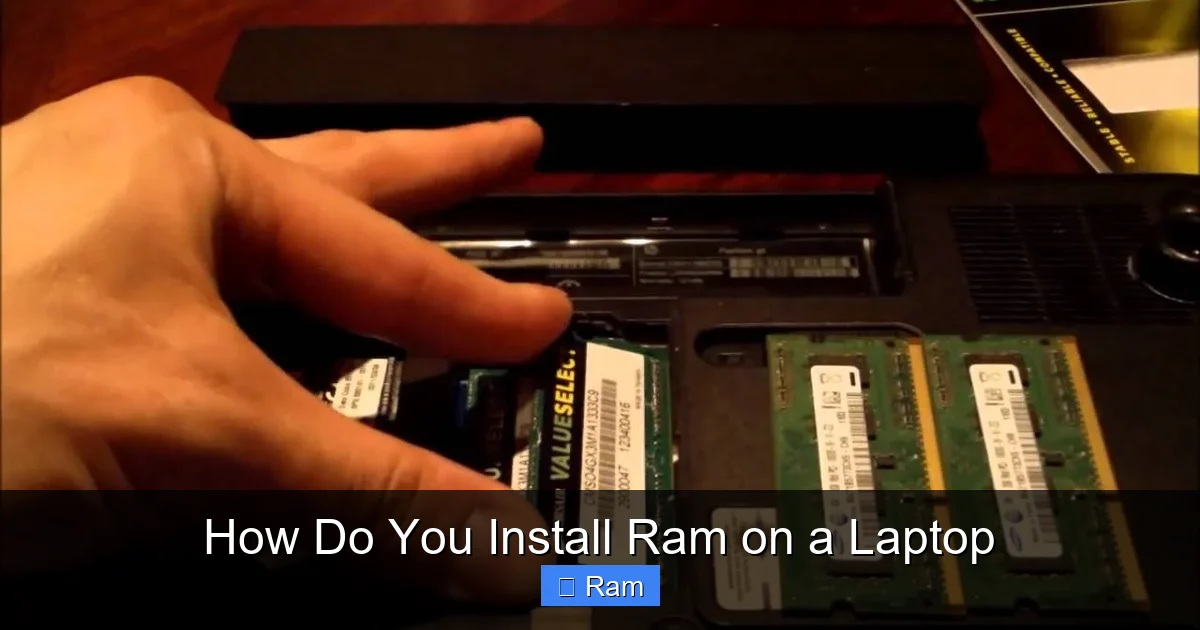
Upgrading your laptop’s memory is one of the fastest ways to boost speed and multitasking ability. This guide walks you through every step—from checking compatibility to safely installing the RAM—so you can enjoy a smoother computing experience without a tech‑store visit. Follow our simple tips and avoid common mistakes for a hassle‑free upgrade.
Key Takeaways
- Check compatibility first: Verify your laptop’s RAM type, speed, and maximum capacity before buying.
- Gather the right tools: A small Phillips screwdriver, anti‑static wrist strap, and a clean workspace are essential.
- Power down and unplug: Always shut down, remove the battery (if possible), and disconnect power to avoid damage.
- Handle modules by the edges: This prevents static discharge and protects the delicate contacts.
- Seat the RAM securely: Align the notch, press down firmly until the clips click into place.
- Test after installation: Boot up, check BIOS or system info, and run a memory test to confirm success.
- Upgrade safely: Keep screws organized, avoid forcing components, and follow the laptop’s service manual.
📑 Table of Contents
Introduction: Why Upgrade Your Laptop’s RAM?
Imagine trying to run several apps at once and watching your laptop crawl like a snail. That sluggish feeling is often caused by not enough RAM. Random Access Memory, or RAM, is the short‑term memory your computer uses to keep programs running. When you add more, the system can hold more data ready for quick access, which means faster load times, smoother multitasking, and a longer life for your machine.
Upgrading RAM is also one of the most cost‑effective performance boosts you can make. A 4 GB stick might cost under $20, yet it can feel like you’ve bought a brand‑new laptop. The process sounds intimidating, but with the right preparation, anyone can do it. This guide walks you through every step, from checking what your laptop needs to confirming the upgrade works.
1. Preparing for the Upgrade
1.1 Identify Your Laptop’s RAM Specs
The first step is to know exactly what kind of memory your laptop accepts. Look for three key pieces of information:
Visual guide about How Do You Install Ram on a Laptop
Image source: i.ytimg.com
- Form factor: Most laptops use SODIMM (Small Outline DIMM) modules, which are half the size of desktop DIMMs.
- Type and speed: DDR3, DDR4, or the newer DDR5. Each type has a specific voltage and pin layout.
- Maximum capacity: Check the manufacturer’s specs or the service manual. Some laptops top out at 16 GB, others can handle 32 GB or more.
You can find this data in three ways:
- Consult the laptop’s user manual or service guide (often a PDF on the manufacturer’s website).
- Use a free tool like CPU-Z or Speccy to read the current RAM details.
- Search the exact model number online; forums often list compatible upgrades.
1.2 Choose the Right RAM Module
Once you know the specs, pick a module that matches:
- Same type (e.g., DDR4) and speed (e.g., 2400 MHz).
- Matching voltage (usually 1.2 V for DDR4).
- Correct capacity per slot—if you have two slots and want 8 GB total, you can use two 4 GB sticks or a single 8 GB stick plus an empty slot.
Most reputable brands (Crucial, Kingston, Corsair, G.Skill) offer laptops‑specific kits that guarantee compatibility.
1.3 Gather Essential Tools
Having the right tools makes the job painless. Here’s what you’ll need:
- Phillips #0 or #1 screwdriver: Small enough for laptop screws.
- Anti‑static wrist strap: Prevents static electricity from damaging components.
- Plastic pry tool or spudger: Helps open the case without scratching.
- Soft, static‑free work surface: A clean desk or an anti‑static mat.
- Small container: To keep screws organized.
1.4 Safety First: Power Down Properly
Never attempt to install RAM while the laptop is on. Follow these steps:
- Shut down the operating system completely (do not just “restart”).
- Unplug the AC adapter.
- If your laptop has a removable battery, take it out. If not, locate the internal battery connector in the service manual and disconnect it after opening the case.
- Wear the anti‑static wrist strap and attach it to a grounded metal object.
2. Opening Your Laptop
2.1 Locate the Access Panel
Most modern laptops have a dedicated RAM access panel on the bottom. It’s usually a rectangular piece held by one or two screws. Look for a small icon that looks like a memory chip.
Visual guide about How Do You Install Ram on a Laptop
Image source: beebom.com
If you cannot find a panel, you may need to remove the entire bottom cover. In that case, refer to the service manual for screw locations and any hidden clips.
2.2 Remove Screws and Panel
Using the appropriate screwdriver, gently unscrew each fastener. Keep them in the container and note their positions—some laptops use different lengths in specific spots.
Once all screws are out, use the plastic pry tool at a corner to lift the panel. Work slowly to avoid cracking the plastic.
2.3 Discharge Residual Static
Even with a wrist strap, give the laptop a quick “press‑the‑power‑button‑for‑five‑seconds” after opening. This drains any remaining charge from capacitors.
3. Installing the New RAM
3.1 Identify the Existing Slots
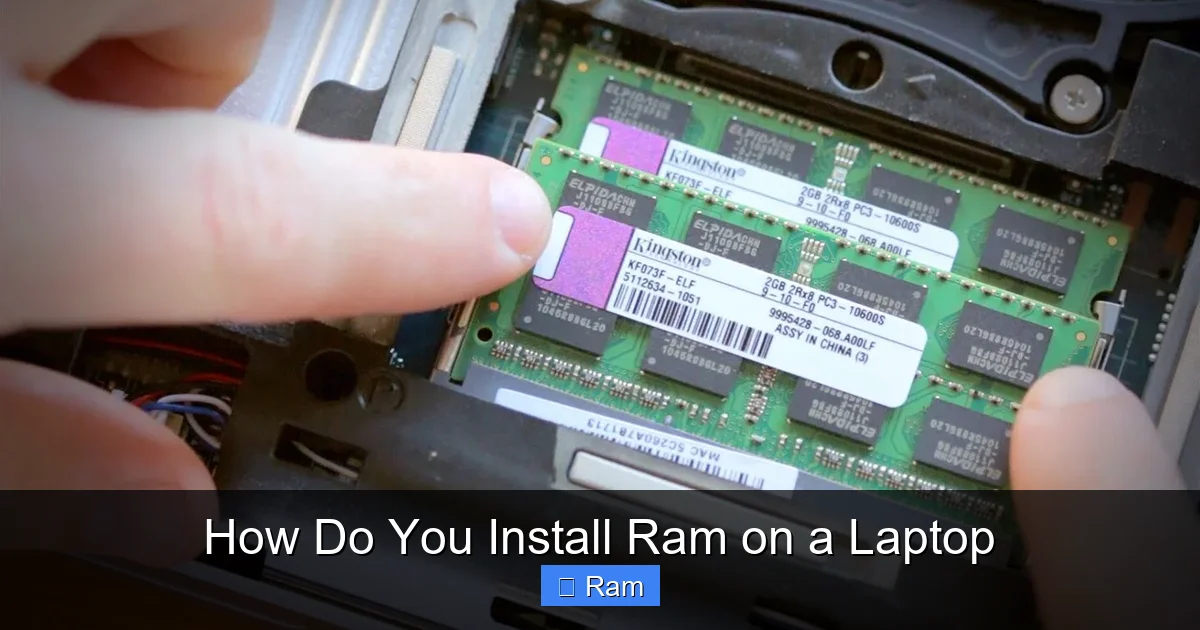
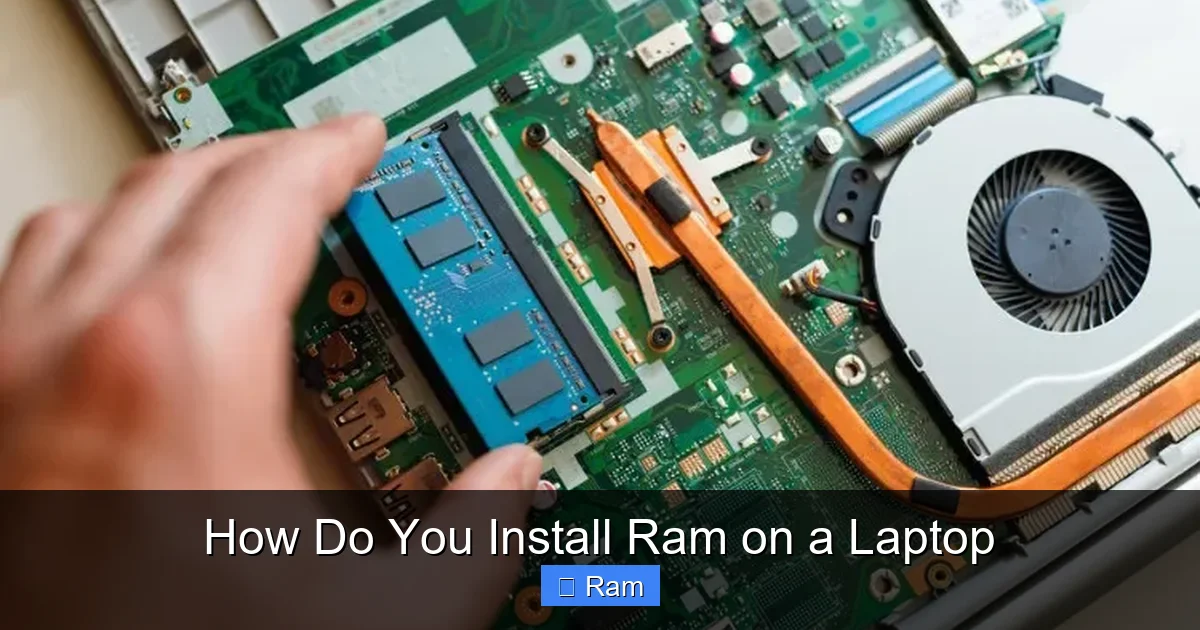
Inside, you’ll see one or two long, thin slots with a small retaining clip at each end. If there’s already a module installed, you’ll see it seated at an angle, typically 45 degrees from the board.
Visual guide about How Do You Install Ram on a Laptop
Image source: groovypost.com
3.2 Remove Old RAM (If Needed)
If you’re replacing rather than adding, gently push the retaining clips outward. The module should pop up at an angle. Hold the edges and pull it out carefully, keeping the contacts clean.
3.3 Align the New Module
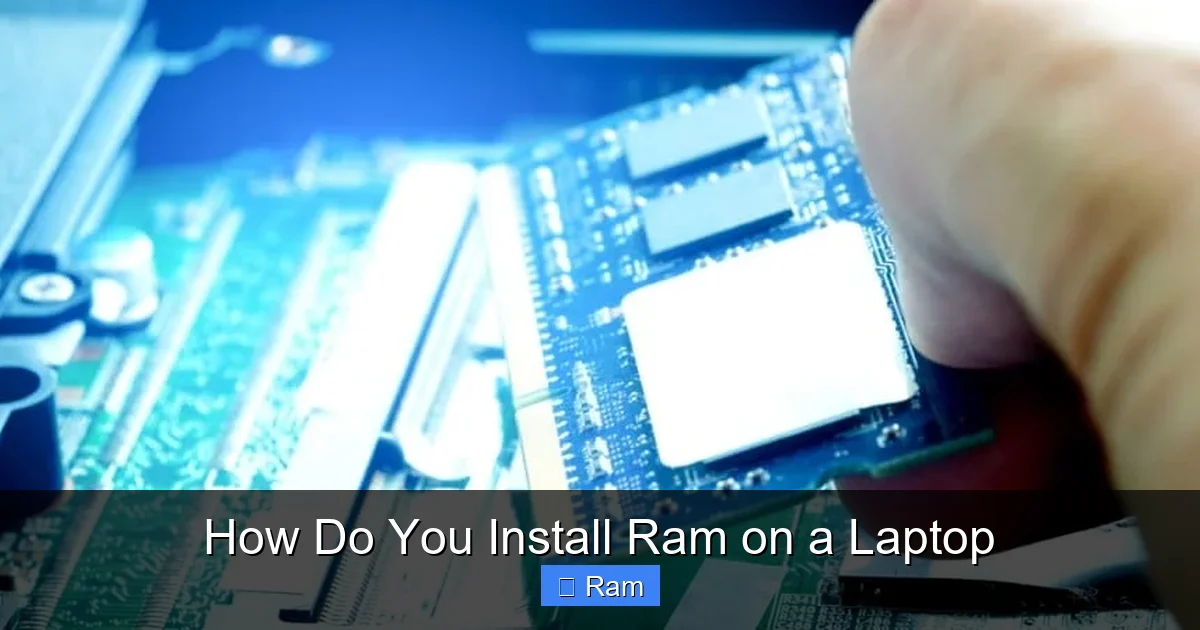
Look at the notch on the bottom of the RAM stick—it matches a key in the slot. Align the notch and slide the module into the slot at the same 45‑degree angle. Make sure the gold contacts face the motherboard.
3.4 Secure the RAM
Press the module down until it lies flat and the retaining clips snap back into place, holding the RAM securely. You should hear a faint click.
3.5 Double‑Check Installation
Give the module a gentle wiggle—there should be no movement. Ensure the clips are fully engaged on both sides.
4. Reassembling and Testing
4.1 Replace the Access Panel
Position the panel back onto the laptop chassis, align the screw holes, and re‑insert all screws. Tighten them just enough to hold the panel—don’t over‑tighten, as this can crack the plastic.
4.2 Reconnect Power and Battery
If you removed the battery, slide it back into its slot until it clicks. Plug the AC adapter back in.
4.3 Power On and Verify
Turn on the laptop. If it boots normally, you’re good to go. If you hear a series of beeps or the laptop fails to start, the RAM may not be seated correctly. Power down, re‑open, and reseat the module.
4.4 Check System Information
Once Windows or your OS loads, verify the new memory:
- Windows: Right‑click “This PC” → “Properties” → “Installed RAM”.
- macOS: Apple menu → “About This Mac” → “Memory”.
- Linux: Open a terminal and type
free -horcat /proc/meminfo.
4.5 Run a Memory Test
Running a quick diagnostic ensures the RAM is error‑free. Use built‑in tools:
- Windows Memory Diagnostic (type “mdsched” in the Start menu).
- Mac: Restart and hold the D key for Apple Diagnostics.
- Linux: Install and run
memtest86+from the GRUB menu.
Let the test run at least one pass; any errors mean the module is faulty or not fully compatible.
5. Tips, Tricks, and Common Mistakes to Avoid
5.1 Keep Your Laptop Cool
RAM installation generates a tiny amount of heat. Work in a cool, well‑ventilated area. If your laptop has a fan vent on the bottom, avoid blocking it during the upgrade.
5.2 Match RAM Speeds
If you’re adding a second stick, try to match the speed and latency of the existing module. Mixing speeds forces the system to run at the slower rate, which can diminish performance.
5.3 Don’t Forget BIOS Updates
Older BIOS versions sometimes have trouble recognizing newer RAM capacities. Check the laptop manufacturer’s website for any BIOS updates before installing high‑capacity modules.
5.4 Use Proper ESD Precautions
Even a small static discharge can damage the memory chips. Always wear the anti‑static wrist strap, and touch a grounded metal object before handling the RAM.
5.5 Document Screw Placement
Some laptops use different screw lengths in specific locations. Take a quick photo before removal to avoid mixing them up during reassembly.
5.6 Avoid Over‑Tightening Screws
Scratching the chassis or cracking the plastic can happen if you force screws. Tighten them just enough to hold the panel snugly.
Conclusion
Installing RAM on a laptop is a straightforward upgrade that can dramatically improve speed, multitasking, and overall user experience. By checking compatibility, gathering the right tools, and following the step‑by‑step process outlined above, you can complete the upgrade in under half an hour—no professional service required. Remember to handle components gently, verify the installation with system tools, and enjoy the smoother performance of your refreshed laptop.
Frequently Asked Questions
Can I install RAM while the laptop is still plugged in?
No. Always power down, unplug the AC adapter, and remove the battery (if possible) to avoid electrical damage.
Do I need to match the exact RAM speed of my existing module?
It’s best to match speed and latency for optimal performance. If you mix speeds, the system will run at the slower module’s speed.
How much RAM should I install for gaming?
Most modern games run well with 16 GB of DDR4 RAM. If you also stream or edit video, consider 32 GB for extra headroom.
What if my laptop only has one RAM slot?
You’ll need to replace the existing module with a higher‑capacity stick, as you cannot add a second module.
Will a BIOS update be necessary for a RAM upgrade?
Some older laptops require a BIOS update to recognize larger capacities. Check the manufacturer’s support page for your model.
Is it safe to use a laptop cooling pad during the upgrade?
Yes, a cooling pad can keep the laptop cool, but make sure it doesn’t obstruct the access panel or screws.