How to Check Ram of Laptop
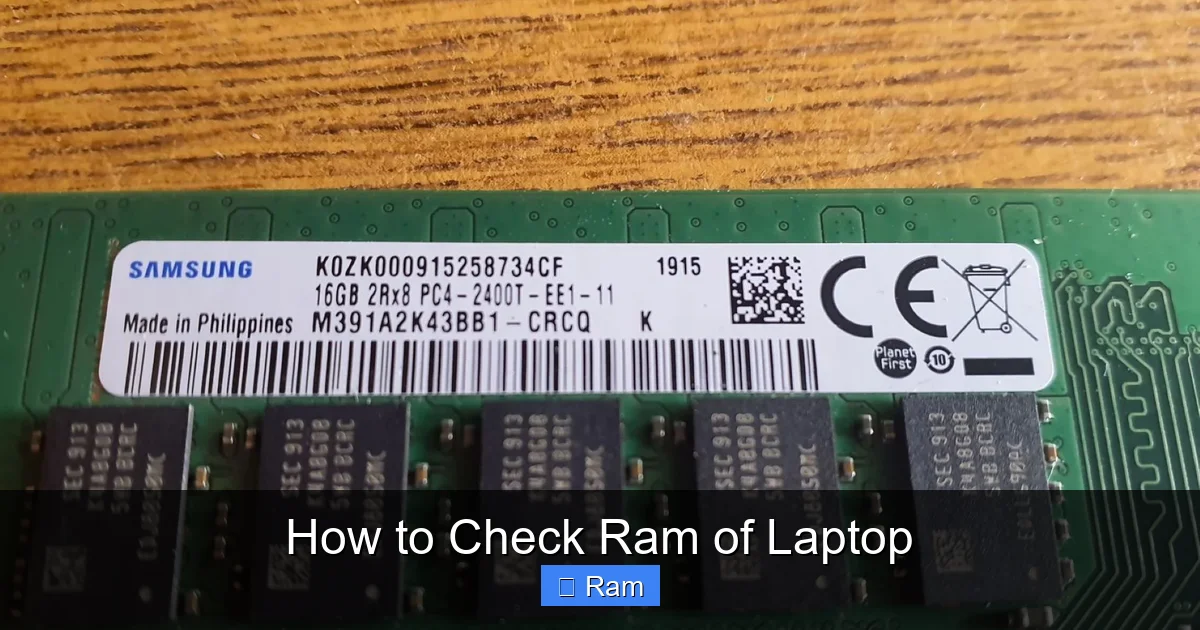
Wondering how to check RAM of laptop without opening it up? This guide walks you through simple methods for Windows, macOS, and BIOS, plus handy tips for upgrades. Get clear, step‑by‑step instructions and troubleshooting tricks so you always know exactly how much memory your notebook has.
Key Takeaways
- Multiple ways to check: Windows Settings, Task Manager, System Information, macOS About This Mac, and BIOS all reveal RAM details.
- No tools required: Most methods use built‑in software, so you don’t need third‑party apps.
- Verify physical slots: System reports tell you total capacity and how many slots are occupied, crucial before buying more RAM.
- Speed matters: Knowing the RAM type (DDR3, DDR4, DDR5) and frequency helps you match compatible modules.
- Upgrade safely: Check maximum supported RAM on the manufacturer’s site to avoid buying too much.
- Common pitfalls: Integrated graphics share memory; the reported “usable” RAM may be lower than the installed amount.
- Troubleshooting tips: If RAM isn’t recognized, reseat modules, update BIOS, or run memory diagnostics.
📑 Table of Contents
- Introduction: Why Knowing Your Laptop’s RAM Is Important
- 1. Checking RAM on Windows Laptops
- 2. Checking RAM on macOS Laptops
- 3. Checking RAM Through the BIOS/UEFI
- 4. Understanding the RAM Specs You’ll See
- 5. Upgrading Your Laptop’s RAM: Practical Steps
- Conclusion: You’re Now Equipped to Know and Upgrade Your Laptop’s Memory
Introduction: Why Knowing Your Laptop’s RAM Is Important
When you buy a laptop, the amount of RAM it ships with is one of the first specs you glance at. But the story doesn’t end there. Over time you might notice slower start‑ups, laggy multitasking, or games that stutter. The first step to fixing those issues is to know exactly how much RAM your laptop has and whether you can add more.
In this article we’ll answer the question how to check ram of laptop using methods that work on Windows, macOS, and even the BIOS. You’ll learn not only how to see the number, but also how to understand the type, speed, and slot configuration. By the end, you’ll feel confident deciding if an upgrade is worth it and how to do it safely.
1. Checking RAM on Windows Laptops
Windows provides several built‑in tools that show RAM details instantly. Choose the one you find most convenient.
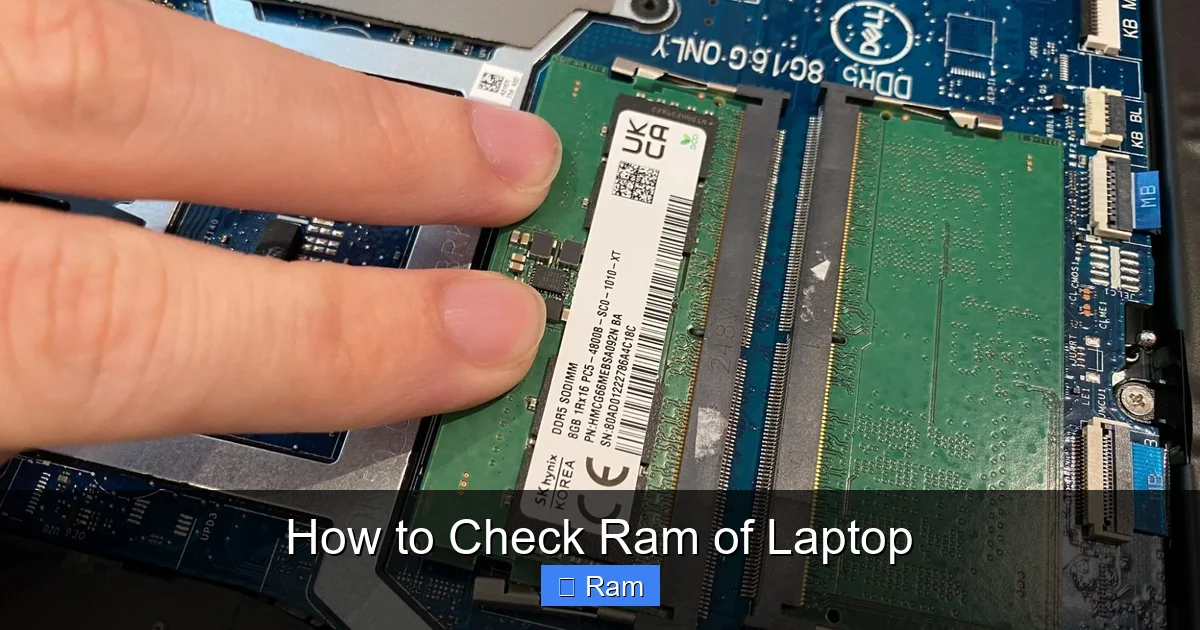
Visual guide about How to Check Ram of Laptop
Image source: cdn.mos.cms.futurecdn.net
1.1 Using Settings (Windows 10 & 11)
- Click the Start button and select the Settings gear icon.
- Navigate to System > About.
- Under the Device specifications section, you’ll see “Installed RAM”. This tells you the total capacity (e.g., 8 GB).
This method is quick, but it only shows total size, not slot usage or speed.
1.2 Using Task Manager
- Press Ctrl + Shift + Esc to open Task Manager.
- Click the Performance tab.
- Select Memory on the left. Here you’ll see total RAM, type (DDR4, DDR5), speed (e.g., 3200 MHz), and how many slots are in use.
Task Manager gives a more detailed snapshot, including how much RAM is currently available.
1.3 Using System Information
- Press Windows + R, type
msinfo32, and press Enter. - In the System Summary, look for “Installed Physical Memory (RAM)”.
- For slot details, expand Components > Memory. You’ll see each module’s capacity, speed, and form factor.
This tool is especially handy for laptops with two slots, letting you see if one is empty.
1.4 Using Command Prompt or PowerShell
If you love the command line, run this PowerShell command:
Get-CimInstance -ClassName Win32_PhysicalMemory | Format-Table Manufacturer,Capacity,Speed,TagThe output lists each stick’s capacity (in bytes), speed, and slot tag (e.g., “ChannelA‑Slot0”). It’s a fast way to capture data for a spreadsheet.
1.5 Quick Tip: Use a Free Third‑Party App
While not required, tools like CPU-Z or Speccy provide a clean visual layout of RAM type, latency, and slot occupancy. Download from the official site, run the program, and click the “Memory” tab.
2. Checking RAM on macOS Laptops
Apple’s macOS also makes it easy to find RAM information without any extra software.
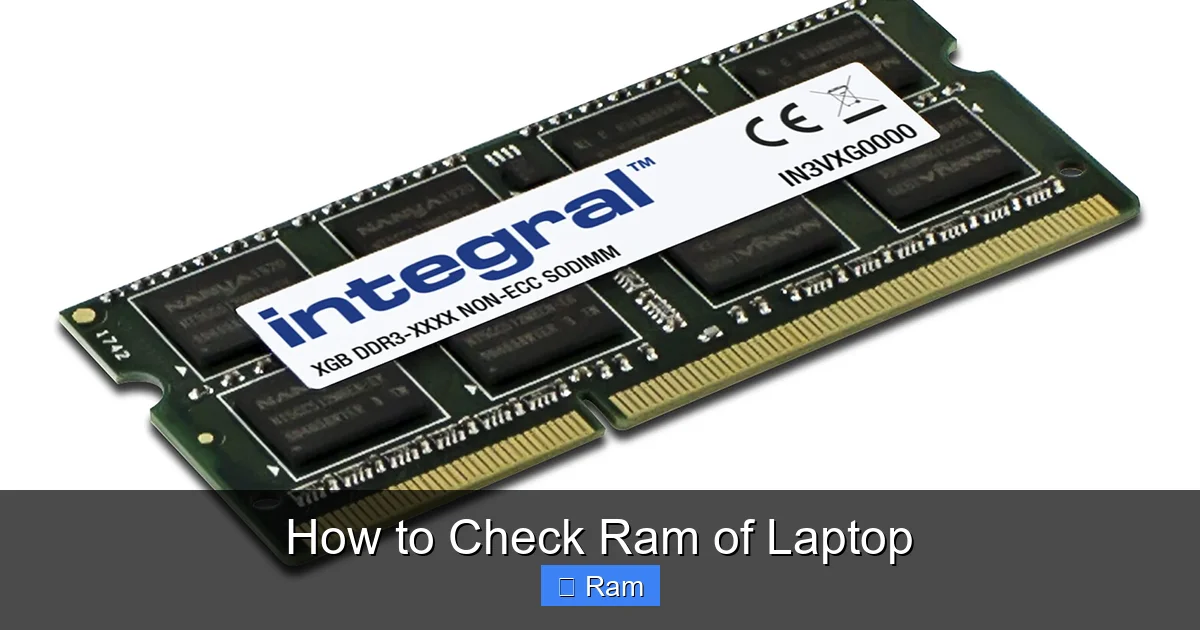
Visual guide about How to Check Ram of Laptop
Image source: robots.net
2.1 About This Mac
- Click the Apple logo in the top‑left corner.
- Select About This Mac.
- The Overview tab displays “Memory” with the total size (e.g., 16 GB 2666 MHz DDR4).
This view also tells you the memory speed and whether it’s integrated or removable (most newer MacBooks have soldered RAM).
2.2 System Report for Slot Details
- From the About This Mac window, click System Report….
- In the sidebar, choose Memory under the “Hardware” section.
- Here you’ll see each slot’s size, type, and status (e.g., “Installed” or “Empty”).
If the “Empty” count is zero, your Mac’s RAM is soldered and cannot be upgraded.
2.3 Terminal Command
Open Terminal** (Applications > Utilities) and type:
system_profiler SPMemoryDataTypeThe output lists each DIMM, its size, type, and speed. Handy for scripting or remote checks.
2.4 Quick Tip: Check Compatibility Before Buying
MacBooks use proprietary memory modules. Always verify the exact part number on Apple’s support page before purchasing upgrades.
3. Checking RAM Through the BIOS/UEFI
When the operating system can’t detect a module, the BIOS is the ultimate source of truth. Accessing it also shows the maximum supported RAM.

Visual guide about How to Check Ram of Laptop
Image source: solveyourtech.com
3.1 Entering BIOS/UEFI
- Power off the laptop.
- Turn it on and immediately press the manufacturer’s key (common ones: F2, Delete, Esc, or F10). The exact key appears briefly on the splash screen.
3.2 Locating Memory Information
Once inside, look for a menu named “Memory”, “System Information”, or “Advanced”. You’ll typically see:
- Total installed memory.
- Memory type (DDR3/DDR4/DDR5).
- Speed (e.g., 2400 MHz).
- Number of occupied slots.
- Maximum supported capacity.
Write these details down before exiting.
3.3 Why BIOS Checks Matter
If Windows or macOS reports less RAM than you physically installed, the BIOS may be defaulting to a lower speed or disabling a faulty stick. Updating the BIOS to the latest version often resolves such mismatches.
3.4 Quick Tip: Reset BIOS Settings
Sometimes a simple “Load Optimized Defaults” reset helps the system recognize new modules after a hardware upgrade.
4. Understanding the RAM Specs You’ll See
Knowing the numbers is only half the story. Let’s decode the most common terms you’ll encounter when you check the RAM of a laptop.
4.1 Capacity (GB)
This is the total amount of memory available to the operating system. Common laptop capacities are 4 GB, 8 GB, 16 GB, and 32 GB. More capacity allows more applications to run simultaneously.
4.2 Type (DDR3, DDR4, DDR5)
DDR stands for “Double Data Rate”. Newer generations are faster and use less power. Most laptops from 2015 onward use DDR4, while the latest 2023‑2024 models may have DDR5.
4.3 Speed (MHz)
Speed, measured in megahertz, indicates how quickly data can be read or written. DDR4‑2400 means 2400 MHz. Higher numbers improve performance, especially in memory‑intensive tasks like video editing.
4.4 Latency (CL)
CAS latency (e.g., CL16) is the delay between a request and the data delivery. Lower latency is better, but most laptop users won’t notice the difference unless they’re benchmarking.
4.5 Form Factor (SODIMM)
Laptops use Small Outline DIMM (SODIMM) modules, typically 204‑pin for DDR4 and 260‑pin for DDR5. The physical size matters when you purchase upgrades.
4.6 Dual‑Channel vs. Single‑Channel
If your laptop has two identical sticks, it can run in dual‑channel mode, effectively doubling the data path. This yields a noticeable performance boost in certain games and workloads.
5. Upgrading Your Laptop’s RAM: Practical Steps
Now that you know how to check RAM of laptop, you might wonder if you can add more. Follow these steps to upgrade safely.
5.1 Verify Upgrade Possibility
- Check the number of slots: Use Task Manager or System Information to see if a slot is free.
- Maximum supported RAM: Look up your laptop model on the manufacturer’s website.
- Whether RAM is soldered: MacBooks and many ultrabooks have non‑removable memory.
5.2 Purchase the Right Module
Match these three specs:
- Type (DDR4 or DDR5).
- Speed (must be equal to or higher than existing modules; the system will run at the lowest common speed).
- Form factor (SODIMM).
Buying a kit (two identical sticks) ensures dual‑channel operation.
5.3 Installation Guide (General)
- Shut down the laptop and disconnect power.
- Remove the bottom cover – usually a few Phillips screws.
- Locate the RAM slots; they look like tiny, long slots with clips on either side.
- If adding a module, insert it at a 45° angle, then press down until the clips click.
- If replacing, release the existing stick by pulling the clips outward, then insert the new one.
- Re‑assemble the cover, power on, and verify the upgrade using the methods above.
Static electricity can damage components. Touch a metal part of the chassis before handling RAM.
5.4 Post‑Upgrade Checks
After booting, repeat the “how to check ram of laptop” steps to confirm the new total and that both slots are recognized. Run a memory diagnostic (Windows Memory Diagnostic or macOS Apple Diagnostics) to ensure stability.
5.5 Quick Tip: Keep the BIOS Updated
Manufacturers often release BIOS updates that improve memory compatibility, especially for higher‑capacity modules.
Conclusion: You’re Now Equipped to Know and Upgrade Your Laptop’s Memory
Checking the RAM of a laptop is a simple task once you know where to look. Whether you prefer the visual ease of Windows Settings, the detailed tables in macOS System Report, or the low‑level confirmation from BIOS, you have multiple reliable paths. Understanding the specs—type, speed, latency, and slot usage—helps you make informed buying decisions and avoid costly mistakes.
Armed with this knowledge, you can confidently assess whether your current memory meets your needs or if a modest upgrade will breathe new life into an aging notebook. Remember to verify compatibility, handle modules with care, and double‑check results after installation. Happy memory hunting!
Frequently Asked Questions
How can I see the exact amount of RAM my laptop has without opening it?
Use built‑in tools: on Windows open Settings → System → About, or Task Manager’s Performance tab; on macOS click Apple → About This Mac. Both show total installed RAM instantly.
Why does Windows show less usable RAM than the total installed?
Integrated graphics often reserve part of the memory for video processing, and some systems reserve memory for hardware functions, so usable RAM can be slightly lower than the physical amount.
Can I upgrade the RAM on a MacBook Air?
Most recent MacBook Air models have soldered RAM, meaning it cannot be upgraded after purchase. Check the “Memory” section in System Report; if it shows “Soldered”, the RAM is fixed.
What should I do if the BIOS doesn’t recognize a newly installed RAM stick?
First, reseat the module ensuring it clicks into place. Then update the BIOS to the latest version and verify that the stick’s speed/type matches the laptop’s specifications.
Is it better to install two 8 GB sticks or one 16 GB stick?
Two identical sticks enable dual‑channel mode, offering better performance in many applications. If your laptop has only one slot, a single 16 GB stick is the only option.
Do I need any special software to test if my RAM is working correctly after an upgrade?
No special software is required; Windows includes the Memory Diagnostic tool, and macOS offers Apple Diagnostics (hold D at startup). Both run thorough tests and report any errors.