How to Check Ram of a Laptop
Need to know your laptop’s memory? This guide shows you simple ways to check RAM of a laptop using built‑in system tools, command prompts, and free utilities across Windows, macOS, and Linux. Follow the steps, verify upgrade options, and keep your machine running smoothly.
Key Takeaways
- Multiple methods: You can check RAM with graphical interfaces, command‑line commands, or third‑party apps.
- OS‑specific steps: Windows, macOS, and Linux each have quick built‑in tools for RAM inspection.
- Upgrade planning: Knowing exact RAM size, type, and slot usage helps you buy compatible modules.
- BIOS/UEFI check: The firmware view confirms hardware details that OS tools might hide.
- Free utilities: Tools like CPU‑Z, Speccy, and HWiNFO provide deeper insights without cost.
- Performance tip: If your laptop shows low free RAM, consider closing apps or adding more memory.
- Safety first: Always power down and discharge static before opening a laptop to inspect physical RAM.
📑 Table of Contents
- Introduction: Why Knowing Your Laptop’s RAM Matters
- 1. Checking RAM on Windows Laptops
- 2. Checking RAM on macOS Laptops
- 3. Checking RAM on Linux Laptops
- 4. Verifying Physical RAM Without Turning On the Laptop
- 5. Interpreting the Results and Deciding What to Do Next
- Conclusion: Keep Your Laptop Happy by Knowing Its Memory
Introduction: Why Knowing Your Laptop’s RAM Matters
Imagine you’re trying to edit a video, run a game, or simply have many browser tabs open. Your laptop feels sluggish, and you wonder if it’s the processor, the hard drive, or something else. In most cases, the answer is the amount of RAM (Random Access Memory) your machine has available.
RAM is the short‑term memory that stores data your computer needs right now. The more RAM you have, the more programs can run simultaneously without slowing down. Before you decide to buy a new laptop or spend money on an upgrade, you should first know exactly how much RAM is installed, what type it is, and whether there are empty slots for expansion.
This article walks you through how to check RAM of a laptop using the simplest built‑in methods, command‑line tricks, and free third‑party utilities. We cover Windows, macOS, and Linux, so no matter what operating system you use, you’ll find a clear, step‑by‑step path.
1. Checking RAM on Windows Laptops
Windows provides several native ways to view memory information. Below are the most common methods, each with a quick “how‑to” guide.
Visual guide about How to Check Ram of a Laptop
Image source: robots.net
1.1 Using the Settings App
This is the fastest way for most users.
- Press Win + I to open Settings.
- Navigate to System → About.
- Under Device specifications, you’ll see “Installed RAM”.
The value shown is the total memory recognized by Windows. If you need details like speed (MHz) or slot usage, move to the next method.
1.2 Using the Task Manager
Task Manager gives you a live view of memory usage.
- Press Ctrl + Shift + Esc or right‑click the taskbar and select Task Manager.
- Click the Performance tab.
- Select Memory on the left. You’ll see total RAM, speed, form factor (DIMM/SoDIMM), and how many slots are used.
This screen also shows how much RAM is currently in use, which can help you decide if you need more.
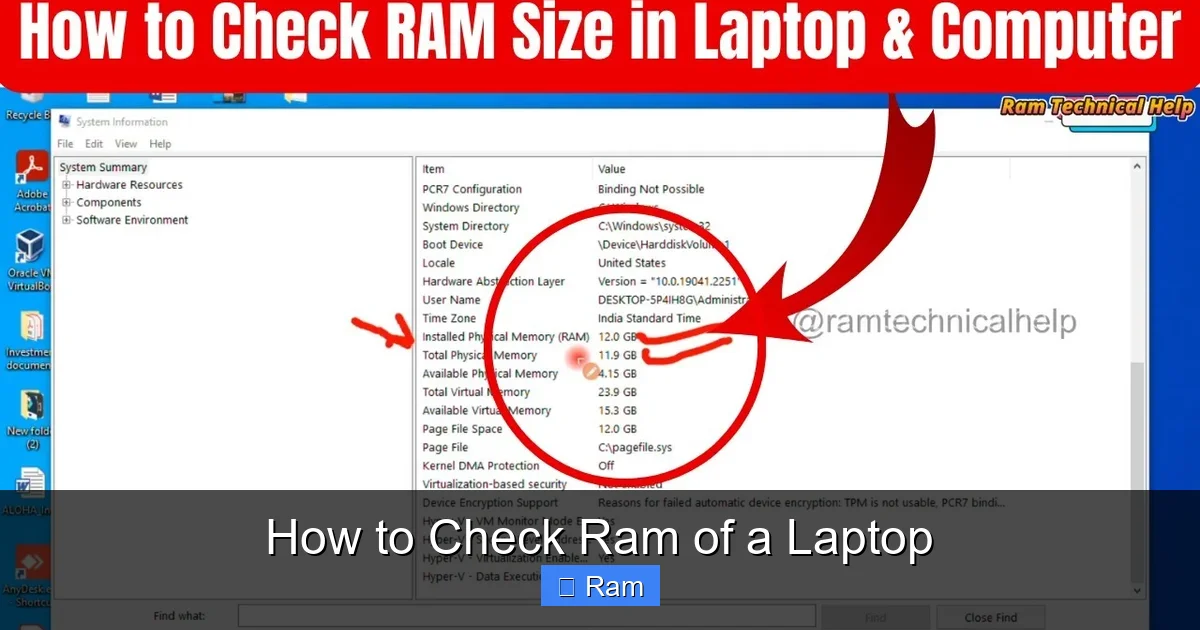
1.3 Using System Information (msinfo32)
For a more detailed report:
- Press Win + R, type
msinfo32, and press Enter. - In the System Summary, look for Installed Physical Memory (RAM) and Total Physical Memory.
- Scroll down to Hardware Resources → Memory for slot‑by‑slot data (if your BIOS provides it).
1.4 Command Prompt & PowerShell
If you love typing commands, these one‑liners work.
- Open Command Prompt and type:
systeminfo | findstr /C:"Total Physical Memory" - Or use PowerShell for richer output:
Get-ComputerInfo | Select-Object CsTotalPhysicalMemory
The result is shown in bytes; divide by 1,073,741,824 to get gigabytes.
1.5 Third‑Party Free Tools
When you need deeper insight (e.g., voltage, timings), try:
- CPU‑Z – Shows each RAM module’s size, speed, manufacturer, and slot number.
- Speccy – Gives a clean overview of RAM alongside CPU, GPU, and storage.
- HWiNFO – Ideal for power users; offers real‑time monitoring and detailed reports.
All three are free for personal use, lightweight, and safe to download from their official sites.
2. Checking RAM on macOS Laptops
MacBooks hide most hardware details behind a sleek UI, but Apple still provides easy ways to see your memory.
Visual guide about How to Check Ram of a Laptop
Image source: zestcell.com
2.1 About This Mac
The simplest method:
- Click the Apple menu in the top‑left corner.
- Select About This Mac.
- In the Overview tab, you’ll see “Memory” with the total size (e.g., 16 GB 2666 MHz DDR4).
Click System Report… for a deeper dive.
2.2 System Information Utility
This built‑in tool lists each memory slot.
- From the About This Mac window, click System Report….
- In the sidebar, choose Memory under the Hardware section.
- You’ll see a table with each slot, its size, type, speed, and whether it’s “Installed” or “Empty”.
2.3 Terminal Commands
For command‑line fans, macOS offers system_profiler and sysctl.
- Open Terminal (Applications → Utilities → Terminal).
- Run:
system_profiler SPMemoryDataType - Or a concise view:
sysctl hw.memsize(returns bytes; divide by 1,073,741,824 for GB).
2.4 Third‑Party Apps
Apps like iStat Menus or the free MacTracker can show RAM details, but for most users the built‑in tools are enough.
3. Checking RAM on Linux Laptops
Linux distributions vary, but the core commands are universal.
Visual guide about How to Check Ram of a Laptop
Image source: i.ytimg.com
3.1 Using the “free” Command
Open a terminal and type:
free -hThe “-h” flag makes the output human‑readable. Look at the “total” line under “Mem:” – that’s your installed RAM.
3.2 Using “/proc/meminfo”
For a raw view:
cat /proc/meminfo | grep MemTotalThe value is in kilobytes; divide by 1,048,576 to get gigabytes.
3.3 Using “dmidecode”
To see each slot’s size and type, you need root privileges:
sudo dmidecode -t memoryThe output lists each DIMM, its capacity, speed, and whether the slot is empty.
3.4 Graphical Tools
If you prefer a GUI, try:
- Hardinfo – Shows a “Memory” section with details.
- GNOME System Monitor – Under the “Resources” tab you’ll see total RAM and usage.
4. Verifying Physical RAM Without Turning On the Laptop
Sometimes you need to know the exact module model (e.g., for ordering a matching upgrade) and software tools can’t provide that. Here’s how to check physically.
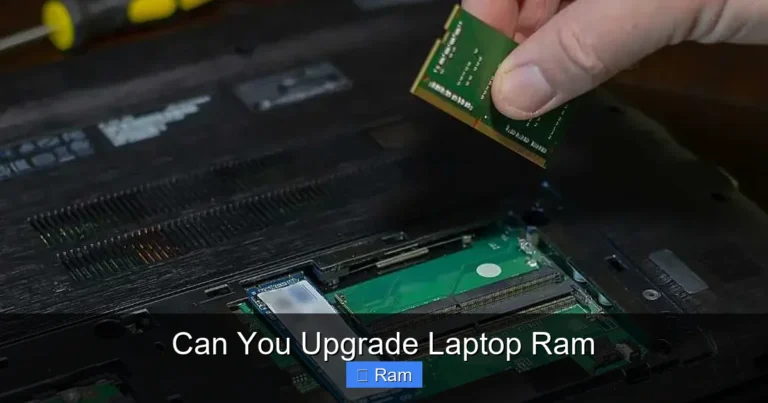
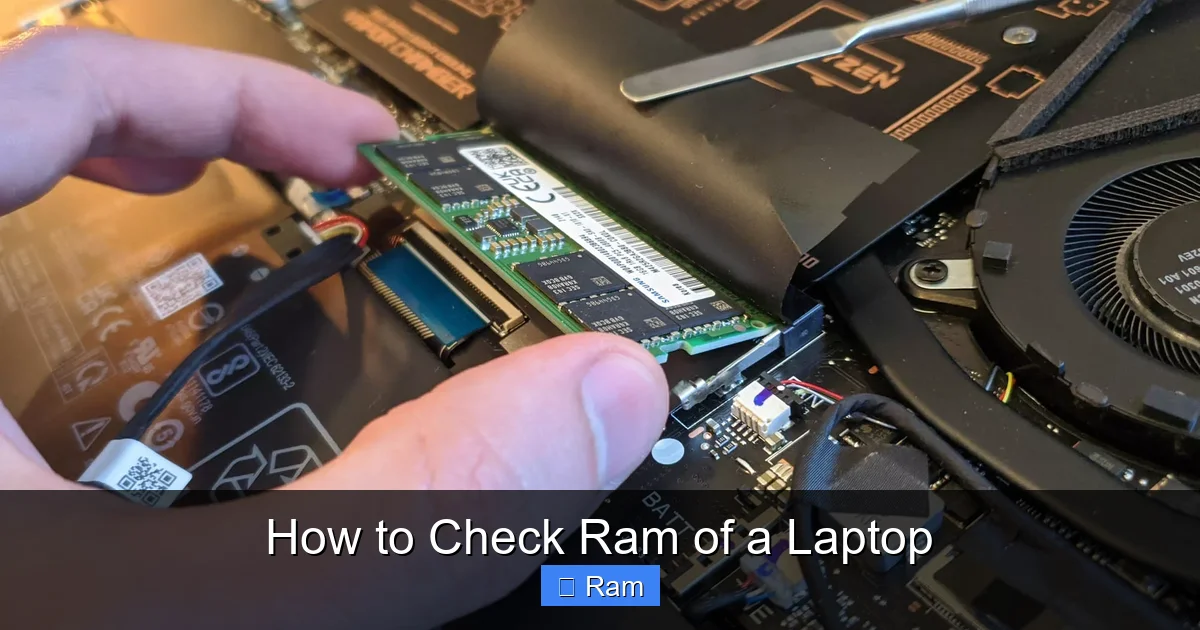
4.1 Accessing the Memory Bay
- Shut down the laptop and unplug the power adapter.
- Press and hold the power button for 10 seconds to discharge any residual charge.
- Locate the service panel on the bottom. Most modern ultrabooks have a single removable panel secured with a few screws.
- Use a small Phillips screwdriver to remove the screws, then gently pry the panel open.
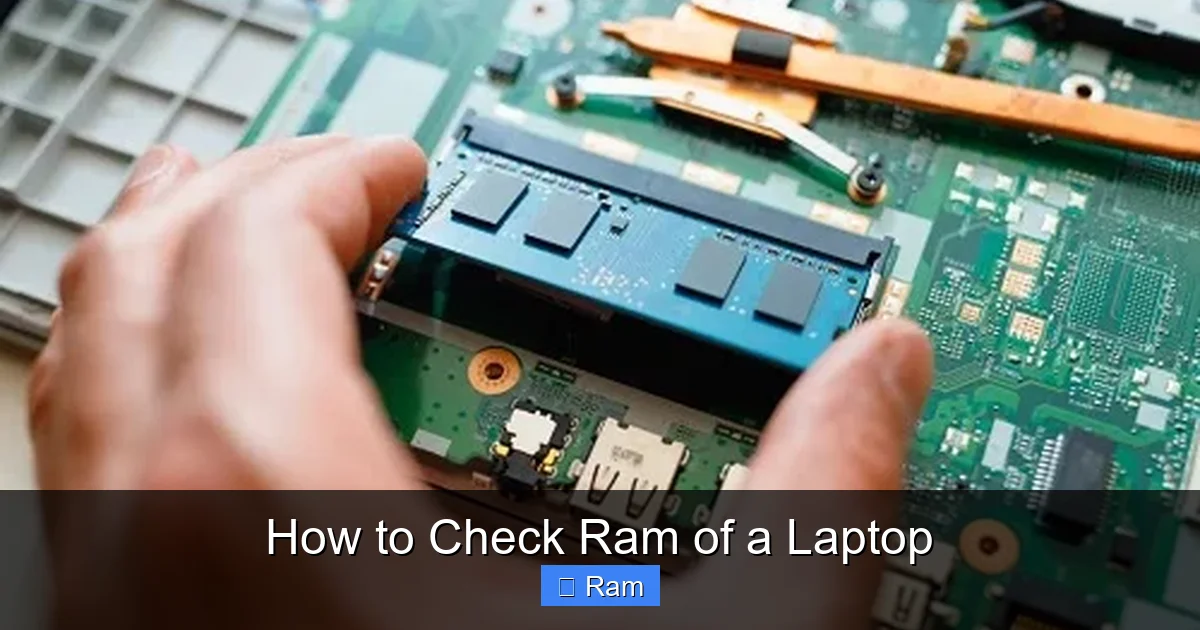
- Identify the RAM module(s). They look like thin sticks with a notch on one side.
4.2 Reading the Labels
The sticker on the module shows:
- Capacity (e.g., 8 GB)
- Type (DDR3, DDR4, LPDDR4X)
- Speed (2400 MHz, 3200 MHz)
- Part number – useful when searching for exact replacements.
Take note of the number of empty slots; that tells you whether you can add more RAM or must replace existing sticks.
4.3 Re‑assembly Tips
- Press the module firmly into the slot at a 30‑degree angle, then click it down flat.
- Replace the service panel, tighten screws evenly, and avoid over‑tightening.
- Power on the laptop; if the OS doesn’t recognize the new memory, double‑check the seating.
5. Interpreting the Results and Deciding What to Do Next
Now that you know how to check RAM, what should you do with the information?
5.1 Matching Your Needs to Your RAM
- Light browsing & office work: 4‑8 GB is usually enough.
- Photo/video editing, gaming, virtualization: 16 GB or more provides a smooth experience.
- Future‑proofing: If your laptop supports 32 GB, consider buying a kit now to avoid later hassle.
5.2 Compatibility Checks
When buying new modules, verify:
- Form factor – most laptops use SO‑DIMM.
- Type – DDR3, DDR4, or the newer LPDDR4X. Mixing types is not possible.
- Speed – match or exceed the existing module’s MHz; the system will run at the slower speed if they differ.
- Voltage – especially important for older DDR3 laptops.
5.3 Using Software to Optimize Existing RAM
If you can’t upgrade, consider these tricks:
- Close unused browser tabs and background apps.
- Disable startup programs via Task Manager (Windows) or System Preferences (macOS).
- Use “ReadyBoost” on Windows with a fast USB drive (only a temporary fix).
- Upgrade to a lighter OS build (e.g., Linux Mint XFCE) for older machines.
5.4 When to Replace the Laptop
If your laptop maxes out at 8 GB and you need 16 GB or more, the cost of a new machine may be lower than buying a high‑end upgrade. Also, older laptops often have soldered RAM that cannot be changed at all.
Conclusion: Keep Your Laptop Happy by Knowing Its Memory
Knowing how to check RAM of a laptop is the first step toward a faster, more reliable computer. Whether you use Windows, macOS, or Linux, built‑in tools let you see total memory in seconds. For deeper details—or when you’re ready to buy an upgrade—free utilities and a quick peek inside the chassis give you the exact module specs you need.
Take a moment now to verify your RAM. If you discover unused slots, consider adding more memory and feel the difference instantly. If you’re already at the max, you can still improve performance by managing running apps and keeping the system tidy. With the knowledge from this guide, you’ll always be ready to make the right decision for your laptop’s memory.
Frequently Asked Questions
How can I quickly see my laptop’s RAM without opening any programs?
On Windows press Win + Pause/Break to open System, where “Installed RAM” is displayed. On macOS click the Apple menu → About This Mac. Linux users can run free -h in a terminal.
Why does my laptop show less RAM than I bought?
Part of the memory is reserved for the integrated graphics or system firmware. Additionally, a faulty module may be detected but not usable, lowering the reported total.
Can I mix different RAM speeds in the same laptop?
Yes, but the system will run all modules at the speed of the slowest one. For best performance, use identical sticks.
Is it safe to upgrade RAM on an ultrabook?
Most ultrabooks have accessible SO‑DIMM slots and can be upgraded safely if you follow anti‑static precautions. However, some newer models have soldered RAM, making upgrades impossible.
Do I need to reinstall the operating system after adding more RAM?
No. RAM is detected automatically at boot. Just power on the laptop and verify the new amount in System Settings.
What free tool gives the most detailed RAM information?
CPU‑Z (Windows) and dmidecode (Linux) provide the deepest details, including manufacturer, part number, timings, and voltage.