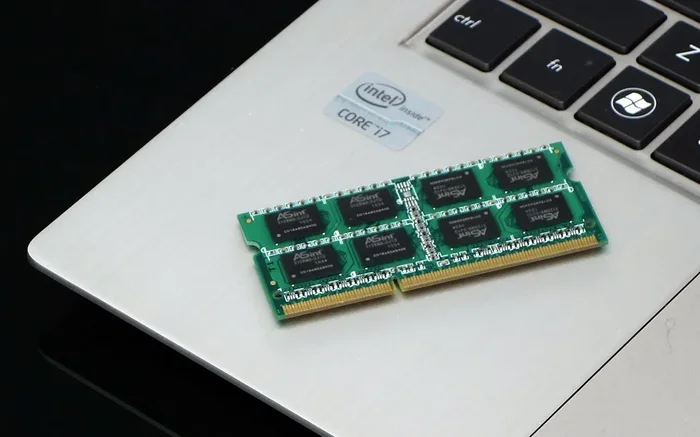
Ram Upgrade for Hp Pavilion Laptop
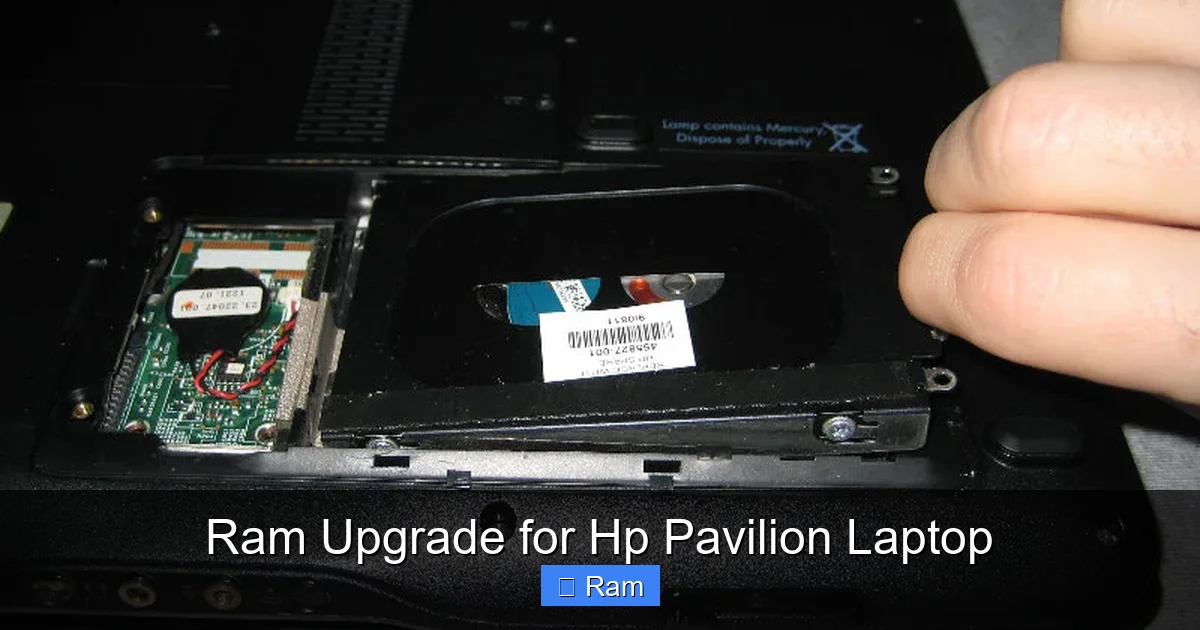
Give your HP Pavilion laptop a speed boost by upgrading its RAM. This guide walks you through checking compatibility, choosing the right memory, and installing it yourself—no tech‑guru needed. Follow our simple tips and enjoy smoother multitasking, faster apps, and longer laptop life.
Key Takeaways
- Understanding ram upgrade for hp pavilion laptop: Provides essential knowledge
📑 Table of Contents
- Introduction: Why a RAM Upgrade Matters for Your HP Pavilion
- 1. Identify Your HP Pavilion Model and Its RAM Specs
- 2. Choosing the Right Memory Modules
- 3. Preparing for the Upgrade
- 4. Installing the New RAM
- 5. Post‑Installation: Verify and Optimize
- 6. Troubleshooting Common Issues
- Conclusion: A Small Investment for Big Gains
Introduction: Why a RAM Upgrade Matters for Your HP Pavilion
Let’s face it—your HP Pavilion laptop was fast when you first bought it, but after a few years of updates, streaming, and multitasking, it can feel sluggish. The culprit is often memory. RAM (Random Access Memory) is the short‑term storage that lets your computer keep programs ready for instant use. When RAM is low, the system starts swapping data to the slower hard drive or SSD, and you notice lag.
Upgrading the RAM is one of the cheapest, most effective ways to revive a tired Pavilion. You’ll see faster app launches, smoother video playback, and the ability to keep more tabs open without freezing. The best part? You don’t need a certified technician—just a screwdriver, a little patience, and the right memory sticks.
1. Identify Your HP Pavilion Model and Its RAM Specs
Find the exact model number
The Pavilion line includes dozens of models: 14‑inch, 15‑inch, 17‑inch, Gaming, Envy‑style, and even convertible 2‑in‑1s. The model number (e.g., HP Pavilion 15‑ek0013cl) is usually printed on a sticker at the bottom of the laptop or inside the battery compartment. You can also locate it in Windows:
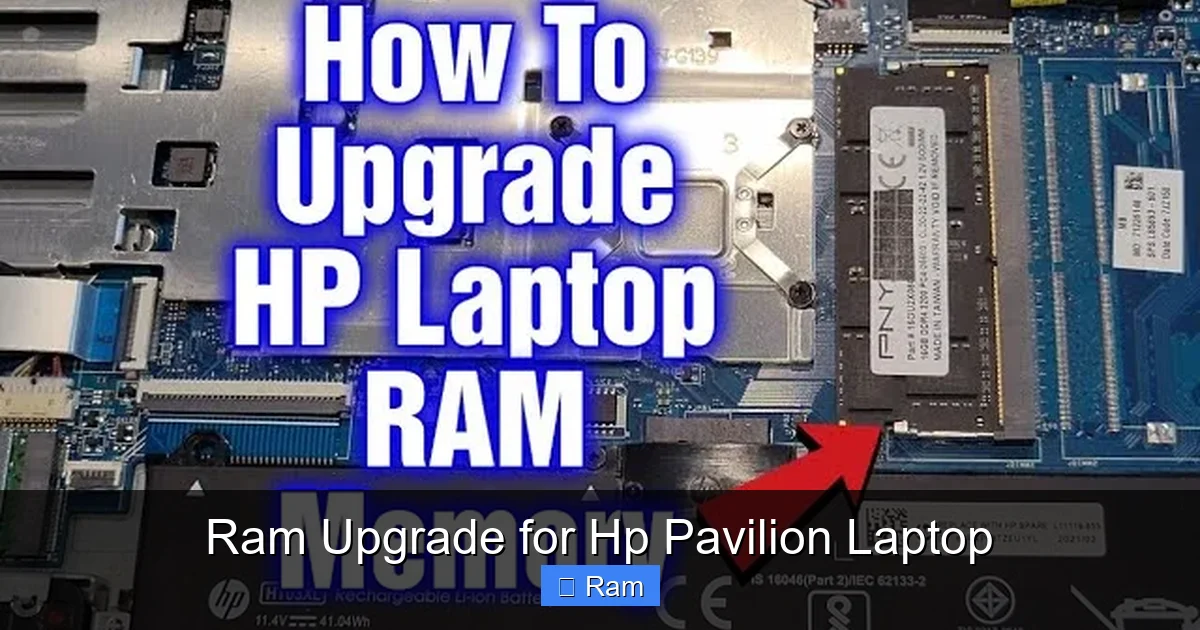
Visual guide about Ram Upgrade for Hp Pavilion Laptop
Image source: i.ytimg.com
- Press Windows + R, type
msinfo32, and hit Enter. - Look for “System Model” in the System Summary.
Check current RAM amount and type
Open the Task Manager (Ctrl + Shift + Esc) and click the Performance tab. Under “Memory,” you’ll see total RAM, speed (e.g., 2666 MHz), and form factor (usually SO-DIMM for laptops). You can also run a free tool like CPU‑Z to see detailed specs, including voltage and CAS latency.
Maximum supported RAM
HP’s official documentation or the HP Support site lists the maximum RAM for each model. Most modern Pavilion 15‑series laptops support up to 16 GB or 32 GB, but older models may cap at 8 GB. Knowing this limit prevents overspending on memory you can’t use.
2. Choosing the Right Memory Modules
DDR generation and compatibility
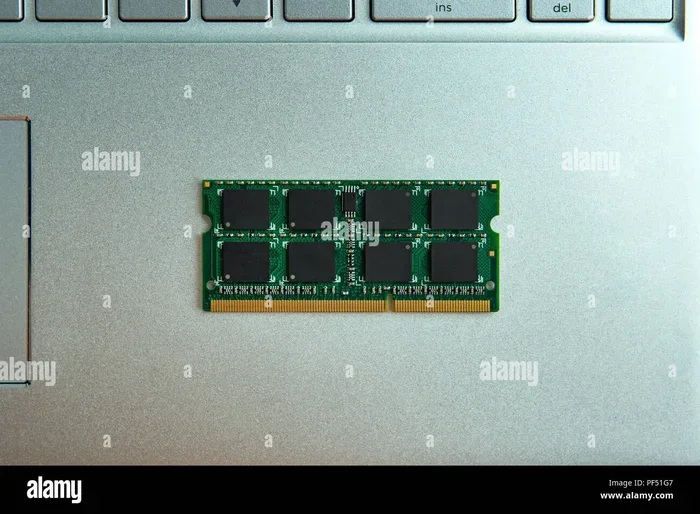
All HP Pavilion laptops released after 2015 use DDR4 SO‑DIMM modules. DDR3 or DDR5 will not fit. Verify the generation by checking the current module’s label or the specs you gathered earlier.
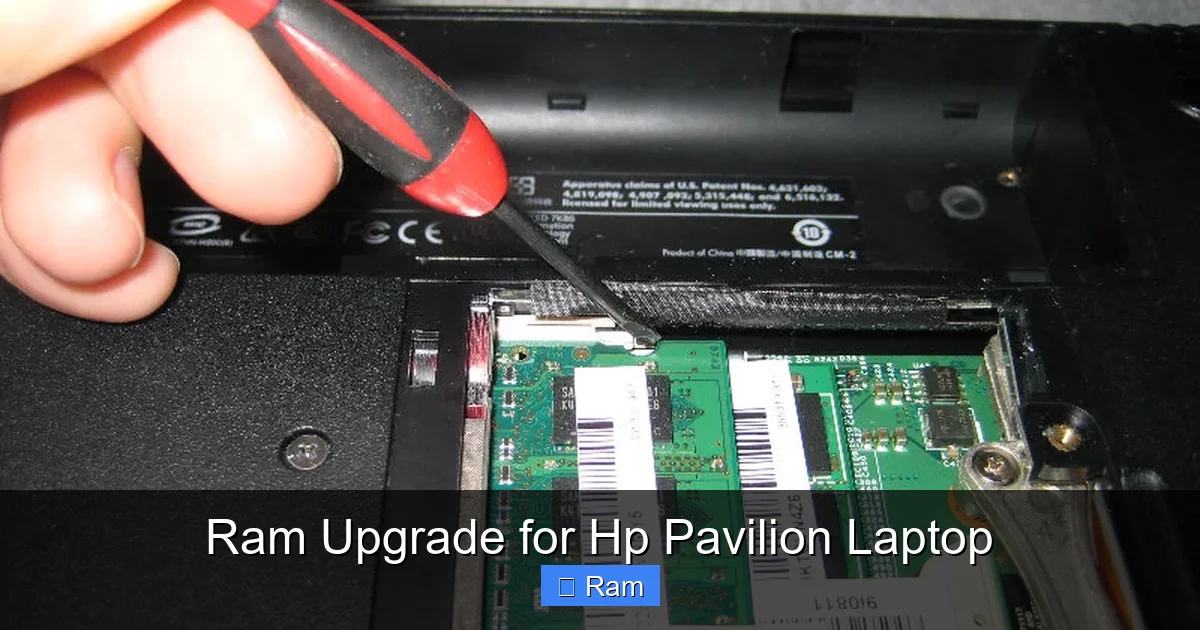
Visual guide about Ram Upgrade for Hp Pavilion Laptop
Image source: paulstravelpictures.com
Speed (MHz) and latency
Typical speeds are 2133 MHz, 2400 MHz, 2666 MHz, and 3200 MHz. The laptop will run the new RAM at the speed of the slowest installed module, so it’s best to match the existing speed. If you’re replacing both sticks, you can opt for the highest speed the motherboard supports (often 2666 MHz or 3200 MHz).
Capacity per stick
If your laptop has two slots, you can install two 8 GB sticks for a total of 16 GB, or two 16 GB sticks for 32 GB—provided the model supports it. For a single‑slot design, you’ll need one larger module (e.g., 16 GB). Always buy from reputable brands like Crucial, Kingston, Corsair, or G.Skill.
Dual‑channel configuration
Dual‑channel mode doubles the data path between RAM and the CPU, effectively boosting bandwidth. To enable it, install identical sticks (same capacity, speed, and latency) in both slots. Mixing sizes works, but you’ll lose the full dual‑channel benefit.
Where to buy
- Online retailers: Amazon, Newegg, B&H.
- Manufacturer sites: Crucial’s System Scanner can auto‑detect the right part.
- Local computer shops: Good for hands‑on advice and immediate returns.
3. Preparing for the Upgrade
Gather tools and safety gear
You’ll need:
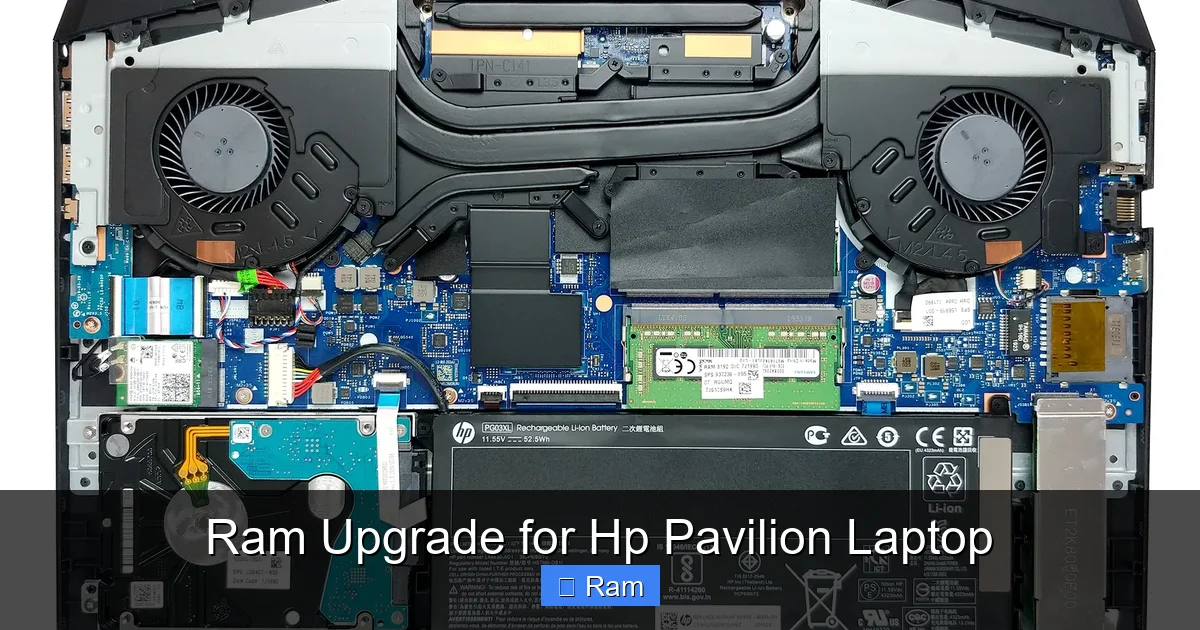
Visual guide about Ram Upgrade for Hp Pavilion Laptop
Image source: i0.wp.com
- Small Phillips #0 screwdriver (or the size that fits your Pavilion’s screws).
- Anti‑static wrist strap (optional but recommended).
- A clean, flat, non‑conductive workspace.
Power down and unplug
Shut down Windows completely (don’t just restart). Unplug the AC adapter and any peripheral devices. If your model has a removable battery, take it out; if not, you’ll be working with the internal battery still connected—just be extra careful.
Ground yourself
Static electricity can fry delicate components. Touch a metal part of the laptop chassis before you begin, or wear the anti‑static wrist strap clipped to a grounded object.
Open the back panel
Most Pavilion laptops have a single bottom cover secured with 4‑6 screws. Remove them, keep them in a small container, and gently pry the panel off with a plastic spudger. Some models have a dedicated “RAM” access panel with its own set of screws—consult the service manual for your exact model.
4. Installing the New RAM
Locate the RAM slots
Inside, you’ll see one or two rectangular slots with metal clips on either side. If there’s already a module, it will be held in place by these clips.
Remove existing memory (if needed)
- Push the clips outward (away from the module) until the module tilts up.
- Grab the edges of the module and lift it out at a 30‑degree angle.
- Set the old module aside—keep it for future resale or as a backup.
Insert the new module(s)
- Align the notch on the RAM’s connector with the key in the slot. It only fits one way.
- Insert the module at the same 30‑degree angle used for removal.
- Press down gently but firmly until the clips snap back into place.
Double‑check seating
Give each module a slight wiggle—if it moves, it’s not seated fully. A secure fit will feel firm, and the clips should lock without any gaps.
Reassemble the laptop
Replace the bottom cover, re‑insert the screws, and reconnect the battery (if you removed it). Make sure no cables are pinched.
5. Post‑Installation: Verify and Optimize
Power on and enter BIOS
When you turn the laptop back on, press Esc or F10 (depends on model) to enter the BIOS/UEFI. Look for a “Memory” or “System Information” screen to confirm the new total RAM is recognized.
Run a memory test
Windows includes a built‑in tool:
- Search “Windows Memory Diagnostic,” select “Restart now and check for problems.”
Alternatively, create a bootable USB with MemTest86 for a more thorough check.
Update drivers and BIOS
Visit HP’s support page for your exact model and download the latest BIOS and chipset drivers. An updated BIOS can improve RAM compatibility and performance.
Adjust Windows settings (optional)
If you upgraded to 16 GB or more, you might want to enable “High‑performance” power plan and disable “Memory compression” in Windows 11 for a slight speed edge.
Benchmark your upgrade
Use free tools like Cinebench R23 or UserBenchmark to compare scores before and after the upgrade. Expect a 15‑30 % improvement in multitasking and a noticeable reduction in loading times.
6. Troubleshooting Common Issues
System won’t boot or shows “No memory detected”
Possible causes: improper seating, incompatible module, or BIOS needing a reset. Reseat the RAM, ensure the notch aligns, and try clearing the CMOS by removing the internal battery for a minute.
Random crashes or blue screens
Run MemTest86 again; a failing module will show errors. Also verify that the voltage (usually 1.2 V for DDR4) matches the laptop’s requirement.
Only half of the installed RAM is recognized
This often happens when the two sticks have different speeds or capacities that exceed the motherboard’s dual‑channel limit. Replace one stick to match the other, or install a single larger module if the laptop has only one slot.
Overheating after upgrade
More RAM can generate a bit more heat, but it’s rarely a problem. Ensure the cooling vents are clean and consider adding a laptop cooling pad for extra airflow.
Conclusion: A Small Investment for Big Gains
Upgrading the RAM in your HP Pavilion laptop is a straightforward, cost‑effective way to breathe new life into an aging machine. By confirming compatibility, selecting the right DDR4 modules, and following safe installation steps, you’ll enjoy faster performance, smoother multitasking, and a longer usable lifespan. Plus, the confidence of having done it yourself is a bonus you can’t put a price on. Grab those memory sticks, follow this guide, and watch your Pavilion run like it’s fresh out of the box.
Frequently Asked Questions
Can I upgrade the RAM on any HP Pavilion laptop?
Most Pavilion models allow RAM upgrades, but the exact capacity and type depend on the specific model. Check the service manual or HP’s support site for your exact machine.
Do I need to replace the existing RAM or can I add more?
If your laptop has an empty slot, you can add a matching module. If both slots are occupied, you’ll need to replace one or both sticks to increase total capacity.
Will upgrading RAM improve gaming performance?
Yes, especially for games that use more than 8 GB of memory. More RAM reduces stuttering and allows higher texture settings, but you may also need a stronger GPU for major gains.
Is it safe to upgrade RAM while the battery is still attached?
Yes, as long as the laptop is powered off and you follow anti‑static precautions. However, removing the battery adds an extra safety layer.
How do I know if my HP Pavilion uses DDR3 or DDR4?
All Pavilion laptops released after 2015 use DDR4. Older models (pre‑2015) may use DDR3. Check the existing module label or look up the specs for your model number.
Do I need to reinstall Windows after upgrading RAM?
No. Windows will detect the new memory automatically. A simple restart is all that’s required.