How to Install Extra Ram in Laptop
Boost your laptop’s speed in minutes by adding more memory. This guide walks you through checking compatibility, gathering tools, opening the case, and installing extra RAM—no tech degree required. Follow the simple steps and enjoy smoother multitasking today.
Key Takeaways
- Check compatibility first: Verify your laptop’s RAM type, speed, and maximum capacity before buying.
- Gather the right tools: A small Phillips screwdriver, anti‑static wrist strap, and a clean workspace are all you need.
- Power safety is crucial: Shut down, unplug, and remove the battery to avoid electrical damage.
- Installation is quick: In most laptops the RAM module snaps in place in under five minutes.
- Test before you close up: Power on the laptop and check the BIOS or system info to confirm the new memory is recognized.
- Upgrade benefits: More RAM means faster app launches, smoother video playback, and better multitasking.
- Keep the old module: If you ever need to revert, you can simply reseat the original RAM.
📑 Table of Contents
- Introduction: Why Adding RAM Matters
- 1. Verify Compatibility and Choose the Right RAM
- 2. Gather Tools and Prepare a Safe Workspace
- 3. Access the RAM Slots
- 4. Install the New RAM Module
- 5. Verify the Upgrade and Optimize Settings
- 6. Troubleshooting Common Issues
- Conclusion: A Simple Upgrade with Big Rewards
Introduction: Why Adding RAM Matters
Imagine trying to juggle five balls while only having two hands. That’s what a laptop feels like when it runs out of RAM. Memory is the short‑term workspace where your operating system keeps active programs. When the space fills up, the computer starts swapping data to the slow hard drive, and everything feels sluggish.
Adding extra RAM is one of the cheapest and most effective ways to give your laptop a performance boost. Whether you’re a student juggling research papers, a gamer craving higher frame rates, or a professional editing videos, more memory can make a noticeable difference. The good news? You don’t need to be a computer engineer to do it. This article will show you how to install extra ram in laptop step by step, from checking compatibility to testing the upgrade.
1. Verify Compatibility and Choose the Right RAM
1.1 Find Your Laptop’s Specifications
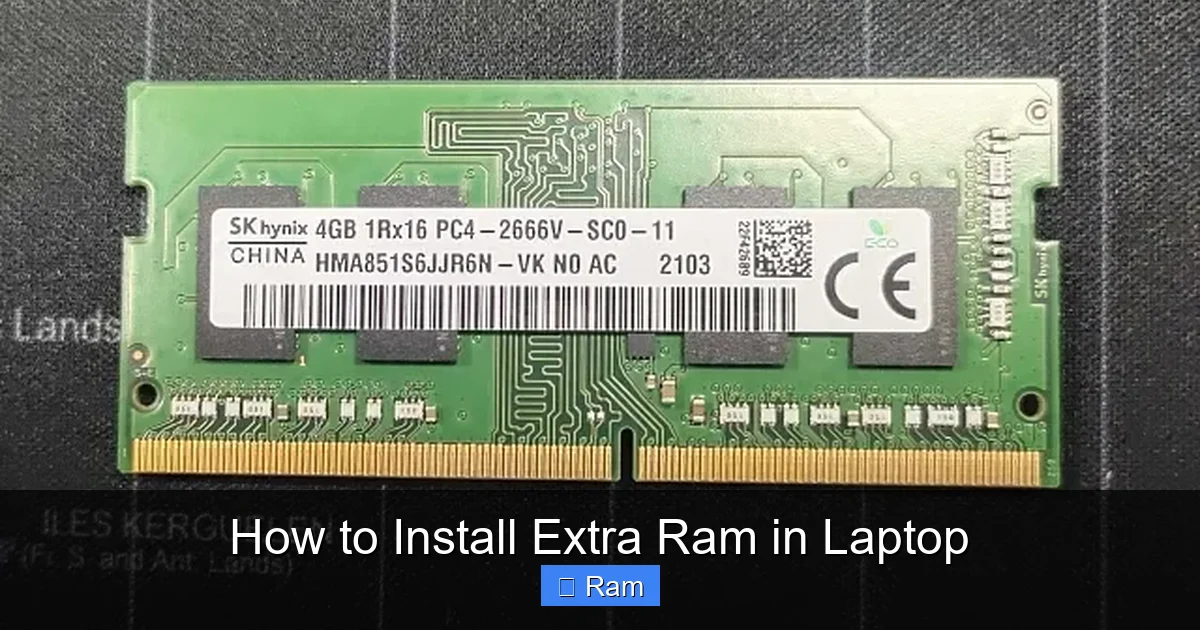
Before you buy a new module, you must know exactly what your laptop accepts. Look for three key pieces of information:
Visual guide about How to Install Extra Ram in Laptop
Image source: codinglap.com
- Form factor: Most laptops use DDR4 SO-DIMM sticks, but older models may need DDR3.
- Speed (MHz): Common speeds are 2400 MHz, 2666 MHz, or 3200 MHz. Matching the speed of existing RAM helps maintain stability.
- Maximum capacity: Check the manufacturer’s manual or the laptop’s spec sheet. Many 15‑inch laptops support up to 32 GB, while ultrabooks may top out at 16 GB.
1.2 Use Online Tools to Identify RAM
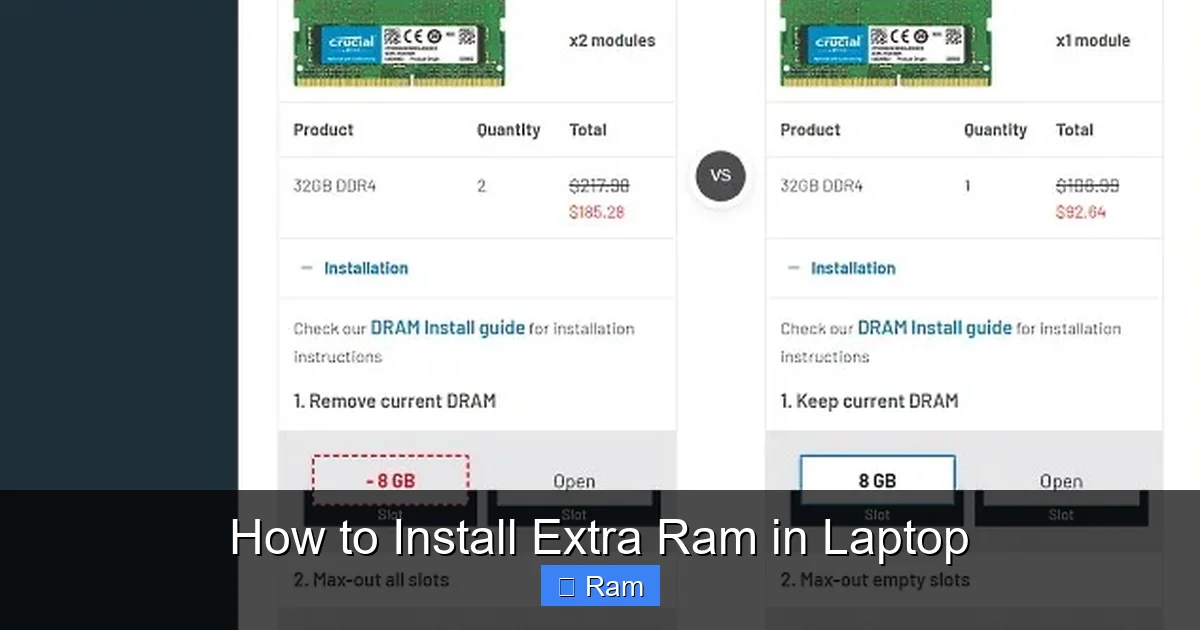
Websites such as Crucial.com or Kingston’s memory finder let you enter your laptop model and instantly see compatible modules. These tools also show whether your system has an empty slot or if you need to replace existing sticks.
1.3 Buying Tips
- Buy from reputable sellers with a clear return policy.
- Consider buying a kit (two sticks) if you plan to use dual‑channel mode for extra speed.
- Check the warranty – most memory modules come with a lifetime warranty.
2. Gather Tools and Prepare a Safe Workspace
2.1 Essential Tools
- Small Phillips #00 screwdriver (or the size recommended by your laptop’s manual).
- Anti‑static wrist strap or a grounded metal surface.
- Soft, lint‑free cloth or a small brush for dust removal.
2.2 Setting Up Your Work Area
Choose a well‑lit, flat surface. Lay a soft mat or a large piece of cardboard to protect the laptop’s chassis. Turn off the laptop, unplug the power adapter, and if your model has a removable battery, take it out. This eliminates any chance of a short circuit.
Visual guide about How to Install Extra Ram in Laptop
Image source: robots.net
2.3 Safety First
Static electricity can fry delicate components. Wearing an anti‑static wrist strap clipped to a grounded object keeps your body at the same electrical potential as the laptop. If you don’t have a strap, touch a metal part of the chassis every few minutes to discharge static.
3. Access the RAM Slots
3.1 Locate the Service Panel
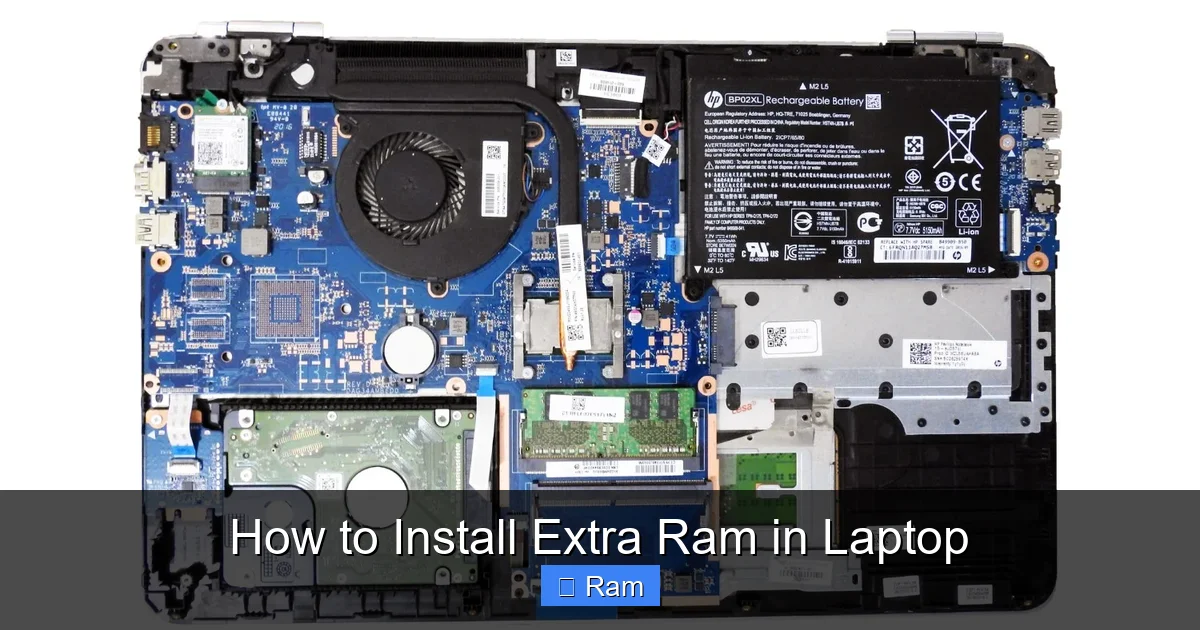
Most laptops have a dedicated access panel on the bottom secured with a few screws. Consult your user manual for the exact location. Some ultrabooks require the entire bottom cover to be removed, which involves more screws but follows the same principle.
Visual guide about How to Install Extra Ram in Laptop
Image source: beebom.com
3.2 Remove Screws and Open the Panel
Use the Phillips screwdriver to gently loosen each screw. Keep them in a small container so they don’t get lost. Once all screws are out, lift the panel using a plastic pry tool if needed—metal tools can scratch the finish.
3.3 Identify the RAM Slot(s)
Inside, you’ll see one or two long, thin slots with a small retaining clip on one side. If you have an existing module, it will be seated at an angle, held in place by the clips.
4. Install the New RAM Module
4.1 Remove Existing RAM (If Needed)
If all slots are already occupied, gently push the retaining clips outward. The module will pop up at a 45‑degree angle. Hold the edges and pull it straight out—avoid touching the gold contacts.
4.2 Align the New Module
Look at the notch on the bottom of the RAM stick; it matches a key in the slot. Align the notch and insert the module at the same 45‑degree angle. Apply even pressure until the contacts are fully seated.
4.3 Secure the Module
Press the retaining clips back toward the center. You’ll hear a soft click when the module locks in place. Double‑check that the stick sits flush with the surrounding components; a misaligned stick can cause boot failures.
4.4 Re‑assemble the Laptop
Replace the service panel, screw it back in, reinstall the battery (if removable), and reconnect the power adapter.
5. Verify the Upgrade and Optimize Settings
5.1 Power On and Enter BIOS/UEFI
Immediately after installation, turn on the laptop and press the BIOS key (often F2, Del, or Esc). In the system information section, you should see the total installed memory reflecting the new capacity.
5.2 Check Within the Operating System
In Windows, right‑click “This PC” → “Properties” to view the installed RAM. On macOS, click the Apple menu → “About This Mac.” Linux users can run free -h in the terminal.
5.3 Run a Memory Test
Running a quick memory diagnostic ensures the new module is error‑free. Windows has a built‑in “Windows Memory Diagnostic,” while MemTest86 can be used for deeper testing.
5.4 Adjust Performance Settings (Optional)
- Enable “XMP” or “DOCP” in BIOS if your laptop supports it to run the RAM at its rated speed.
- For Windows, set the “Maximum performance” power plan to let the CPU use the extra memory efficiently.
6. Troubleshooting Common Issues
6.1 Laptop Doesn’t Boot
Often caused by a mis‑seated module or incompatible RAM. Power down, re‑open the case, and reseat the stick. Verify that the RAM type matches the laptop’s specifications.
6.2 System Recognizes Only Part of the New Capacity
This can happen if you installed a module larger than the supported per‑slot limit. Check the manual for the maximum size per slot and replace the module if needed.
6.3 Frequent Crashes or Blue Screens
Run a full MemTest86 scan. If errors appear, the module may be defective. Use the return policy to get a replacement.
6.4 Overheating Concerns
Adding RAM slightly increases heat, but modern laptops handle it well. Ensure the cooling vents are clean and consider a small cooling pad for heavy workloads.
Conclusion: A Simple Upgrade with Big Rewards
Upgrading your laptop’s memory is one of the most cost‑effective ways to extend its lifespan and improve everyday performance. By following this guide on how to install extra ram in laptop, you’ve learned how to check compatibility, gather tools, safely open the chassis, install the new module, and verify that everything works correctly. The whole process can be completed in under thirty minutes, and the payoff—faster app launches, smoother multitasking, and a more responsive system—lasts for years.
Remember to keep the old RAM module safe, just in case you need it later, and enjoy the newfound speed. Happy upgrading!
Frequently Asked Questions
Can I install RAM on any laptop?
Most laptops with a removable panel allow RAM upgrades, but some ultrathin models have the memory soldered onto the motherboard, making upgrades impossible.
Do I need to match the speed of the existing RAM?
It’s best to match speed and voltage for optimal performance. If the new module is faster, the system will run at the speed of the slowest stick.
Is it safe to install RAM while the laptop is plugged in?
No. Always power down, unplug the charger, and remove the battery (if removable) to avoid electrical damage.
How much RAM do I need for gaming?
Most modern games run smoothly with 16 GB of RAM. For older or less demanding titles, 8 GB is usually sufficient.
Will adding RAM void my warranty?
Generally, upgrading RAM does not void the warranty as long as you follow the manufacturer’s instructions and do not damage the device.
Can I mix different brands of RAM?
Yes, you can mix brands as long as the specifications (type, speed, voltage) match. However, using identical sticks ensures the best dual‑channel performance.