How to Put More Ram on a Laptop
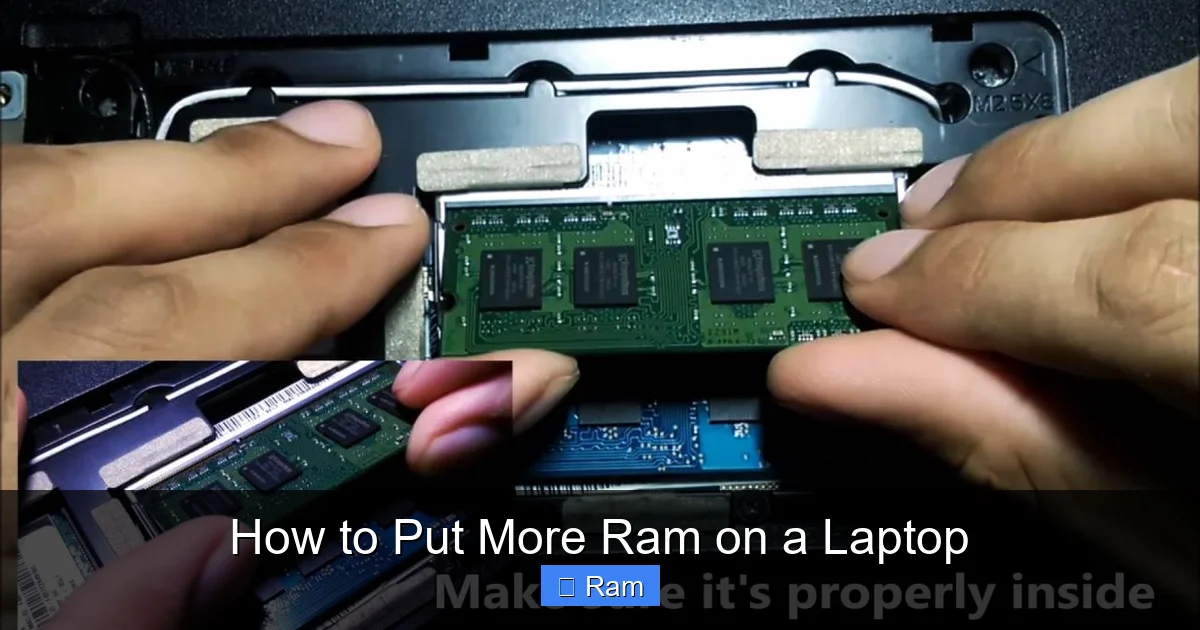
Want a faster laptop without buying a new one? In this guide we walk you through the entire process of how to put more RAM on a laptop, from checking compatibility to installing the modules safely. Follow our simple steps and start enjoying smoother performance today.
Key Takeaways
- Check Compatibility First: Verify your laptop’s maximum RAM capacity and supported type before buying.
- Gather the Right Tools: A small Phillips screwdriver, anti‑static wrist strap, and a clean workspace are all you need.
- Backup Data: Always back up important files before opening the chassis.
- Installation Is Simple: In most laptops you just open a panel, slot in the new module, and secure it.
- Test After Installing: Use BIOS or software tools to confirm the new RAM is recognized.
- Upgrade Benefits: More RAM improves multitasking, reduces lag, and can extend the life of older machines.
- When to Seek Professional Help: If your laptop has soldered RAM or a complex disassembly, consider a technician.
📑 Table of Contents
Introduction: Why Adding More RAM Matters
Most of us buy a laptop for its convenience, but over time the same machine can feel sluggish. The culprit is often memory—specifically, not having enough RAM to keep up with modern software. When you run several programs at once, watch videos, or edit photos, the computer stores temporary data in RAM. If the RAM fills up, the system starts swapping to the much slower hard drive, and everything grinds to a halt.
Upgrading the memory is one of the cheapest, fastest ways to breathe new life into a laptop. In this article we’ll answer the question how to put more ram on a laptop in a friendly, step‑by‑step manner. Whether you’re a complete beginner or have tinkered with computers before, you’ll find clear instructions, handy tips, and troubleshooting advice.
1. Planning Your Upgrade
1.1 Identify Your Laptop Model
The first thing you need is the exact model number of your laptop. Look for a label on the bottom, inside the battery compartment, or in the system information (press Windows+Pause on Windows or click About This Mac on macOS). Write down the model and the SKU if possible.
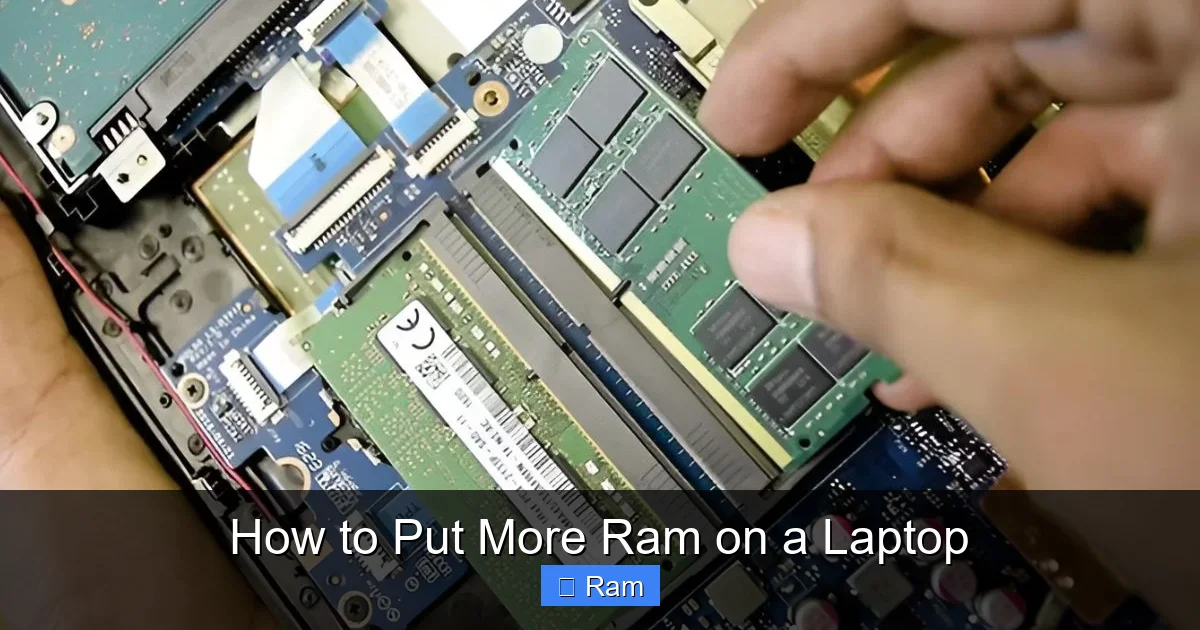
Visual guide about How to Put More Ram on a Laptop
Image source: robots.net
1.2 Check Maximum Supported RAM
Every laptop has a limit set by its motherboard and BIOS. Visit the manufacturer’s support page, enter your model, and locate the “Memory” or “Specifications” section. You’ll see two important numbers:
- Maximum capacity: total GB the laptop can handle (e.g., 32 GB).
- Supported type: DDR3, DDR4, LPDDR4X, etc., and the speed (e.g., 2666 MHz).
If the page isn’t clear, use third‑party tools like Crucial System Scanner or CPU‑Z to detect existing RAM and compatible upgrades.
1.3 Decide How Much RAM You Need
Here’s a quick rule of thumb:
- 4 GB – Basic web browsing, email.
- 8 GB – Light multitasking, office work, streaming.
- 16 GB – Gaming, photo/video editing, heavy multitasking.
- 32 GB+ – Professional 3D rendering, large datasets, virtual machines.
Most users will see a noticeable boost moving from 4 GB to 8 GB or from 8 GB to 16 GB.
1.4 Choose the Right RAM Modules
When you know the type (DDR4), speed (2400 MHz), and form factor (SO-DIMM for laptops), you can shop confidently. Look for reputable brands like Crucial, Kingston, Corsair, or G.Skill. Check the module’s CAS latency – lower numbers are slightly faster, but the difference is minor for everyday use.
2. Preparing Your Workspace
2.1 Gather Essential Tools
You only need a few items:
Visual guide about How to Put More Ram on a Laptop
Image source: robots.net
- Small Phillips #0 screwdriver (or the size recommended by the laptop manual).
- Anti‑static wrist strap (optional but recommended).
- A clean, static‑free surface – a wooden table or a dedicated anti‑static mat.
- Plastic pry tool or old credit card (to open panels without damaging clips).
2.2 Backup Important Data
Opening the laptop won’t erase anything, but accidents happen. Copy your documents, photos, and important files to an external drive or cloud storage before you start.
2.3 Power Down and Unplug
Shut down the laptop completely (do not just sleep or hibernate). Unplug the AC adapter, remove any USB devices, and, if possible, detach the battery. Some ultrabooks have sealed batteries; in that case, just ensure the power button is held for 5 seconds after unplugging to discharge residual charge.
3. Opening the Laptop
3.1 Locate the Memory Access Panel
Most consumer laptops have a dedicated memory panel on the bottom, held by one or two screws. Look for a small rectangle marked with a RAM icon or “Memory”. If you can’t find it, consult the service manual – manufacturers often publish PDFs that show screw locations.
Visual guide about How to Put More Ram on a Laptop
Image source: robots.net
3.2 Remove the Panel
Using the screwdriver, remove the screws and keep them in a tiny dish. Gently pry the panel off with the plastic tool; it should pop free with a soft click. If the panel resists, double‑check for hidden screws under rubber feet or stickers.
3.3 Identify Existing Modules
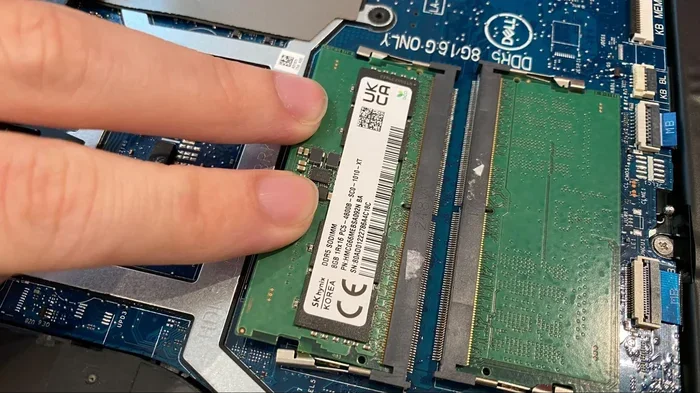
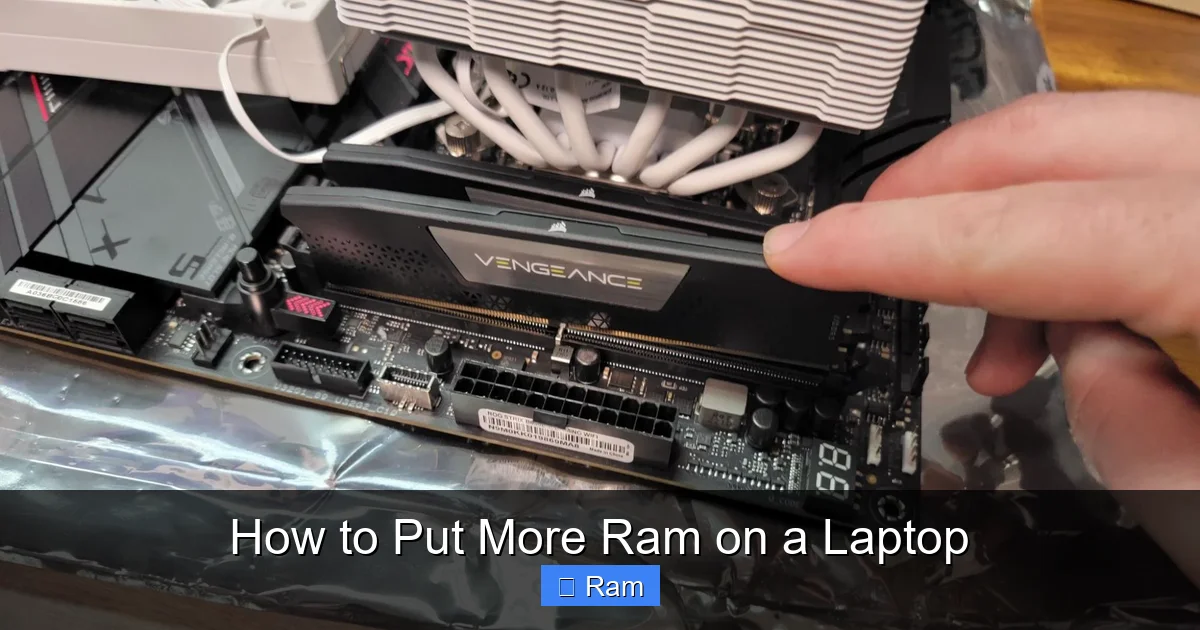
Inside you’ll see one or two long, thin chips seated at an angle. Note their orientation – the notch on the connector aligns with a key in the slot. If you have a single 8 GB stick and your laptop supports two slots, you can add another 8 GB stick for a total of 16 GB.
3.4 Remove the Old RAM (If Needed)
To replace, gently push the two metal clips on either side of the module outward. The stick will pop up at a 30‑degree angle. Hold the edges and pull it straight out, avoiding contact with the gold contacts.
4. Installing the New RAM
4.1 Align the New Module
Take your new SO‑DIMM module and line up the notch with the key in the slot. The module should fit only one way. If it doesn’t slide in smoothly, you’ve oriented it incorrectly.
4.2 Insert the Module
Insert the stick at the same 30‑degree angle, pressing gently until the gold contacts are fully seated. Then push the module down until the metal clips snap back into place, securing it.
4.3 Double‑Check the Fit
Give the module a slight wiggle; it should feel firm with no movement. Ensure the clips are fully engaged on both sides.
4.4 Replace the Access Panel
Snap the panel back onto the chassis, replace the screws, and re‑attach the battery if you removed it.
5. Verifying the Upgrade
5.1 Power On and Enter BIOS
Turn the laptop back on and immediately press the BIOS key (often F2, Delete, or Esc). In the BIOS/UEFI menu, look for “System Information” or “Memory”. It should display the new total RAM.
5.2 Use Operating System Tools
On Windows, open Task Manager → Performance → Memory to see the installed size. On macOS, go to Apple menu → About This Mac → Memory. Linux users can type free -h in a terminal.
5.3 Run a Quick Stress Test
Download a free tool like MemTest86 or use Windows Memory Diagnostic. Run a short pass (one or two cycles) to confirm stability. If any errors appear, power down, reseat the module, and try again.
6. Tips, Tricks, and Common Pitfalls
6.1 Mixing Different Brands or Speeds
It’s generally safe to mix brands as long as the type and speed match. However, the system will run all modules at the speed of the slowest stick. For best performance, use identical modules.
6.2 Dealing with Soldered RAM
Some ultrabooks and MacBooks have RAM soldered directly to the motherboard. In those cases, you cannot add more RAM yourself. The only option is to replace the entire board, which is costly. Check the service manual early to avoid wasted effort.
6.3 Keeping the Laptop Cool
More RAM can generate a bit more heat. Clean the cooling vents and consider applying new thermal paste if you’re already opening the chassis for other upgrades.
6.4 Using Dual‑Channel Mode
When you install two identical sticks, the laptop can use dual‑channel mode, effectively doubling memory bandwidth. This yields a noticeable speed boost in memory‑intensive tasks.
6.5 Updating BIOS Firmware
Older BIOS versions sometimes mis‑detect newer RAM. If the new memory isn’t recognized, check the manufacturer’s website for a BIOS update and follow their instructions carefully.
Conclusion
Upgrading RAM is one of the most rewarding DIY projects you can do for a laptop. By following the steps outlined above—checking compatibility, gathering tools, opening the chassis, installing the new modules, and verifying the upgrade—you’ll experience faster multitasking, smoother gaming, and a longer lifespan for your machine. Remember to work gently, stay grounded against static, and double‑check the specifications before you buy. With a little patience, you’ll master how to put more ram on a laptop and enjoy a noticeably snappier computer without spending a fortune on a new device.
Frequently Asked Questions
Can I upgrade the RAM on any laptop?
Most laptops allow RAM upgrades, but some ultrabooks and many Apple MacBooks have the memory soldered onto the motherboard, making upgrades impossible.
Do I need to reinstall the operating system after adding RAM?
No. Adding RAM does not affect the OS installation. The system will simply recognize the additional memory on the next boot.
Is it safe to use RAM modules from different manufacturers?
Yes, as long as they are the same type (e.g., DDR4) and speed. Mixing brands may limit performance to the slowest module, but it will still work.
What if my laptop doesn’t recognize the new RAM?
First, reseat the module and ensure it’s fully inserted. Then check BIOS settings or update the BIOS. If the problem persists, the module may be incompatible.
How much RAM is enough for gaming?
Most modern games run well with 16 GB of RAM. Some very demanding titles or future releases may benefit from 32 GB, but 8 GB is the minimum you should consider.
Will adding more RAM improve battery life?
Generally, no. RAM uses a small amount of power, and adding more may slightly increase consumption, but the performance gains often offset any minor battery impact.