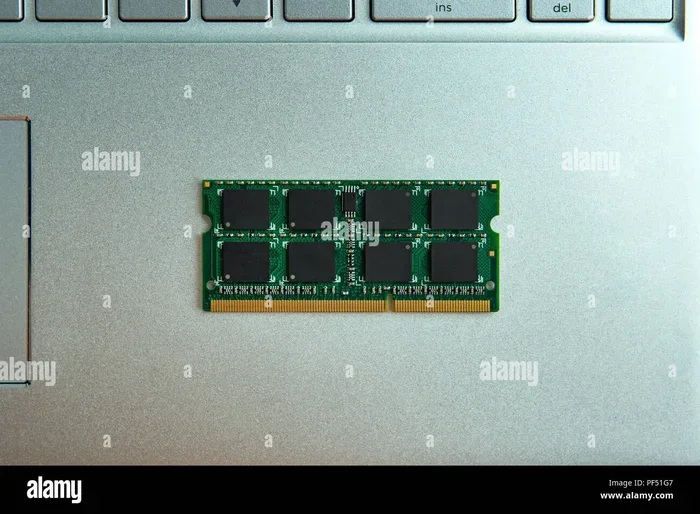
How to Upgrade Ram in a Laptop
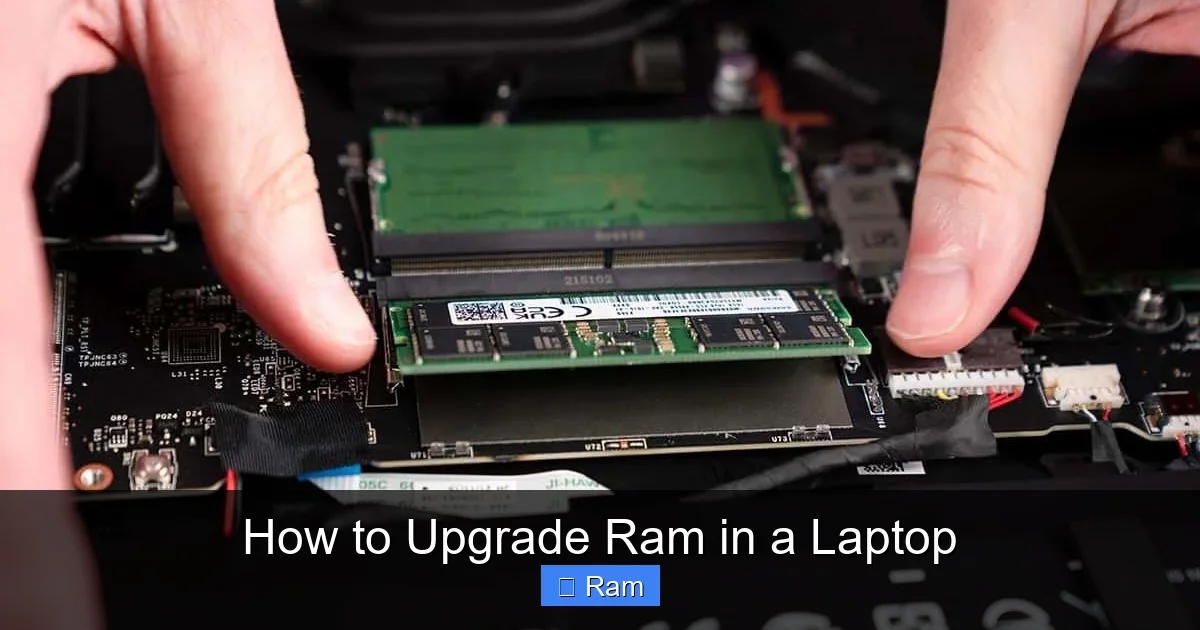
Want a faster laptop without buying a new one? Upgrading the RAM is a simple, cost‑effective way to give your machine a performance boost. This guide walks you through checking compatibility, gathering tools, and installing new memory—no tech degree required.
Key Takeaways
- Check compatibility first: Verify your laptop’s maximum RAM capacity, type (DDR3, DDR4, etc.), and slot count.
- Gather the right tools: A small Phillips screwdriver, anti‑static wrist strap, and a clean workspace are all you need.
- Back up data: Power down, unplug, and remove the battery before you start to avoid data loss or damage.
- Installation is quick: In most laptops, swapping or adding a module takes under 15 minutes.
- Test after upgrade: Use BIOS or a system‑info utility to confirm the new RAM is recognized and stable.
- Consider future upgrades: Keep a spare slot free or choose higher‑capacity modules for later expansion.
- Safety matters: Ground yourself and handle RAM by the edges to protect the delicate circuitry.
📑 Table of Contents
Introduction: Why Upgrade Your Laptop’s RAM?
Imagine opening a web browser and watching it lag every time you add a new tab. Or launching a game and seeing it stutter before it even starts. In most cases, the culprit is not a slow processor or a failing hard drive—it’s simply not enough memory (RAM) to keep up with what you’re asking the computer to do.
Upgrading RAM is one of the cheapest, fastest ways to give a tired laptop new life. A few extra gigabytes can turn a sluggish notebook into a smooth multitasking machine, reduce loading times, and even improve battery life because the system spends less time hammering the disk.
This article will walk you through everything you need to know: how to check what your laptop supports, what tools you’ll need, the step‑by‑step installation process, and how to verify that everything works after the upgrade. By the end, you’ll feel confident opening up your laptop and installing new memory—just like a pro.
1. Planning Your Upgrade
1.1 Identify Your Laptop Model
The first step is to know exactly which laptop you have. Look at the bottom of the chassis for a label or open the system information utility:
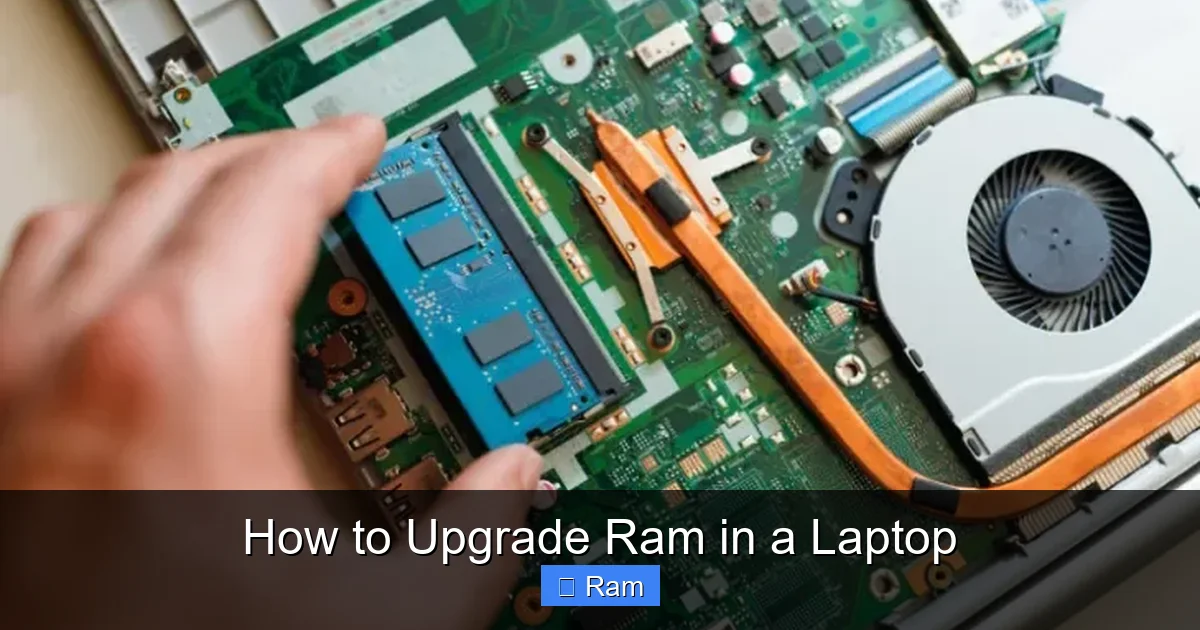
Visual guide about How to Upgrade Ram in a Laptop
Image source: beebom.com
- Windows: Settings > System > About
- Mac: Apple menu > About This Mac
- Linux: run
lshw -c memoryin the terminal
Write down the model number (e.g., Dell XPS 13 9380, HP Envy 15‑t1000). This information is crucial for finding the correct RAM specifications.
1.2 Check Maximum Supported RAM
Every laptop has a ceiling—usually dictated by the motherboard and BIOS. Visit the manufacturer’s support page, enter your model, and look for “Memory Specifications.” You’ll find two key numbers:
- Maximum capacity: the total amount of RAM the laptop can handle (e.g., 32 GB).
- Per‑slot limit: the biggest module each slot can accept (e.g., 16 GB per slot).
If the site is unclear, you can also use third‑party tools like Crucial System Scanner or CPU‑Z to detect current memory and supported upgrades.
1.3 Determine RAM Type and Speed
Laptops use specific DDR generations—most modern machines use DDR4, while older ones may require DDR3 or even DDR2. The required speed (measured in MHz) must match what the motherboard supports.
Typical values:
- DDR3: 1333 MHz or 1600 MHz
- DDR4: 2133 MHz, 2400 MHz, 2666 MHz, or 3200 MHz
Installing a module with a higher speed than supported won’t break anything; the system will simply run it at the lower, compatible speed.
1.4 Decide Between Adding vs. Replacing
If your laptop has two slots and only one is populated, you can add a second module without touching the existing one. If both slots are full, you’ll need to replace one or both sticks. Adding is usually safer because you keep the original module as a backup.
2. Gathering Tools and Preparing Your Workspace
2.1 Essential Tools
- Phillips #0 or #1 screwdriver: Most laptop screws are tiny; a precision set works best.
- Anti‑static wrist strap: Prevents static discharge that could fry delicate components.
- Plastic pry tool or spudger: Helps open the case without scratching the plastic.
- Small container: To keep screws organized.
2.2 Safety First
Before you touch anything, follow these safety steps:
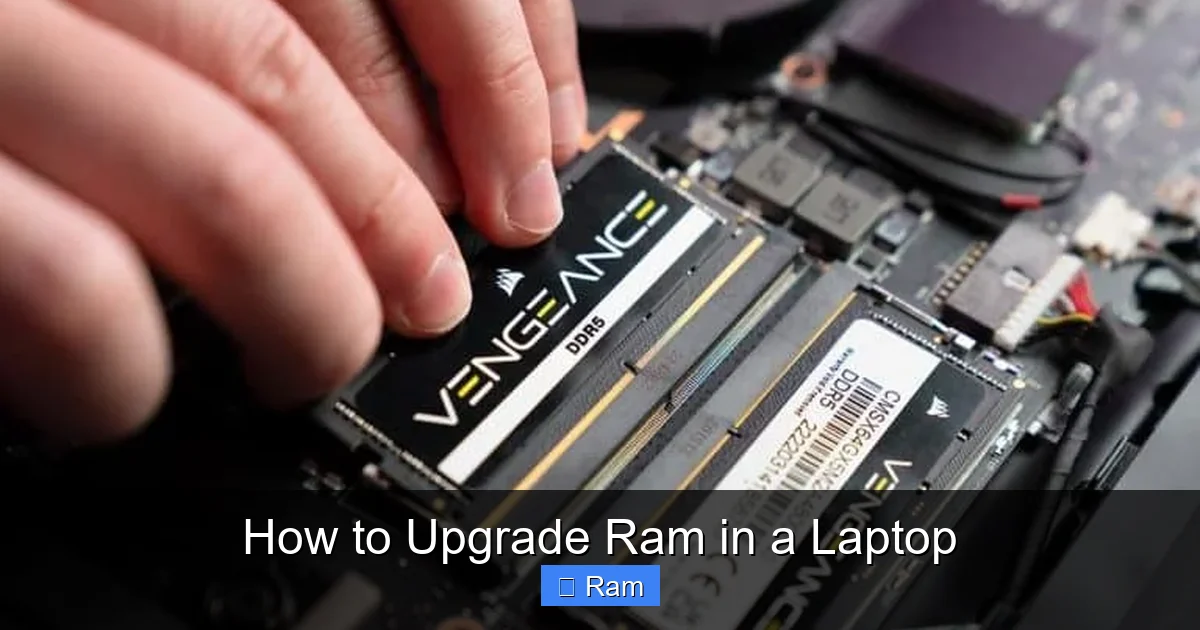
Visual guide about How to Upgrade Ram in a Laptop
Image source: wepc.com
- Shut down the laptop completely (do not just put it to sleep).
- Unplug the power adapter.
- If your laptop has a removable battery, take it out.
- Wear the anti‑static wrist strap and clip it to a grounded metal object.
Working on a clean, flat surface—like a large mouse pad—prevents parts from rolling away.
3. Opening the Laptop
3.1 Locate the Memory Access Panel
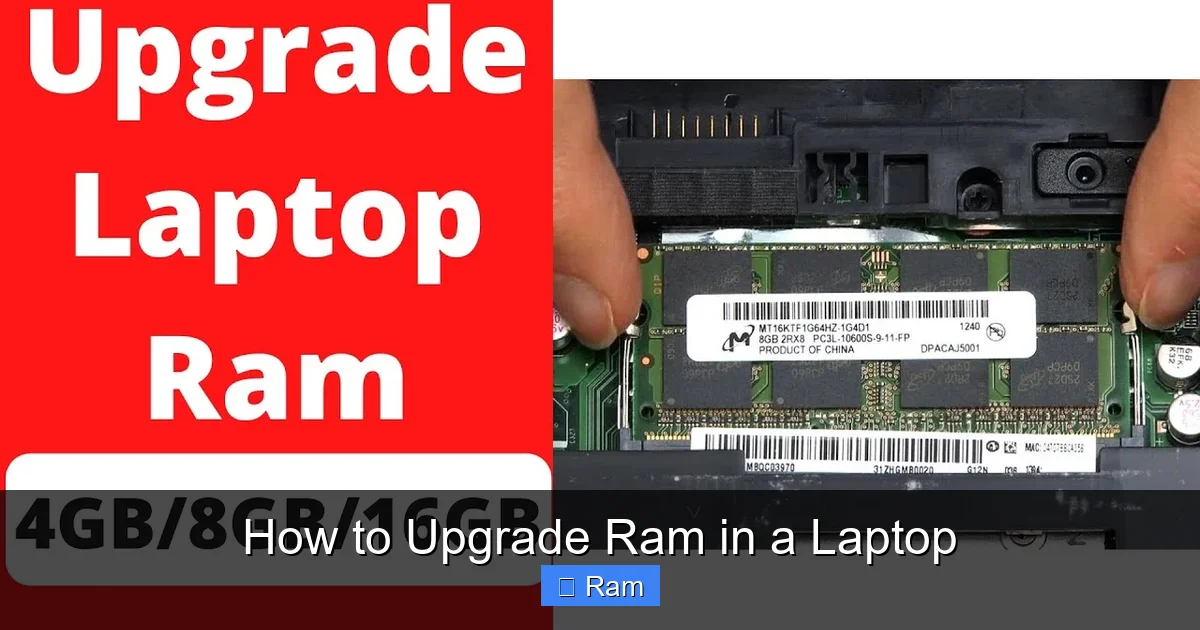
Most modern laptops have a dedicated memory access panel on the bottom, secured with one to three small screws. The panel is often labeled with a memory icon (a stick of RAM). If you cannot find it, consult the service manual (usually a PDF on the manufacturer’s site).
Visual guide about How to Upgrade Ram in a Laptop
Image source: i.ytimg.com
3.2 Removing the Panel
Using the precision screwdriver, remove the screws and place them in your container. Gently pry the panel away with the plastic tool—apply even pressure to avoid cracking the casing.
3.3 Identifying Existing RAM Modules
Inside, you’ll see one or two rectangular sticks seated at a 45‑degree angle. Each module is held by two small clips on either side. Take a quick photo for reference before you touch anything.
4. Installing the New RAM
4.1 Removing Existing Modules (If Needed)
To release a stick, push the clips outward (away from the module). The RAM should pop up at an angle. Grip it by the edges—never touch the gold contacts—and pull it out gently.
4.2 Aligning the New Module
Notice the notch on the bottom of the RAM. It matches a ridge in the slot, ensuring you can only insert it one way. Align the notch, then slide the module into the slot at the same 45‑degree angle.
4.3 Securing the Module
Press the RAM down until the side clips snap back into place. You should hear a faint click. Double‑check that the module is level and fully seated.
4.4 Re‑installing the Access Panel
Replace the panel, re‑insert the screws, and tighten them just enough to hold the panel securely—don’t overtighten, as this can crack the plastic.
5. Verifying the Upgrade
5.1 Power On and Enter BIOS/UEFI
Turn on the laptop and immediately press the key for BIOS (often F2, DEL, or Esc). In the system information screen, look for “Memory” or “Installed RAM.” The new total should be displayed.
5.2 Check Within the Operating System
Once Windows boots, right‑click This PC > Properties to see the RAM amount. On macOS, choose Apple menu > About This Mac. On Linux, run free -h in the terminal.
5.3 Run a Quick Stability Test
Download a free memory‑testing tool like MemTest86 or PassMark MemTest. Run a short (1‑pass) test to ensure the new module isn’t defective. If errors appear, reseat the module or try a different slot.
6. Tips for a Smooth Upgrade Experience
6.1 Keep a Spare Module
Buying an extra stick of the same type gives you a fallback if the first one fails. It also lets you add more RAM later without opening the laptop again.
6.2 Match Modules for Dual‑Channel
If you’re populating two slots, use identical modules (same size, speed, and brand). This enables dual‑channel mode, which can double memory bandwidth and noticeably improve performance.
6.3 Avoid Over‑Heated Environments
Static electricity builds up faster in dry, warm rooms. Using a humidifier or simply working on a wooden table can reduce the risk of static discharge.
6.4 Document Your Build
Take pictures before and after the upgrade. If you ever need warranty service, these images help prove you didn’t damage anything during the install.
6.5 Consider Future Needs
Think about how you’ll use the laptop in the next few years. If you plan to run heavy video‑editing software, aim for the maximum supported RAM now to avoid another upgrade later.
Conclusion
Upgrading RAM in a laptop is a straightforward, low‑cost way to extend its useful life and boost everyday performance. By checking compatibility, gathering the right tools, and following the simple steps outlined above, you can complete the upgrade in under 20 minutes—no technician required. Remember to verify the new memory in BIOS and run a quick stability test, and you’ll enjoy a smoother, faster computing experience for years to come.
Frequently Asked Questions
Can I upgrade the RAM on any laptop?
Most laptops allow memory upgrades, but some ultrathin models (like certain MacBooks or Chromebooks) have soldered‑on RAM that cannot be replaced. Check the service manual or manufacturer specs first.
Do I need to reinstall Windows after adding RAM?
No. Windows detects the new memory automatically. Just boot up and verify the increased RAM in System Properties.
What if the laptop doesn’t recognize the new RAM?
Make sure the module is fully seated, matches the required type and speed, and that you didn’t exceed the maximum capacity. Reseat the stick or try a different slot.
Is it safe to use a mix of different RAM brands?
Yes, as long as they share the same DDR generation, speed, and voltage. However, for optimal dual‑channel performance, identical modules are recommended.
Will adding more RAM improve battery life?
Indirectly, yes. With enough RAM, the system can keep more data in memory and avoid frequent hard‑drive accesses, which can reduce power draw and extend battery life.
How often should I upgrade my laptop’s RAM?
There’s no set schedule. Upgrade when you notice slowdowns, when new software demands more memory, or when you plan to use more demanding applications.