How to Upgrade Ram on a Laptop
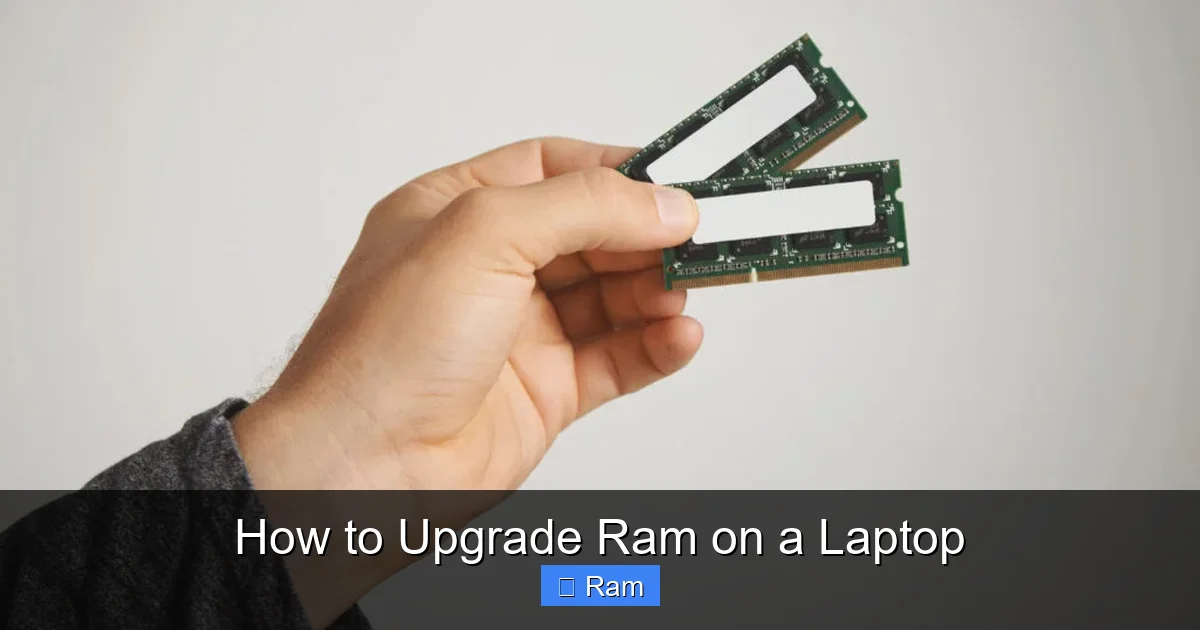
Upgrading RAM on a laptop is one of the fastest ways to boost speed and multitasking power. This guide walks you through checking compatibility, gathering tools, opening the case, installing new memory, and testing the upgrade—all in plain language you can follow without prior experience.
Key Takeaways
- Check Compatibility First: Verify your laptop’s maximum RAM, module type, and slot count before buying.
- Gather Simple Tools: A small Phillips screwdriver, anti‑static wrist strap, and a clean workspace are all you need.
- Power Safety Matters: Shut down, unplug, and remove the battery (if removable) to avoid electrical damage.
- Installation Is Straightforward: Align the notch, insert the module at a 30‑degree angle, and click it into place.
- Verify Success in BIOS/OS: Use system information tools to confirm the new RAM is recognized.
- Upgrade Benefits Are Immediate: Expect faster app launches, smoother multitasking, and better gaming or video editing performance.
- Keep Warranty in Mind: Some laptops have sealed designs; know the impact on warranty before you start.
📑 Table of Contents
Introduction: Why Adding More RAM Matters
Imagine trying to carry a stack of books while walking down a crowded hallway. The more books you hold, the slower you move. In a computer, RAM is that stack of books. It holds the data your programs need right now, letting the CPU grab information in a flash. When the stack runs out, the system resorts to slower storage, and everything feels sluggish.
Upgrading RAM on a laptop can breathe new life into an older machine, cut down on lag, and extend its useful years. The best part? You don’t need a PhD in engineering—just a little patience, the right tools, and a clear set of steps. This article shows you how to upgrade ram on a laptop from start to finish, with practical tips for every major brand.
1. Planning Your Upgrade
1.1 Determine Your Laptop’s Current RAM
Before you buy anything, you must know what’s already inside. There are three quick ways:
Visual guide about How to Upgrade Ram on a Laptop
Image source: iframelaptop.com
- Windows: Open Task Manager → Performance → Memory. The total size and speed (e.g., 8 GB @ 2666 MHz) appear at the top.
- macOS: Click the Apple menu → About This Mac. The overview shows the memory size.
- Linux: Run
free -hordmidecode -t memoryin a terminal.
Write down the amount, speed, and type (DDR3, DDR4, etc.).
1.2 Check Maximum Supported RAM
Every laptop has a ceiling—usually listed in the user manual or on the manufacturer’s website. If the spec sheet says “Maximum 16 GB DDR4,” you cannot exceed that.
Use tools like Crucial’s System Scanner or Kingston’s Memory Finder. They scan your system and suggest compatible modules, saving you from costly mistakes.
1.3 Identify the Correct Form Factor
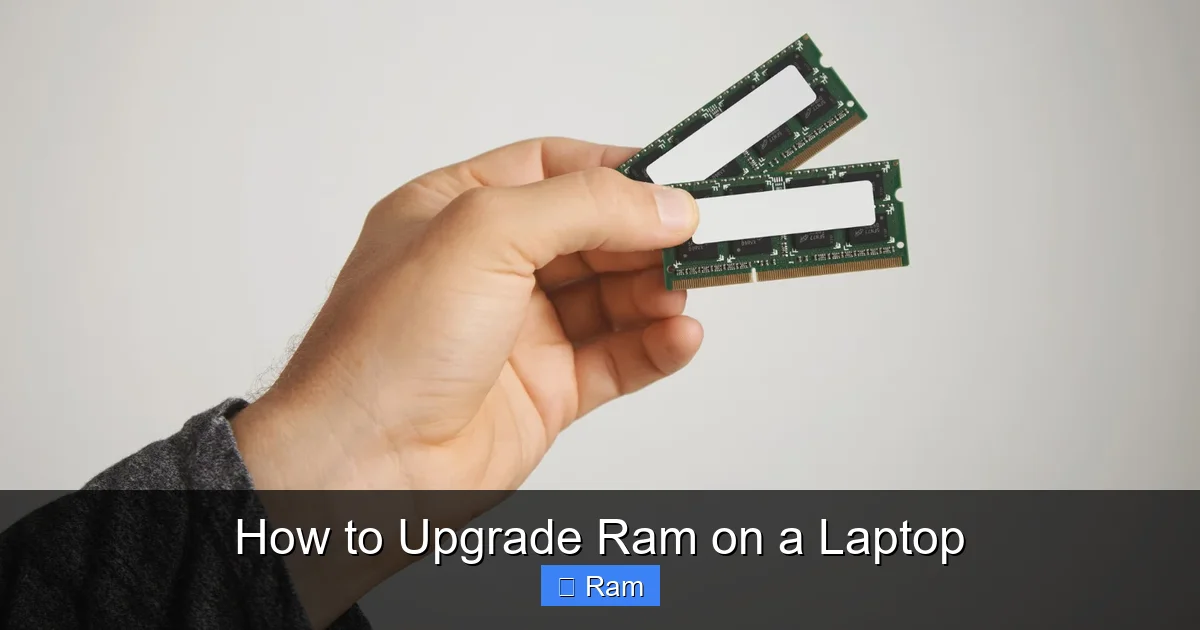
Most modern laptops use SODIMM (Small Outline Dual Inline Memory Module). Older ultrabooks may require LPDDR chips that are soldered to the board—these cannot be upgraded. Look for “SODIMM” in the specs.
1.4 Decide on Capacity and Speed
When you add RAM, you have two choices:
- Single‑Channel Upgrade: Add one module (e.g., 8 GB) to a free slot. Simple and cheap.
- Dual‑Channel Upgrade: Install matching pairs (e.g., 2 × 8 GB) for better bandwidth.
If you already have 8 GB in one slot, adding another 8 GB of the same speed and latency will give you 16 GB in dual‑channel mode, offering the best performance boost.
2. Gathering the Right Tools
2.1 Essential Tools
You only need a few items:
Visual guide about How to Upgrade Ram on a Laptop
Image source: asani.co.id
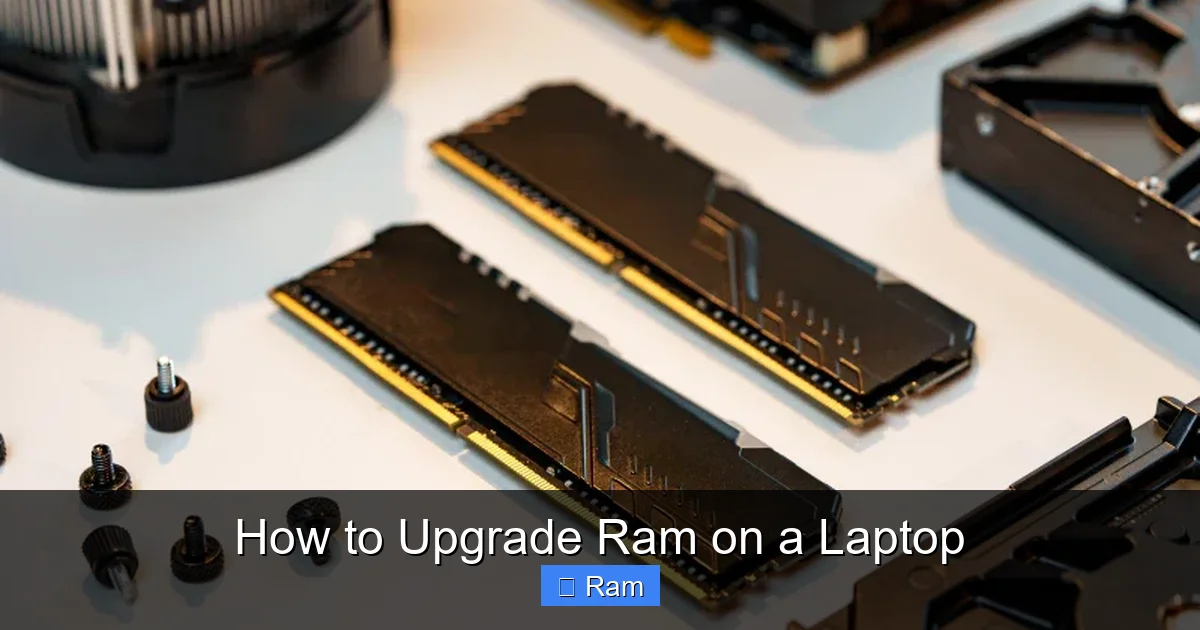
- Phillips #0 or #1 screwdriver: Most laptop screws are tiny.
- Anti‑static wrist strap: Prevents static discharge that could damage components.
- Plastic pry tool or spudger: Helps open the case without scratching.
- Clean, flat workspace: A large desk with a soft mat works well.
2.2 Optional Helpful Items
- Compressed air can for dust removal.
- A small flashlight or headlamp for better visibility.
- Label stickers to mark screw locations.
3. Preparing the Laptop
3.1 Power Down Completely
Shut down the operating system—do not just “sleep” or “hibernate.” Once off, unplug the power adapter. If your laptop has a removable battery, slide it out. This eliminates any chance of electrical shorts.

Visual guide about How to Upgrade Ram on a Laptop
Image source: guidingtech.com
3.2 Ground Yourself
Attach the anti‑static wrist strap to a grounded metal object (the metal part of your desk or a grounded plug). This step is quick but saves you from costly component damage.
3.3 Locate the Memory Access Panel
Most laptops feature a dedicated RAM access panel on the underside. Look for a small rectangular cover held by one or two screws. If you can’t find it, consult the service manual—usually available on the manufacturer’s support site.
3.4 Remove the Panel
Using the screwdriver, gently remove the screws and keep them in a tiny bowl. Pry the panel off with the plastic tool; it should lift away without force. If the panel sticks, double‑check for hidden screws under rubber feet.
4. Installing the New RAM
4.1 Identify Existing Modules
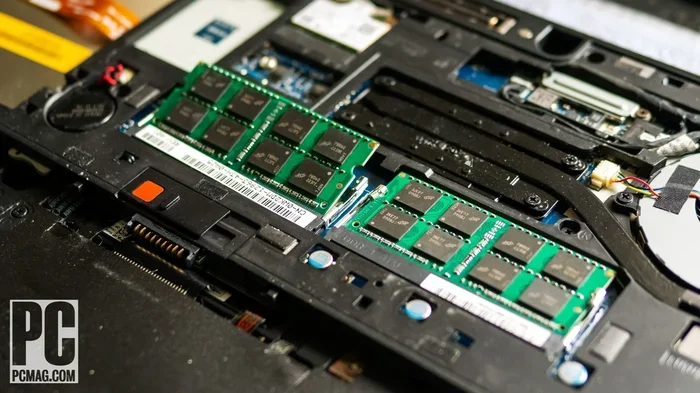
Take a quick photo of the current layout. You’ll see one or two SODIMM slots, each possibly occupied. Note the orientation—the notch on the connector aligns with a key in the slot.
4.2 Remove Existing RAM (If Needed)
If you’re replacing rather than adding, push the two retaining clips on either side of the module outward. The RAM will pop up at an angle. Gently pull it out, holding the edges—never touch the gold contacts.
4.3 Insert the New Module
Line up the notch on the new SODIMM with the slot key. Hold the module at a 30‑degree angle, then push it in firmly until the gold pins disappear. Press down until the retaining clips click back into place.
4.4 Double‑Check Placement
Make sure the module sits level and the clips fully engage. A loose stick can cause boot failures or intermittent crashes.
4.5 Replace the Access Panel
Snap the panel back, re‑insert the screws, and tighten them just enough to hold the panel—do not overtighten as it may crack the plastic.
5. Verifying the Upgrade
5.1 Power On and Enter BIOS/UEFI
Turn the laptop back on and immediately press the BIOS key (often F2, Del, or Esc). In the BIOS menu, locate the “Memory” or “System Information” section. It should display the new total RAM.
5.2 Check in the Operating System
Once Windows loads, open Task Manager → Performance → Memory. macOS users can revisit About This Mac. The new amount should be reflected.
5.3 Run a Quick Stress Test
Download a free utility like MemTest86 or use Windows Memory Diagnostic. Run a short test (one pass) to ensure the module is error‑free. If errors appear, reseat the RAM or try a different slot.
5.4 Benchmark the Difference
For measurable proof, run a benchmark tool such as Cinebench R23 before and after the upgrade. You’ll typically see a 15‑30 % improvement in multi‑core scores, especially in memory‑heavy tasks.
6. Tips, Troubleshooting, and FAQs
6.1 Common Mistakes to Avoid
- Using the Wrong Type: DDR3 will not fit in a DDR4 slot. Verify the label on the module.
- Forgetting to Ground: Static discharge can silently damage the motherboard.
- Over‑tightening Screws: This can crack the access panel or strip the threads.
- Skipping BIOS Update: Some older laptops need a BIOS flash to recognize higher‑capacity RAM.
6.2 When the Laptop Won’t Boot
If the machine powers on but shows a black screen, try these steps:
- Power down, remove the battery, and hold the power button for 15 seconds.
- Reseat the RAM—sometimes a module sits just shy of full insertion.
- Boot with only one module installed (if you added a pair). This isolates a bad stick.
- Check the BIOS version; update if a newer release adds support for larger modules.
6.3 Upgrading Soldered RAM
Some ultrabooks (e.g., certain Dell XPS 13 models) have RAM soldered directly to the motherboard. In these cases, the only upgrade path is to replace the entire motherboard or purchase a newer laptop. Always confirm soldered status before buying RAM.
6.4 Extending Warranty Considerations
Opening the case may void the manufacturer’s warranty, especially if the laptop has a “sealed” designation. However, many vendors (e.g., Lenovo, HP) allow user upgrades and still honor the warranty for unrelated issues. Keep the service manual and take photos before you start, as proof of original condition.
6.5 Best Value Brands
When buying memory, reputable brands like Crucial, Kingston, and Corsair offer low‑error rates and solid warranties. Look for “No‑SPD” or “Plug‑and‑Play” labels—they guarantee compatibility with most laptops.
Conclusion: Boost Your Laptop’s Life in Minutes
Upgrading RAM is a simple, cost‑effective way to make a laptop feel brand new again. By following the steps outlined above—checking compatibility, gathering tools, safely opening the case, installing the module, and verifying the result—you’ll enjoy faster load times, smoother multitasking, and a longer useful lifespan for your device. The process takes under an hour for most models, and the performance gains are immediate. So grab that SODIMM, follow the guide, and watch your laptop spring back to life.
Frequently Asked Questions
Can I mix different brands of RAM when upgrading?
Yes, you can mix brands as long as the speed, voltage, and timings match. However, using identical modules ensures the best dual‑channel performance.
Do I need to reinstall my operating system after adding RAM?
No. RAM is a hardware component; the OS will automatically detect the new memory during boot.
What if my laptop has only one RAM slot?
If there’s a single slot, you must replace the existing module with a higher‑capacity one. Check the maximum supported size first.
Is it safe to upgrade RAM on a laptop that is still under warranty?
Most manufacturers allow user upgrades without voiding the warranty, but it’s wise to read the warranty terms. Keep all screws and the access panel for re‑assembly.
How often should I upgrade my laptop’s RAM?
Upgrade when you notice slowdowns in multitasking, video editing, or gaming, or when a new OS requires more memory. Typically, every 3‑4 years for heavy users.
Will adding more RAM improve gaming performance?
Yes, especially for games that load large textures or run in high‑resolution settings. However, the GPU also plays a major role, so RAM alone won’t turn a low‑end laptop into a high‑end gaming rig.