Laptop Cable Management
Laptop cable management keeps your workspace clean, safe, and productive. A messy cable setup causes tangles, damage, and frustration every day. This guide shares practical solutions, top accessories, and easy step-by-step methods anyone can follow. You will learn how to route, organize, and maintain your laptop cables like a pro. A tidy cable setup saves time, reduces clutter, and extends the life of your gear.
Key Takeaways
- Clean cable setups boost productivity: A clutter-free desk helps you focus and work faster every day.
- Simple tools make a big difference: Cable ties, sleeves, and clips solve most laptop cable problems quickly.
- Step-by-step routing works for any desk: You do not need expensive gear to get started with cable management.
- Cable management protects your devices: Organized cables reduce strain, prevent damage, and avoid overheating risks.
- Maintenance keeps your setup tidy long-term: A few habits each week make staying organized easy and automatic.
📑 Table of Contents
- Why Laptop Cable Management Matters More Than You Think
- Common Laptop Cable Management Problems
- Best Cable Management Solutions for Laptops
- How to Organize Your Laptop Cables Step by Step
- Cable Management Accessories Worth Buying
- Maintaining a Tidy Laptop Cable Setup
- Expert Tips for a Clean and Productive Workspace
- Final Thoughts on Laptop Cable Management
Why Laptop Cable Management Matters More Than You Think
Your laptop cables may seem like a small thing. But they can totally change how your workspace feels and functions. A messy pile of cords under your desk creates visual noise. That noise pulls your attention away from the work that matters most.
Good laptop cable management is not just about looking neat. It actually protects your devices and your productivity. Tangled cables can pull on charging ports. They can trap heat against your laptop. They can even create tripping hazards in your workspace.
When you organize your cables properly, everything works better. Your laptop charges without snagging. You find the right cord in seconds. Your desk stays clear for focused work. These small wins add up over days, weeks, and months.
Many people ignore cable clutter until it becomes a real problem. By then, damaged cables, lost adapters, and frustrated feelings pile up. The good news is that fixing this is easier than you think. You do not need expensive tools or technical skills. You just need a plan and a few basic supplies.
The Hidden Costs of Cable Chaos
Cable mess costs you more than you might realize. First, it wastes time. How many times have you dug through a pile of cords to find your charger? That adds up to hours over a year.
Second, messy cables cause wear and tear. When cords rub against sharp desk edges or get tangled, the insulation breaks down. This leads to fraying and exposed wires. In some cases, poor cable routing can even contribute to overheating issues, which is something you want to avoid at all costs. If you have ever wondered whether overheating can cause serious damage, it is worth learning about the risks.
Third, a cluttered workspace affects your mental state. Studies show that visual clutter increases stress and reduces focus. A clean cable setup helps your brain relax and stay in the zone.
Common Laptop Cable Management Problems
Before you fix a problem, you need to understand it. Every laptop user faces a few cable challenges that keep coming back. Let us look at the most common ones.
Tangled Charging Cables
Your charging cable is probably the cord you use every single day. It also tends to become the most tangled one. Power cords, USB cables, and HDMI cords all compete for space in your bag or on your desk.
When these cables tangle together, they become a nightmare to untangle. Worse, knots put stress on the cable joints. This leads to early breakage and the need for replacements. Using a cable management sleeve or a simple pouch keeps them bundled neatly.
Too Many Cables for One Laptop
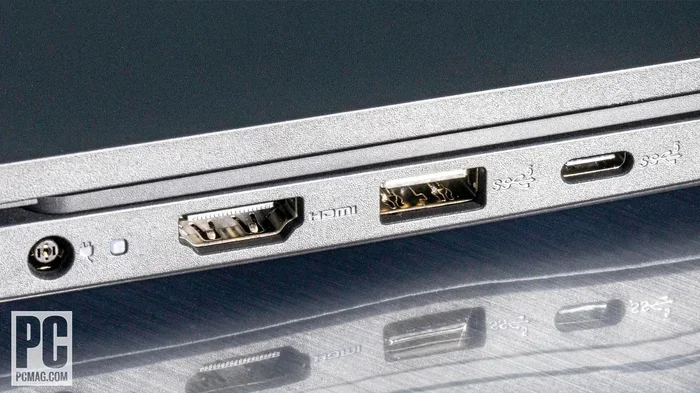
Modern laptops need several peripherals. You might have a power cable, a mouse dongle, a USB hub, an external monitor cable, and a webcam connector. That is a lot of cords for one small device.
Each cable needs its own path to your laptop. Without proper cable routing, they pile up on your desk and create a spaghetti situation. The key is giving every cable a designated spot.
Cables Slipping Off the Desk
Thin cables slide off desks easily. They fall behind furniture and get trapped under chairs. This is not only annoying but also a safety hazard. A loose power cord under your chair can cause trips and falls.
Cable clips and desk grommets solve this problem. They hold cables in place and guide them safely along your desk edge or down to the floor.
Best Cable Management Solutions for Laptops
Now that you know the problems, let us look at the solutions. There are many tools and methods available. You do not need to use all of them. Pick the ones that fit your workspace and workflow.
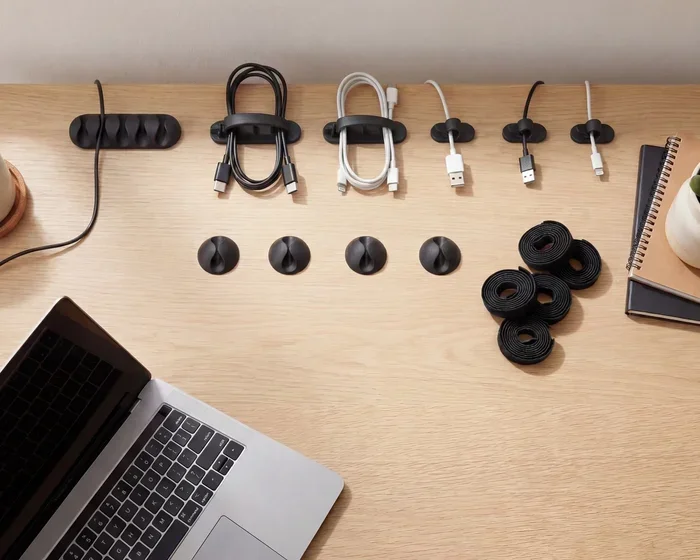
Cable Ties and Velcro Straps
Cable ties are the simplest and cheapest solution. They bundle loose cords together in seconds. Velcro straps are even better because you can reuse them. Just wrap, stick, and go.
Use cable ties to group your charging cable, mouse cord, and any other peripheral wires. Keep them loose enough so the cables do not bend sharply. Sharp bends damage the internal wiring over time.
Cable Sleeves and Braided Wraps
A cable sleeve is a fabric tube that holds multiple cords inside. You slide all your laptop cables into the sleeve, and it hides them completely. This is one of the most effective ways to achieve a clean desk look.
Braided cable wraps work similarly but offer a more stylish finish. They come in many colors and materials. Some even have built-in Velcro closures for easy access.
Desk Cable Trays and Clips
A desk cable tray mounts under your desk surface. It holds cables flat against the desk leg or underside. This keeps them completely hidden from view.
Cable clips attach directly to the edge of your desk. They guide individual cables along a fixed path. You can route your power cord down one side and your monitor cable down the other. This keeps everything organized and separate.
Laptop Docking Stations
A docking station is a game changer for cable management. It connects all your peripherals in one place. You plug one cable from the dock into your laptop, and everything else stays connected.
This drastically reduces the number of cables on your desk. Many docks also include built-in USB ports, HDMI outputs, and even Ethernet jacks. This means fewer cables to manage overall. If you are considering upgrading your setup, a dock paired with a solid laptop with lots of ram and good storage can transform how you work.
Wireless Alternatives
One of the best ways to manage cables is to eliminate them. Wireless peripherals remove the need for mouse cables and keyboard cords. Wireless charging pads also reduce the number of charging cables you need.
You still need your laptop power cable, of course. But cutting down even two or three cords makes a noticeable difference. Many modern laptops also support fast charging, which means you can unplug sooner and worry less about cable clutter.
How to Organize Your Laptop Cables Step by Step
Here is where it all comes together. Follow these steps to create a clean, organized cable setup for your laptop. You can do this in under an hour with basic supplies.
Step 1: Unplug Everything and Start Fresh
Disconnect all cables from your laptop and peripherals. Lay them out on a flat surface. This lets you see exactly what you have. You will probably find several cables you forgot about or no longer need.
As you go through your cables, think about what you actually use every day. Old phone chargers, broken cables, and unused adapters should be removed. Keep only what you need for your current setup.
Step 2: Group Cables by Function
Create groups based on what each cable does. Power cables go in one group. Data cables go in another. Monitor and display cables form a third group. This makes it easy to route them separately.
Grouping also helps you identify duplicates. If you have three USB cables but only use one, the others can be stored away for later use.
Step 3: Choose Your Cable Routing Path
Decide where your cables will travel from your laptop to their destination. Most people route cables down the back or side of the desk. Use a desk grommet if your desk has one. Otherwise, a cable clip along the desk edge works perfectly.
Keep the power cable separate from data cables. Power cables can cause electromagnetic interference with sensitive data connections. Keeping them apart ensures cleaner signals and better performance.
Step 4: Secure and Bundle
Use Velcro straps or cable ties to bundle each group together. Do not pull them too tight. Leave a little slack so the cables can move naturally. Attach the bundles to your chosen routing path using clips or a sleeve.
This is also a great time to label your cables. A small piece of tape or a cable tag on each cord saves you from guessing later. When you have multiple devices, knowing which cable goes where is essential.
Step 5: Test and Adjust
Plug everything back in and test each connection. Make sure no cable is pinched or under tension. Adjust the routing if anything feels strained. A good setup should allow you to move your laptop freely without pulling on any cables.
Cable Management Accessories Worth Buying
Not all cable management tools are created equal. Some are essential, while others are nice to have. Here is a quick look at the best accessories for laptop cable organization.
- Velcro cable ties: Reusable, gentle on cables, and easy to adjust. These should be your go-to bundling tool.
- Fabric cable sleeve: Hides all your cords in one neat tube. Perfect for under-desk routing.
- Adhesive cable clips: Stick to any desk surface. They guide individual cables along a fixed path.
- Desk grommet: A hole with a smooth edge that feeds cables through your desk safely.
- Cable management box: A small box that hides power strips and excess cable length. Keeps the floor area clean.
- Wireless charging pad: Eliminates one charging cable entirely. Great for phones and some laptops.
You do not need to buy all of these at once. Start with Velcro ties and a cable sleeve. These two items alone can transform your workspace. Add clips and a box as your needs grow.
Maintaining a Tidy Laptop Cable Setup
Organization is not a one-time task. It is a habit. Once you have set up your cable management system, a little maintenance keeps it working well.
Weekly Cable Check
Once a week, spend two minutes checking your cables. Look for any loose connections or new tangles. Re-tie any straps that have come undone. This small habit prevents big messes from building up.
Monthly Deep Clean
Once a month, unplug everything and do a thorough check. Wipe down your cables with a dry cloth. Inspect the ends for fraying or damage. Replace any cables that show wear. This also gives you a chance to re-evaluate your setup and make adjustments.
During your monthly check, also clear out any cables you no longer use. Old cables take up space and add to visual clutter. Store them in a labeled bag if you think you might need them later. Otherwise, recycle them responsibly.
Adapt as Your Setup Changes
Your workspace will change over time. You might add a second monitor. You might switch to a new laptop. Each change affects your cable needs. Stay flexible and adjust your routing and accessories as needed.
For example, if you upgrade your storage and add an M 2 NVMe SSD for laptop, you might need additional cables for external enclosures or docking setups. Plan your cable routes with future upgrades in mind.
Expert Tips for a Clean and Productive Workspace
Here are some extra tips from workspace organization experts. These small changes can make a big impact on how your setup looks and feels.
- Use color-coded cable ties: Assign a color to each device. Red for power, blue for data, green for peripherals. This makes identification instant.
- Keep cables off the floor: Floor cables collect dust and create tripping hazards. Always route them up and along the desk or down through a grommet.
- Invest in a quality power strip: A good power strip with a flat plug takes up less space and fits behind furniture easily.
- Go short where possible: Shorter cables create less slack and take up less room. Choose the right length for each connection.
- Consider a standing desk: Standing desks often have built-in cable management channels. This makes routing much easier and cleaner.
Remember, the goal of laptop cable management is not perfection. It is a workspace that supports your work and reduces daily friction. Even small improvements lead to better focus and a more enjoyable environment.
Final Thoughts on Laptop Cable Management
Laptop cable management is one of those small changes that makes a surprisingly big difference. A clean cable setup protects your devices, saves you time, and creates a workspace you actually enjoy working in. You do not need expensive tools or hours of effort. A few simple supplies and a clear plan are all you need.
Start with the basics. Bundle your cables. Route them safely. Secure them with clips or sleeves. Build the habit of weekly checks and monthly cleaning. Over time, organization becomes second nature.
Your workspace is where you create, learn, and grow. Make it work for you. A tidy cable setup is the foundation of a productive, stress-free day. Take action today and feel the difference tomorrow.
Frequently Asked Questions
What is the best way to manage laptop cables on a small desk?
Use a combination of Velcro ties and a cable sleeve to bundle cords together. Attach adhesive cable clips to the desk edge to route cables along a single path. A cable management box under the desk hides power strips and excess cord length. This keeps everything off your limited desk surface.
How often should I reorganize my laptop cables?
A quick cable check once a week keeps things tidy. A deeper reorganization once a month works well for most people. If you add new devices or change your setup, take a few minutes to adjust your cable routes accordingly.
Can cable management prevent laptop overheating?
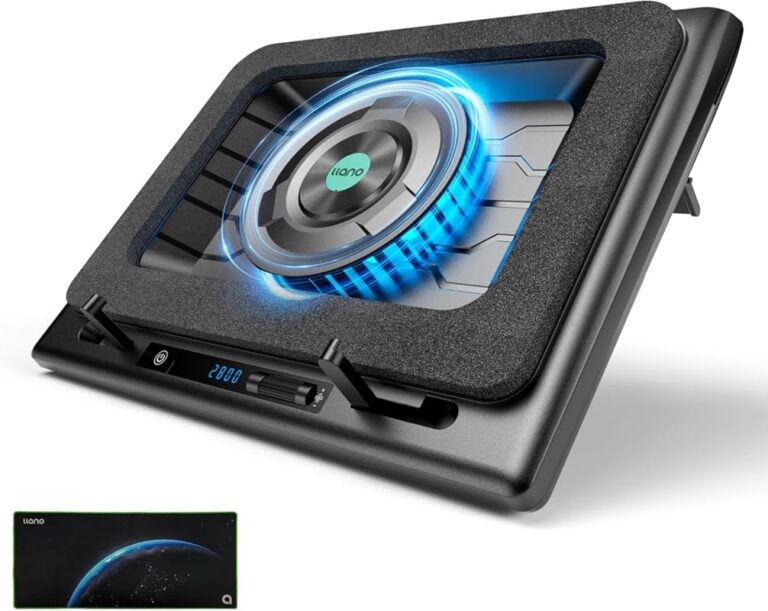
Yes, it can help. Tangled cables around your laptop trap heat and block airflow. Organized cables allow air to circulate freely around your device. This is especially important if you use a laptop cooling pad or keep your laptop on your lap for extended periods.
Do I need a docking station for better cable management?
A docking station is not required, but it helps a lot. It reduces the number of cables on your desk by consolidating connections into one hub. If you use multiple peripherals regularly, a dock paired with a laptop that has plenty of ram and solid storage can simplify your entire workspace.
What is the cheapest cable management solution?
Velcro cable ties are the most affordable option. A pack costs just a few dollars and works for almost any setup. A simple fabric cable sleeve is another low-cost choice that hides multiple cords at once.
Should I label my laptop cables?
Yes, labeling is a great habit. It saves time when you need to identify a specific cable quickly. Use small pieces of tape or printed cable tags. Label each cord with its device name or purpose, such as “charger” or “external monitor.”
=== CONCLUSION ===
Laptop cable management is a simple yet powerful way to improve your workspace. It protects your gear, saves you time, and boosts your focus every single day. You now have the tools, tips, and step-by-step methods to create a clean and organized cable setup.
Start small. Pick one solution and try it today. Build from there as you discover what works best for your desk and workflow. The goal is a workspace that feels calm, clear, and ready for anything.
Your laptop cables do not have to be a source of frustration. With the right approach, they become an invisible part of a well-designed workspace. Take control of your cables and enjoy the difference it makes.