Why Do My Speakers Crackle
That persistent crackling, popping, or static from your speakers is almost always fixable. The root cause is typically a simple physical connection issue, like a loose wire or dirty jack, but can also stem from software glitches, interference, or failing internal components. By systematically checking connections, cleaning contacts, updating drivers, and isolating the problem source, you can eliminate the noise. In rare cases, it signals a serious hardware fault requiring professional repair or replacement. Don’t live with bad sound—troubleshoot step-by-step for a solution.
Key Takeaways
- Loose or damaged cables are the #1 culprit: A poor physical connection between your source, amplifier/receiver, and speakers is the most common cause of crackling. Always check and reseat all cables first.
- Dirt and oxidation are silent killers: Dust, grime, and oxidized metal on connection points (jacks, plugs, terminals) create intermittent contact, leading to pops and crackles. Regular cleaning prevents this.
- It might be your source or software, not the speakers: A faulty audio jack on your computer/phone, corrupt drivers, or misconfigured sound settings can generate noise that gets amplified. Test with different sources.
- Electrical interference is a major factor: Nearby appliances, poor-quality power supplies, and ground loops can inject 60Hz hum or high-frequency crackle into your audio signal. Shielded cables and proper grounding help.
- Component failure is the last resort: If all connections and sources are clean, the crackle may come from a failing capacitor, amplifier, or driver inside the speaker itself, often requiring professional repair.
- Bluetooth introduces unique challenges: Wireless interference, codec issues, and low battery in portable speakers can cause digital dropouts that sound like crackling or stuttering.
- Volume can reveal hidden problems: Sometimes, distortion or crackle only appears at higher volumes because it exposes limitations or faults in the amplifier or speaker drivers that are inaudible at lower levels.
📑 Table of Contents
- Why Do My Speakers Crackle? An Introduction to Audio Annoyances
- The Usual Suspects: Common Causes of Speaker Crackle & Static
- Systematic Diagnosis: How to Isolate the Source of the Crackle
- Practical Fixes: From Easy Wins to Advanced Repairs
- Prevention is Key: Maintaining Crackle-Free Audio
- When to Seek Professional Help or Replace
- Conclusion: Restoring Your Peaceful Soundscape
Why Do My Speakers Crackle? An Introduction to Audio Annoyances
You’re settling in to enjoy your favorite album, a pivotal movie scene, or a crucial work presentation, and it happens. A sharp pop. A relentless crackle. A static-filled hiss that wasn’t there yesterday. That moment of audio frustration is universal. The question “why do my speakers crackle?” echoes in the minds of everyone from casual streamers to audiophiles. The good news? This pervasive problem is rarely a mystery with no solution. In fact, the vast majority of speaker crackling issues stem from simple, fixable causes that you can diagnose and often repair yourself, without needing to be an electronics wizard.
Think of your audio signal as a clear, steady stream of water traveling from its source (your phone, computer, TV) through pipes (cables) to a sprinkler head (your speaker). Crackling is like air bubbles or debris intermittently blocking that flow. Our job is to find where the blockage is. It could be in the pipes themselves, at a connection point, at the source of the water, or even something outside the system (like a vibrating pump) interfering. This guide will walk you through every possible source of that干扰, from the obvious to the obscure. We’ll start with the simplest, most likely fixes and methodically move toward more complex scenarios. By the end, you’ll have a clear troubleshooting roadmap and the knowledge to restore pristine sound to your setup.
The Usual Suspects: Common Causes of Speaker Crackle & Static
Before we dive into tools and tests, it’s crucial to understand the landscape of potential problems. Categorizing the causes helps you target your investigation. We can broadly group the reasons for crackling speakers into four main buckets: Physical Connection Problems, Interference & Ground Issues, Software & Source Problems, and Internal Hardware Failure. Let’s explore each.
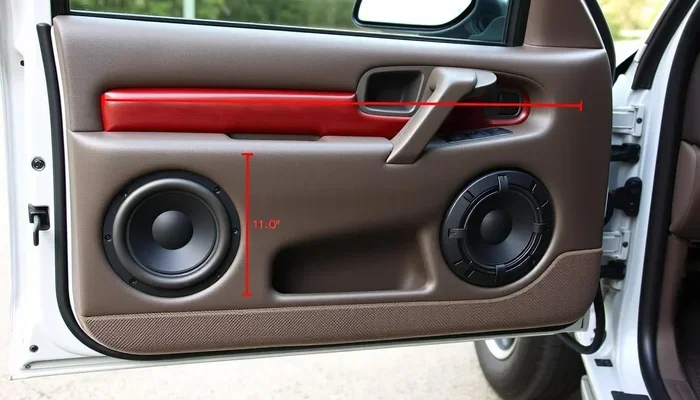
Visual guide about Why Do My Speakers Crackle
Image source: youramazingcar.com
Physical Connection Problems: The Low-Hanging Fruit
This category accounts for an estimated 70% of all crackling complaints. It’s all about the tangible, touchable parts of your system. A connection that is not solid, clean, and secure will cause the audio signal to break up intermittently, manifesting as pops, clicks, and crackles.
- Loose Plugs: The most common cause. A 3.5mm jack, RCA plug, or speaker wire terminal that isn’t fully seated will vibrate or shift slightly, breaking the circuit. This is especially true for portable speakers or setups where cables are frequently moved.
- Damaged Cables: Frayed insulation, kinks, or internal wire breaks (often near connectors) create high resistance or open circuits. Flexing the cable while listening often makes the crackle worse or appear/disappear.
- Dirty or Oxidized Contacts: Over time, metal connectors develop a thin layer of oxide, dust, or grime. This insulating layer prevents a clean electrical connection. You’ll find this on 3.5mm jacks, RCA inputs, binding posts on speakers, and even inside headphone ports.
- Faulty or Low-Quality Cables: Cables with poor shielding (like cheap, unshielded 3.5mm cables) act as antennas, picking up electromagnetic interference (EMI) from nearby power cables, fluorescent lights, or motors. This interference presents as buzz, hum, or digital-sounding crackle.
Interference & Ground Loops: The Invisible Buzz
Your audio system exists in an electromagnetic soup. When grounding is improper or shielding is inadequate, unwanted signals creep in.
- Ground Loops: This is a classic and pesky problem. It occurs when there are two or more paths to ground in your audio system, creating a tiny current loop. This 60Hz (in the US) or 50Hz (in Europe/Asia) current induces a low-frequency hum that can sometimes have a gritty, crackling texture, especially when combined with other noise. It’s common when connecting a computer (grounded via its power supply) to an external amplifier or powered speakers that are also plugged into a different outlet on the same electrical circuit.
- Electromagnetic Interference (EMI): The crackle from a fluorescent light dimmer, a running refrigerator compressor, a wireless router, or a phone charging next to your cable is EMI. Unshielded cables are particularly vulnerable.
- Radio Frequency Interference (RFI): Similar to EMI but at higher frequencies. A nearby AM radio station or a strong CB radio transmission can be picked up by long, unshielded cables, sounding like buzzing or ticking.
Software & Source Problems: The Digital Culprit
Not all crackle is analog. Your computer, phone, or streaming device’s software and hardware can generate digital distortion that gets sent to your otherwise perfect speakers.
- Outdated or Corrupt Audio Drivers: Your computer’s sound card driver is the translator between the OS and the hardware. A buggy, old, or corrupted driver can cause buffer underruns (where the audio data doesn’t get to the sound chip in time), resulting in stuttering, popping, and crackling, especially during CPU-intensive tasks.
- Incorrect Sample Rate/Bit Depth Settings: Mismatched settings between your application (e.g., music player), the operating system sound panel, and your DAC/audio interface can cause resampling artifacts that sound like crackle or static.
- Resource Congestion: On a PC, if the system is overloaded (too many programs, heavy gaming, video rendering), it may not have enough processing power to handle audio smoothly, leading to glitches.
- Faulty Audio Port or Source Device: The 3.5mm headphone jack on your laptop or phone might have a loose solder joint or worn contacts. Try a different source device to rule this out.
- Bluetooth-Specific Issues: Wireless interference, distance from the source, low battery on the speaker, or incompatible/compressed audio codecs (like using SBC instead of aptX) can cause digital dropouts that sound like brief crackles or stutters.
Internal Hardware Failure: The Last Resort
If you’ve exhausted the external checks, the problem might be inside the speaker or amplifier itself.
- Failing Capacitors: In the amplifier circuit (in powered speakers or receivers), electrolytic capacitors can dry out or bulge over time. This causes power supply ripple, leading to a constant or intermittent crackling, popping, or buzzing, often more noticeable at lower volumes.
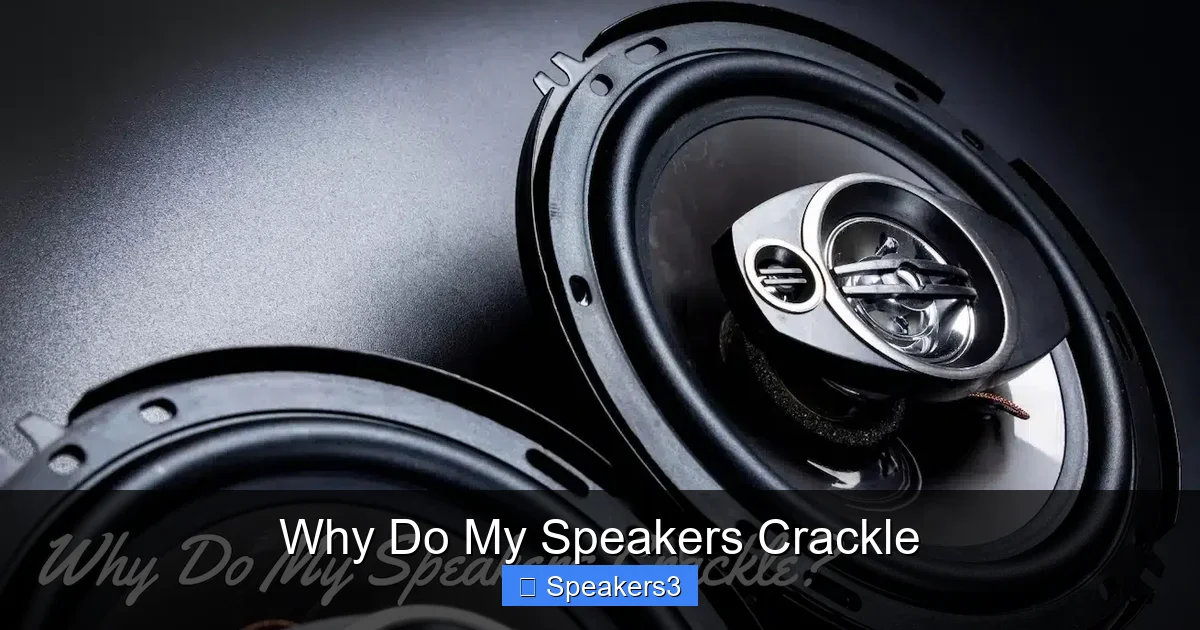
- Damaged Speaker Drivers: A torn or warped speaker cone, a blown voice coil, or a damaged surround can cause physical scraping sounds (a distinct, harsh crackle) when the speaker moves, especially on bass transients.
- Loose Internal Wiring: A wire that has come loose from a solder joint or terminal inside the speaker cabinet can cause intermittent connection, just like a loose external cable.
- Faulty Amplifier/Receiver: A failing output transistor or integrated circuit in a stereo receiver or amplifier can introduce distortion and noise into the signal path.
Systematic Diagnosis: How to Isolate the Source of the Crackle
Now that we know what could be wrong, we need a methodical approach to find out what is wrong. Jumping to conclusions leads to wasted time and money. Follow this diagnostic flowchart to pinpoint the exact location of your audio gremlin. The golden rule: change one variable at a time and listen.
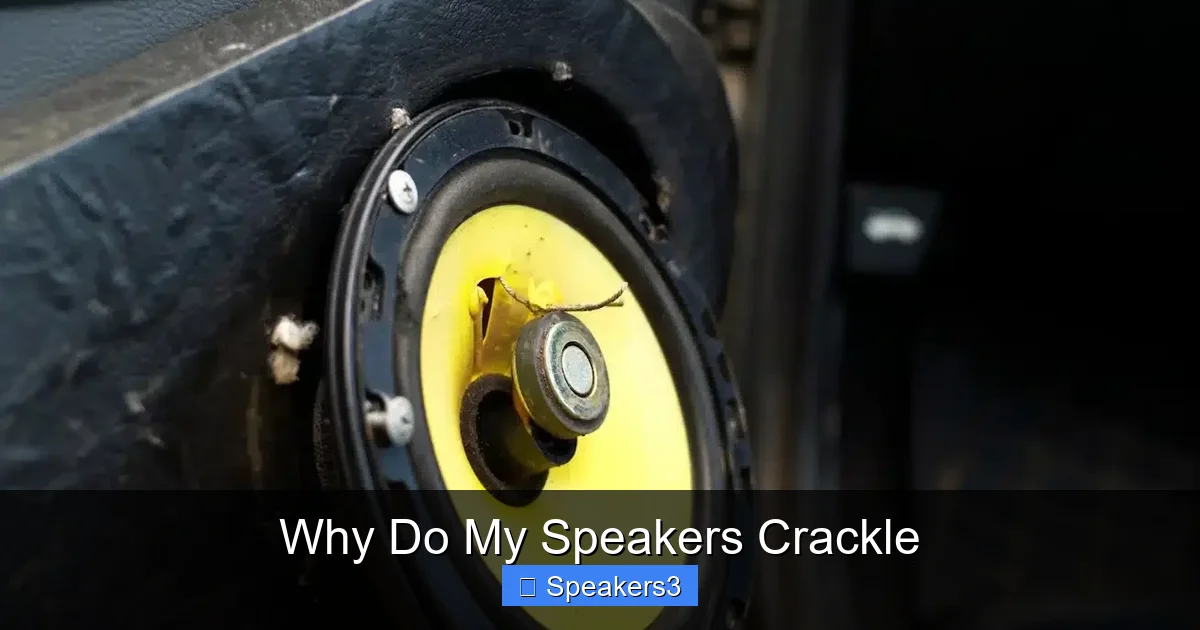
Visual guide about Why Do My Speakers Crackle
Image source: youramazingcar.com
Step 1: The Source Swap Test
This is your most powerful diagnostic tool. Play the same audio file (preferably something with a consistent, quiet passage and a loud, dynamic passage) from three different sources, connected to the same speaker setup.
- Source A: Your original problematic device (e.g., your desktop computer).
- Source B: A different device you know works well (e.g., your smartphone, a tablet, a dedicated music player like an iPod).
- Source C: A third, different device (e.g., a Blu-ray player, another laptop).
Interpretation:
- If the crackle follows Source A to different speakers/amps, the problem is almost certainly in that device (its sound card, drivers, or software).
- If the crackle stays with the same speaker/amp regardless of the source, the problem is in the speaker, amplifier, or the cables connecting them to the source.
- If the crackle is present with all sources but changes character (e.g., a hum with one, a digital stutter with another), you might have multiple issues or a very sensitive system picking up different types of interference.
Step 2: The Cable & Connection Inspection
Assuming the crackle is tied to the speaker/amp side, it’s time for a physical. Don’t just look—touch, wiggle, and listen.
- Visual Inspection: Examine every cable. Look for kinks, cuts, fraying, or bent connectors. Check the plugs for bent pins (especially TRRS vs. TRS). Look inside jacks on the source and speaker for debris or bent contacts.
- The Wiggle Test: While audio is playing at a moderate volume, gently wiggle each cable at both ends (where it plugs into the source and where it plugs into the speaker/amp). Also, wiggle the connector inside the jack. Does the crackle get louder, change pitch, or appear/disappear? If yes, you have a loose or broken connection in that specific cable or jack.
- The Swap Test: Replace the suspect cable with a known-good, high-quality shielded cable. If the crackle vanishes, the old cable was the problem. This is the definitive test. Have spare cables on hand for this purpose.
Step 3: The Environment & Interference Check
Sometimes the issue isn’t in your equipment but in its surroundings.
- Unplug Everything Else: Disconnect all other devices from the same electrical outlet or power strip as your audio system. Turn off lights on dimmer switches, unplug chargers, and shut down other electronics in the room. Does the crackle go away?
- Change Power Outlets: Plug your amplifier/speakers and source device into a different circuit (a different wall outlet on the other side of the room, ideally on a different breaker). A ground loop is often broken this way.
- Increase Distance: Move your audio cables away from power cords, surge protectors, transformers (like laptop bricks), and large appliances. Cross cables at 90-degree angles if they must intersect.
- Check Bluetooth: If using wireless, try a wired connection to see if the problem persists. Ensure the speaker is fully charged. Move other wireless devices (phones, routers) away from the speaker and source.
Step 4: The Software & Driver Deep Dive (For Computers)
If the source is a Windows PC or Mac, the software layer needs examination.
- Update Audio Drivers: Go to your motherboard or sound card manufacturer’s website. Download and install the latest official drivers. Do not use generic Windows Update drivers for critical audio work. For Realtek audio (common on motherboards), get it directly from Realtek or your PC builder.
- Disable Audio Enhancements: In Windows, go to Sound Settings > Device Properties > Additional Device Properties > Enhancements tab. Check “Disable all enhancements.” On Mac, check Audio MIDI Setup for correct format and disable any audio plugins that might be system-wide.
- Adjust Buffer Size/Latency: In professional audio software (DAWs) or even some player settings, a buffer size that’s too low for your computer’s power can cause dropouts. Increase it slightly (e.g., from 128 samples to 256 or 512).
- Check for Conflicting Software: Communication apps like Discord, Zoom, or Skype can sometimes hijack the audio device. Close them and test. Also, check if any other program is using the audio device in the background.
- Try a Different Audio Output: If your PC has both a motherboard 3.5mm jack and a dedicated sound card or USB DAC, try the other output. This isolates whether the problem is in the PC’s internal audio circuitry.
Practical Fixes: From Easy Wins to Advanced Repairs
Armed with your diagnosis, it’s time to apply the cure. We’ll start with solutions you can perform in minutes with household items and move to more involved procedures.
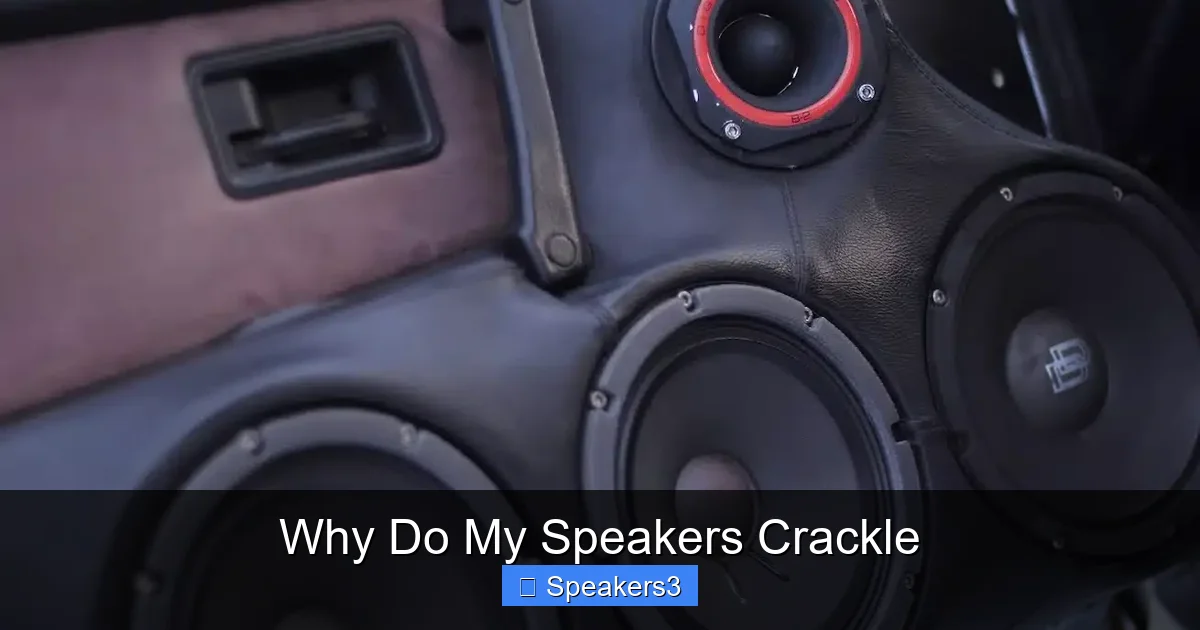
Visual guide about Why Do My Speakers Crackle
Image source: youramazingcar.com
Cleaning Connectors: The Magic of Isopropyl Alcohol
Oxidation and grime are silent connection-killers. Cleaning is often the miracle fix.
- For 3.5mm, RCA, and TRS jacks/plugs: Power off and unplug everything. Dip a cotton swab in 90%+ isopropyl alcohol (it evaporates quickly and leaves no residue). Gently rub the swab inside the jack and on the plug’s metal parts. For plugs, you can also wrap a lint-free cloth around a pencil, dampen with alcohol, and twist it. Let dry completely (a few minutes) before reconnecting.
- For Speaker Binding Posts: Use a small brush (an old toothbrush works) to scrub the metal posts. Then, wipe with an alcohol-dampened cloth. For spring-loaded clips, insert the cloth-wrapped brush and twist.
- For Contact Cleaner Spray: For stubborn oxidation, use a dedicated electronic contact cleaner (like DeoxIT D5). Spray a tiny amount into the jack or on the plug, insert/remove the plug a few times to work it in, and let evaporate. Never use WD-40 or similar lubricants! They are not designed for electrical contacts and can cause more harm.
Cable Management and Replacement
If the wiggle test failed or you see damage:
- Secure Cables: Use cable ties or Velcro straps to bundle cables neatly and prevent them from being pulled or moved. Avoid sharp bends. Use gaffer tape to secure cables running across floors where they might be stepped on.
- Invest in Quality Cables: For analog connections (RCA, 3.5mm), buy well-shielded cables from reputable brands. Look for gold-plated connectors (which resist oxidation better) and thick, flexible jackets. For speaker wire, ensure the gauge (thickness) is appropriate for the distance and speaker impedance (usually 12-16 gauge for home setups).
- Repair vs. Replace: For a expensive cable with a break near the connector, a skilled solderer can replace the connector. For cheap cables or breaks in the middle, replacement is usually more cost-effective.
Eliminating Ground Loops
If you suspect a ground loop (a persistent, low hum that crackles):
- Use a Ground Loop Isolator: This is an inline device with transformers that breaks the physical ground connection while passing the audio signal. They are inexpensive and very effective for RCA or 3.5mm connections. Note: They can sometimes slightly degrade sound quality, but for solving a hum, it’s a worthy trade-off.
- Cheater Plug (Use with Caution): This is a 3-prong to 2-prong adapter that removes the ground pin from a power plug. It can break the loop, but it also removes a crucial safety ground, potentially creating an electrocution hazard if the equipment has a fault. Only use this as a last-resort diagnostic test on non-portable, double-insulated equipment, and never as a permanent solution.
- Isolate the Ground: The safest fix is to ensure all equipment in the signal chain is plugged into the same power strip, which is then plugged into a single, properly grounded wall outlet. This minimizes ground potential differences.
Software and Driver Solutions for Computers
For the digital side of the equation:
- Perform a Clean Driver Install: Use Display Driver Uninstaller (DDU) tool in Safe Mode to completely remove your current audio drivers, then install the fresh ones from the manufacturer’s site.
- Adjust Power Settings: In Windows Power Options, set the plan to “High Performance.” This prevents the CPU or hard drive from throttling, which can sometimes cause audio dropouts.
- Disable Exclusive Mode: In your audio device’s properties (Windows Sound Control Panel), under the Advanced tab, uncheck “Allow applications to take exclusive control of this device.” This prevents one app from locking the device and causing conflicts.
- Update BIOS/UEFI: On some motherboards, especially older ones, audio controller issues are fixed in BIOS updates. Check your motherboard manufacturer’s support page.
When to Open the Speaker: Internal Checks
Warning: Only proceed if your speakers are out of warranty, you are comfortable with basic electronics, and you understand the risk of electric shock (even unplugged, capacitors can hold a charge). If in doubt, take it to a professional.
- Visual Inspection Inside: Remove the speaker grille and back panel (usually screws). Look for obvious issues: bulging or leaking capacitors on the amplifier board, burnt components, loose wires, or debris inside the cabinet that might be touching the driver.
- Reseat Internal Connections: Unplug and firmly reconnect any ribbon cables or wire harnesses connecting the amplifier to the speaker driver or the input board. A slightly loose connector can cause crackling.
- Check the Driver: Gently push the speaker cone in and out. It should move smoothly without any gritty, scraping, or rubbing feeling. A rubbing voice coil is a sign of a blown driver that needs reconing or replacement.
- Smell Test: A distinct smell of burnt electronics or ozone points to a failed component on the amplifier board, likely requiring board-level repair or replacement of the entire module.
Prevention is Key: Maintaining Crackle-Free Audio
Once you’ve silenced the crackle, you’ll want to keep it that way. A little proactive care goes a long way.
- Handle Connectors with Care: Never pull on cables to unplug them. Grip the plug firmly and pull straight out. Avoid forcing connectors into jacks at an angle.
- Regular Cleaning Schedule: Every 6-12 months, clean your critical connection points (headphone jacks on devices, speaker terminals, RCA inputs) with a contact cleaner and a brush. It takes two minutes and prevents oxidation buildup.
- Invest in Good Cables from the Start: Don’t cheap out on the arteries of your audio system. A single set of well-made, shielded cables will last years and prevent a world of interference problems. Label them if you have a complex setup.
- Manage Your Environment: Keep audio cables away from power strips, lamp cords, and large appliances. Use short cables where possible. For permanent installations (like home theater), run audio cables perpendicular to power cables if they must cross.
- Use a Quality Surge Protector/Power Conditioner: A good power conditioner filters out electrical noise and provides clean, stable power to your sensitive audio equipment, which can both prevent crackle and extend component life.
- Keep Software Updated: Regularly update your operating system and audio drivers. But after a major driver update that introduces crackle, roll back to a previous stable version using Device Manager in Windows.
- Proper Storage for Portables: Don’t toss your portable Bluetooth speaker into a bag with cords and keys. Use a soft pouch. Protect the charging port and auxiliary jack from dust and debris.
When to Seek Professional Help or Replace
Not all problems are DIY-friendly. Knowing when to call it quits on self-repair is crucial to avoid wasting time or causing further damage.
You should consult a professional audio technician if:
- You’ve performed all external diagnostics (source swap, cable swap, cleaning, software updates) and the crackle persists with all sources on the same speaker/amp.
- You open the speaker and see visibly damaged, bulging, or leaking capacitors on the amplifier board. Replacing these requires soldering skills and component knowledge.
- The speaker driver itself is physically damaged (torn cone, voice coil rubbing). Re-coning a driver is a specialized skill.
- You are not comfortable working with mains electricity (120V/240V) inside an amplifier or receiver. These circuits can hold lethal charges.
- The cost of the speaker/amp is low (e.g., a $50 Bluetooth speaker) and the repair estimate approaches or exceeds the value of the unit. Replacement is more economical.
- The device is still under warranty. Opening it will likely void the warranty. Contact the manufacturer or authorized service center.
For high-value equipment like a beloved pair of floor-standing speakers, a vintage receiver, or expensive studio monitors, a professional repair is almost always worth the investment. They have the tools (oscilloscopes, signal generators) and experience to diagnose subtle faults like failing transistors or solder cracks that are invisible to the untrained eye.
Conclusion: Restoring Your Peaceful Soundscape
That annoying crackle, pop, or static is more than just a nuisance; it’s a message from your audio system. It’s telling you that somewhere in the chain, a connection is poor, interference is winning, software is faltering, or a component is dying. By understanding the four main categories of causes—Physical, Interference, Software, and Hardware—and following the systematic diagnostic process of swapping sources, inspecting cables, checking the environment, and updating software, you can transform from a frustrated listener into an informed troubleshooter.
Remember to always start with the simplest, most likely fixes: reseat and clean your cables. A five-minute cleaning with isopropyl alcohol solves more problems than any other single action. Then, methodically eliminate variables. The satisfaction of identifying and fixing the issue yourself, coupled with the reward of suddenly pristine, crackle-free audio, is immensely rewarding. You’ve invested in your speakers and your listening experience; this guide ensures that investment delivers the clear, rich sound you deserve. Now, go forth, diagnose, and reclaim your audio peace.
Frequently Asked Questions
Can crackling speakers damage them permanently?
Occasional, mild crackling from a loose connection won’t damage speakers. However, persistent crackling caused by a severely overdriven amplifier or a mechanical fault in the driver (like a rubbing voice coil) can cause heat buildup or physical damage to the speaker cone over time. It’s best to address the root cause promptly.
Why do my Bluetooth speakers crackle more at certain times of day?
This is almost always due to increased wireless interference. More devices (Wi-Fi routers, cordless phones, microwave ovens, other Bluetooth devices) are active during daytime hours in homes and offices. This congestion in the 2.4GHz spectrum causes data packet loss, which your speaker interprets as crackles or stutters. Moving the speaker closer to the source or switching to a less crowded Wi-Fi channel can help.
Is it worth repairing old speakers that have started crackling?
It depends on the speaker’s value, sentimental worth, and the diagnosis. If the crackle is due to a simple, cheap fix like cleaning contacts or replacing a cable, absolutely. If it requires a new amplifier module or re-coning the driver on a high-end vintage pair, a professional repair may be worthwhile. For inexpensive modern speakers, replacement is usually more cost-effective.
Why does my speaker crackle only when I turn the volume up?
This is a classic sign of an amplifier clipping or a failing power supply. At higher volumes, the amplifier demands more current. If its power supply capacitors are weak or the output stage is failing, it can’t deliver clean power, causing distortion that manifests as crackling or fizzing. It can also indicate a speaker driver with a damaged voice coil that only rubs when it moves further at higher excursions.
Could my PC’s power supply be causing speaker crackle?
Yes, absolutely. A low-quality or failing PC power supply (PSU) can introduce electrical noise (ripple) into the system’s ground. This noise can travel through the motherboard and into the audio circuitry, especially on budget motherboards with poor analog design, resulting in a constant buzz or intermittent crackle that changes with CPU load.
My speakers crackle when I move my mouse—why?
This is a specific form of electromagnetic interference (EMI). The rapid electrical changes in your computer’s mouse (especially older ball mice or gaming mice with high polling rates) or its USB cable can generate noise. If your audio cable runs parallel and close to the mouse’s cable, it can pick up this interference. Separate the cables, use a shielded audio cable, or connect your speakers to a different power outlet than your PC.