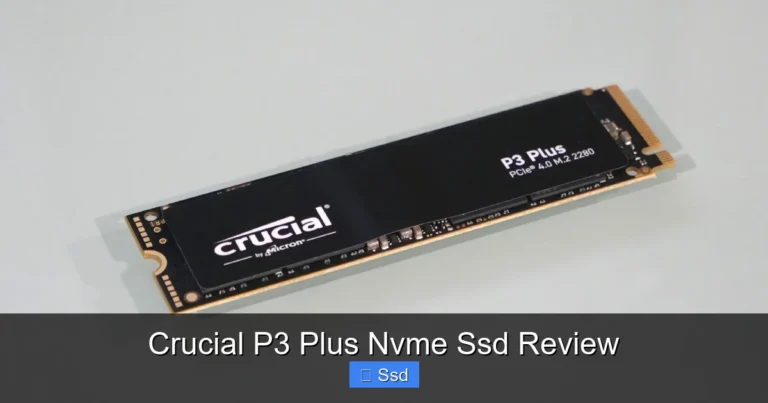
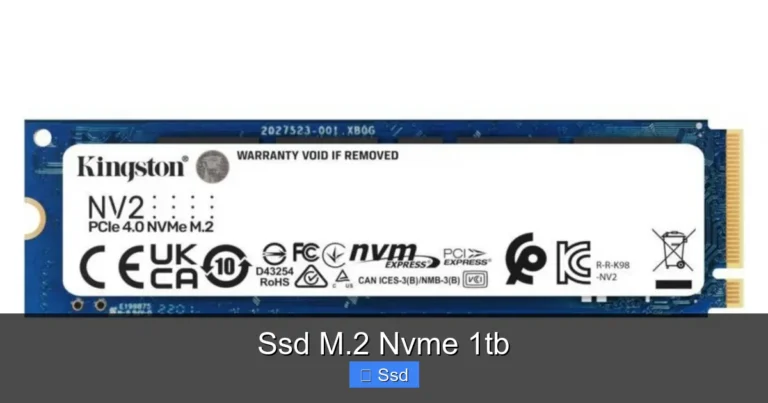
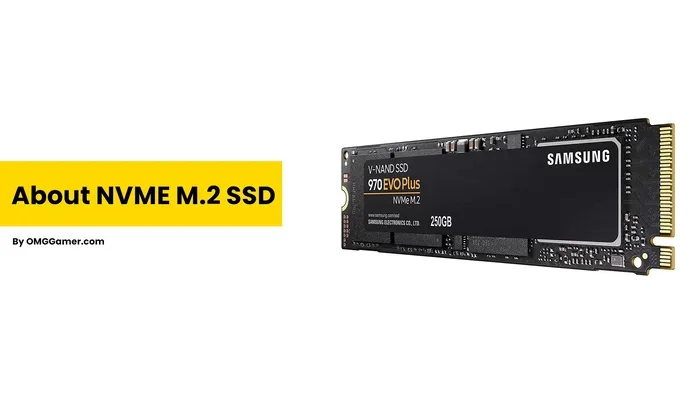
How to Set Up New Nvme Ssd

How to set up a new NVMe SSD is simpler than you think, and this guide walks you through every step to get your drive up and running in minutes. You’ll learn how to install the SSD physically, configure it in your BIOS, and initialize it for peak performance, whether you’re upgrading a laptop or building a new PC.
Key Takeaways
- Confirm your motherboard has an M.2 slot that supports NVMe SSDs.
- Secure the NVMe SSD firmly into the M.2 slot at a 30-degree angle.
- Initialize the drive in Disk Management before partitioning or formatting it.
- Update your NVMe driver and firmware to maximize performance and stability.
- Enable the XMP or DOCP profile in BIOS for optimal speeds.
- Clone your old drive first if you need to transfer the OS.
📑 Table of Contents
- What Is an NVMe SSD and Why Should You Care?
- What You Need Before Setting Up Your NVMe SSD
- Step-by-Step: How to Set Up New NVMe SSD
- Installing NVMe SSD in Different Systems
- Common Mistakes When Setting Up NVMe SSD
- Optimizing Your New NVMe SSD for Best Performance
- Quick Tips and Key Takeaways
- Conclusion
What Is an NVMe SSD and Why Should You Care?
If you are looking to boost your computer’s speed, an NVMe SSD is one of the best upgrades you can make. But what exactly is it? NVMe stands for Non-Volatile Memory Express. It is a protocol designed specifically for flash storage. Unlike older drives, an NVMe drive uses the PCIe lane to communicate directly with your motherboard. This means data moves much faster compared to traditional SATA SSD drives.
Think of it this way. A SATA SSD is like a highway with speed limits. An M.2 SSD running on NVMe is like a high-speed freeway. The difference is night and day. You will see faster file transfer speed, quicker system boot times, and a smoother overall experience. Whether you are a gamer, a content creator, or just someone who wants their PC to feel snappy, this storage upgrade is well worth your time.
In this guide, we will walk you through everything you need to know about how to set up new NVMe SSD. From unboxing to optimization, we have you covered.
What You Need Before Setting Up Your NVMe SSD
Before you start installing, it helps to gather everything you need. Being prepared saves time and prevents frustrating moments mid-install. Here is a quick checklist:
- Your NVMe SSD — Make sure it is the correct form factor. Most modern drives are M.2 2280 size.
- A Phillips screwdriver — You will need this to open your case and secure the drive.
- Your motherboard manual — This tells you exactly where the NVMe slot is located.
- A USB drive (optional) — If you plan to install a fresh operating system.
- Anti-static wrist strap (optional but recommended) — Static electricity can damage sensitive components.
Check Motherboard Compatibility
Not all motherboards support NVMe. Older boards may only have SATA slots. Most modern motherboards made after 2018 include at least one PCIe SSD slot. Check your motherboard specs before buying. Look for an M.2 slot that supports PCIe Gen 3 or Gen 4. If your NVMe SSD is not showing up, it could be a compatibility issue, so this step is crucial.
Confirm BIOS Support
Enter your BIOS by pressing Delete or F2 during startup. Look for the M.2 or NVMe section. If your board recognizes the slot, you are good to go. Some older BIOS versions may need updating to detect newer NVMe drives properly.
Step-by-Step: How to Set Up New NVMe SSD
Now let us get into the real action. Setting up your new NVMe SSD is easier than most people think. Follow these steps carefully, and you will have it running in no time.
Step 1: Power Down and Open Your Case
Shut down your computer completely. Unplug the power cable. Press the power button once to discharge any remaining electricity. Open your case using a screwdriver or remove the side panel. Place your computer on a flat, stable surface.
Step 2: Locate the M.2 Slot on Your Motherboard
Find the M.2 slot on your motherboard. It is usually near the chipset area or close to the PCIe slots. Your motherboard manual will show the exact location. Some boards have a small heatsink cover over the slot. Remove it gently if needed.
Step 3: Insert the NVMe SSD
Hold your NVMe drive at a slight angle — about 30 degrees. Align the notch on the drive with the key on the slot. Gently push the drive down into the slot. It should slide in smoothly without force. Once seated, press the drive down flat and secure it with the small screw provided in the box. If you are unsure about the tightness, check our guide on how tight the screw should be for NVMe SSD to avoid over-tightening.
Step 4: Close the Case and Power On
Put your side panel back on. Reconnect the power cable. Turn on your computer. Let it boot up normally. Your system should now detect the new drive.
Step 5: Initialize and Format the Drive
Now comes the important part — making the drive usable. On Windows, open Disk Management. Right-click the Start button and select “Disk Management.” Find your new NVMe SSD in the list. It will likely show as “Unallocated.” Right-click it and choose “New Simple Volume.” Follow the wizard to assign a drive letter and format it. Choose NTFS for most uses. Click “Finish” and your drive is ready to go.
Installing NVMe SSD in Different Systems
The process of NVMe drive installation can differ slightly depending on your setup. Let us look at the most common scenarios.
Desktop PC Setup
Desktop setups are usually the easiest. You have plenty of space inside the case. The M.2 slot is easy to reach. Just follow the steps we outlined above. Most desktop motherboards come with multiple M.2 slots, so you can even add more than one drive.
Laptop Setup
Laptops require a bit more care. Open the bottom panel carefully. Locate the M.2 slot — it is often under a small cover with its own screw. Insert the drive the same way as on a desktop. Be gentle. Laptop components are more delicate. After installation, replace the cover and screw it back on. Power on and format the drive using Disk Management just like before.
External NVMe Enclosures
Not everyone wants to open their computer. You can use an external NVMe enclosure. These connect via USB-C and work with most modern systems. They are great for portable storage or if you need a quick speed boost without opening the case. Simply drop the NVMe drive into the enclosure, close it, and plug it in.
Common Mistakes When Setting Up NVMe SSD
Even simple tasks can go wrong. Here are some common pitfalls to avoid when you set up new NVMe SSD:
- Forcing the drive in — The M.2 slot does not need force. If it resists, check the alignment. Forcing it can bend the slot or break the drive.
- Skipping BIOS checks — Always confirm the drive appears in BIOS before installing an OS. If it does not, reseat the drive or update your BIOS.
- Using the wrong partition format — Use GPT for UEFI systems. Use MBR for older setups. Choosing wrong can cause boot issues.
- Ignoring thermal management — NVMe drives can run hot. Some come with heatsinks. If not, consider adding one. High temperatures can slow down performance.
- Not updating firmware — Check the manufacturer’s website for firmware updates. Updated firmware often improves speed and reliability.
What to Do If Your NVMe SSD Is Not Detected
Sometimes things do not work right away. If your drive is not being recognized, do not panic. Some users report internet issues after installing a new NVMe SSD, which can often be traced to BIOS or driver conflicts. Here are quick fixes:
- Reseat the drive by removing and reinserting it.
- Update your motherboard BIOS to the latest version.
- Check that the M.2 slot is enabled in BIOS settings.
- Try a different M.2 slot if your board has more than one.
- Make sure your operating system supports NVMe drivers.
Optimizing Your New NVMe SSD for Best Performance
You have installed the drive. It is working. But are you getting the full speed? Here is how to squeeze every bit of performance out of your storage upgrade.
Enable PCIe Gen 3 or Gen 4 in BIOS
Some motherboards default to Gen 2 speeds. Go into BIOS and manually set the PCIe mode to Gen 3 or Gen 4. This ensures your drive runs at its maximum potential.
Update Storage Drivers
Use the latest chipset and storage drivers from your motherboard manufacturer. Outdated drivers can limit speed. This is especially important for operating system installation on a fresh drive.
Turn Off Unnecessary Startup Programs
Your NVMe SSD will load things quickly. But if too many programs start at boot, it slows things down. Use Task Manager to disable unnecessary startup items. This keeps your system boot fast and responsive.
Use the Right Software
Many NVMe manufacturers offer free software tools. These help you monitor health, update firmware, and adjust settings. Samsung Magician, WD Dashboard, and Seagate DiscWizard are a few popular options.
Consider Thermal Throttling
High-speed drives generate heat. Without proper cooling, they slow down to protect themselves — this is called thermal throttling. Add a heatsink or improve airflow inside your case. Keeping temperatures low means consistently fast storage performance.
Quick Tips and Key Takeaways
Here is a handy comparison table to help you understand the speed differences between storage types:
| Storage Type | Max Read Speed | Max Write Speed | Best For |
|---|---|---|---|
| HDD | ~120 MB/s | ~100 MB/s | Mass storage |
| SATA SSD | ~550 MB/s | ~520 MB/s | General use |
| NVMe Gen 3 | ~3,500 MB/s | ~3,000 MB/s | High performance |
| NVMe Gen 4 | ~7,000 MB/s | ~5,000 MB/s | Enthusiast workloads |
Quick Tips for a Smooth Setup
- Always back up data before replacing or adding a new drive.
- Keep your NVMe SSD in the M.2 slot — do not use adapters that reduce speed.
- Use Windows Disk Management to format and assign drive letters easily.
- Check SSD firmware updates regularly for bug fixes and performance gains.
- Assign your NVMe SSD as the primary boot drive for the fastest startup experience.
Key Takeaways
- An NVMe SSD is the fastest internal storage option available today.
- Installation is straightforward — just seat the drive, secure it, and format it.
- Always check BIOS and motherboard compatibility before buying.
- Optimize your setup with updated drivers, firmware, and proper cooling.
- Avoid common mistakes like forcing the drive or using the wrong partition style.
Conclusion
Setting up a new NVMe SSD does not have to be intimidating. With the right tools and a clear plan, you can complete the whole process in under 30 minutes. From checking compatibility to formatting the drive and optimizing performance, every step is manageable even for beginners.
The speed improvement you get from an NVMe PCIe SSD is truly noticeable. Pages load instantly, games open in seconds, and large files copy in a flash. Whether you are building a new PC or upgrading an older one, this storage upgrade is one of the best investments you can make.
Now that you know how to set up new NVMe SSD, it is time to put this knowledge into action. Grab your drive, follow the steps in this guide, and enjoy a faster, more responsive computer. You will wonder how you ever lived without it.
Frequently Asked Questions
How do I install a new NVMe SSD in my computer?
First, locate the M.2 slot on your motherboard and unscrew the retention bracket. Align the NVMe drive at an angle and gently press it into the slot, then secure it with the screw. Make sure the drive sits flat and is firmly seated for proper contact.
Do I need to install drivers for a new NVMe SSD?
In most cases, modern Windows versions like Windows 10 and 11 already include native NVMe drivers, so you do not need to install anything separately. However, if your system does not recognize the drive, you may need to download the latest NVMe driver from your motherboard or SSD manufacturer’s website.
How do I initialize and format a new NVMe SSD?
Open Disk Management by right-clicking the Start button and selecting Disk Management. If the drive shows as unallocated, right-click the unallocated space and choose Initialize Disk, then select GPT as the partition style. Next, right-click again and choose New Simple Volume to format it with NTFS and assign a drive letter.
Can I use a new NVMe SSD as a boot drive?
Yes, NVMe SSDs make excellent boot drives because they offer much faster read and write speeds than traditional hard drives or SATA SSDs. To set it as your boot drive, install the operating system onto the NVMe drive and then go into your BIOS settings to set it as the first boot priority.
Why is my new NVMe SSD not showing up in BIOS or Windows?
This can happen if the M.2 slot is not enabled in BIOS, or if the drive is not fully seated in the slot. Try reseating the NVMe SSD and checking your BIOS settings under the storage or boot configuration menu. Also make sure your motherboard supports NVMe drives and that you are using the correct M.2 slot, as some slots share bandwidth with SATA ports.
Do I need a heatsink for my new NVMe SSD?
Many modern NVMe SSDs come with a heatsink included, but you only need one if your system runs hot or if your motherboard manual recommends it for high-performance drives. Heatsinks help prevent thermal throttling, which can slow down your SSD during heavy workloads like gaming or video editing.