How Do I Send in My Dell Laptop for Repair
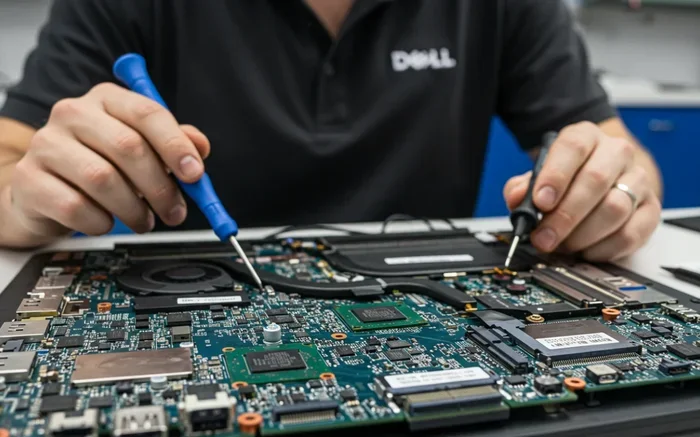
Sending your Dell laptop for repair doesn’t have to be stressful. This guide walks you through the entire process from preparing your device to tracking your repair. You’ll learn how to back up data, contact Dell support, and ship your laptop safely.
Your Dell laptop has been acting up, and you’ve decided it’s time to send it in for repair. Maybe the screen flickers, the keyboard stops working, or something just feels off. Whatever the problem is, the process of sending your Dell laptop for repair can feel overwhelming if you’ve never done it before. But here’s the good news — it’s actually pretty straightforward once you know the steps.
In this guide, we’ll walk you through everything you need to do. From backing up your files to tracking your repair, we’ve got you covered. You’ll learn how to prepare your laptop, contact Dell support, and make sure your device arrives safely at the repair center. Let’s get started.
Key Takeaways
- Back up your data first: Always save your files before sending your laptop for repair to avoid losing anything important.
- Know your warranty status: Check if your Dell laptop is still under warranty to save money on repairs.
- Reset your laptop before shipping: Remove personal data and log out of all accounts for security.
- Package it properly: Use the original box and padding to prevent damage during transit.
- Track your repair: Dell provides tracking options so you can monitor the progress of your repair.
- Try basic fixes first: Some issues can be resolved without sending your laptop away, saving time and effort.
📑 Table of Contents
- Why You Might Need to Send Your Dell Laptop for Repair
- Step 1: Back Up Your Data
- Step 2: Check Your Dell Warranty and Support Options
- Step 3: Prepare Your Laptop for Shipping
- Step 4: Contact Dell and Start the Repair Process
- Step 5: Track Your Repair and Follow Up
- Common Mistakes to Avoid When Sending Your Dell Laptop for Repair
- Frequently Asked Questions
- Final Thoughts
Why You Might Need to Send Your Dell Laptop for Repair
Laptops are complex machines. They have moving parts, sensitive electronics, and software that runs thousands of processes behind the scenes. Over time, things wear down or break. Sometimes a simple fix works, but other times you need professional help.
Here are some common reasons people send their Dell laptops in for repair:
- Hardware failures: Broken screens, faulty keyboards, or failing hard drives are common issues that need expert attention.
- Software problems: Corrupted operating systems, persistent errors, or virus infections sometimes require deep diagnostics.
- Overheating issues: If your laptop shuts down randomly or runs extremely hot, the internal cooling system might need servicing.
- Battery problems: A battery that won’t hold a charge or drains too quickly could signal a deeper issue.
- Port or connectivity issues: USB ports, HDMI outputs, or Wi-Fi modules can fail over time.
Before you jump into sending your laptop away, try some basic laptop troubleshooting steps first. Sometimes a simple restart, driver update, or system restore fixes the problem. If you’re dealing with a mouse issue, check out how to fix your laptop mouse before escalating to a full repair.
Step 1: Back Up Your Data
This is the most important step. Before you do anything else, back up all your important files. You don’t want to risk losing photos, documents, or projects during the repair process.
How to Back Up Your Files
There are several easy ways to save your data:
- Use an external hard drive: Plug in a USB drive and copy your important folders over. This is the simplest and fastest method.
- Use cloud storage: Services like OneDrive, Google Drive, or Dropbox let you upload files online. OneDrive is especially convenient for Dell laptop users.
- Use a network drive: If you have a home network with shared storage, transfer files that way.
Make sure you back up everything you can’t afford to lose. Once your laptop leaves your hands, you don’t have direct control over what happens to the data inside.
Remove Personal Information
After backing up, you should also remove your personal data for security. Sign out of all accounts, including your Microsoft account, email, and any banking or shopping sites. Consider doing a full factory reset if you’re comfortable with it. This ensures no one can access your private information while the laptop is away.
Step 2: Check Your Dell Warranty and Support Options
Before you pay for any repair, check whether your Dell laptop is still covered. Dell offers several support options that can save you money and headaches.
Understanding Dell Warranty Coverage
Dell laptops typically come with a standard one-year limited warranty. This covers hardware defects and manufacturing issues. If your laptop is still within this period, repairs are often free or heavily discounted. You can check your warranty status using your Dell service tag, which is a unique identifier found on the bottom of your laptop or in your system BIOS.
Here’s how to find your Dell service tag:
- Look on a sticker on the bottom of your laptop.
- Open the Command Prompt and type
wmic bios get serialnumber. - Check the Dell Support website by entering your service tag.
If your warranty has expired, you might still have options. Dell offers extended warranty plans and premium support services. These can cover accidental damage and provide next-business-day service.
Dell Support Channels
Dell provides multiple ways to get help:
- Phone support: Call Dell directly and describe your issue. They can run diagnostics over the phone.
- Online chat: Dell’s website offers live chat support for quick questions.
- Dell SupportAssist: This built-in tool automatically detects and troubleshoots common problems.
- Community forums: Dell has active user forums where people share solutions to common issues.
Before sending your laptop in, try contacting Dell support first. They might be able to resolve your issue remotely or walk you through a fix. This can save you the hassle of shipping your laptop back and forth.
Step 3: Prepare Your Laptop for Shipping
Proper preparation makes a huge difference. You want your laptop to arrive at the repair center in the same condition it left your home. Here’s how to get it ready.
Clean Your Laptop
Give your laptop a quick wipe-down before packing it. Remove any dust from the vents, clean the screen with a microfiber cloth, and wipe the keyboard. This helps the technicians assess the condition of your device and avoids any confusion about pre-existing marks or dirt.
Remove Accessories
Take off everything that’s not part of the laptop itself:
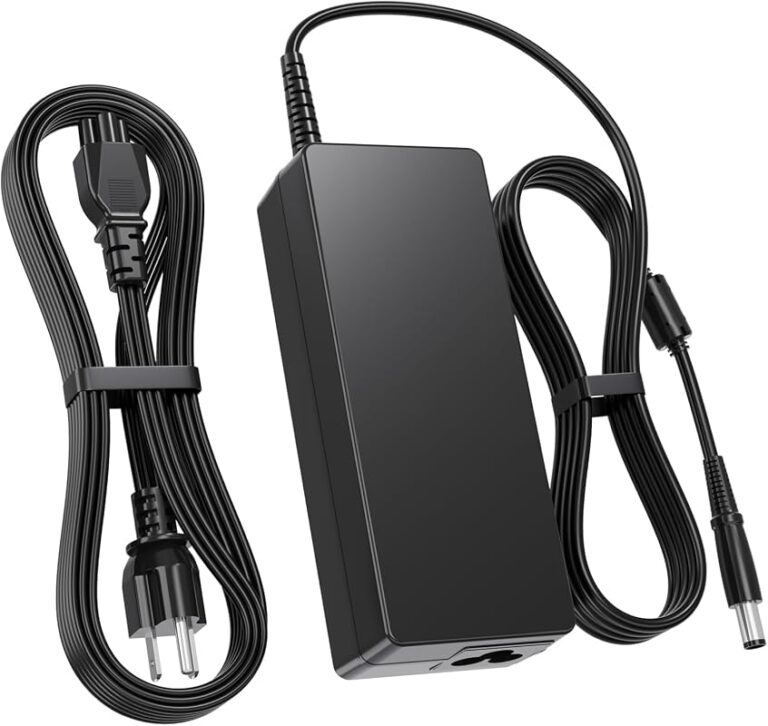
- Charging cable and power adapter
- USB drives and external devices
- Mouse or mouse pad
- SD cards and memory sticks
- Any stickers or removable items
Pack these separately or leave them at home. The goal is to ship only the laptop in a secure package.
Use the Original Packaging
If you still have the original Dell box and foam padding, use it. This packaging was designed specifically for your laptop model. If you don’t have it, wrap the laptop in bubble wrap and place it in a sturdy box with plenty of padding on all sides.
Make sure the laptop doesn’t move around inside the box. Add extra padding to fill any gaps. The less the laptop shifts during transit, the lower the risk of additional damage.
Also, consider how to upgrade your laptop’s RAM or check its current specs before shipping. If you already know your memory configuration, it helps the technicians understand your system better. You can learn more about checking your RAM in our guide on how to check RAM on your laptop.
Step 4: Contact Dell and Start the Repair Process
Once your laptop is packed and ready, it’s time to reach out to Dell and initiate the repair process. Here’s what the typical workflow looks like.
Contact Dell Support
Visit the Dell Support website or call their repair hotline. Have your Dell service tag ready. The support team will ask you about the issue, run some diagnostics, and help you create a repair case. They’ll provide you with instructions on how to ship your laptop.
Create a Repair Case
A repair case is essentially a ticket that tracks your laptop through the entire process. You’ll receive a case number that you can use to monitor progress. Dell typically offers the following options:
- Walk-in service: Bring your laptop to a Dell service center in person.
- Pickup service: Dell sends a courier to pick up your laptop from your home.
- Ship-in service: You pack and ship the laptop to a Dell repair facility yourself.
Pick the option that works best for you. Walk-in service is fastest if you live near a service center. Ship-in is convenient if you’re in a rural area.
Get a Repair Estimate
Before any work begins, Dell should provide you with a repair cost estimate. This is especially important if your warranty has expired. Review the estimate carefully and approve it before they proceed. If the cost seems too high, you always have the option to decline and get your laptop back.
Step 5: Track Your Repair and Follow Up
Once your laptop is in transit or at the repair center, you don’t just sit around waiting. Dell provides tools to track your repair status.
How to Track Your Dell Repair
Use your case number to check the status online through the Dell Support website. You can also call Dell support and ask for an update. Most repairs take between a few days and two weeks, depending on the issue and the parts needed.
Here are some tips while you wait:
- Keep your case number handy for all communications.
- Respond quickly if Dell asks for additional information.
- Note any changes in your laptop’s symptoms to share with the technician.
- Check your email regularly for status updates.
When Your Laptop Comes Back
When your repaired laptop arrives, inspect it carefully before signing for delivery. Check for any new damage that might have occurred during shipping. Once you’re satisfied with the condition, power it on and test all the features that were previously problematic.
Make sure to back up your data again if Dell wiped your system during the repair. You might also want to update your drivers and software to the latest versions.
Common Mistakes to Avoid When Sending Your Dell Laptop for Repair
Even with the best intentions, people make mistakes that cause problems. Here are some pitfalls to watch out for:
- Skipping the backup: This is the number one mistake. Always back up your data first.
- Not removing personal accounts: Leaving your Microsoft account logged in creates security risks.
- Poor packaging: A flimsy box or insufficient padding can lead to shipping damage.
- Not documenting the issue: Take photos or write down symptoms before you ship. This helps the technicians diagnose the problem faster.
- Ignoring warranty coverage: Many people pay for repairs they didn’t need to because they didn’t check their warranty status first.
- Not checking the repair estimate: Always review and approve costs before any work begins.
By avoiding these common mistakes, you’ll have a smoother experience and reduce the chances of anything going wrong.
Frequently Asked Questions
How long does it take to repair a Dell laptop?
Most Dell repairs take between three and ten business days. Simple fixes like keyboard replacements or software updates might be done in just a few days. More complex issues that require ordering parts can take longer. You can always check your repair status online using your case number.
Do I need the original box to send my Dell laptop for repair?
Ideally, yes. The original Dell box provides the best protection during shipping. If you don’t have it, use a sturdy box with plenty of bubble wrap or foam padding. Make sure the laptop is snug and doesn’t move around inside the package.
Can I send my Dell laptop for repair if the warranty has expired?
Absolutely. Dell offers paid repair services even after your warranty expires. You’ll receive a repair cost estimate before any work is done, so you can decide whether to proceed. You can also consider third-party repair shops as a more affordable alternative.
What should I do if my Dell laptop has a dead battery?
A dead battery is a common issue that Dell can address. If your laptop is under warranty, the battery replacement is usually free. Connect your laptop to power and check if it turns on. If it does, the issue is likely just the battery, and Dell can replace it quickly.
Will Dell erase my data when they repair my laptop?
Dell generally does not erase your data unless it’s necessary for the repair or you’ve requested a factory reset. However, it’s always best to back up your data before sending your laptop in, just to be safe. This protects you in case something unexpected happens during the repair process.
How much does it cost to repair a Dell laptop?
Repair costs vary widely depending on the issue and your warranty status. Under warranty, most repairs are free or low-cost. Out-of-warranty repairs can range from $50 for simple fixes to several hundred dollars for major hardware replacements. Always ask for a repair estimate before approving any work.
Final Thoughts
Sending your Dell laptop for repair is a process that becomes much easier when you know what to expect. The key is preparation — back up your data, check your warranty, package your laptop securely, and stay in communication with Dell support throughout the process.
Don’t let a broken laptop slow you down for too long. Take action today by following the steps in this guide. Whether it’s a simple fix or a complex hardware issue, Dell’s repair service can get your laptop back in working order. And remember, if you’re dealing with peripheral issues like a faulty mouse, you might be able to troubleshoot those yourself before committing to a full repair. Check out our guide on how to upgrade RAM on your laptop for tips on improving performance without sending your device away.
With the right approach, sending your Dell laptop for repair doesn’t have to be a hassle. You’ve got this.