Orico M 2 Nvme Ssd Clone Duplicator Manual

The Orico M.2 NVMe SSD clone duplicator manual walks you through copying your NVMe drive quickly and easily. This guide covers setup, step-by-step cloning, common issues, and pro tips to get flawless results every time. Whether you are upgrading drives or backing up data, this manual has you covered.
If you have an Orico M.2 NVMe SSD clone duplicator sitting on your desk, you might be wondering how to use it properly. This handy device lets you copy one NVMe drive to another without needing a computer. But like any tool, you need the right guidance to get the best results.
That is exactly what this manual-style guide delivers. You will learn every step of the cloning process, from unboxing to verifying your copied data. We also cover common mistakes, quick fixes, and expert tips that save time and protect your files.
The Orico M.2 NVMe SSD clone duplicator is a popular choice among tech users. It offers a simple one-touch method for disk duplication. Whether you are migrating your operating system, creating a backup, or swapping in a larger drive, this tool makes the job straightforward. Let us dive into everything you need to know.
Key Takeaways
- Easy Setup: The Orico duplicator requires no software and works plug-and-play with most M.2 NVMe drives.
- Fast Cloning: You can clone a drive in minutes using the built-in one-touch copy function.
- No PC Needed: The device works standalone, so you do not need a computer running during cloning.
- Broad Compatibility: It supports NVMe PCIe Gen3 and Gen4 M.2 2230, 2242, 2260, and 2280 drives.
- Built-In Safety: The manual warns against removing drives during cloning to avoid data corruption.
- Great for Backups: Regular cloning keeps your data safe and your system ready to restore.
📑 Table of Contents
What Is the Orico M.2 NVMe SSD Clone Duplicator?
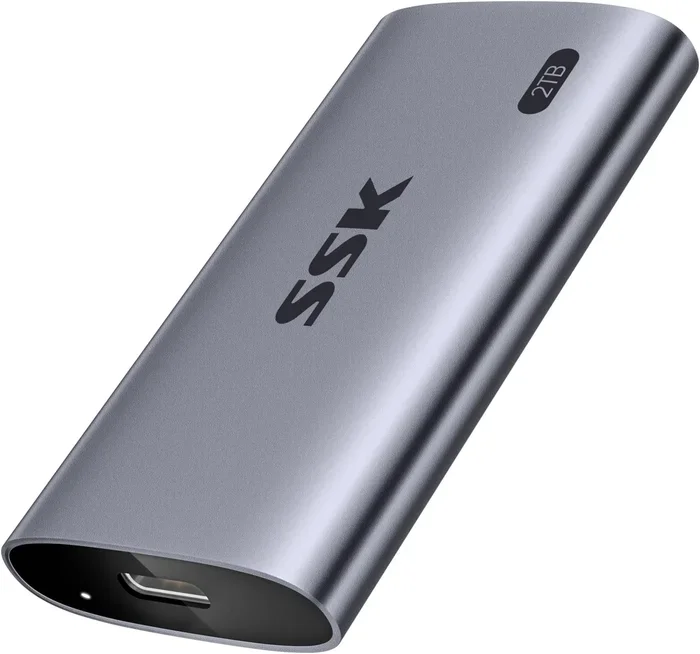
The Orico M.2 NVMe SSD clone duplicator is a standalone hardware device designed to copy NVMe M.2 drives. Unlike software-based cloning tools, this duplicator does not need an operating system or a PC. You simply insert your source and target drives, press a button, and the device handles the rest.
Here is what makes this tool stand out:
- Standalone operation: No computer or software required during cloning.
- One-touch cloning: A single button starts the copy process.
- Multiple drive sizes: Supports various M.2 NVMe form factors including 2230, 2242, 2260, and 2280.
- Fast transfer speeds: Leverages NVMe PCIe Gen3 and Gen4 speeds for quick duplication.
- Compact design: Small enough to carry in a bag or keep on a desk.
This device is different from an NVMe SSD enclosure, which is meant for external use. The Orico duplicator is purpose-built for copying data between two NVMe drives directly. Think of it as a bridge between your source drive and your new drive.
Many users pair this duplicator with an Orico M.2 NVMe SSD enclosure when they need an external drive after cloning. This combination gives you both a backup copy and a portable external drive in one workflow.
Who Should Use This Duplicator?
Several types of users benefit from this tool. IT professionals use it to set up multiple systems quickly. Creators clone their working drives before major projects. Regular users back up important data without installing extra software. Gamers duplicate their game-loaded drives for faster setup on a second PC.
What You Need Before You Start
Before you begin cloning, gather a few items. Having everything ready prevents delays and frustration.
Required Items
- Orico M.2 NVMe SSD clone duplicator: The main device for the job.
- Source NVMe M.2 SSD: The drive with the data you want to copy. This can be any NVMe M.2 drive you already own.
- Target NVMe M.2 SSD: A new or blank drive with equal or larger capacity than the source.
- Screwdriver (optional): Some M.2 drives need a small Phillips head screwdriver to remove from a motherboard.
- Anti-static wrist strap (recommended): Protects your drives from static damage during handling.
Drive Compatibility Check
Not all M.2 drives are NVMe. Some M.2 drives use SATA, and those will not work with this duplicator. Make sure your drives are NVMe PCIe M.2 SSDs. You can check your drive specifications or look up the model number online.
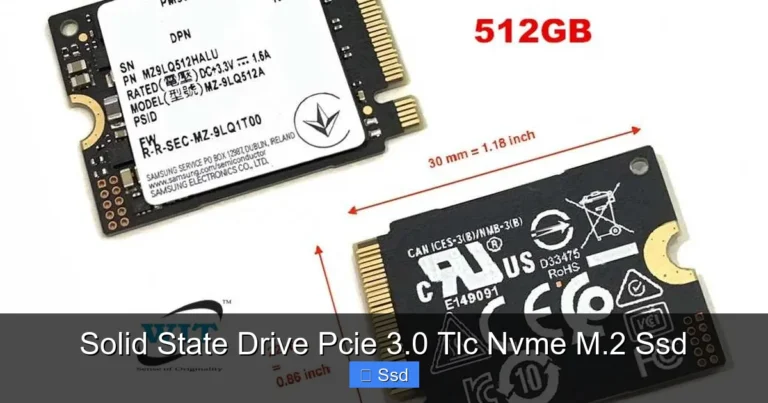
If you are unsure about your drive type, compare it with a 512GB NVMe M.2 SSD or similar product listing. Those pages list the interface type clearly. Using a SATA M.2 drive in an NVMe slot will not work and could cause errors.
Step-by-Step Cloning Guide
This section walks you through the full cloning process. Follow each step carefully for the best results.
Step 1: Power Off and Unplug
Before touching any drives, power off your computer completely. Unplug it from the wall. Static electricity can damage sensitive electronics, so work on a non-carpeted surface if possible.
Step 2: Insert the Source Drive
Open the Orico duplicator housing. Place your source NVMe M.2 SSD into the designated slot. The drive should click into place on the connector pins. Make sure it sits flat and secure. Close the housing gently.
Step 3: Insert the Target Drive
Now insert your target drive into the second slot. Again, ensure it is seated properly. The target drive should be empty or contain data you no longer need, since cloning will overwrite it completely.
Step 4: Connect Power
Plug the USB-C or power cable into the duplicator. Connect it to a power source if required. The device should power on and display a light indicating it is ready.
Step 5: Start Cloning
Press the clone button on the device. The LED indicator will show progress. Do not remove either drive during this process. Cloning time depends on drive size and speed. A 1TB NVMe drive typically takes 10 to 30 minutes.
Step 6: Verify the Clone
Once the device signals completion, remove both drives carefully. You can verify the clone by connecting the target drive to a computer and checking that all files and partitions appear correctly. Many users also test booting from the cloned drive to confirm it works.
Quick Tips During Cloning
- Do not bump or move the duplicator while cloning is in progress.
- Use a stable power source to avoid interruptions.
- Label your drives after cloning so you know which is which.
- Keep the original source drive until you confirm the clone works.
Troubleshooting Common Issues
Sometimes things do not go as planned. Here are the most common problems and how to fix them.
Drive Not Detected
If the duplicator does not recognize your NVMe drive, try removing and reinserting it. Check that the drive is the correct NVMe type and not a SATA M.2 drive. Clean the gold contacts gently with a dry cloth if needed.
Cloning Stalls or Freezes
A stalled clone usually means a connection issue. Power off the device, wait a few seconds, and restart. If the problem persists, try a different USB port or power adapter. Avoid using cheap USB hubs, as they may not supply enough power.
Target Drive Shows Wrong Size
This happens when the target drive has unallocated space. After cloning, you can use disk management tools on your computer to expand the partition to fill the full drive. This is normal and not a fault of the duplicator.
Error Messages During Cloning
Error messages often point to a faulty drive or incompatible format. Try the clone with a different target drive. If the error persists, check that both drives use the NVMe protocol and are not damaged.
Expert Insight: The Orico duplicator works best with drives from brands like Samsung, WD Blue, Kingston, and Crucial. If you are shopping for a target drive, a 1TB NVMe M.2 SSD or a 2TB NVMe M.2 SSD pairs well with this tool. Always buy from reputable sellers to avoid counterfeit drives that cause cloning errors.
Orico Duplicator vs Other Cloning Methods
How does the Orico duplicator compare to other cloning methods? Let us look at the differences.
| Feature | Orico Duplicator | Software Cloning (PC) | NVMe Enclosure Method |
|---|---|---|---|
| Needs a Computer | No | Yes | Yes |
| Setup Complexity | Very Simple | Moderate | Simple |
| Cloning Speed | Fast (NVMe speed) | Fast (NVMe speed) | Fast (NVMe speed) |
| Standalone Use | Yes | No | No |
| Cost | Moderate | Free (software) | Low to Moderate |
| Best For | Quick copies, no PC needed | Advanced users, custom setups | External backup drives |
Software-based cloning tools like Macrium Reflect or Clonezilla offer more customization but require a working PC. The Orico duplicator wins on convenience. You do not need to install anything or worry about software conflicts.
Using an NVMe SSD M.2 enclosure with cloning software on a computer is another popular method. This works well if you already have a PC and prefer free software solutions. But it takes more steps and time compared to the one-touch Orico method.
For users who want a dedicated hardware tool, the Orico duplicator is a strong choice. It sits between the simplicity of an enclosure and the power of full software cloning.
Common Mistakes to Avoid
Even with a simple device, mistakes happen. Here are the most common ones and how to avoid them.
Using a SATA M.2 Drive
The Orico duplicator only works with NVMe M.2 SSDs. Putting a SATA M.2 drive in the slot will not work and may cause error messages. Always double-check your drive type before inserting it.
Removing Drives Mid-Clone
Never pull out a drive while the cloning light is still on. Doing so can corrupt both the source and target drives. Wait for the device to fully signal completion before touching anything.
Using a Drive That Is Too Small
Your target drive must be equal to or larger than the source drive. If the target is smaller, the clone will fail or leave data incomplete. Check your drive capacities before starting.
Skipping the Verification Step
Some users remove the drives and assume everything worked. Always verify the cloned drive by checking files or testing a boot. A few minutes of verification saves hours of data recovery later.
Ignoring Firmware Updates
Like any tech device, the Orico duplicator may receive firmware updates. Check the manufacturer website occasionally for improvements. Updated firmware can fix bugs and improve compatibility with newer NVMe drives.
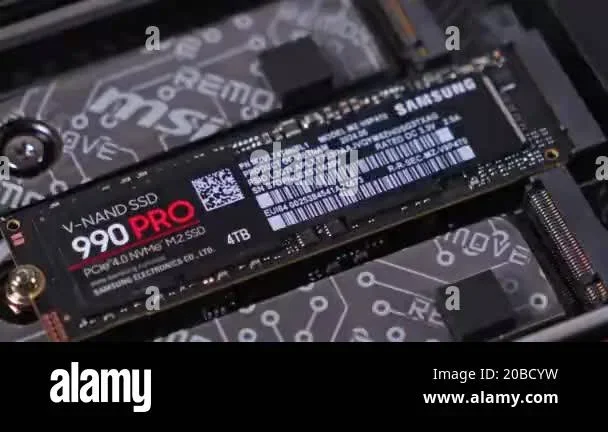
Expert Insight: When choosing a target drive for cloning, consider a Samsung 970 EVO Plus NVMe M.2 SSD or a Crucial P3 Plus NVMe SSD. Both are reliable, fast, and widely compatible with the Orico duplicator. A 4TB NVMe M.2 SSD is also an excellent choice if you need extra space for large files and game libraries.
Maintenance and Care Tips
Taking care of your Orico duplicator extends its lifespan and keeps it working reliably.
- Keep it clean: Dust can build up on connectors. Use compressed air occasionally to clear debris.
- Store it properly: When not in use, keep the device in its case or a safe drawer away from moisture.
- Use quality cables: Cheap USB cables can cause connection drops. Invest in a durable, braided USB-C cable.
- Update firmware: Visit the Orico website periodically to check for the latest firmware versions.
- Handle drives gently: NVMe M.2 SSDs are sensitive to static and physical shock. Always handle them by the edges.
Proper care ensures your duplicator works smoothly every time you need it. A well-maintained device also delivers consistent cloning speeds and fewer errors.
Final Thoughts
The Orico M.2 NVMe SSD clone duplicator manual covers everything from basic setup to advanced troubleshooting. This device is a powerful, convenient tool for anyone who needs to copy NVMe drives quickly and reliably. Whether you are a professional or a home user, the one-touch cloning process saves time and effort.
Follow the steps in this guide, avoid the common mistakes, and take care of your equipment. You will get clean, accurate clones every time. The Orico duplicator proves that hardware-based cloning is still one of the fastest and most reliable ways to duplicate your NVMe drives.
Now that you know how to use this tool confidently, you can clone, back up, and migrate your data with ease. Keep this guide handy for future reference, and you will always be ready when your next drive upgrade comes around.
Frequently Asked Questions
Can I clone a drive that is larger than 2TB with the Orico duplicator?
Yes, the Orico M.2 NVMe SSD clone duplicator supports drives up to its maximum capacity limit, which typically includes 2TB and 4TB NVMe drives. Always check the specific model specifications on the Orico website or product box to confirm compatibility with your drive size.
Do I need to install any software to use the Orico duplicator?
No. The Orico duplicator works as a standalone hardware device. You do not need to install any cloning software or connect it to a computer during the cloning process. Simply insert the drives and press the clone button.
Can I use the Orico duplicator with SATA M.2 SSDs?
No. The Orico M.2 NVMe SSD clone duplicator is designed specifically for NVMe PCIe M.2 SSDs. SATA M.2 drives use a different protocol and will not be recognized by the device. Always verify your drive type before inserting it.
How long does it take to clone a 1TB NVMe SSD?
Cloning time varies based on the drive model and connection speed. A 1TB NVMe SSD typically takes between 10 and 30 minutes using the Orico duplicator. NVMe Gen4 drives may clone faster than Gen3 drives due to higher transfer speeds.
What should I do if the target drive shows less space after cloning?
This is normal and happens when the target drive has unallocated space beyond the source drive size. You can use Windows Disk Management or a free tool like GParted to expand the partition and use the full capacity of the target drive.
Is it safe to remove the drives immediately after cloning finishes?
Wait until the Orico duplicator fully signals completion, usually with a steady light or a beep. Removing drives too early can interrupt the process and cause data corruption. Always let the device finish completely before handling the drives.