How to Install Nvme Ssd in Pc
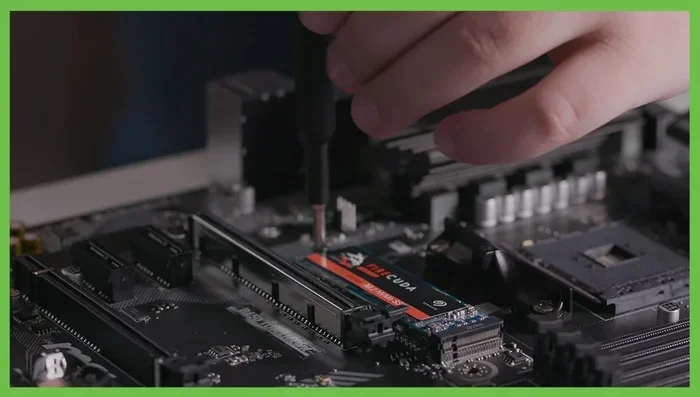
Installing an NVMe SSD in your PC is one of the best upgrades you can make for speed and performance. This guide walks you through every step, from picking the right drive to mounting it in your motherboard’s M.2 slot. You will learn how to prepare your PC, install the drive physically, configure BIOS settings, and get your new NVMe SSD running in minutes.
Upgrading your PC storage is one of the simplest and most rewarding things you can do. A how to install nvme ssd in pc project takes less than 30 minutes and can transform your entire computing experience. Your system will boot faster, apps will launch instantly, and file transfers will fly.
If you have never opened up your PC before, do not worry. This guide is designed for beginners and experts alike. We will walk you through each step with clear instructions. By the end, you will feel confident handling your own NVMe SSD upgrade.
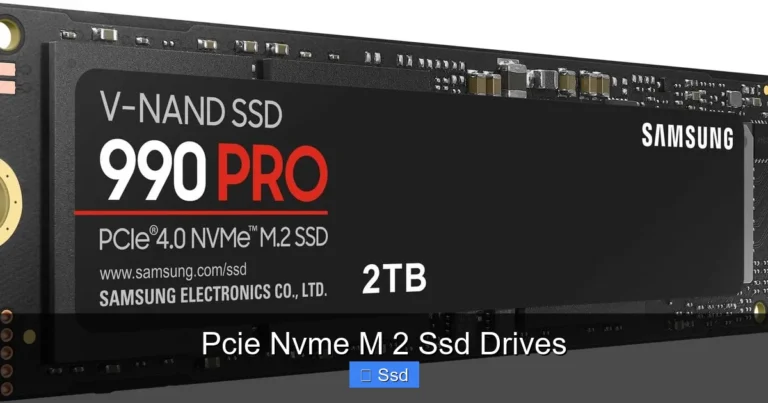
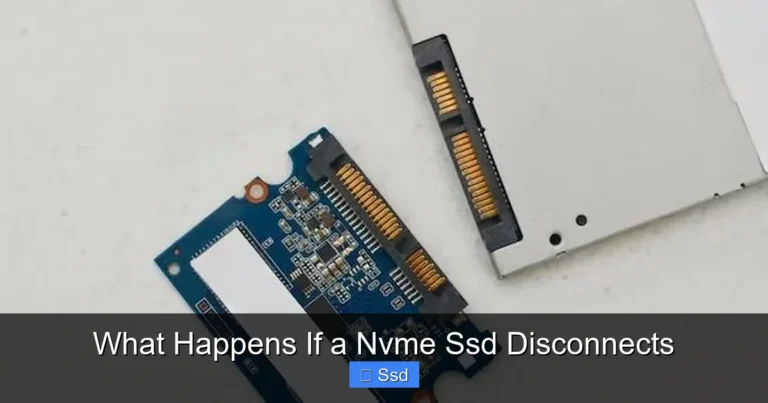
NVMe stands for Non-Volatile Memory Express. It is a protocol built specifically for flash storage. Compared to older SATA SSDs, NVMe drives are dramatically faster. They use the PCIe bus to transfer data, which means much higher read and write speeds. A typical SATA SSD tops out around 550 MB/s. A modern NVMe SSD can reach 7,000 MB/s or more.
Before you start, let us cover what you need and what to expect. This guide assumes you are installing the drive into a desktop PC. Laptop installations follow similar principles but may have slight differences. Let us dive in.
Key Takeaways
- Know Your Slot Type: Make sure your motherboard has an M.2 slot that supports NVMe PCIe drives before buying.
- Gather the Right Tools: You only need a Phillips screwdriver, your motherboard manual, and the NVMe SSD itself.
- BIOS Setup Matters: Enabling the M.2 slot and setting the correct boot mode in BIOS is essential for recognition.
- Thermal Management Is Key: Using a heatsink or thermal pad prevents your NVMe drive from throttling under heavy loads.
- Cloning or Fresh Install: You can either clone your old drive or do a clean Windows installation on the new NVMe SSD.
- Verify After Installation: Always check drive detection in Disk Management and run a speed test to confirm everything works.
📑 Table of Contents
What You Need Before Starting
Preparation is the most important part of any PC upgrade. Gathering everything beforehand saves you frustration and keeps the process smooth.
Check Your Motherboard Compatibility
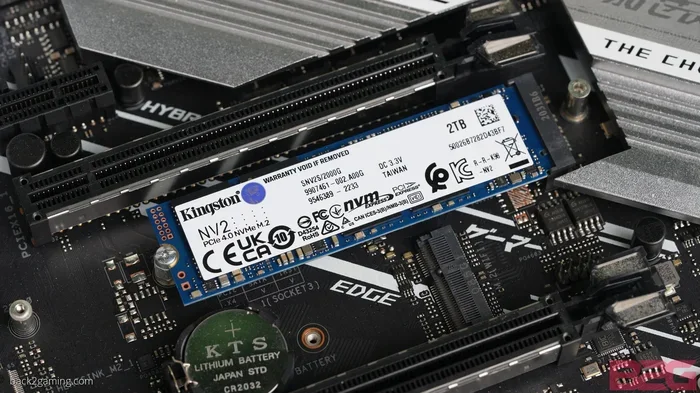
Not all motherboards support NVMe drives. Open your PC case and look at the motherboard. Find the M.2 slots. These are small horizontal slots near the CPU socket. They usually have a small heatsink cover over them. Refer to your motherboard manual to confirm the slot supports PCIe NVMe. Some M.2 slots only support SATA SSDs, which will not work with an NVMe drive.
You should also check which PCIe generation your M.2 slot supports. PCIe 3.0, 4.0, and 5.0 are all backward compatible. This means an NVMe SSD will work in any slot, but it will run at the speed of the slower component. For example, an NVMe Gen4 drive in a Gen3 slot will run at Gen3 speeds.
Gather Your Tools
Here is a simple checklist of what you need:
- Your new NVMe SSD
- A Phillips head screwdriver
- Your motherboard manual
- A small tray or container for screws
- An anti-static wrist strap (optional but recommended)
- A USB drive if you plan to do a fresh Windows install
That is it. You do not need expensive tools or technical expertise. Just patience and a clean workspace.
Step-by-Step Installation Guide
Now comes the fun part. Follow these steps carefully and you will have your NVMe SSD installed in no time.
Step 1: Power Down and Unplug
Shut down your computer completely. Do not just put it to sleep. Turn it off at the operating system. Then unplug the power cable from the back of the PSU. Press the power button for five seconds to discharge any remaining electricity. This step is critical for your safety and protects your components.
If you have been working inside your PC recently, ground yourself by touching a metal part of the case. This discharges static electricity that could damage sensitive components.
Step 2: Locate the M.2 Slot
Open your PC case by removing the side panel. Most cases have one or two thumbscrews holding the panel in place. Once the panel is off, lay the case on a flat surface.
Find the M.2 slots on your motherboard. They are small slots with a single retention screw at one end. Your motherboard may have one, two, or three M.2 slots. Look at your motherboard manual to identify which slots support NVMe PCIe. Some boards label them clearly, while others require you to cross-reference slot names with supported protocols.
Step 3: Remove the M.2 Heatsink (If Present)
Many modern motherboards come with a heatsink over the M.2 slot. You will need to remove this to access the slot. The heatsink is usually held by one or two screws. Use your Phillips screwdriver to carefully unscrew them. Set the screws and heatsink aside in a safe place.
If your motherboard has a built-in heatsink that cannot be removed, do not force it. Some M.2 SSDs come with their own thin heatsinks that fit under the motherboard heatsink. Check your SSD packaging for details.
Step 4: Insert the NVMe SSD
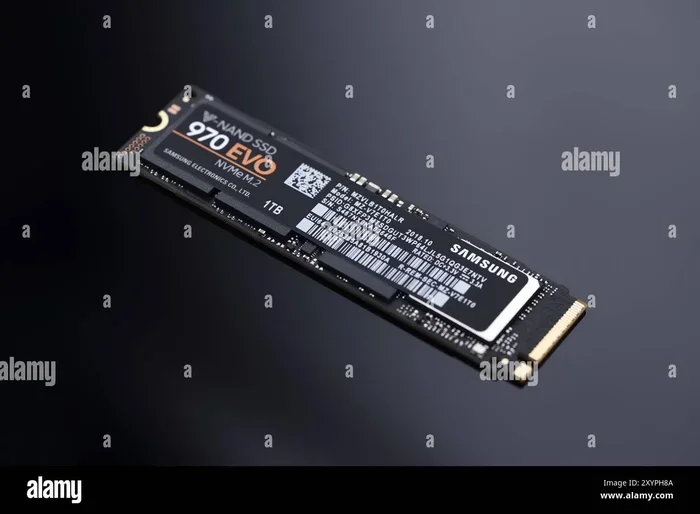
Hold your NVMe SSD by the edges. Never touch the gold connectors on the bottom. Align the notch on the SSD with the key in the M.2 slot. The notch is a small cutout on one side of the connector. It ensures you cannot insert the drive upside down.
Gently but firmly push the SSD straight down into the slot at a 30-degree angle. It should slide in smoothly. Once it is fully seated, press the drive down flat and use the retention screw to secure it. Do not overtighten the screw. Hand-tight is sufficient.
If your drive came with a thermal pad, make sure it is properly aligned between the SSD and the heatsink. The thermal pad helps dissipate heat and prevents throttling.
Step 5: Reassemble and Power On
Replace the M.2 heatsink if you removed it earlier. Put the side panel back on your PC case. Plug in the power cable and any other cables you may have disconnected. Power on your PC and enter the BIOS by pressing the appropriate key during startup. This is usually Del, F2, or Esc depending on your motherboard manufacturer.
Configuring BIOS and Operating System
Once your PC boots, you need to make sure the system recognizes the new drive and that it is set up correctly.
Check BIOS Detection
Enter your BIOS setup utility. Navigate to the storage or boot section. Look for your NVMe SSD in the list of detected drives. If you do not see it, double-check that the drive is fully seated in the M.2 slot. Try removing and reinserting it. Also check that the M.2 slot is enabled in BIOS. Some boards have an option to disable certain M.2 slots to share bandwidth with other components.
If your NVMe SSD still does not appear, try a different M.2 slot if available. Some motherboards share bandwidth between M.2 slots and SATA ports, which can cause conflicts.
Set Up Boot Mode
For the best performance, make sure your BIOS is set to UEFI mode. Legacy BIOS mode can limit the speed of your NVMe drive. In the BIOS, look for a setting called Boot Mode or Boot Priority. Select UEFI. Also check that Secure Boot is enabled if your Windows installation requires it.
If you are installing Windows fresh on the NVMe SSD, plug in a USB drive with your Windows installation media. Save your BIOS changes and exit. Your PC should boot from the USB drive and walk you through the Windows setup process.
Install Windows or Clone Your Drive
You have two main options after installing the NVMe SSD:
- Fresh Windows Install: Boot from your Windows USB, select the NVMe SSD as your installation drive, and follow the prompts. This gives you a clean, optimized system.
- Clone Your Existing Drive: Use cloning software to copy everything from your old drive to the new NVMe SSD. This preserves all your files, programs, and settings.
Cloning is faster if you want to keep your current setup. A fresh install is cleaner and can improve performance. Both methods work great with NVMe SSDs.
Optimizing Your NVMe SSD After Installation
Once your NVMe SSD is up and running, a few simple steps will help you get the most out of it.
Enable TRIM Support
TRIM is a command that tells your SSD which data blocks are no longer in use. This helps maintain peak performance over time. Windows 10 and 11 enable TRIM by default for NVMe drives. You can verify this by opening Command Prompt and typing: fsutil behavior query DisableDeleteNotify. If the result is 0, TRIM is active.
Run a Speed Test
After installation, run a speed test to confirm your drive is performing as expected. Use free tools like CrystalDiskMark or AS SSD Benchmark. A modern NVMe SSD should show sequential read speeds close to the manufacturer’s advertised numbers. If speeds are much lower than expected, check your BIOS settings and make sure the drive is running in PCIe mode, not SATA mode.
Manage Heat with a Heatsink
NVMe SSDs can generate significant heat, especially during heavy workloads. Many drives come with a heatsink included. If yours does not, you can purchase an M.2 heatsink separately. Some aftermarket heatsinks even include small fans for active cooling. Keeping your drive cool ensures consistent speeds over long periods.
In a pinch, you can also use thermal pads designed for M.2 slots. These are thin pads that sit between the SSD and the motherboard’s heatsink. They are inexpensive and very effective.
Update Your SSD Firmware
Manufacturers regularly release firmware updates that improve performance, fix bugs, and enhance compatibility. Check the manufacturer’s website for your specific drive model and download the latest firmware utility. Running updates is simple and can make a noticeable difference in stability.
Common Mistakes to Avoid
Even with clear instructions, mistakes can happen. Here are the most common errors people make when installing an NVMe SSD:
- Forcing the drive in at the wrong angle: The M.2 slot and drive have a specific key alignment. Forcing it can damage both the drive and the slot.
- Overtightening the retention screw: Snapping the screw or cracking the motherboard is an easy mistake. Tighten gently until snug.
- Forgetting to enable the M.2 slot in BIOS: Some motherboards disable M.2 slots by default to share bandwidth with SATA ports. Check your BIOS settings.
- Skipping thermal management: An overheating NVMe drive will throttle its speeds. A heatsink or thermal pad is worth the small investment.
- Not backing up data before cloning: Always back up important files before cloning or repartitioning your drive.
If you are upgrading from a traditional hard drive or a SATA SSD, the speed difference will be immediately noticeable. Your boot times will drop to seconds, and applications will open almost instantly.
Installing an NVMe SSD is one of the easiest PC upgrades you can do. If you have ever installed memory or swapped out a hard drive, this process is very similar. The main difference is that NVMe drives are smaller and plug straight into the motherboard. No cables, no mounting brackets, no fuss.
If you are also considering upgrading your system memory, installing additional RAM is another excellent way to boost performance. Check out our guide on how to install ram in laptop for a similar step-by-step approach. Upgrading both your storage and memory together can give your PC a tremendous speed boost.
Remember to consult your motherboard manual for specific details about your M.2 slots and supported configurations. Every board is slightly different, and the manual will have the most accurate information for your setup.
Take your time, work carefully, and enjoy the process. Once your new NVMe SSD is installed and running, you will wonder why you did not upgrade sooner.
Final Thoughts
Installing an NVMe SSD in your PC is a straightforward upgrade that delivers massive performance gains. From faster boot times to quicker file transfers, the benefits are immediate and noticeable. You do not need to be a tech expert to do it. With the right tools, a little patience, and this guide, you can complete the entire process in under half an hour.
Start by confirming your motherboard has a compatible M.2 slot. Gather your tools, power down your PC, and follow the steps carefully. Configure your BIOS, install Windows or clone your drive, and optimize your settings. Your new NVMe SSD will reward you with a noticeably faster and more responsive PC.
If you are looking to expand your storage further, you may also want to explore options for how to install more ram in laptop or learn about how to check ram in laptop to ensure your system is balanced. A well-rounded upgrade strategy combining fast storage with sufficient memory will give you the best overall experience.
Now go ahead and give your PC the upgrade it deserves. Your new NVMe SSD is waiting to make your computing life faster and better.
Frequently Asked Questions
Do I need special tools to install an NVMe SSD?
No, you only need a basic Phillips head screwdriver and your motherboard manual. An anti-static wrist strap is optional but helpful. The entire installation process is tool-free beyond the screwdriver.
Can I install an NVMe SSD in any M.2 slot?
Not all M.2 slots support NVMe. Some only support SATA SSDs. Check your motherboard manual to confirm which M.2 slots support PCIe NVMe drives before purchasing your SSD.
Do I need to install drivers for my NVMe SSD?
Windows 10 and 11 include native NVMe drivers, so you do not need to install anything separately. The drive will be recognized automatically after installation and BIOS configuration.
How do I know if my NVMe SSD is working properly?
Open Disk Management in Windows and look for your drive. You can also run a speed test using CrystalDiskMark. If the read speeds match the manufacturer’s advertised numbers, your drive is working correctly.
Should I use a heatsink with my NVMe SSD?
Yes, a heatsink is highly recommended. NVMe SSDs can get hot under heavy workloads, and overheating can cause throttling. Many motherboards include M.2 heatsinks, and aftermarket options are inexpensive and easy to install.
Can I install an NVMe SSD alongside my existing hard drive?
Absolutely. You can have both drives in your PC at the same time. The NVMe SSD works great as a boot drive for your operating system, while the hard drive can store files and media.