How Do You Bi Amp Speakers

Bi‑amping speakers splits the signal so each driver gets its own dedicated amp channel, delivering clearer highs and tighter lows. Follow this friendly guide to choose the right gear, wire everything safely, and enjoy pro‑level audio at home.
Key Takeaways
- What bi‑amping is: It uses separate amp channels for tweeters and woofers, improving clarity and power handling.
- When to bi‑amp: Ideal for speakers with dual‑input terminals and amplifiers that have multiple channels.
- Essential gear: A multi‑channel amp, quality speaker cables, and optionally a crossover or Y‑adapter.
- Wiring steps: Connect each driver to its own amp output, keep polarity consistent, and secure connections.
- Common pitfalls: Mismatched impedance, over‑driving drivers, and loose connections can cause distortion.
- Testing tips: Start low, listen for balance, and use a test tone or music track to fine‑tune.
- Maintenance advice: Check cables regularly and keep the amp well‑ventilated for long‑term reliability.
📑 Table of Contents
Introduction: Why Bi‑Amp Your Speakers?
Imagine watching your favorite movie and hearing every whisper of the soundtrack as if you were sitting in the director’s chair. That’s the magic of bi‑amping. By giving each driver—tweeter and woofer—its own dedicated amplifier channel, you eliminate the “tug‑of‑war” that happens when a single amp tries to power both at once. The result? Cleaner highs, punchier lows, and a soundstage that feels three‑dimensional.
Even if you’re new to hi‑fi, bi‑amping isn’t as intimidating as it sounds. With the right equipment and a few careful steps, you can upgrade your existing speakers and hear a noticeable difference without breaking the bank. Let’s walk through everything you need to know, from the basics to the final tweaks.
1. Understanding the Basics of Bi‑Amping
What Does “Bi‑Amp” Mean?
“Bi‑amp” is short for “bi‑amplified.” In a typical speaker system, one amp channel feeds a combined signal to both the tweeter (high frequencies) and the woofer (low frequencies) through a crossover inside the cabinet. Bi‑amping splits that signal at the source, sending it to two separate amp channels—one for the tweeter and one for the woofer.

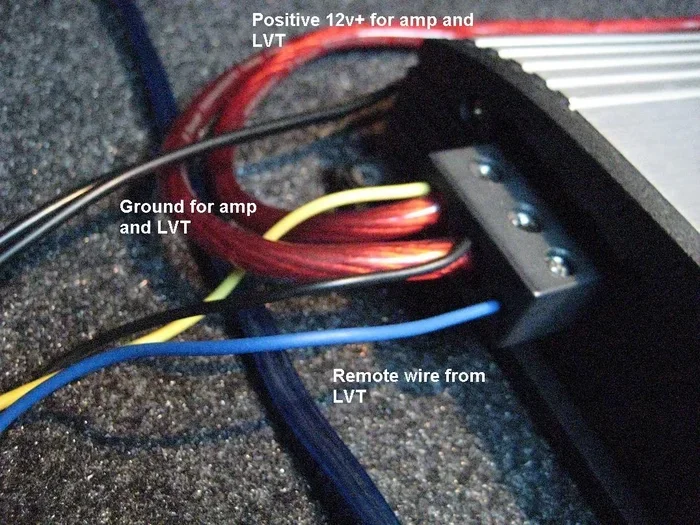
Visual guide about How Do You Bi Amp Speakers
Image source: itset.co
How It Improves Sound
- Reduced Interference: Each driver gets clean power, so the tweeter isn’t fighting with the woofer for current.
- Better Damping: The amp can control the driver’s motion more precisely, tightening the bass.
- Higher Power Headroom: Two channels can deliver more total wattage than a single channel.
When Bi‑Amping Makes Sense
Not every speaker can be bi‑amped. Look for the following:
- Separate input terminals for tweeter and woofer (often labeled “high” and “low”).
- Impedance ratings that allow parallel or series wiring without dropping below the amp’s safe limit.
- A multi‑channel amp (2‑channel for a single pair, 4‑channel for two pairs, etc.).
2. Gathering the Right Gear
Amplifier Requirements
You’ll need an amp that can provide at least two independent channels per speaker pair. A good rule of thumb is to match the amp’s power per channel to the speaker’s RMS rating. For example, if your woofers are rated at 100 W RMS, aim for an amp that can deliver 80‑120 W per channel.

Visual guide about How Do You Bi Amp Speakers
Image source: img.dlsite.jp
Cables and Connectors
High‑quality, oxygen‑free copper speaker wire (12‑ gauge for most home setups) works well. If you’re running longer runs, consider 14‑ gauge. Keep the following in mind:
- Use the same gauge for both tweeter and woofer runs to maintain consistent resistance.
- Label each wire end (e.g., “T‑L” for tweeter left) to avoid confusion later.
Crossovers and Y‑Adapters
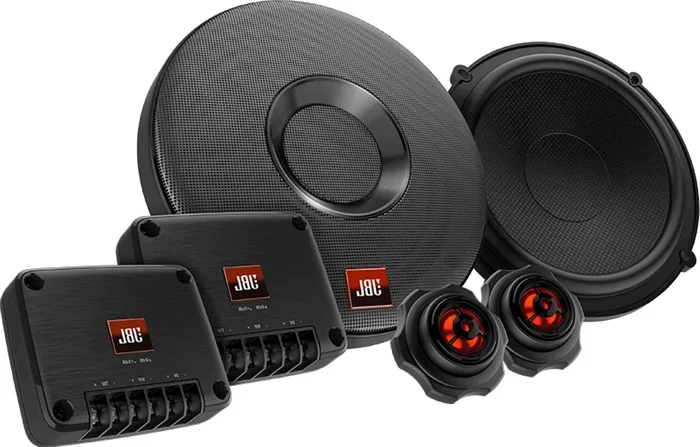
Many bi‑ampable speakers already contain an internal crossover, so you can connect directly to the high‑ and low‑frequency terminals. If your speakers lack separate inputs, you can use an external passive crossover or a Y‑adapter that splits the signal while preserving polarity.
Helpful Internal Link
For a detailed look at connecting speakers to an amp, check out our guide on how to wire speakers to amp. It covers cable types, terminal markings, and safety tips that also apply to bi‑amping.
3. Step‑by‑Step Wiring Process
Step 1: Prepare Your Workspace
Turn off and unplug the amplifier. Gather your speaker cables, wire cutters/strippers, and a screwdriver if your speaker terminals require it.
Visual guide about How Do You Bi Amp Speakers
Image source: englishday.cc
Step 2: Identify Terminals
Look at the back of each speaker. You should see two sets of binding posts:
- High (H) or “Twee” terminals: Usually marked with a “+” and “–” for the tweeter.
- Low (L) or “Woofer” terminals: Also marked with polarity symbols.
Step 3: Connect the Amp to the Woofer
Take a length of speaker wire, strip about ¼ inch of insulation, and insert the positive lead into the amp’s left channel (+) and the negative lead into the left channel (–). Run the other end to the woofer terminals, matching polarity (+ to +, – to –).
Step 4: Connect the Amp to the Tweeter
Repeat the process using a second amp channel (often the next channel on a multi‑channel amp). Again, keep polarity consistent. If you’re using a 4‑channel amp for two speakers, channels 1‑2 might feed the left speaker, while 3‑4 feed the right.
Step 5: Double‑Check Connections
Make sure no bare wire is touching other terminals. A quick visual inspection can prevent short circuits that might damage the amp.
Step 6: Power Up and Test
Turn the amp on at a low volume. Play a familiar track and listen for balance. Increase volume gradually, ensuring the tweeters aren’t harsh and the woofers remain tight.
Pro Tip: Use a Test Tone
Download a free sweep tone (20 Hz‑20 kHz) and play it through each channel separately. This helps you verify that each driver is receiving the correct signal and that polarity is correct.
4. Optimizing Performance
Matching Impedance
When you bi‑amp, each driver sees the full impedance rating (usually 8 Ω). If you connect two 8 Ω drivers in parallel to a single amp channel, the load drops to 4 Ω, which can overload the amp. Keep each driver on its own channel to avoid this issue.
Adjusting Gain and Crossover Settings
Many modern amplifiers have gain knobs per channel. Start with the gain low and increase until the sound is clear and dynamic. If your amp includes a built‑in crossover, set the “high‑pass” frequency for the tweeter (often 2 kHz‑3 kHz) and the “low‑pass” for the woofer (80 Hz‑120 Hz).
Room Acoustics Matter
Bi‑amping can reveal room flaws that were previously masked. Consider adding acoustic panels or bass traps if you notice excessive reflections or booming bass.
Common Issues and Fixes
- Crackling or popping sounds: Check all connections for loose terminals. See our article on why do my speakers crackle for deeper troubleshooting.
- One driver silent: Verify polarity and ensure the correct amp channel is selected.
- Overheating amp: Make sure ventilation is adequate and consider a fan if the amp runs hot.
5. Advanced Topics: Bi‑Amping with External Crossovers and DSP
Using an External Passive Crossover
If your speakers lack separate inputs, an external crossover can split the signal before it reaches the drivers. Connect the amp’s left channel to the crossover’s “high‑frequency” output, then run separate wires from the crossover to the tweeter and woofer.
Digital Signal Processing (DSP) Integration
For audiophiles who love fine‑tuning, a DSP unit can apply precise filters, time alignment, and EQ before the signal hits the amp. This adds flexibility, especially in multi‑room setups.
Bi‑Amping in Car Audio
Car enthusiasts often bi‑amp component speakers for a tighter soundstage. The same principles apply, but you’ll need a car‑rated amp and proper wiring harnesses. Our recommended car amp for 6 speakers guide provides a solid starting point.
6. Maintenance and Safety Tips
Regular Inspection
Every few months, unplug the amp and check each connection. Look for corrosion, frayed insulation, or loose binding posts.
Keep the Amp Cool
Place the amp in a well‑ventilated area. Dust buildup can block heat sinks, leading to thermal shutdowns.
Power Protection
Use a surge protector or power conditioner to guard against voltage spikes that could fry your amp or speakers.
When to Upgrade
If you notice the amp struggling at higher volumes, or if you upgrade to larger drivers, consider a higher‑power amp or adding a dedicated subwoofer channel.
Conclusion
Bi‑amping is a powerful yet accessible way to unlock the full potential of your speakers. By giving each driver its own clean power source, you enjoy clearer highs, tighter lows, and a more immersive listening experience. With the right amp, quality cables, and careful wiring, you can set up a bi‑amp system in an afternoon and hear the difference instantly. Remember to double‑check polarity, match impedance, and keep your gear well‑ventilated. Happy listening!
Frequently Asked Questions
Do I need a special amplifier to bi‑amp speakers?
Yes, you need an amp with separate channels for each driver—typically a 2‑channel amp for one pair or a 4‑channel amp for two pairs.
Can I bi‑amp any bookshelf speakers?
Only if they have dual input terminals (high and low). Check the manufacturer’s specs or the back of the speaker for separate connectors.
Will bi‑amping increase the power consumption of my system?
It can draw slightly more power because two amp channels are active, but the increase is modest and usually not noticeable on household circuits.
Is it safe to use the same speaker cable gauge for both tweeters and woofers?
Yes, using the same gauge (e.g., 12 AWG) for both drivers keeps resistance consistent and simplifies wiring.
What should I do if I hear distortion after bi‑amping?
First, lower the amp’s gain. Then verify that the impedance matches the amp’s rating and that all connections are secure.
Can I use a bi‑amp setup with a home theater receiver?
Many receivers have pre‑out or zone‑out options that let you send separate signals to a second amp for bi‑amping. Check your receiver’s manual for specific instructions.